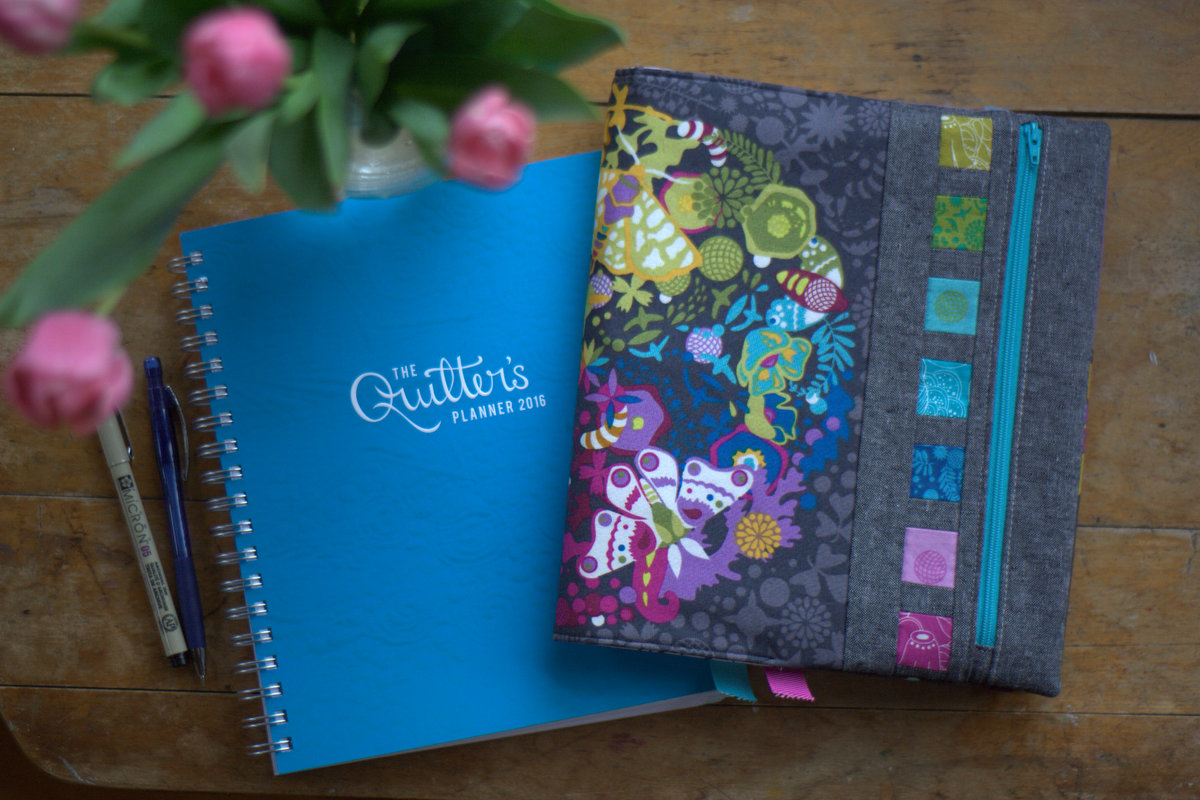
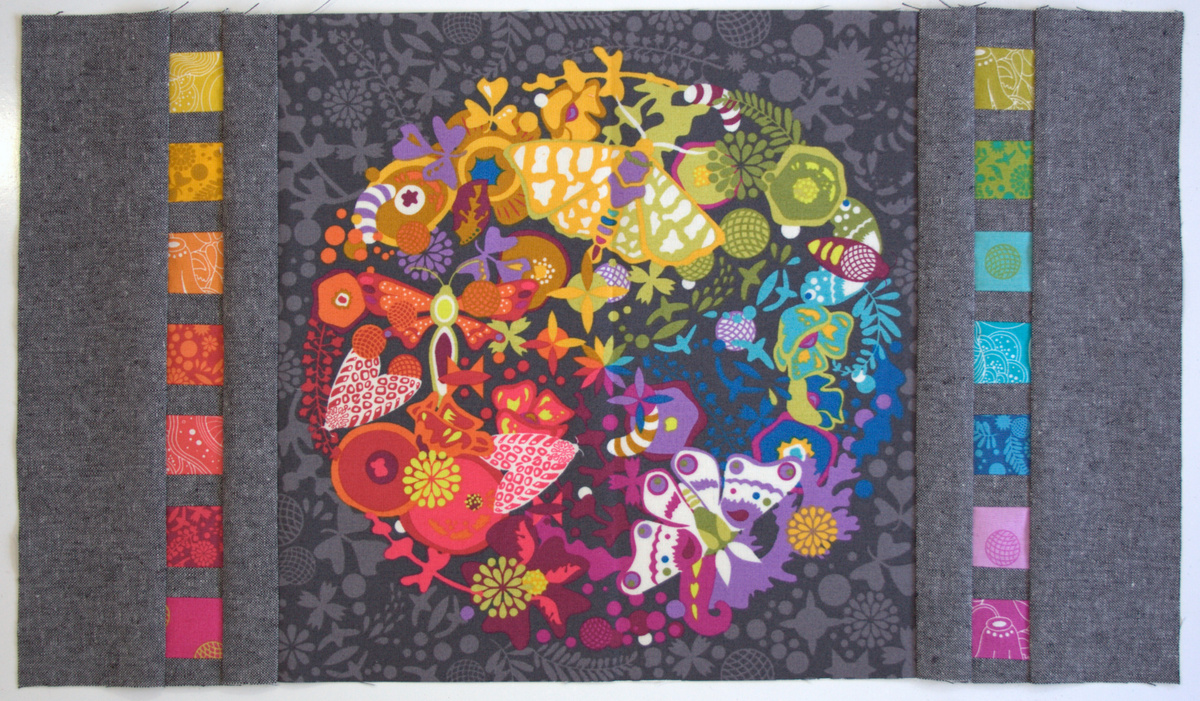
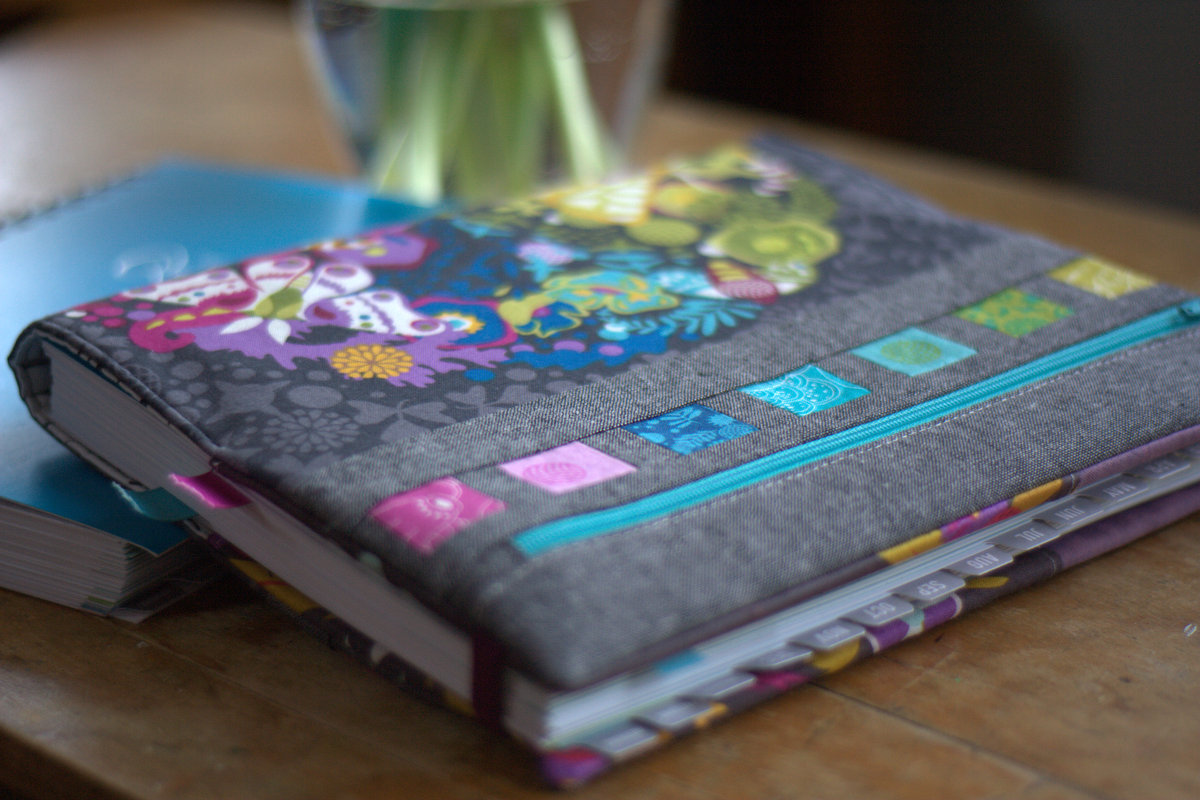
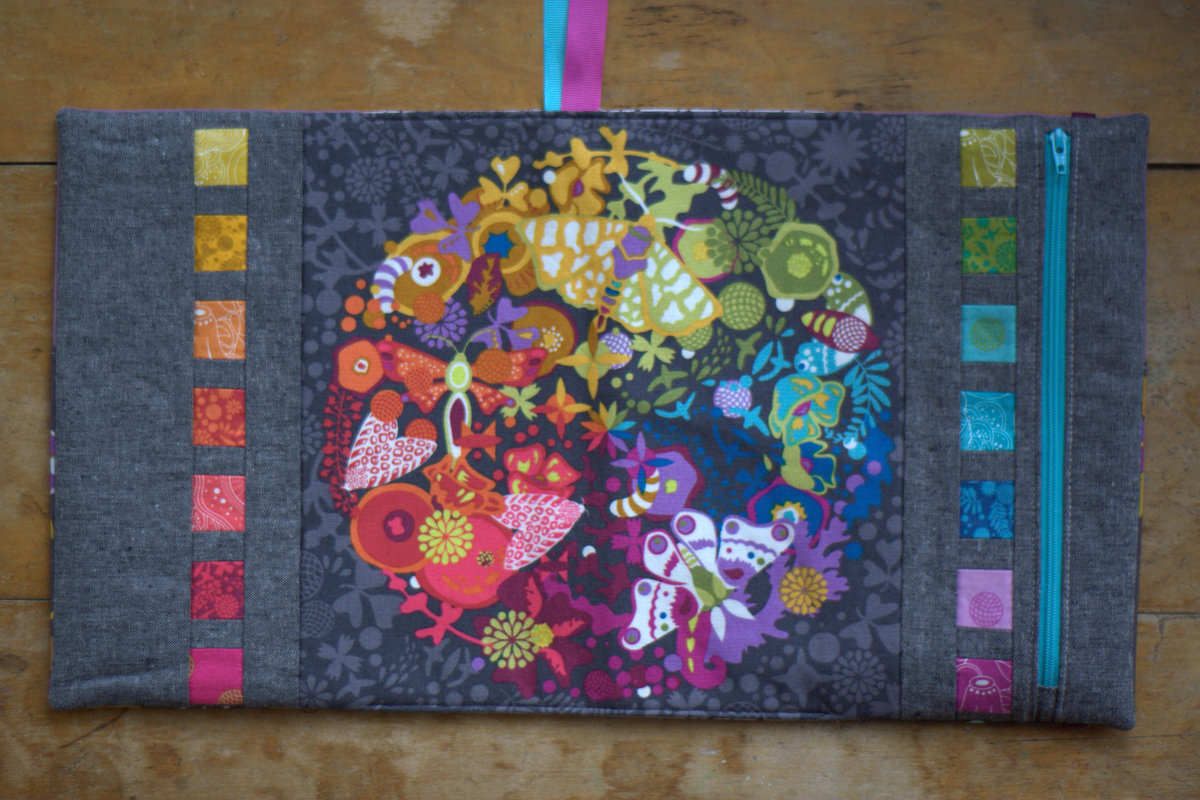
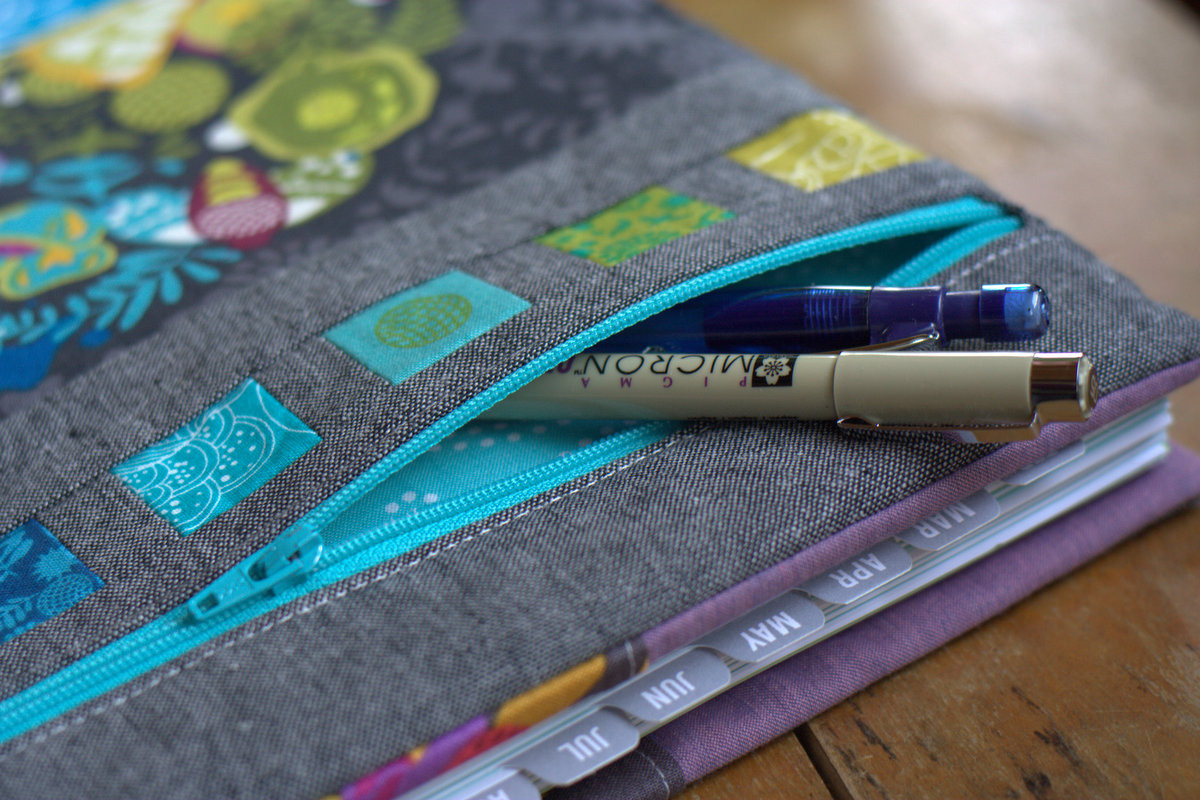
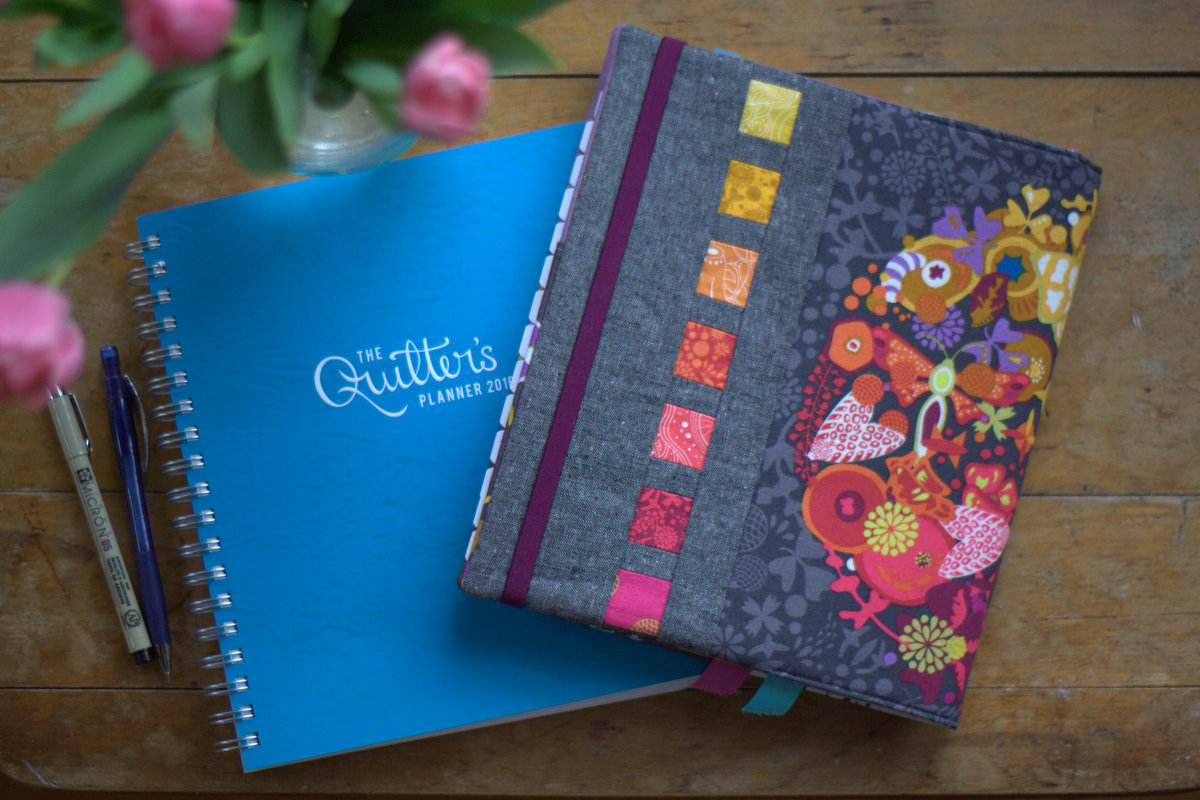
Today I’m sharing the tutorial for how to make the outer panel of a Zippy Quilter’s Planner Cover like the one I made. I’m calling it Riot of Color and it’s a tribute to Alison Glass and her consistently bold and beautiful fabrics. A full color pdf of this tutorial is available on the Quilter’s Planner website, so head on over there to download it!
 This tutorial is for creating the outer panel for the Zippy Quilter’s Planner Cover pattern customized by Stephanie (Late Night Quilter) and Amanda (What the Bobbin) for the Quilter’s Planner. This tutorial will provide cutting and piecing instructions for the outer panel (11”x19 1/2”). From there, follow the instructions in the Quilter’s Planner cover pattern found at http://quiltersplanner.com to make the full zippy planner cover, using this 11”x19 1/2” panel as the “exterior fabric”.
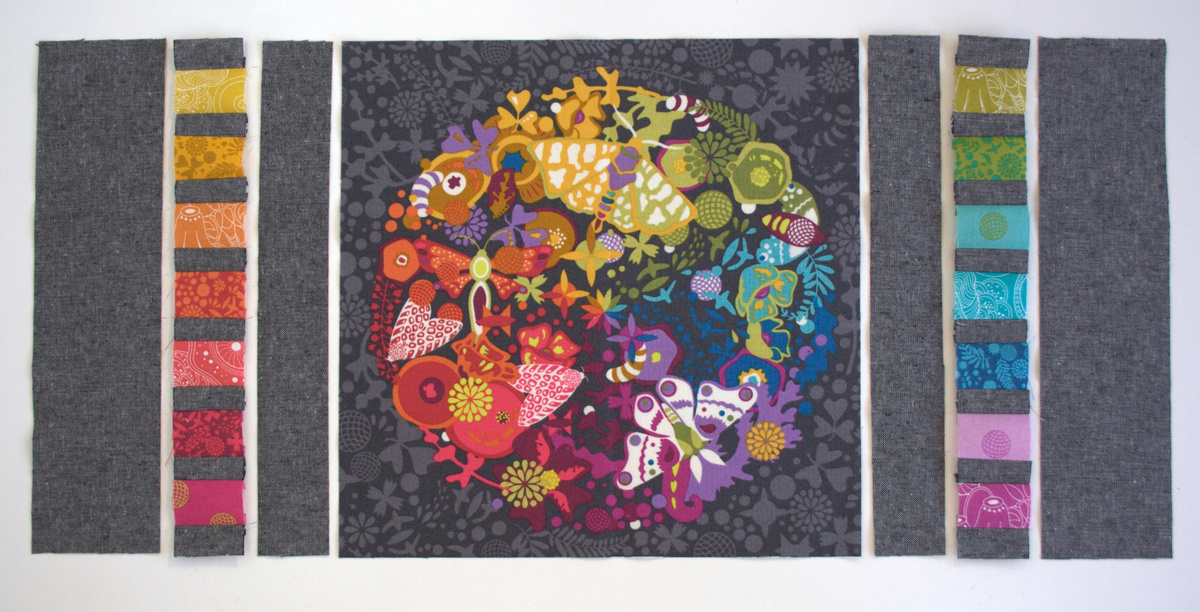
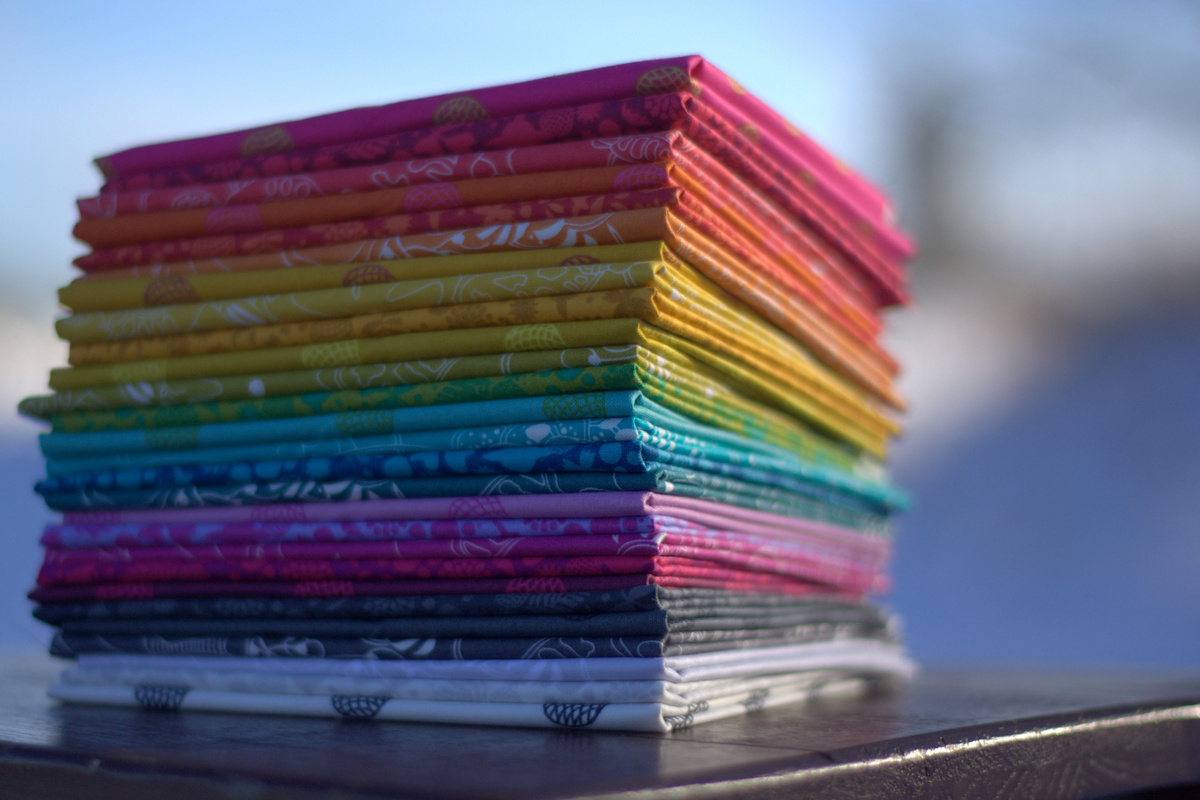
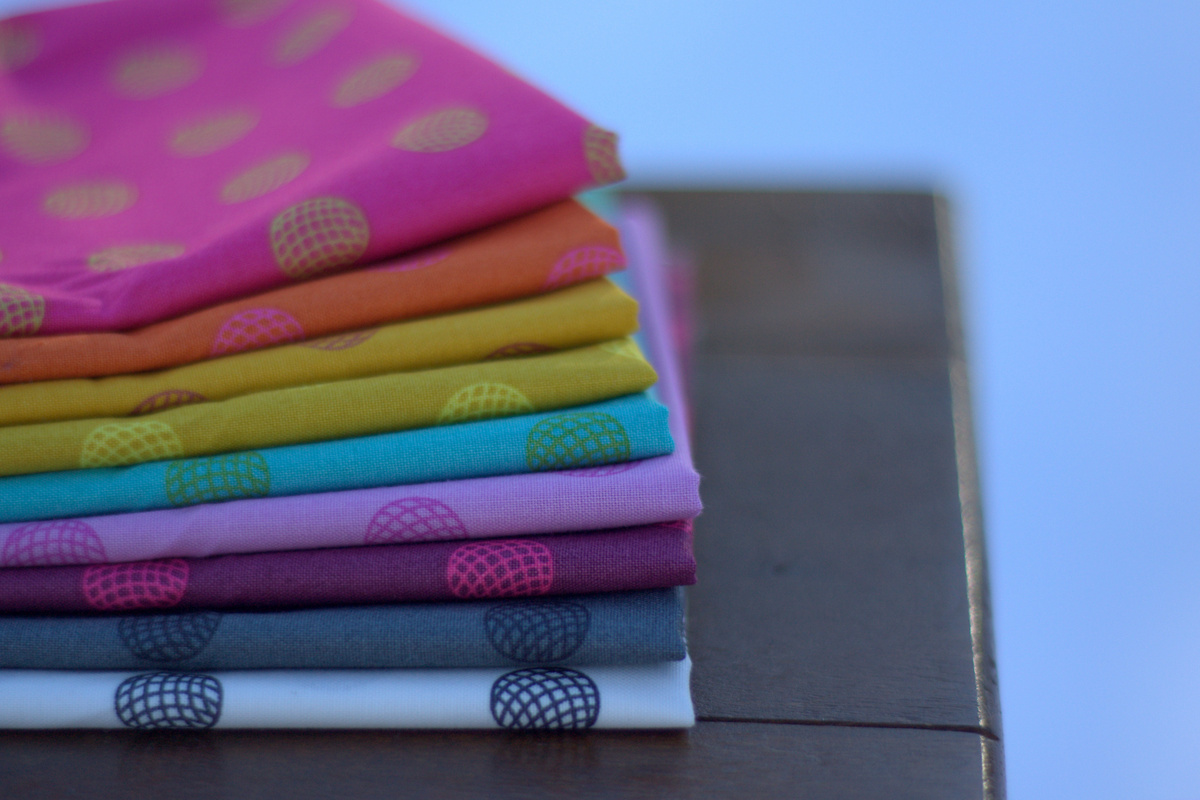
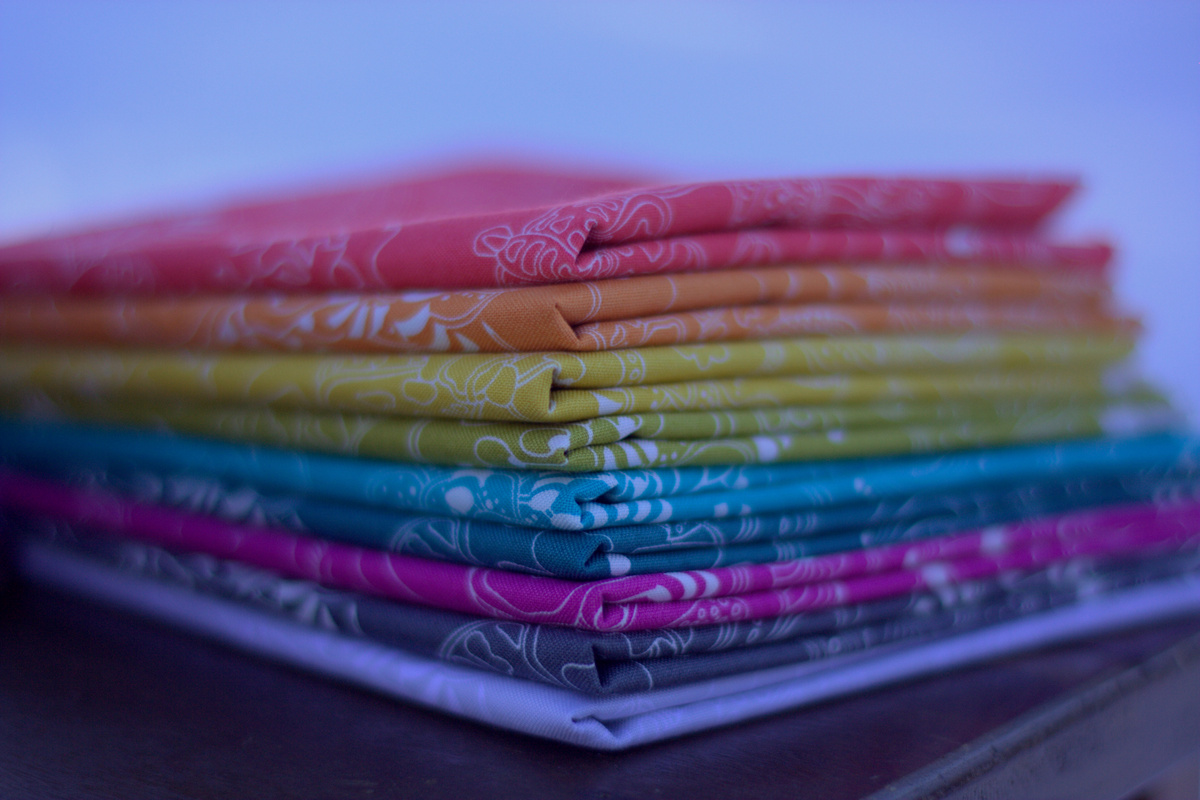
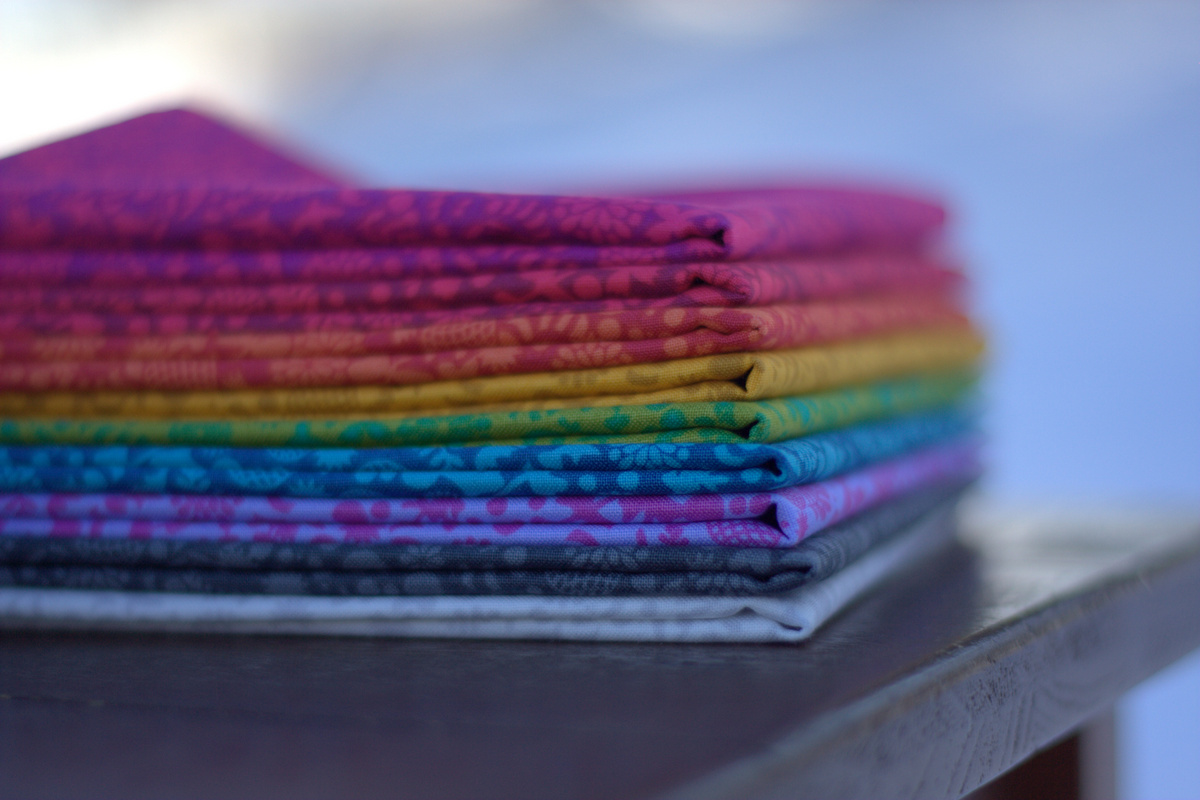
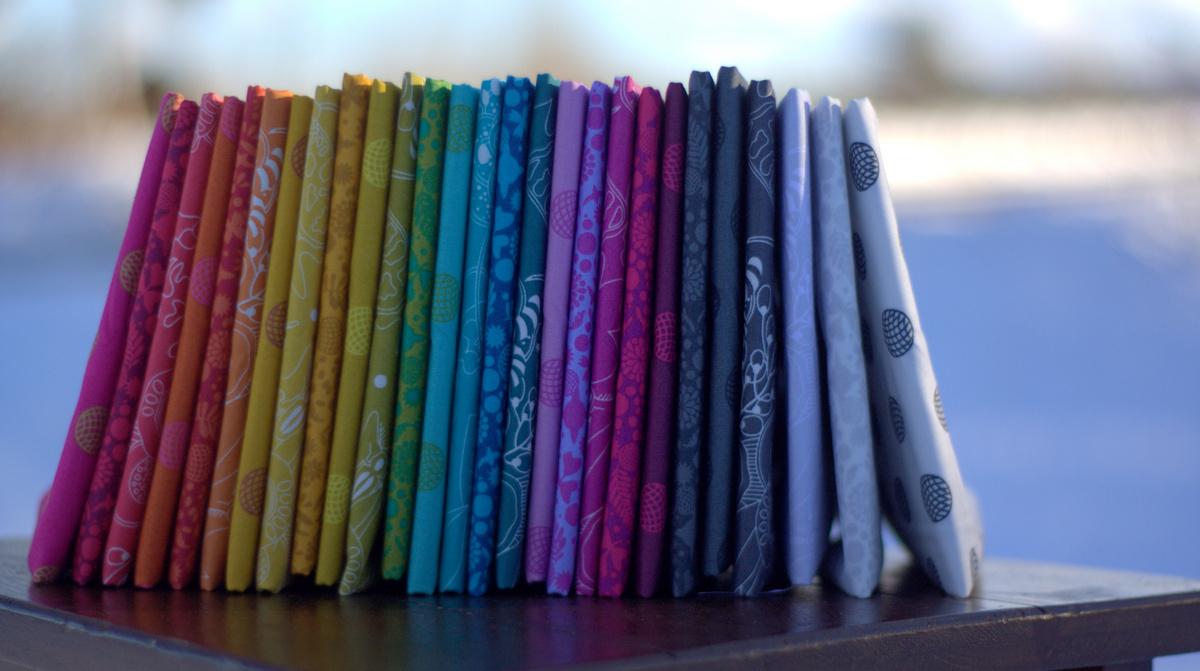
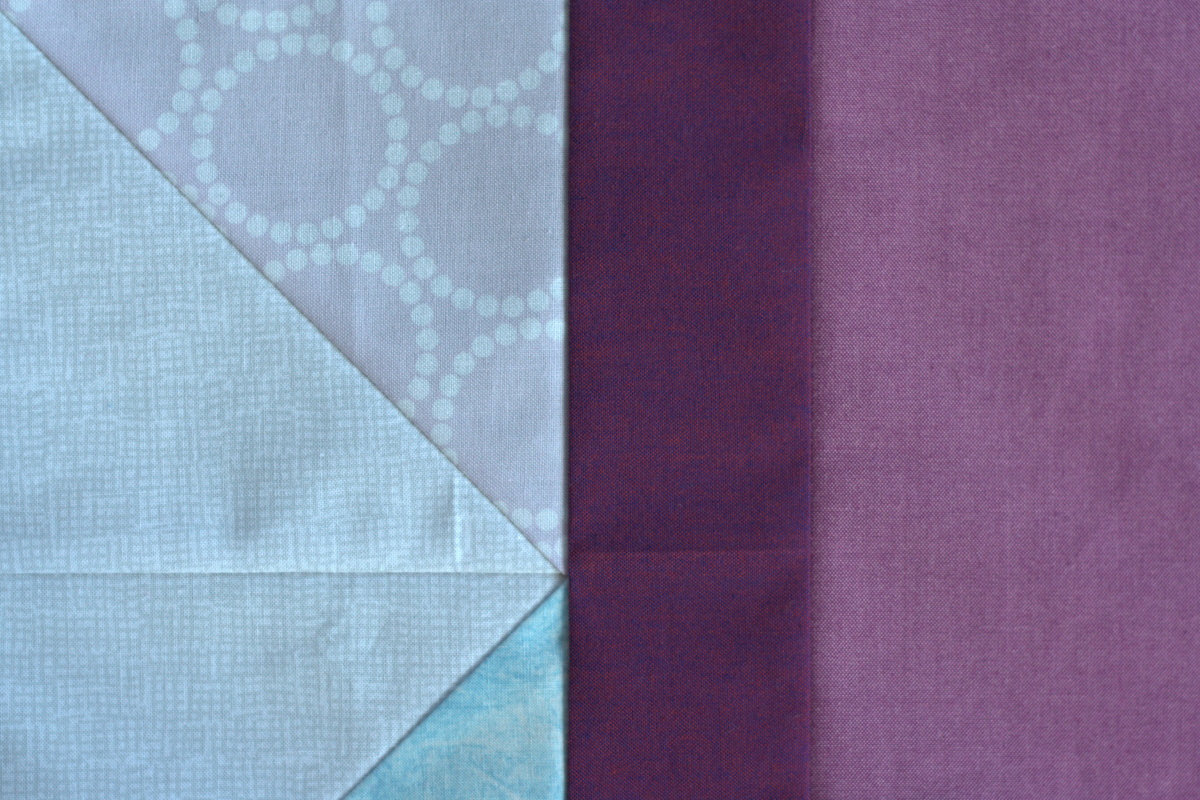
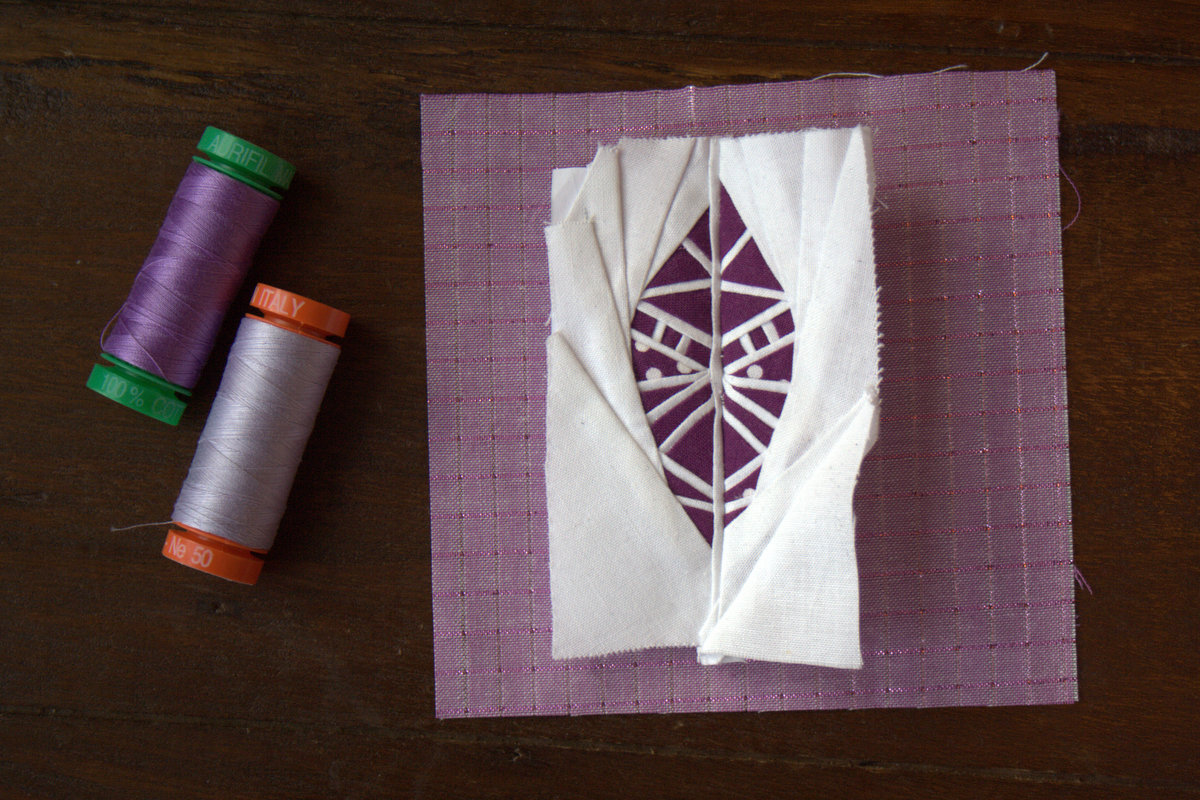
 The secret to this cover’s creation is the fabric choices. The dark grey of the Essex linen in Charcoal (Robert Kaufman Fabrics) lets the bright bold colors of Alison Glass’s Sun Prints 2016 and Art Theory panel in Charcoal (from Ex Libris – Andover Fabrics) shine. This could also be made using a favorite large scale print for the feature fabric and fussy cut bits for the squares, but be sure to use a contrasting solid or reads-as-solid background fabric so that the construction shines.
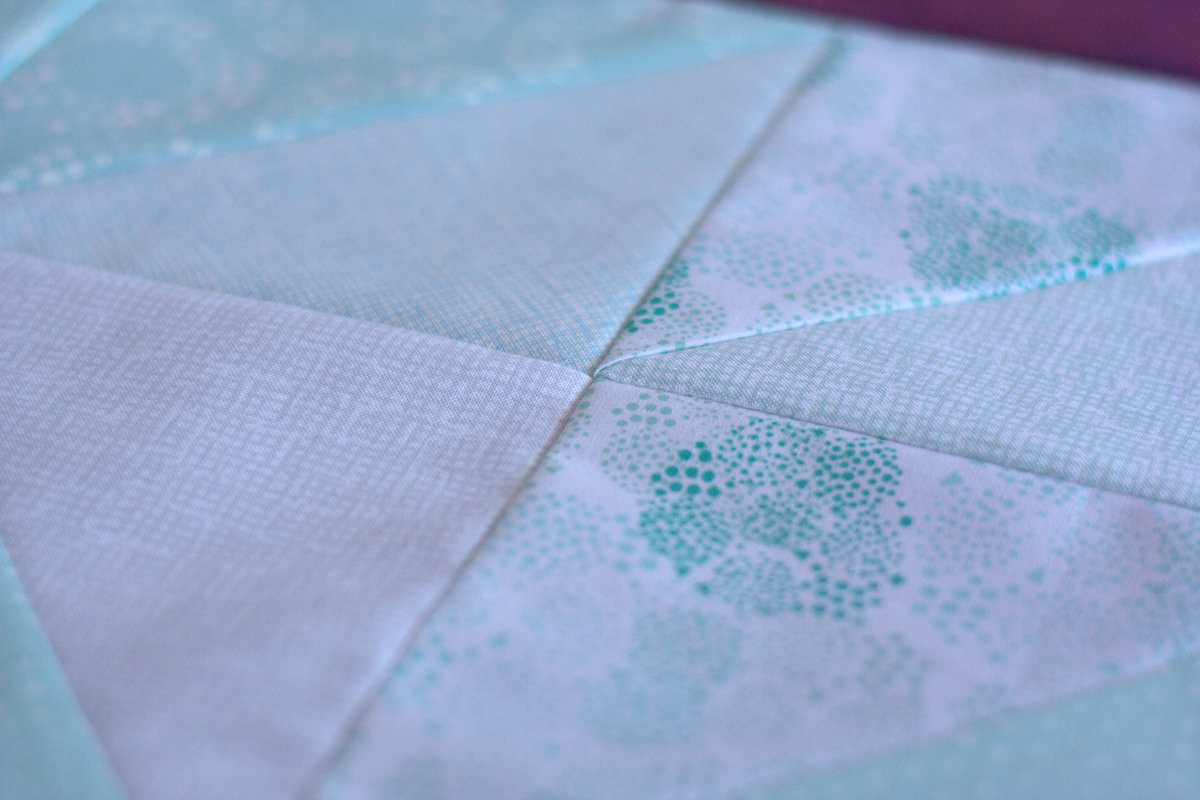
General Notes: Seam allowances are 1/4” throughout unless indicated otherwise. I like to press seams open, but in some cases I pressed to the side for this project. I will note those places in this tutorial.
Cutting
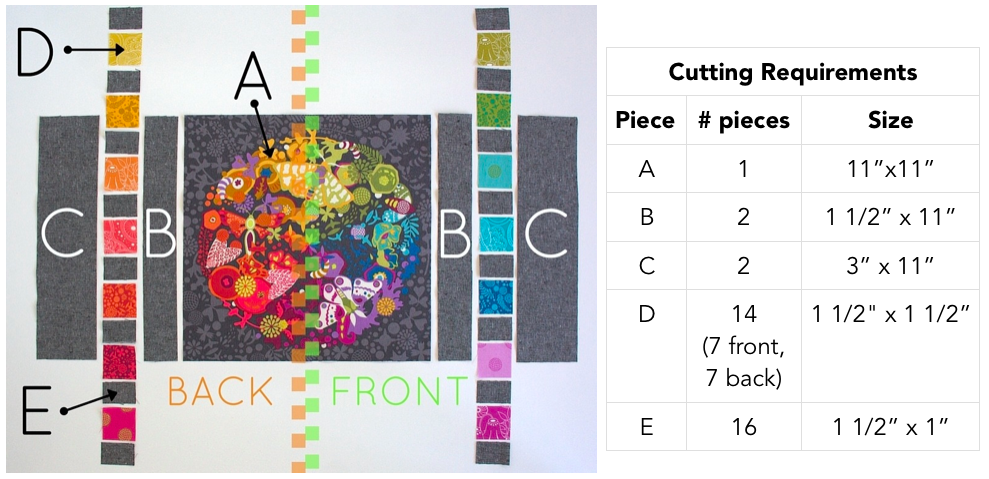
 First, cut all of your fabric pieces according to the Cutting Requirements chart and diagram above.
A Note About the E Pieces
Here’s where I’m going to be real with you. The DE strips have a lot of seams. This means that if your 1/4” seam allowance is off by even a little bit, your strip may be slightly the wrong size. In the cutting chart above, I’ve accounted for this human error. (You’re welcome!)
*IF* your seams are an absolute perfect 1/4” and your cutting is precise, the top and bottom E pieces on both strips (four E pieces total) only need to measure 1 1/2” x 3/4”.
This tutorial allows you to trim the excess at the end so that you don’t have to worry as much about the precision of your 1/4” seam. That said, focus on straight, consistent seams and we will adjust for scant or generous seams during the process! If you feel like you want to be a Perfect Seams Superhero and save yourself some math and cutting, use 1 1/2” x 3/4” E pieces on the top and bottom of each strip. Go ahead and cut your pieces.
Ready? Lay it all out how you want it and then start assembling!
Assembly
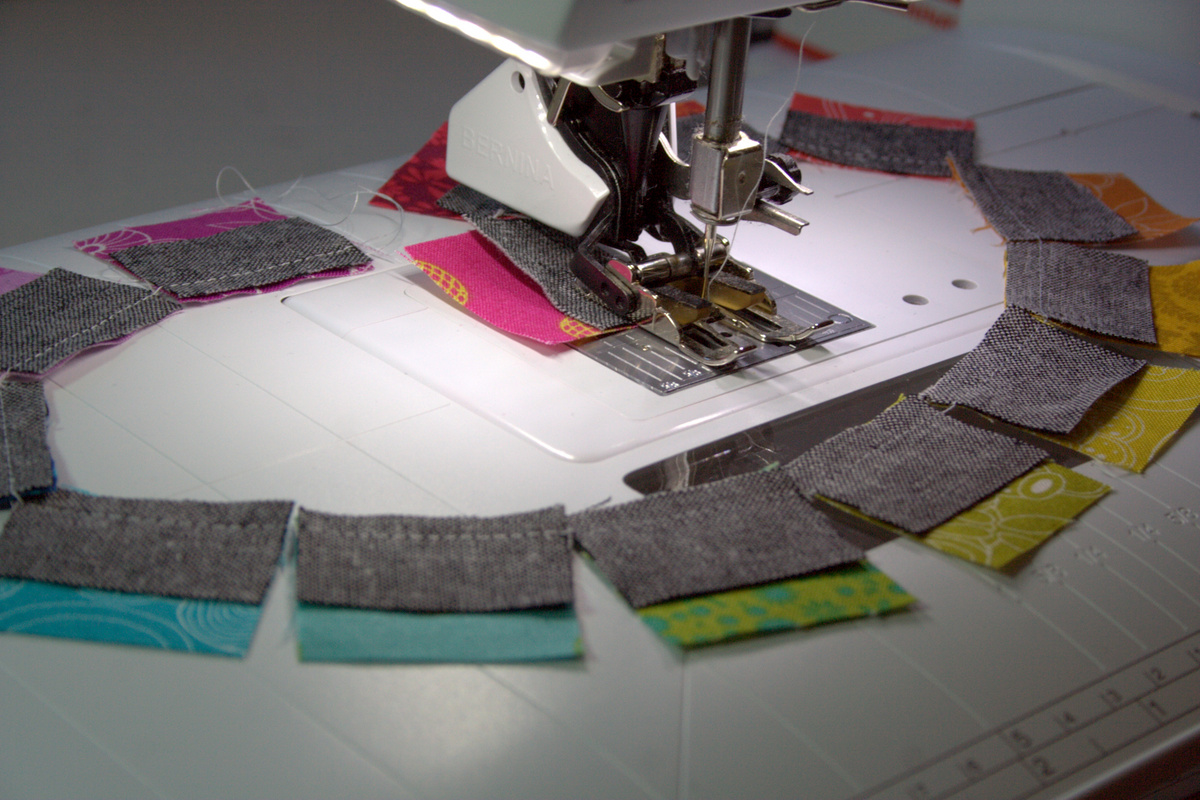
Pair each D piece right sides together with an E piece and sew with a 1/4” seam allowance.
 I like to get them all ready and then chain piece to save time.
Organization Tip
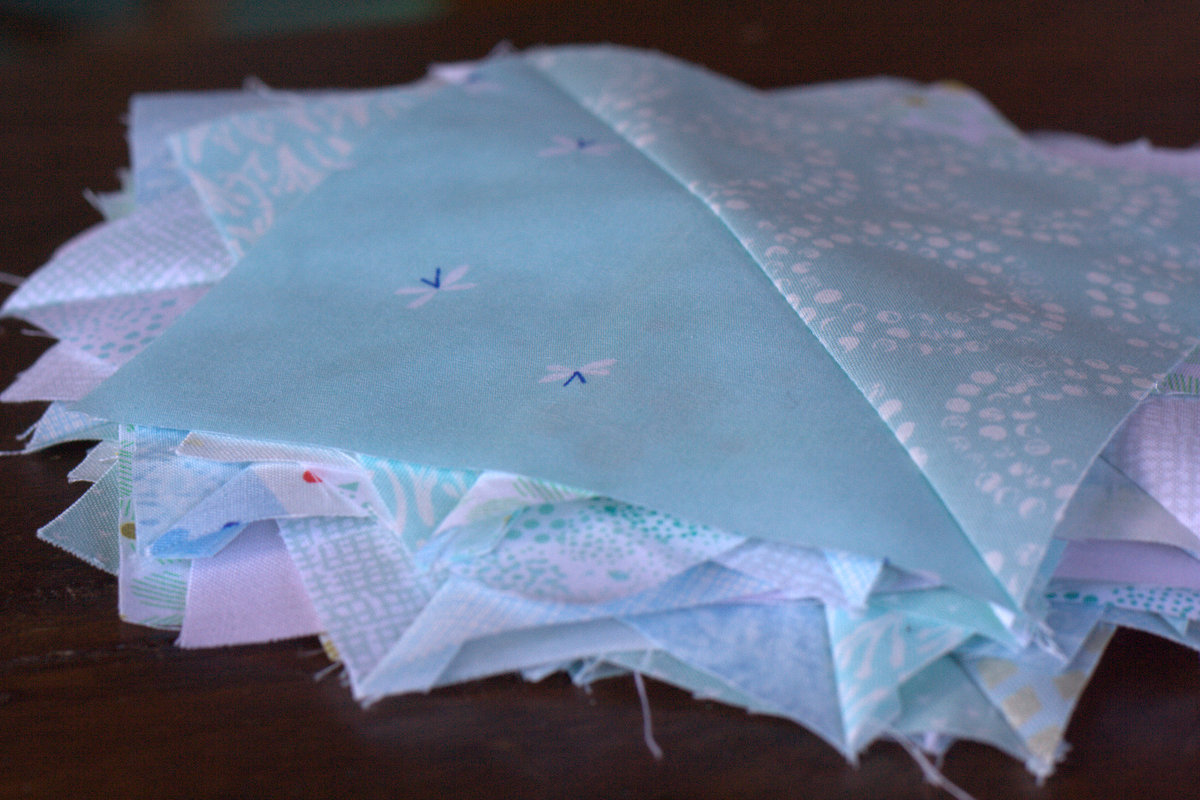
Be sure to take a photo of your layout before sewing so that you have a visual reference along the way!
Set seams and press open. Lay them out again and check your reference photo. There should be one E that has not yet been paired and sewn. Pair and sew components of the DE strips until they are completely assembled. Press seams open.
If you are being a Perfect Seams Superhero today and used 1 1/2” x 3/4” E pieces on the tops and bottoms of your strips, confirm that your fully assembled strip now measures 1 1/2” x 11”, pat yourself on the back and skip ahead to the full panel piecing.
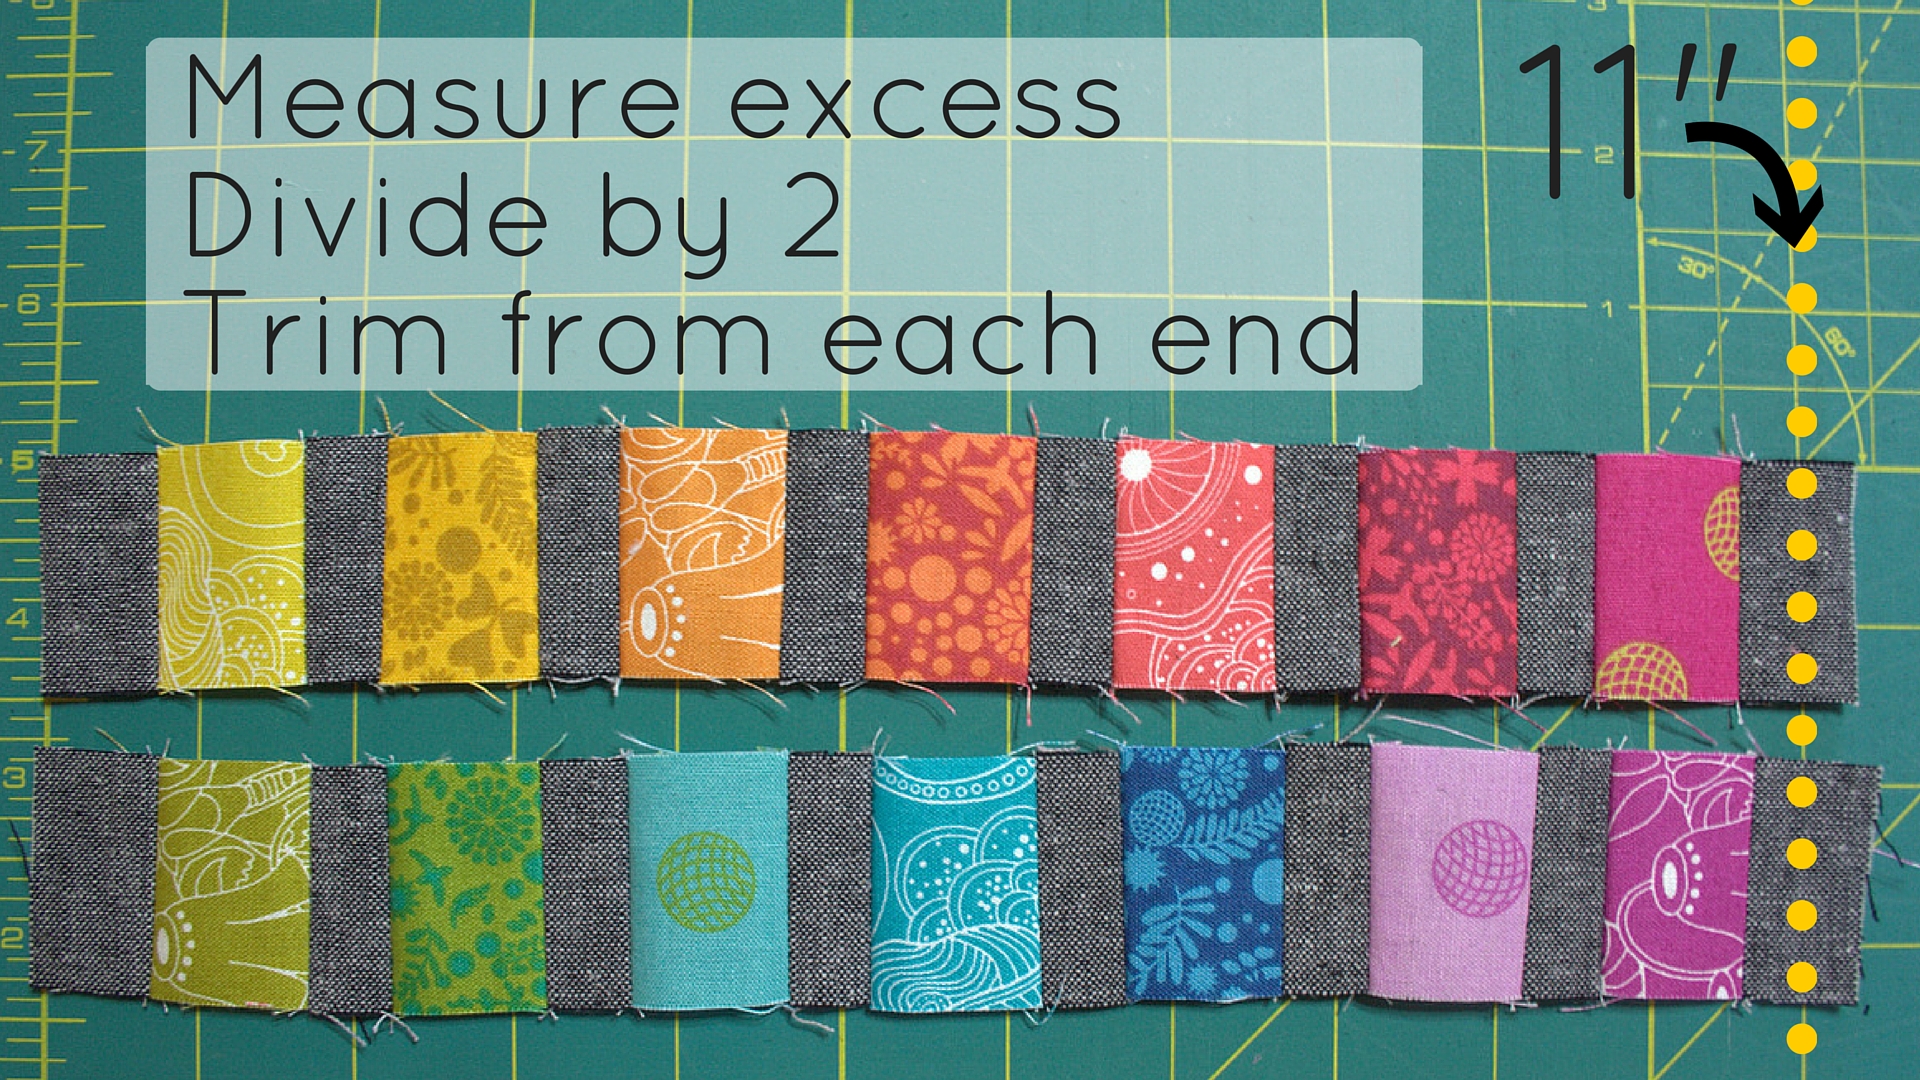
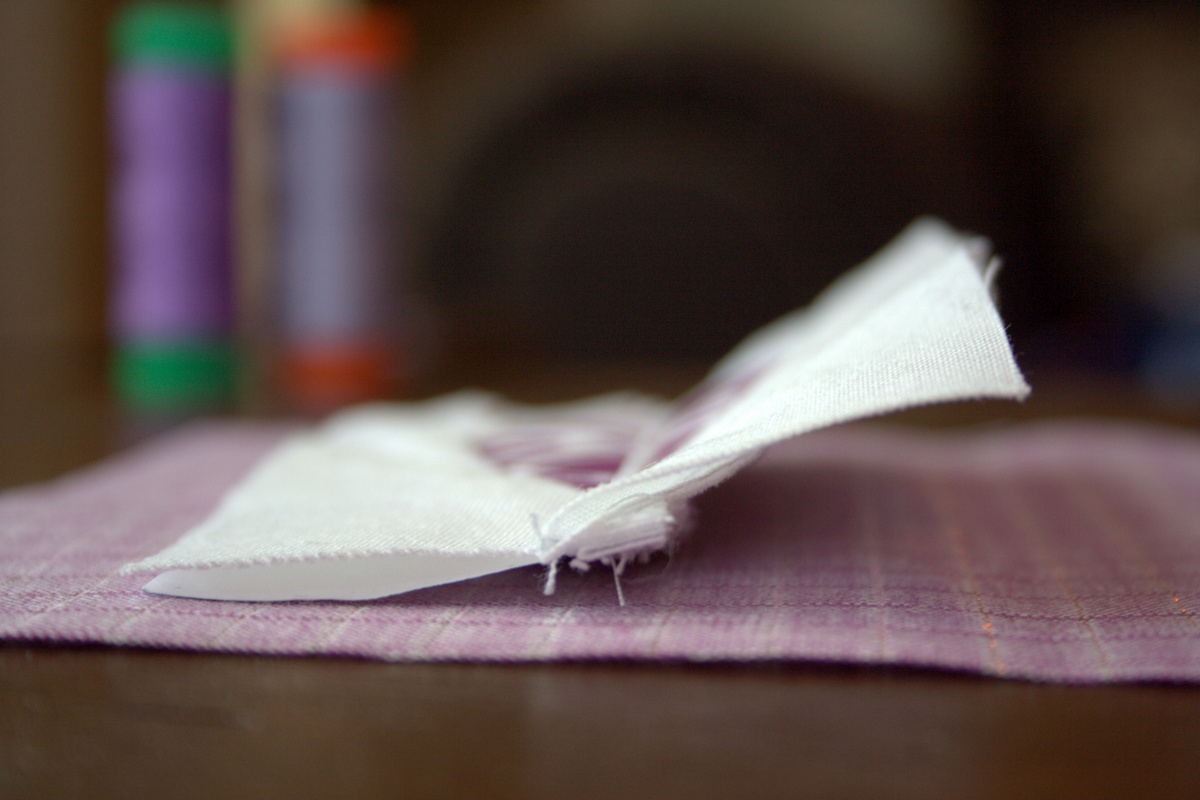
If you are being merely human today, give your strips a good press and lay them on your cutting mat. It’s time to measure how much excess you have and take care of it.
 We want the finished strips to measure 11” long, but we want to be sure our colorful bits stay centered. To do this, take the following steps (the example shown is in parenthesis):
- Measure each strip to the nearest 1/8” being sure to press it flat so that it extends to its full length. (My strips shown measured 11 1/2” when I held them flat.)
- Take the difference of 11” from the length of your strip. (11 1/2 – 11 = 1/2”)
- Divide the difference by 2. (1/2” / 2 = 1/4”)
- That’s how much you should trim from each end of your strip. (I trimmed 1/4” from each end)
Now, measure your strips again. Each strip should measure 1 1/2” x 11”. Don’t worry about a little wobble or wonk at this point. Everything will be smoothed out during the final assembly!
Next, we will piece the rest of the panel.
 Lay out all of your pieces again as shown (left to right): C, DE strip, B, A, B, DE strip, C.
Sew them together!
Here’s the order in which I assembled it, but do what works logically for you.
- Right sides together, sew B pieces to A. Press seams open. This is the BAB unit.
- Right sides together and double-checking the orientation of the DE strips, sew C outer pieces to DE strips. Press toward C. These are your DEC units.
- Sew DEC units to the BAB unit, pressing seams toward BAB.
Give your panel a good press, check that it measures 11” x 19 1/2” and trim if needed.
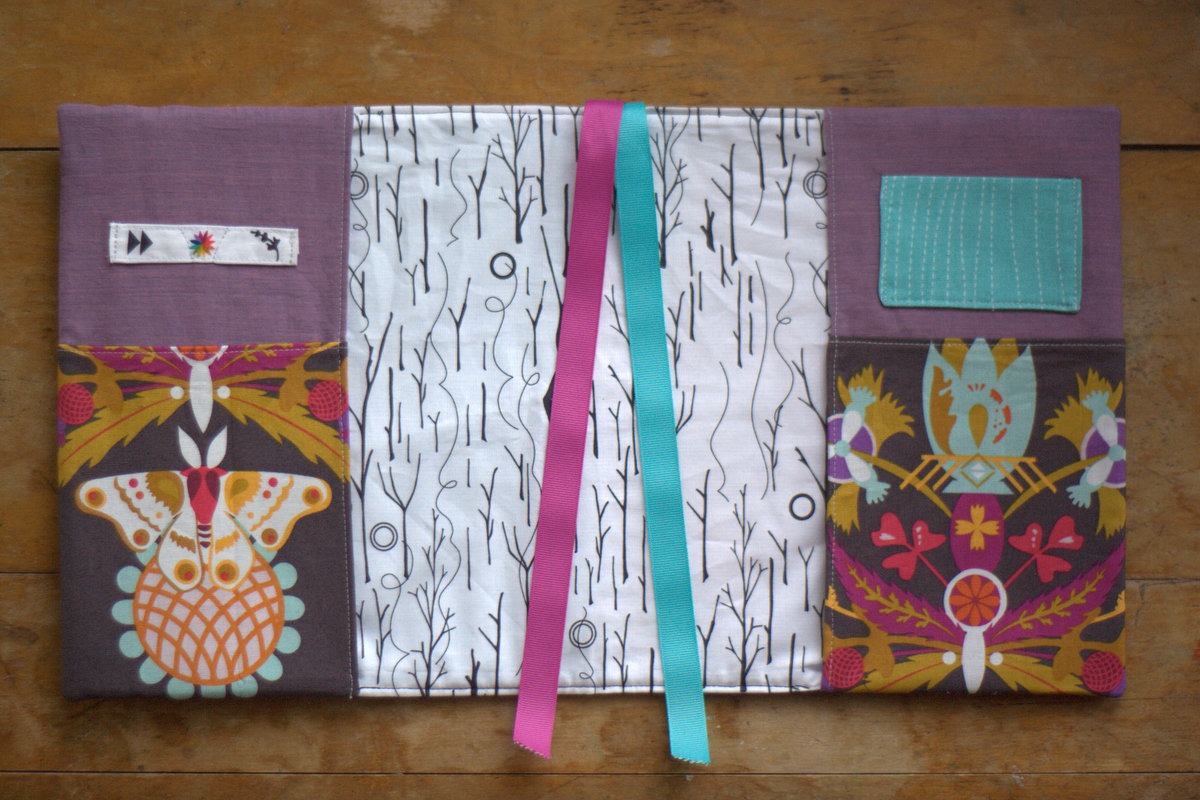
From here, head over to the Zippy Quilter’s Planner Cover tutorial by Amanda and Stephanie to complete your planner cover! Use this Riot of Color panel as the “exterior fabric”.
 Have fun creating your own versions of this cover, and please tag me @nightquilter if you post pictures on social media. I always love to see what you create!
I’m linking up with Stephanie’s Tips and Tutorials Tuesday. I love collaborating with that girl! Can you tell?


 Now, I’m already putting myself up against a wall a bit, since I began this project after Architextures became all but extinct. I’m hoping, though, with a bit of luck and a few insider tips, I can eventually acquire at least a 2 1/2″ square of each of the fabrics from Architextures.
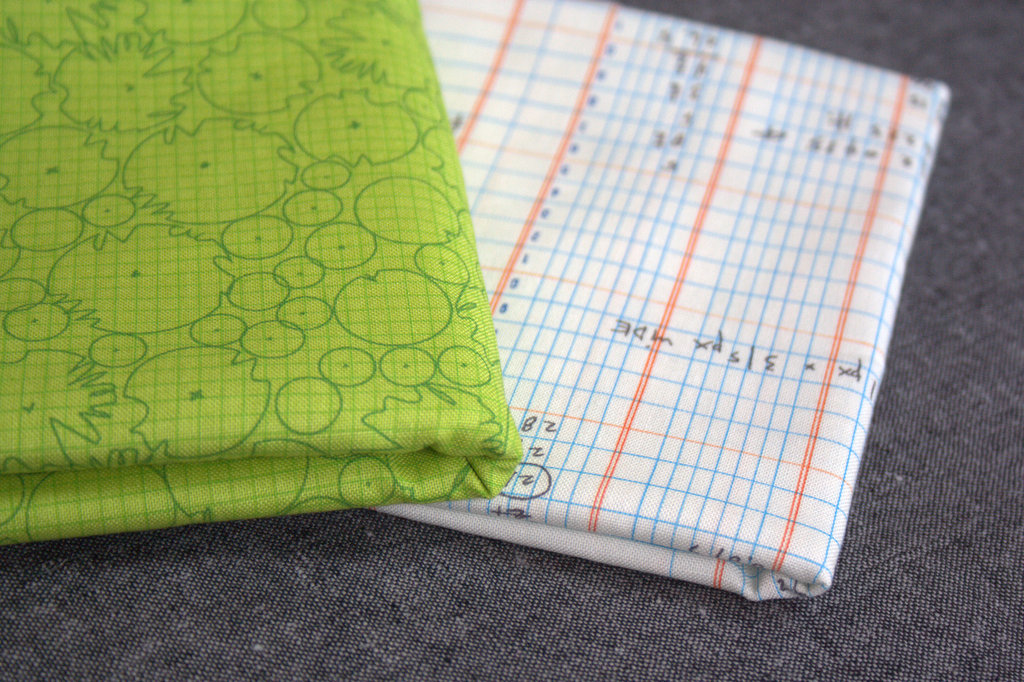 Thanks to a tip from Allison at Campbell Soup Diaries, I recently picked up one of my all time favorites, plus Ledger in Ivory, from Westwood Acres.
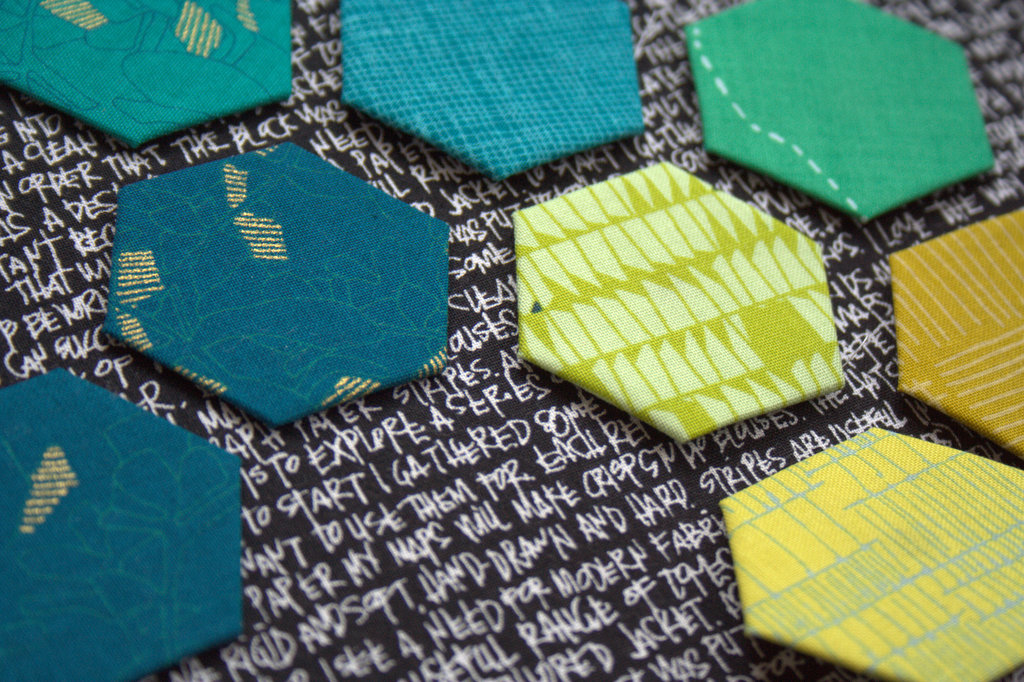
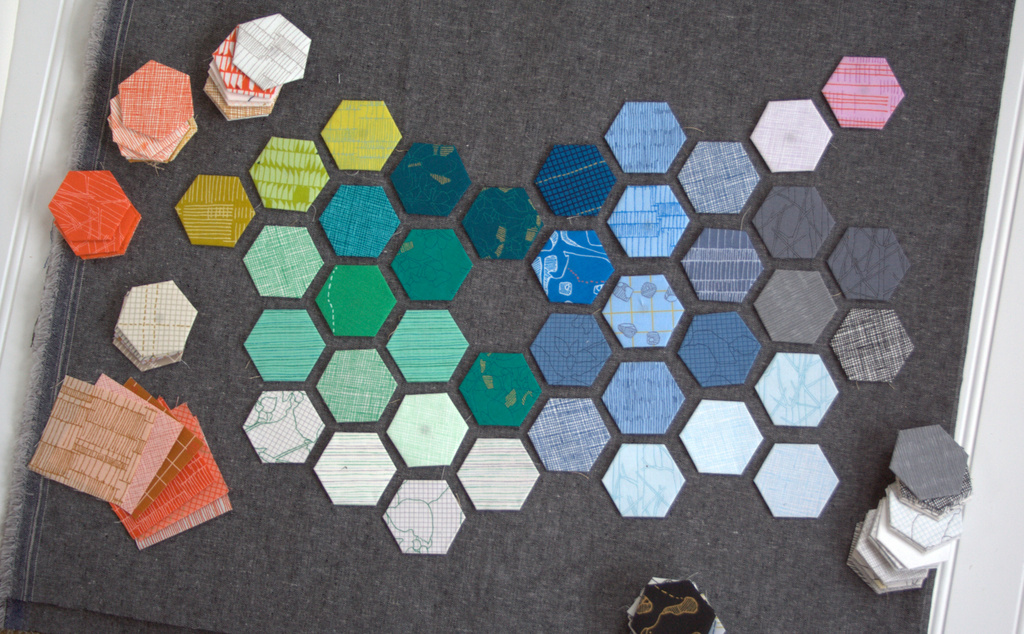
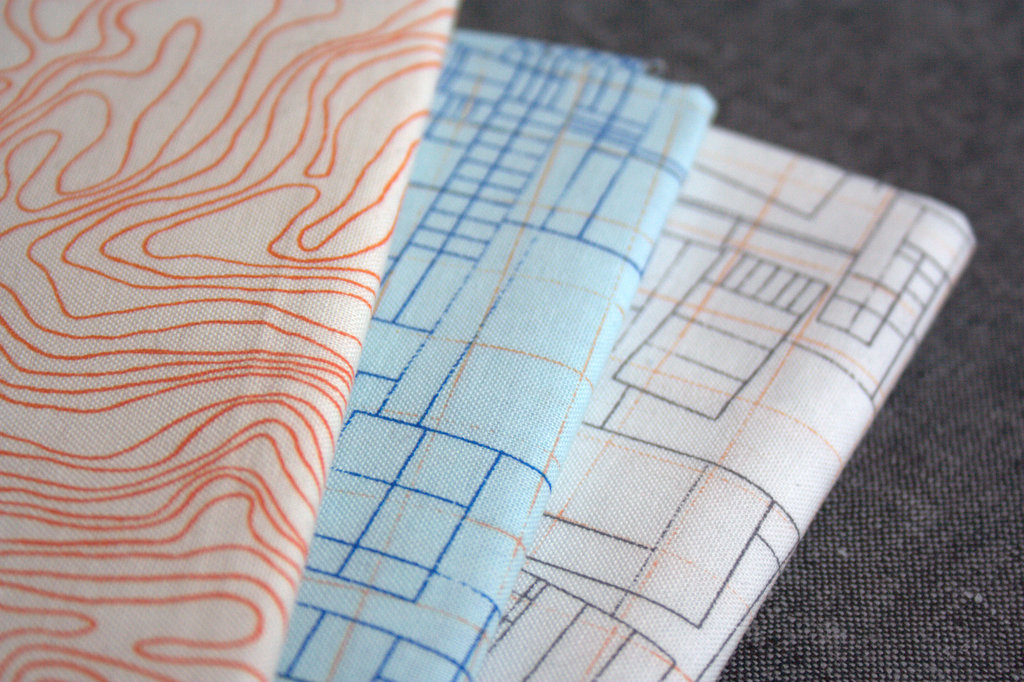 Through the #getyourquiltywishesgranted event on Instagram a few months back, I obtained a few more archaic Architextures prints, as well as the Carkai mini charms I’ve nearly made into hexies. I’m on my way!
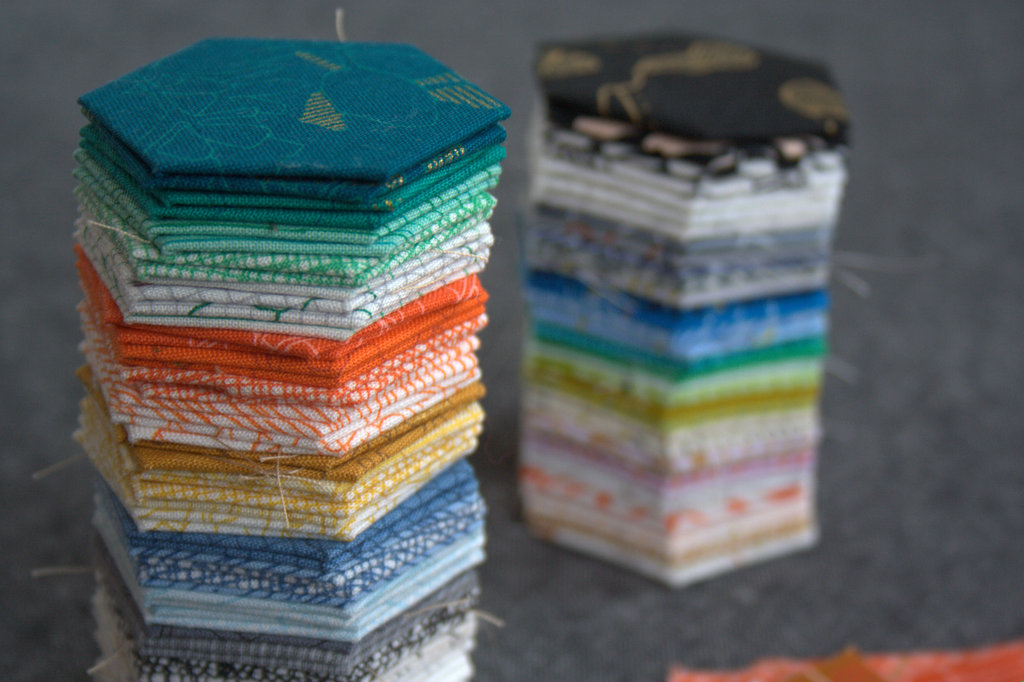 I already have basted hexagons from all of Botanics and most of Carkai. I have some scraps left from my Doe quilt, so I’ll see where that brings me and go from there.