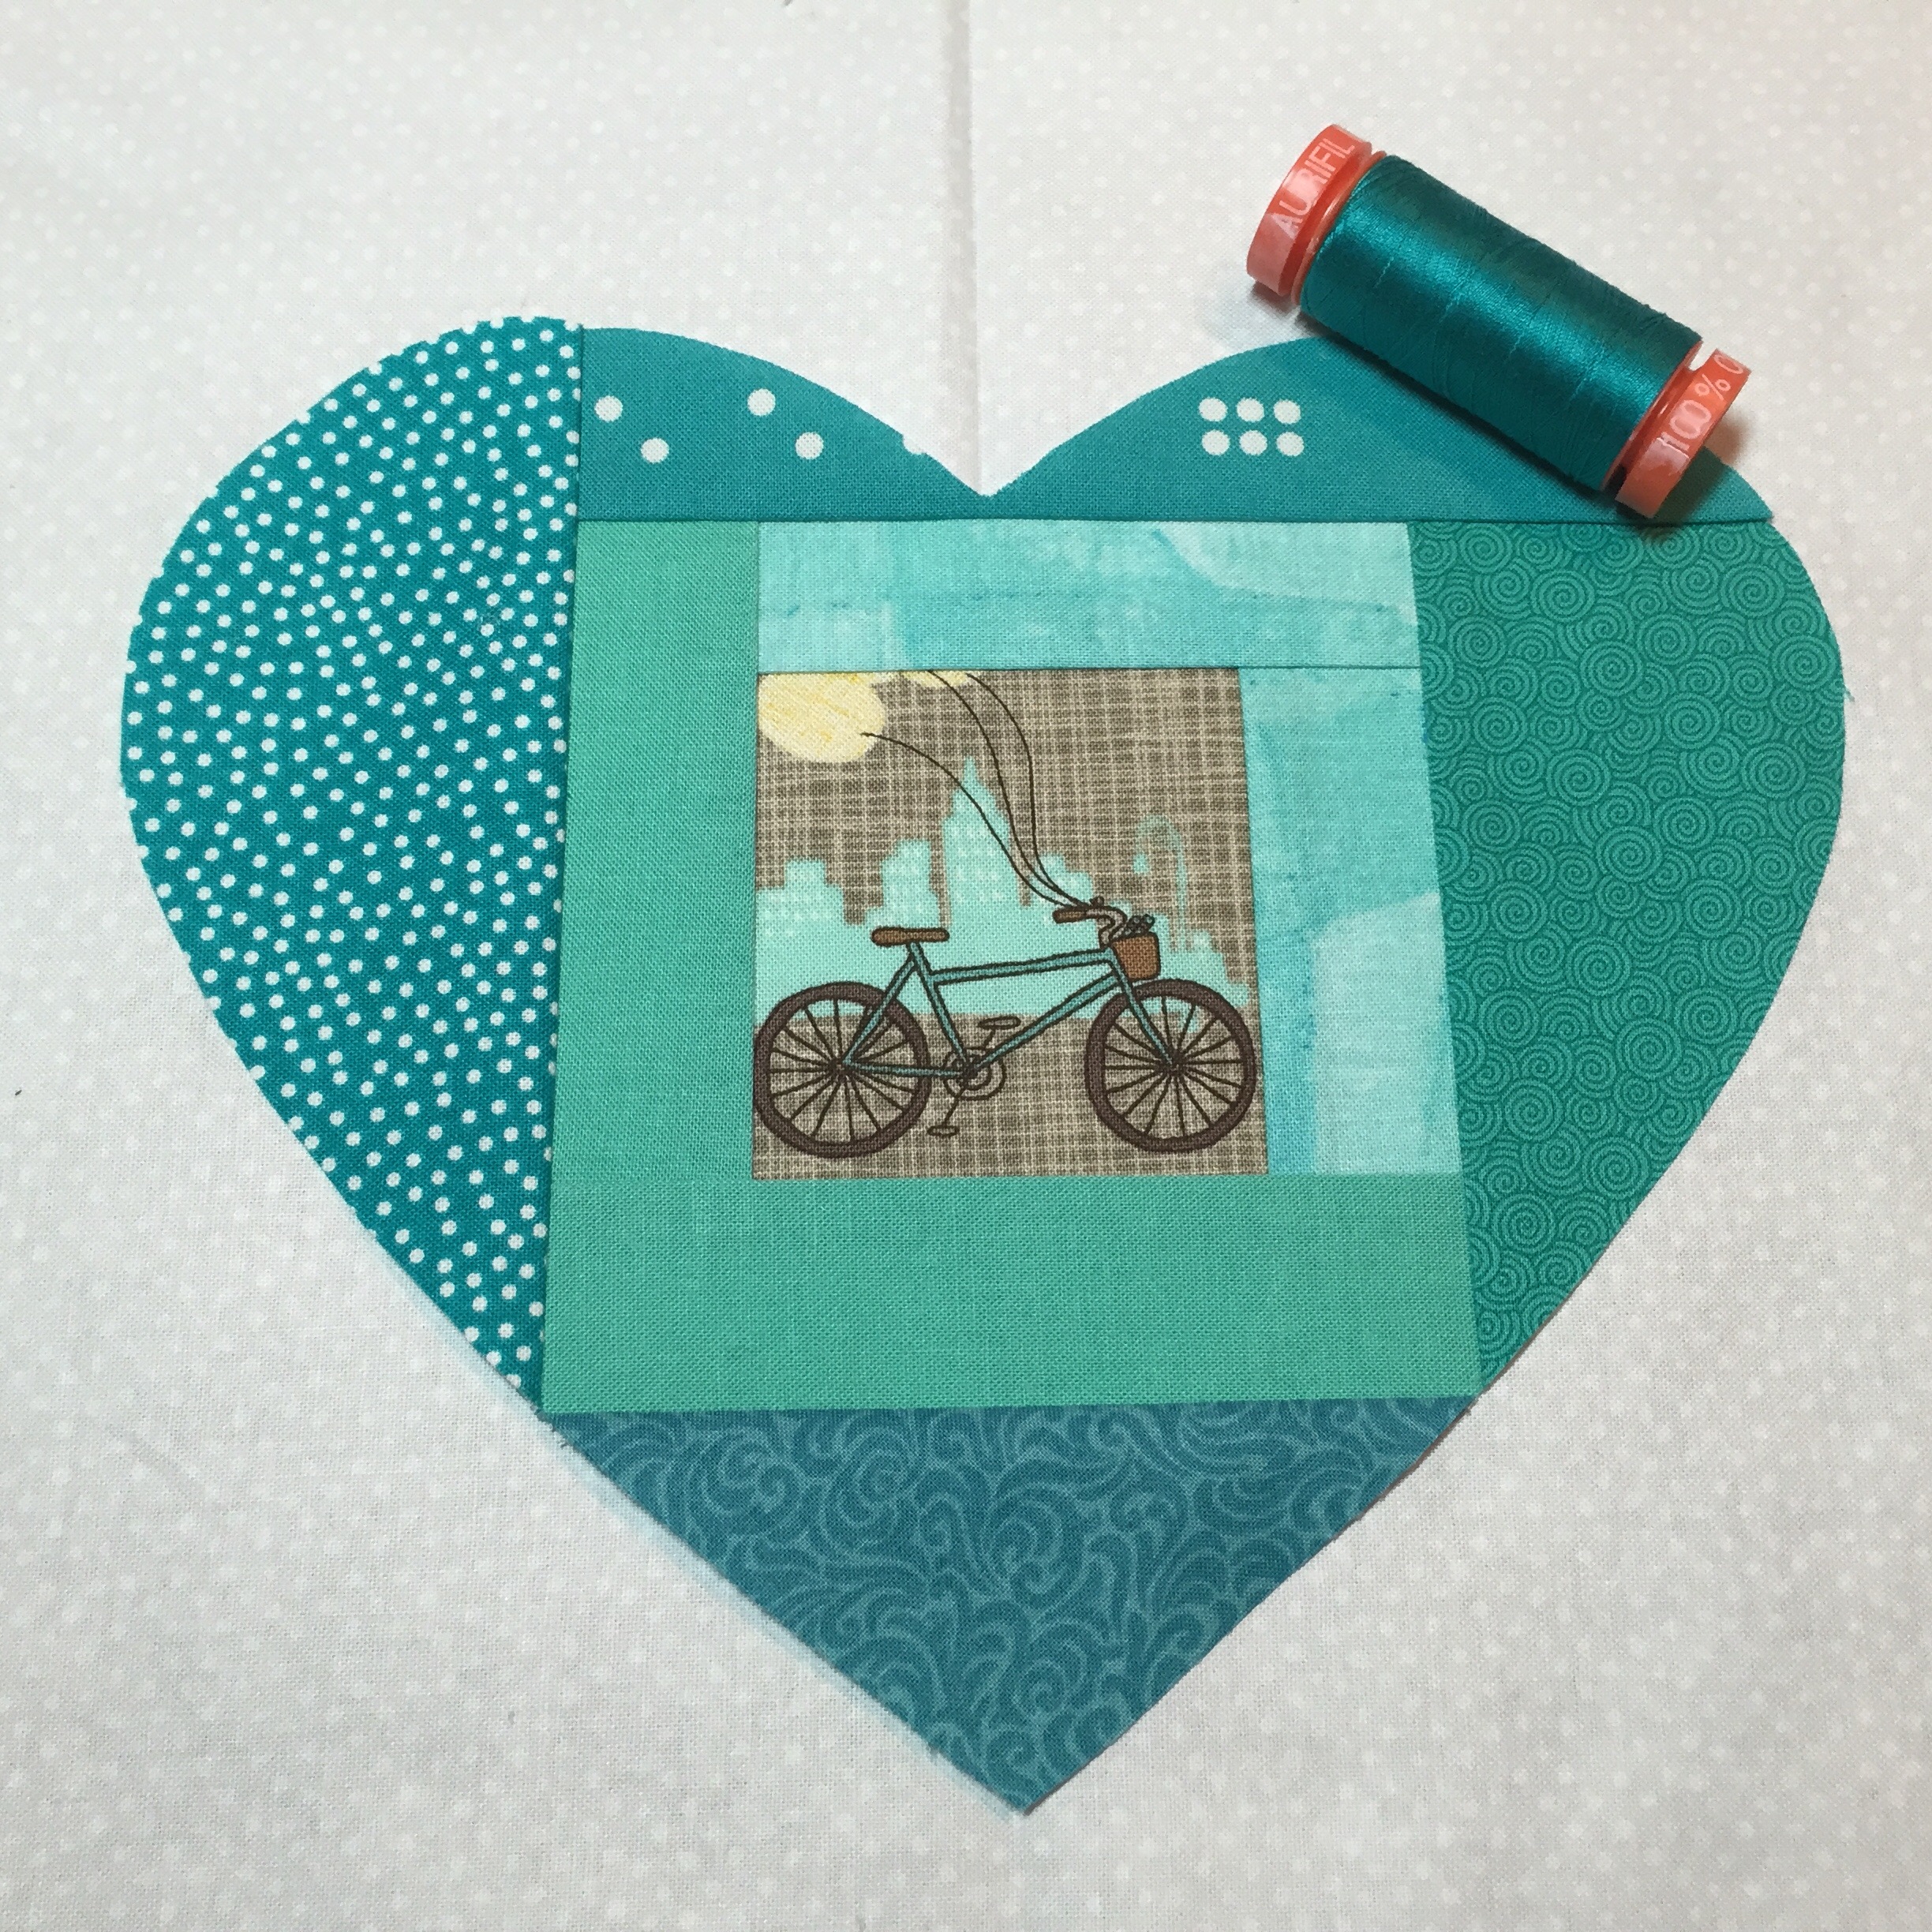
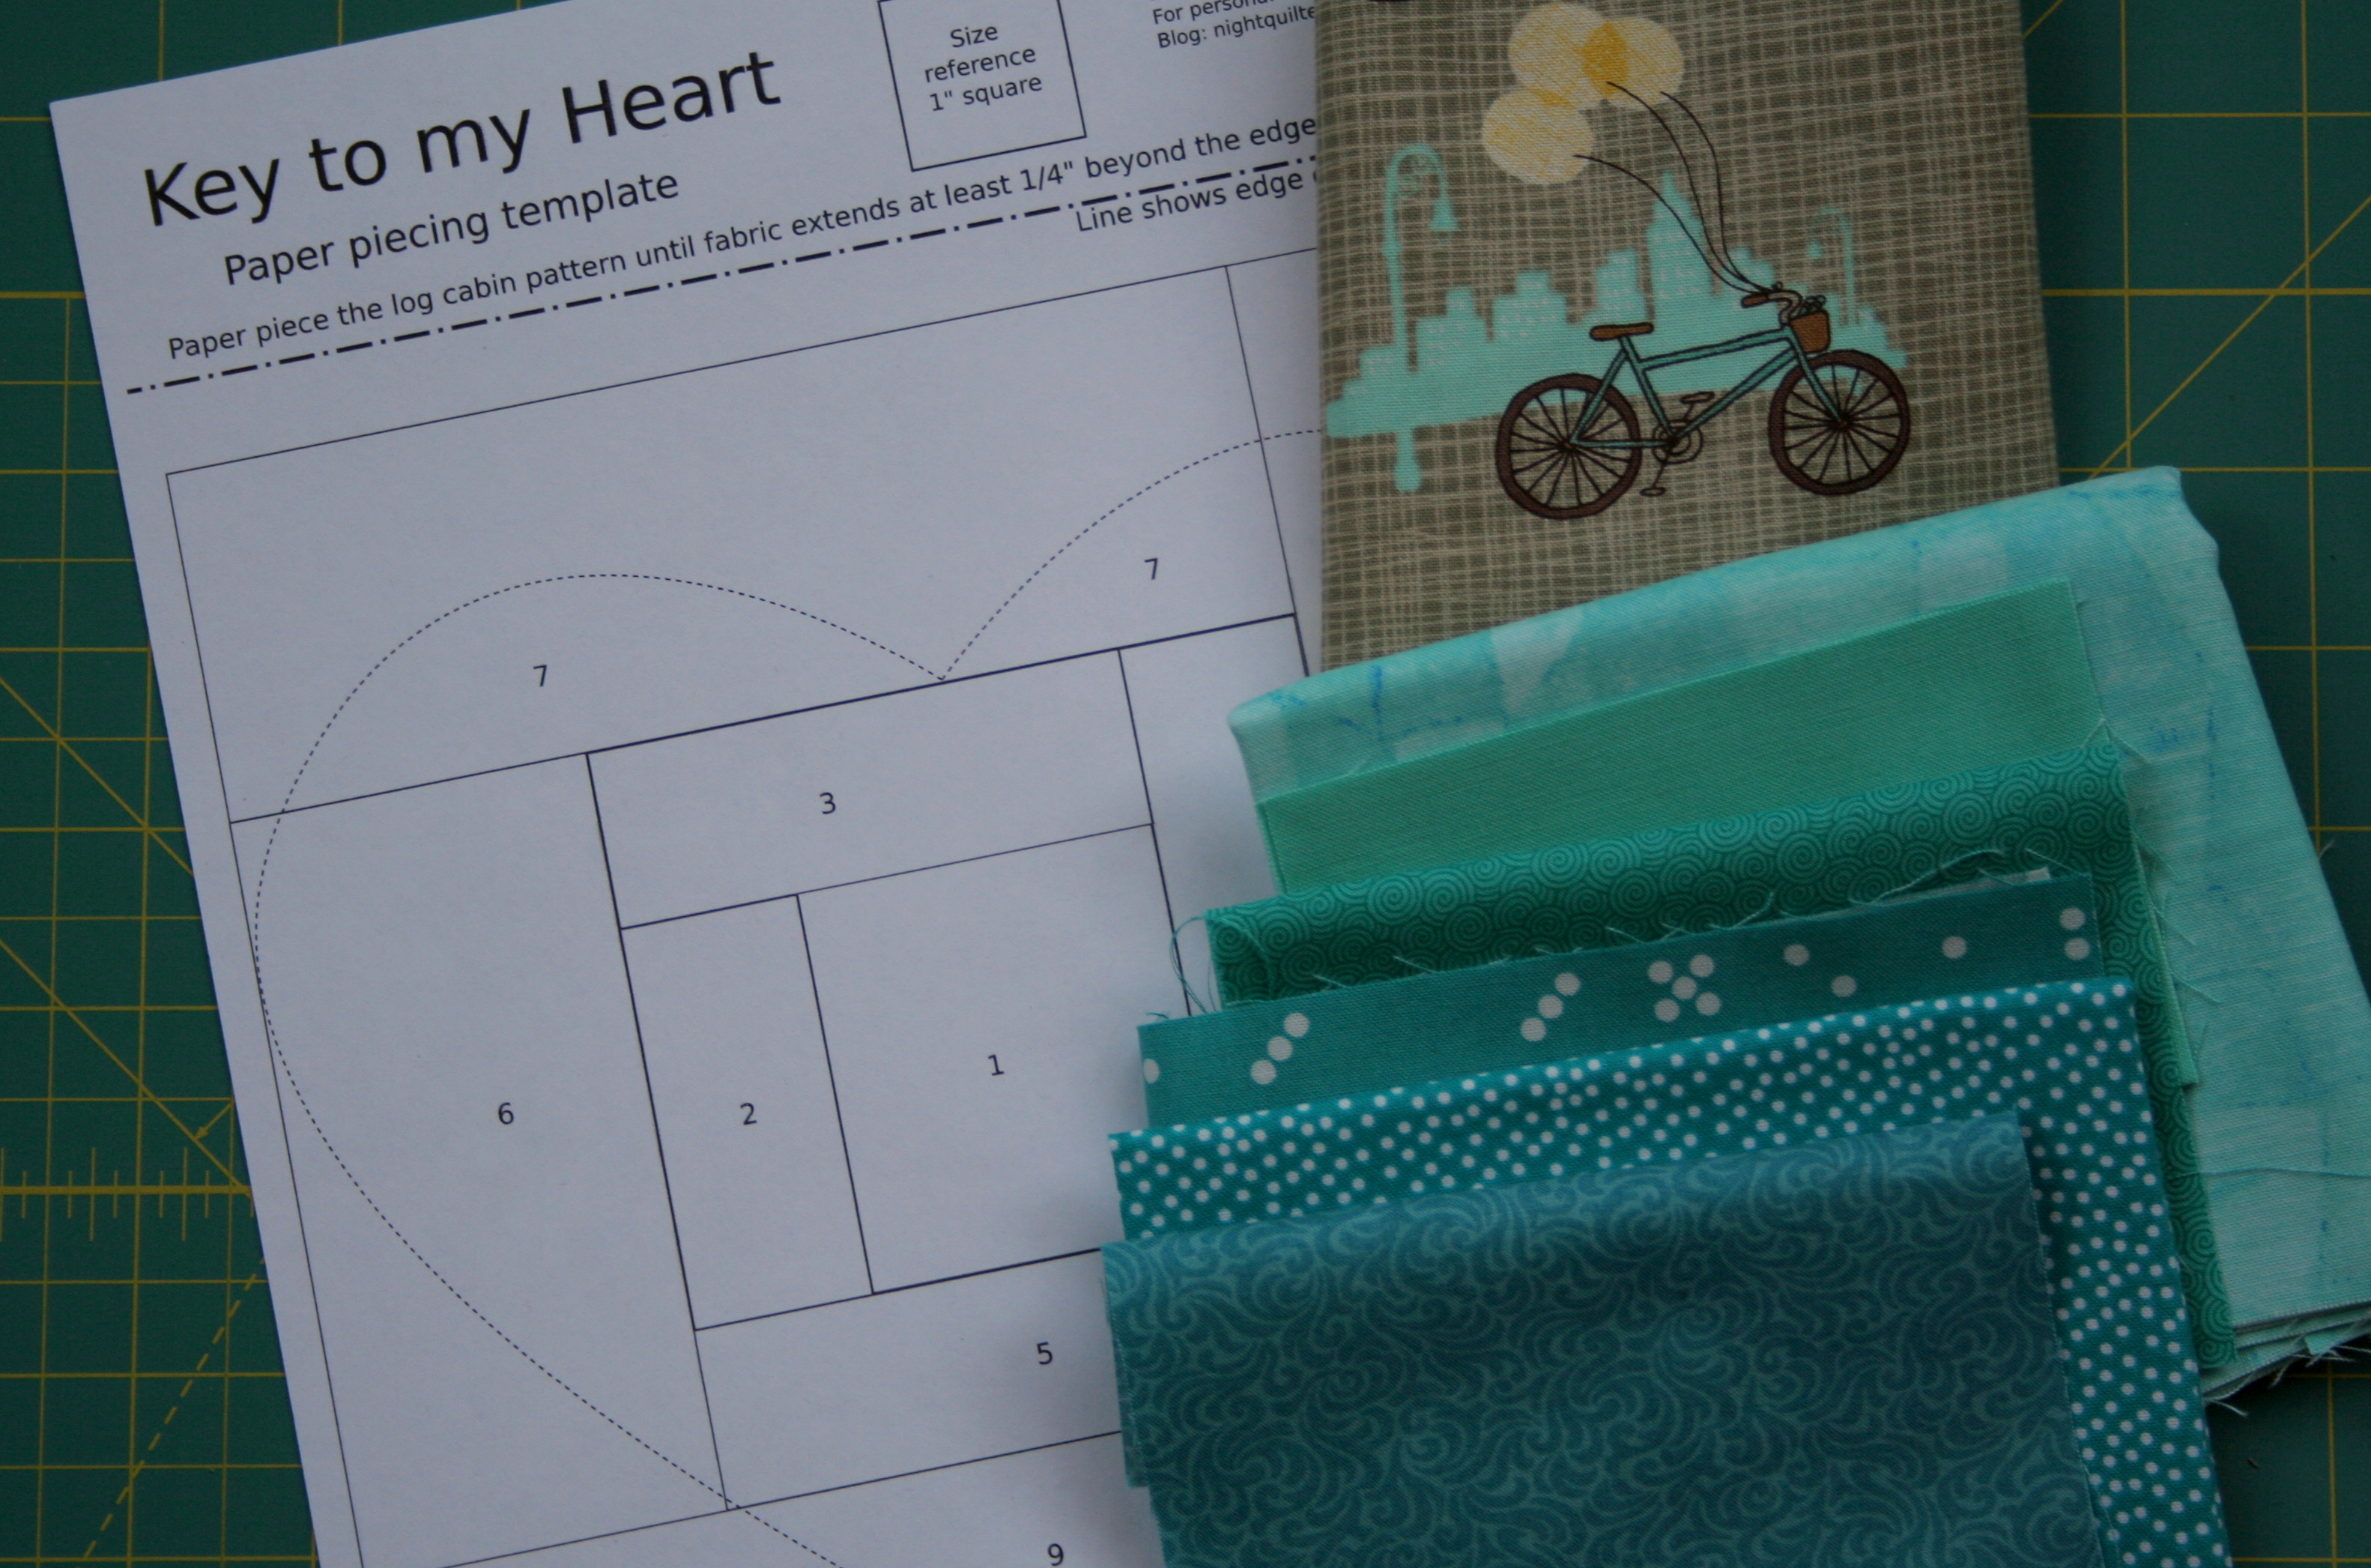
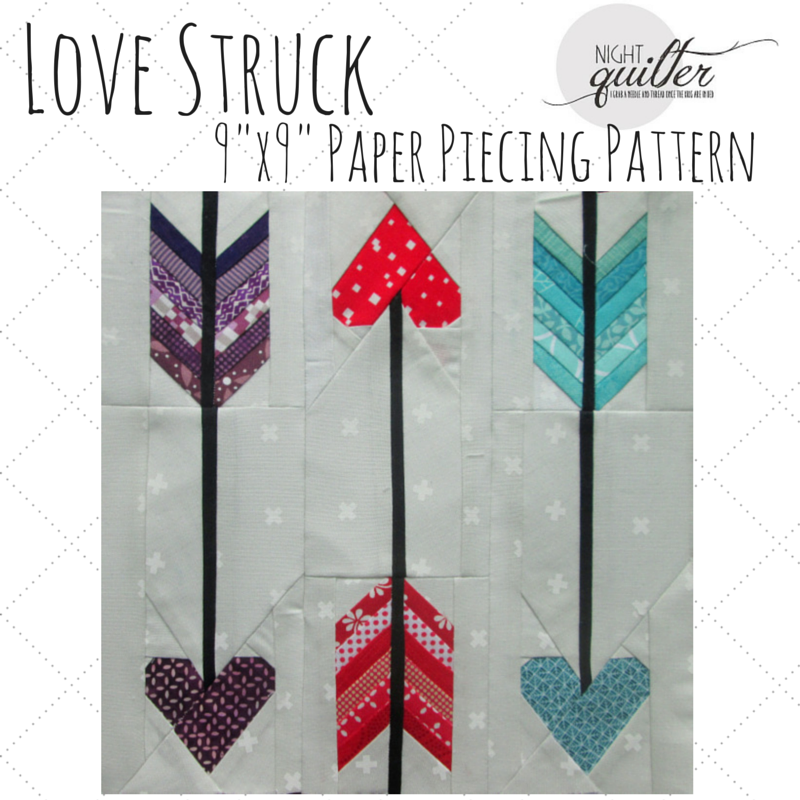
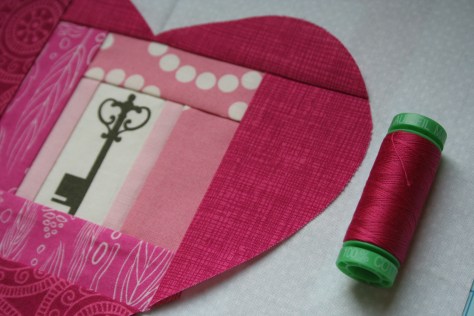
Since returning from vacation, my design wheels have been turning and cranking out ideas faster than I can create them and turn them into patterns. I did manage to finish this pattern, though, complete with a tutorial. Key to my Heart is a pattern that combines foundation paper piecing and applique to help you create a perfect log cabin-style heart on a 9″x9″ block (or a background block of your choice. The heart measures approximately 8″ wide by 7″ tall). The log cabin pattern is paper pieced for quick, “perfect” stitching, and then the heart shape is cut out and appliqued onto the background of your choice. The heart is shown on the paper piecing template so that your block is perfectly centered and ready to go.

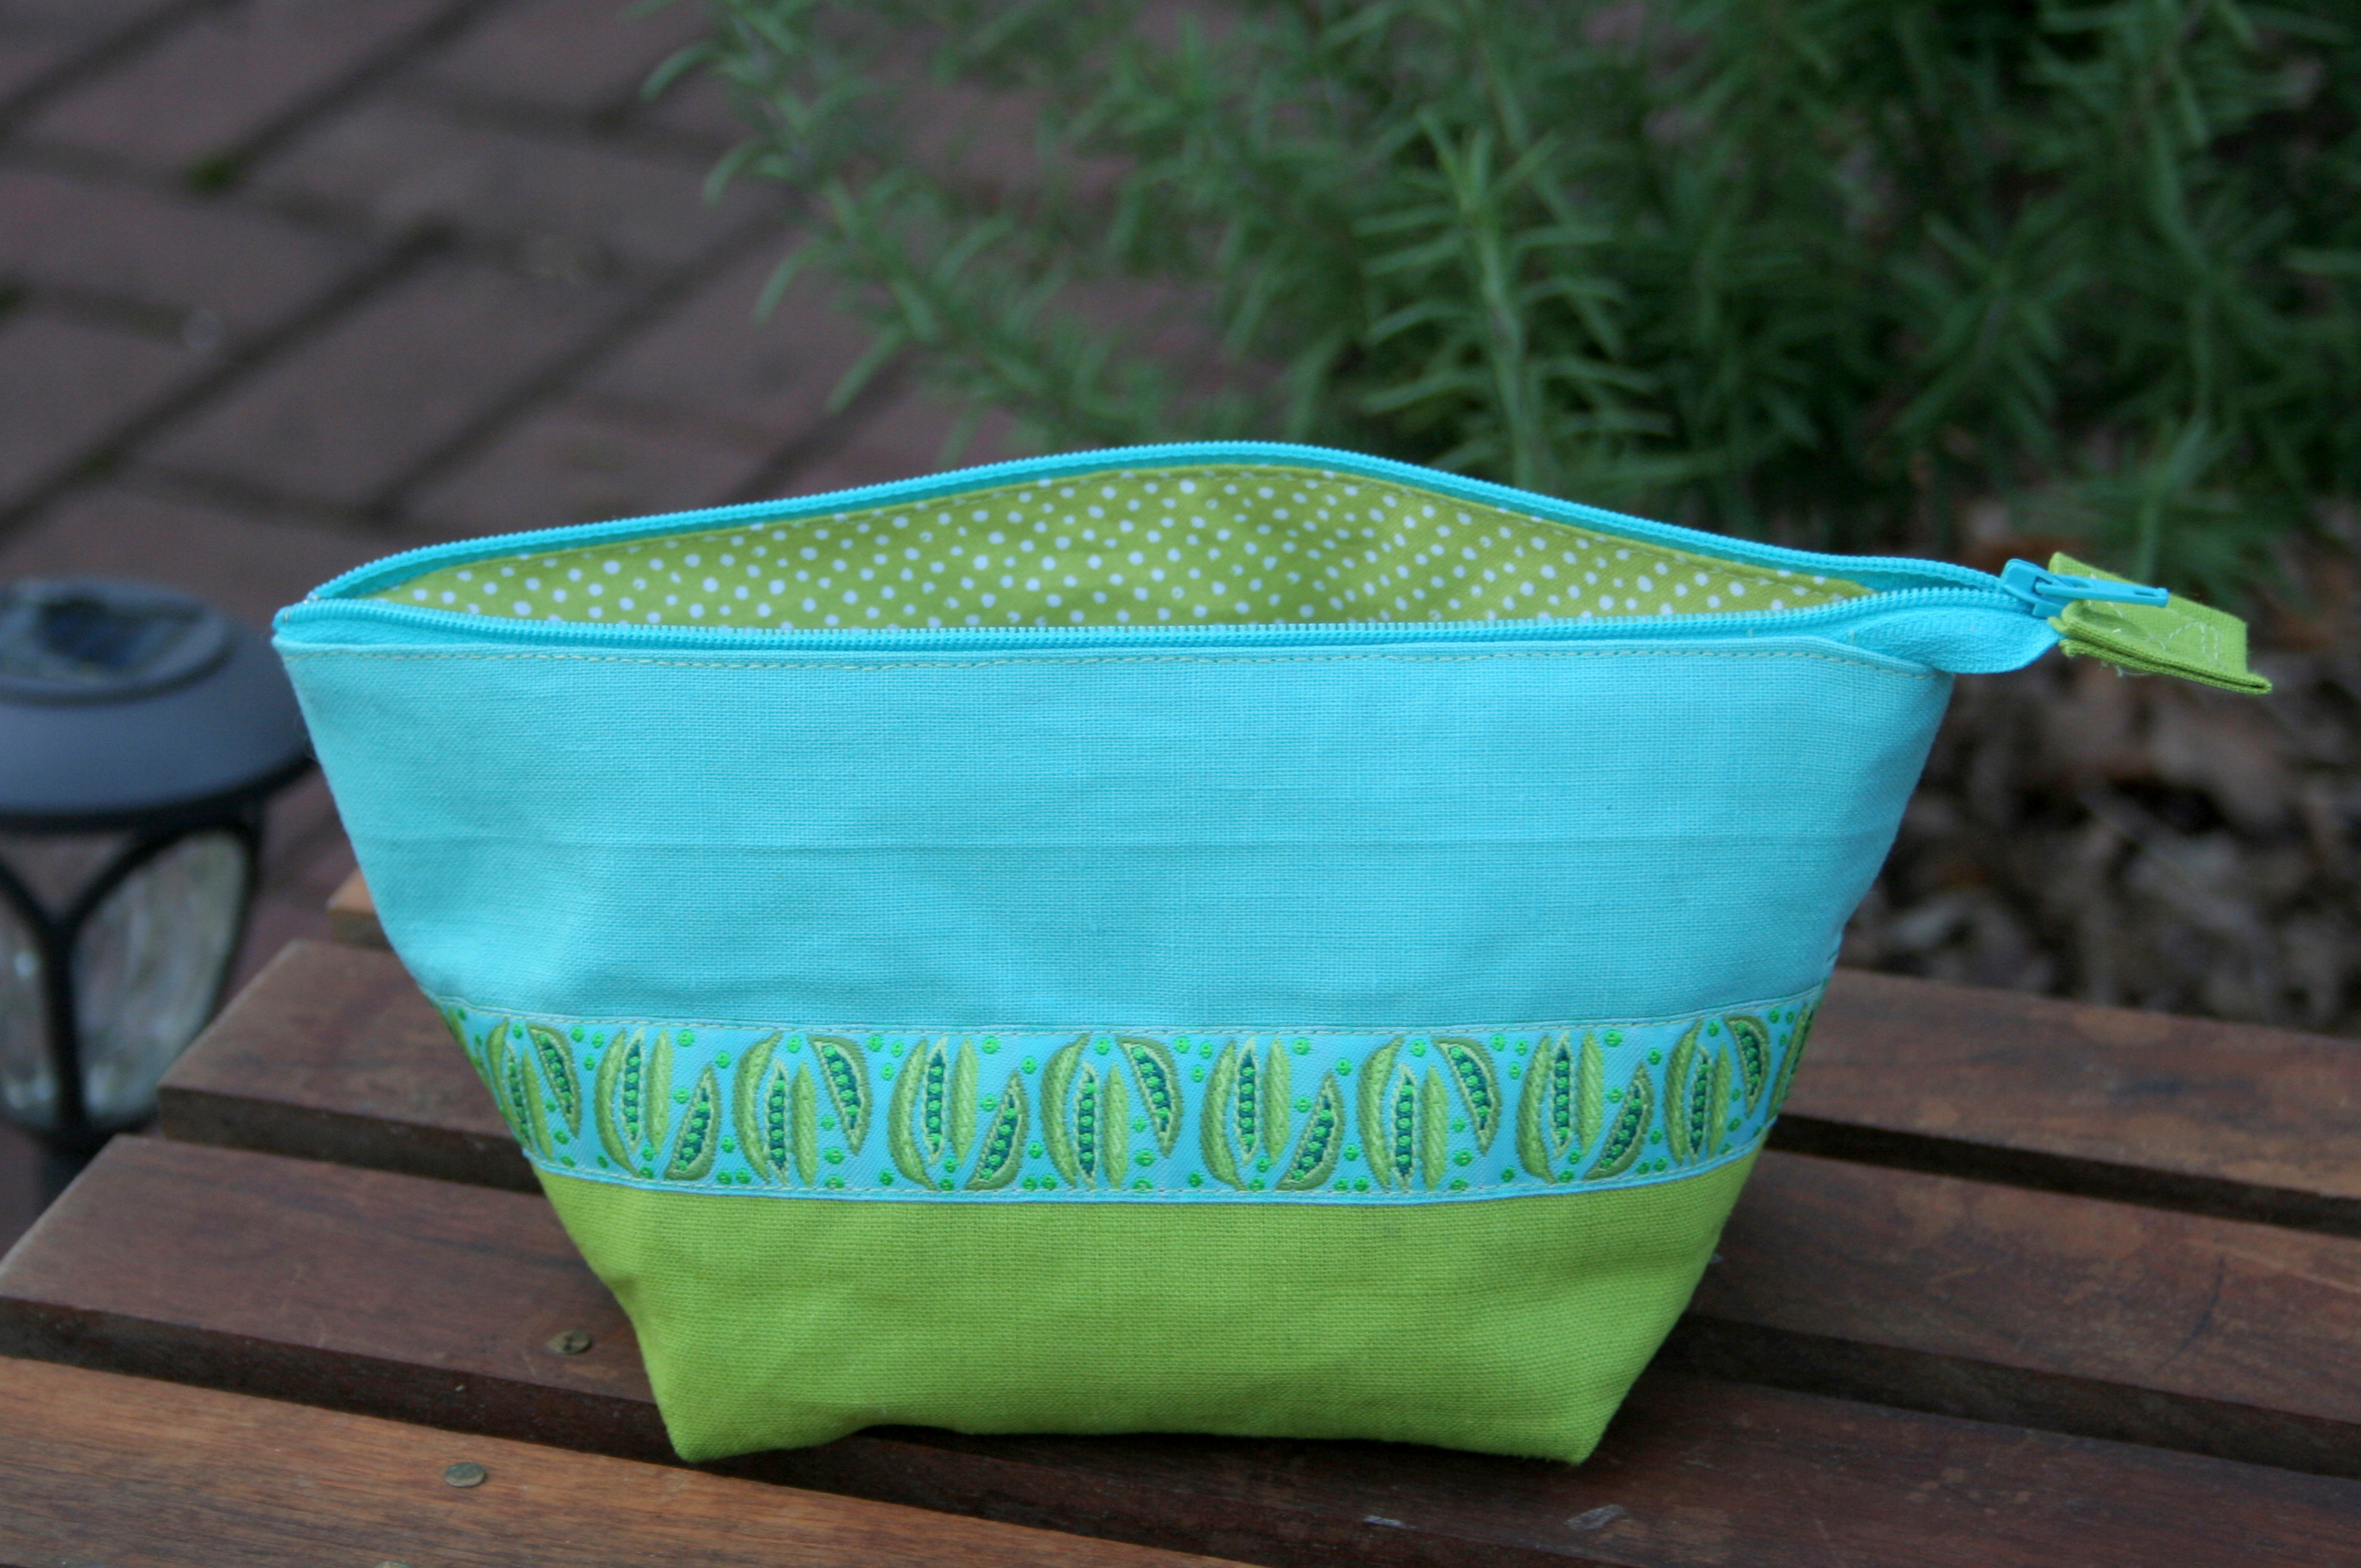
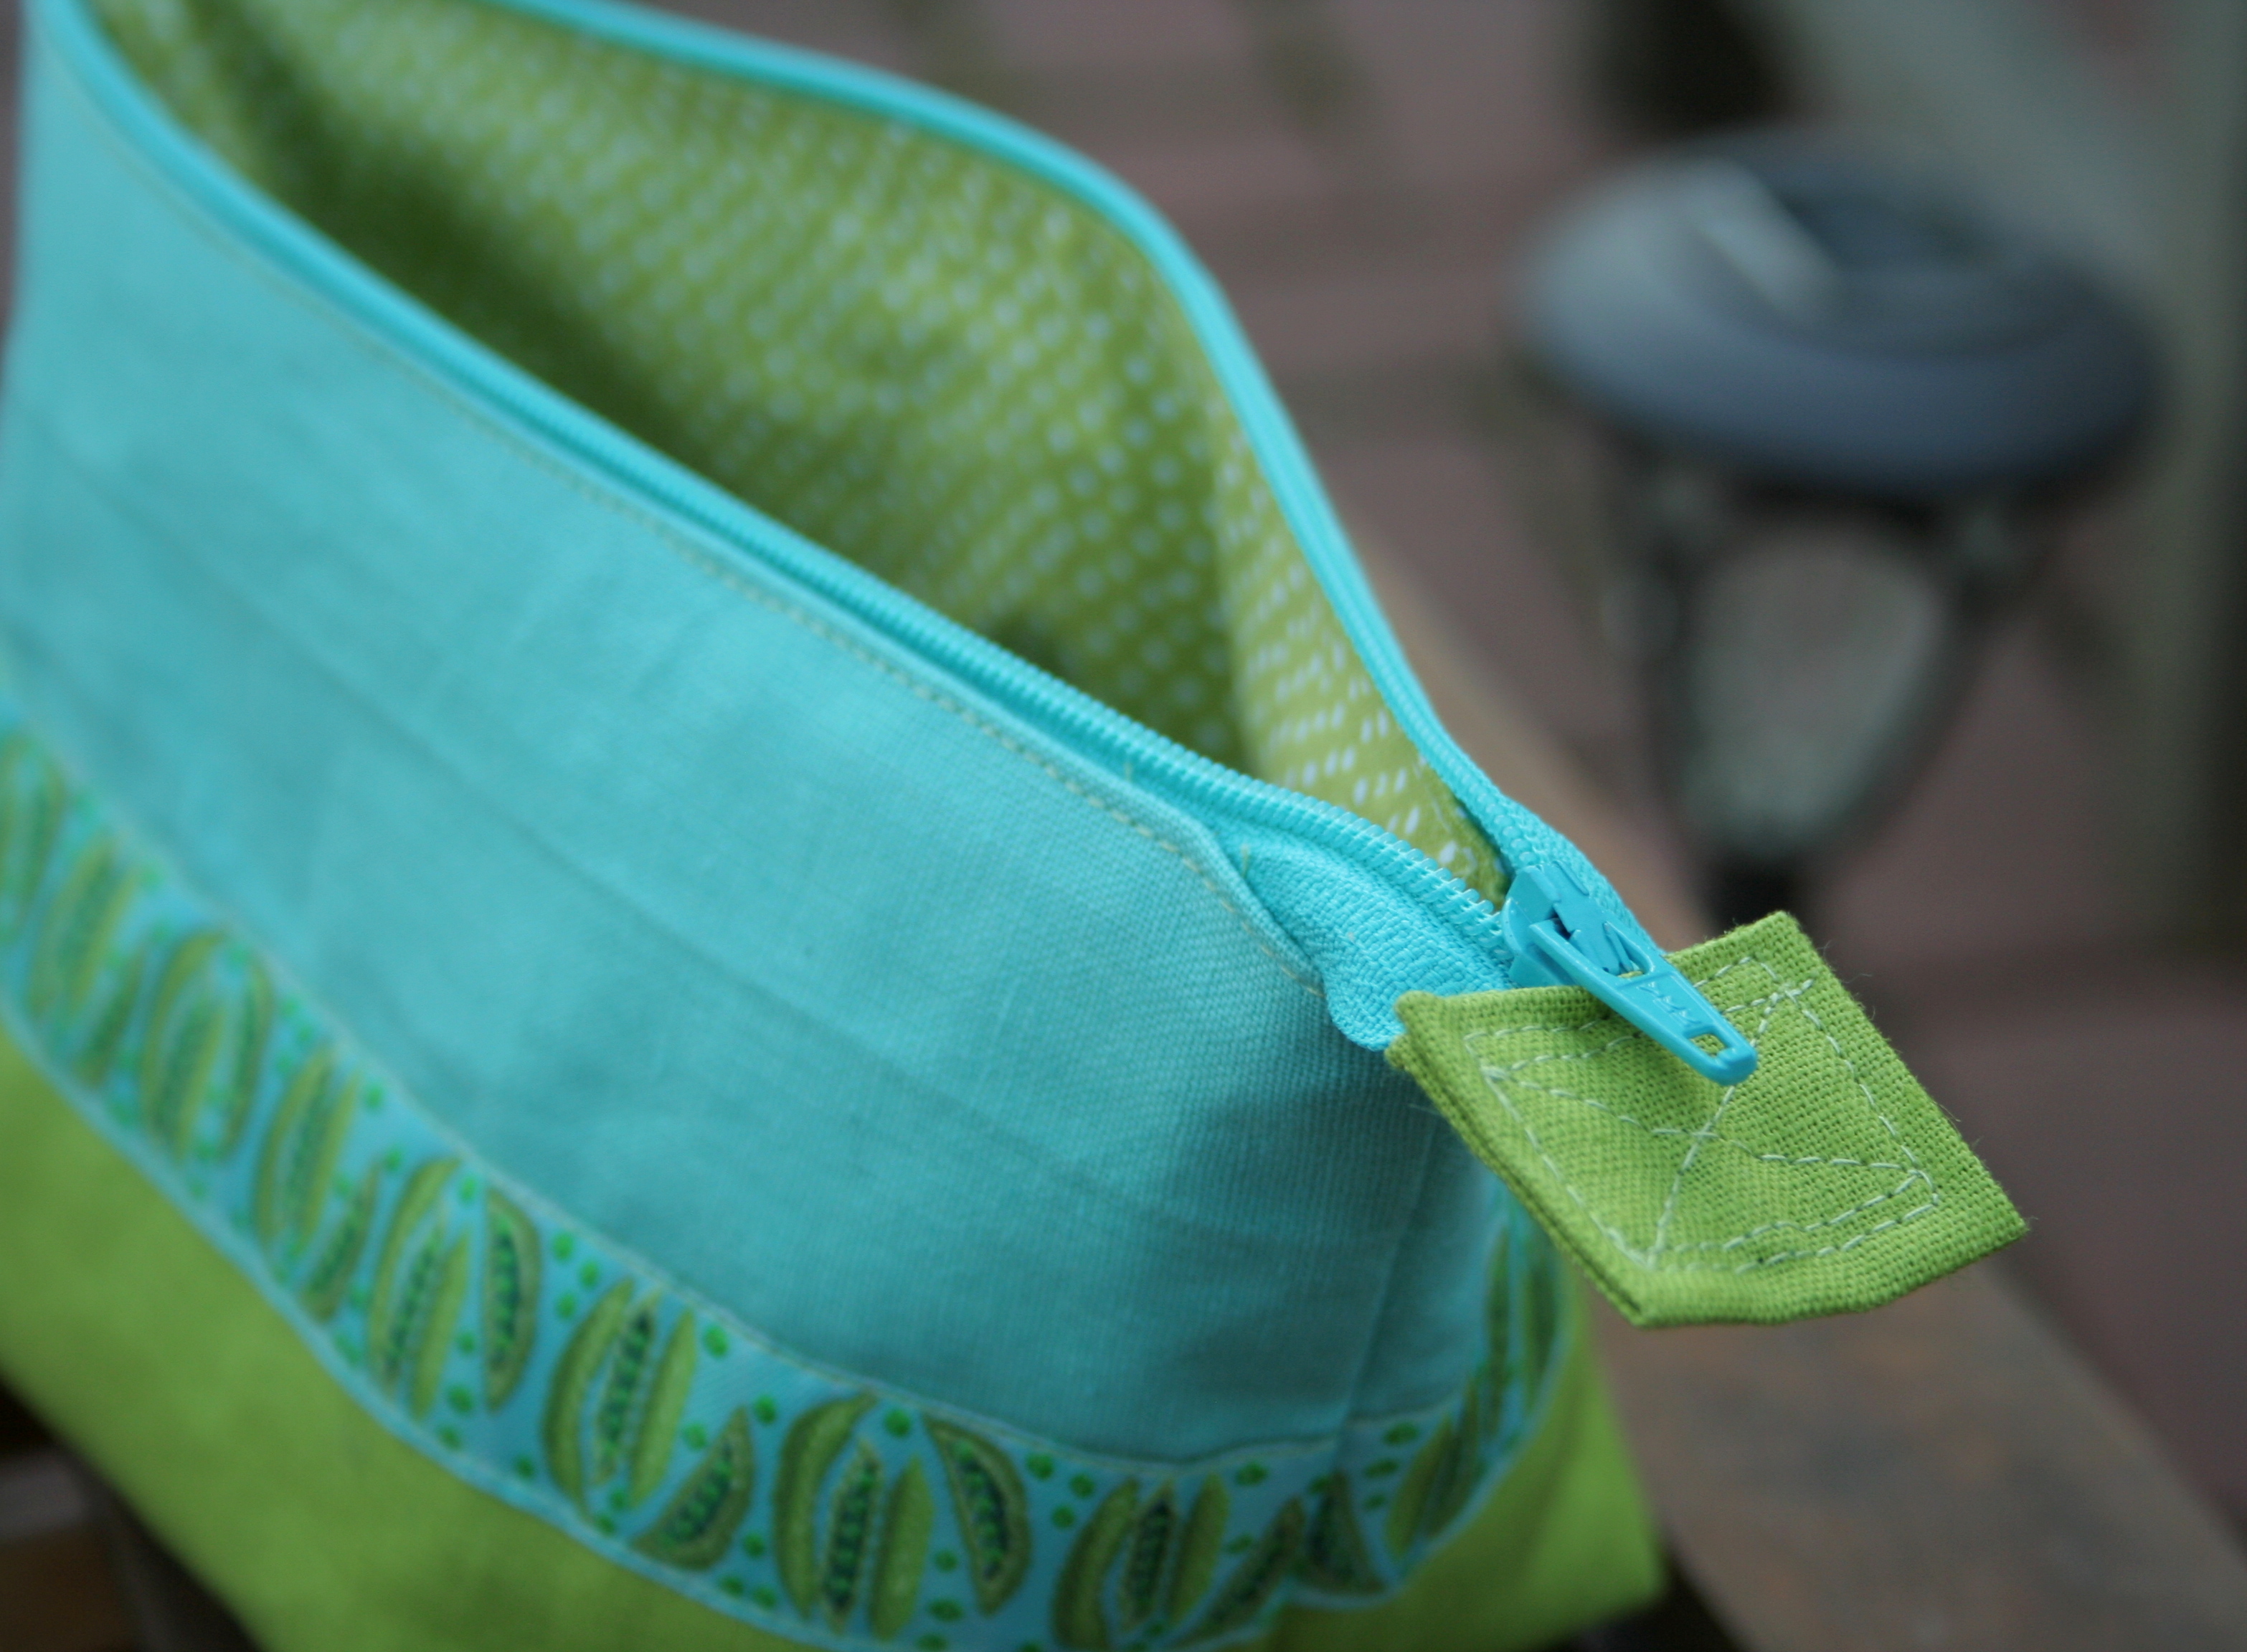
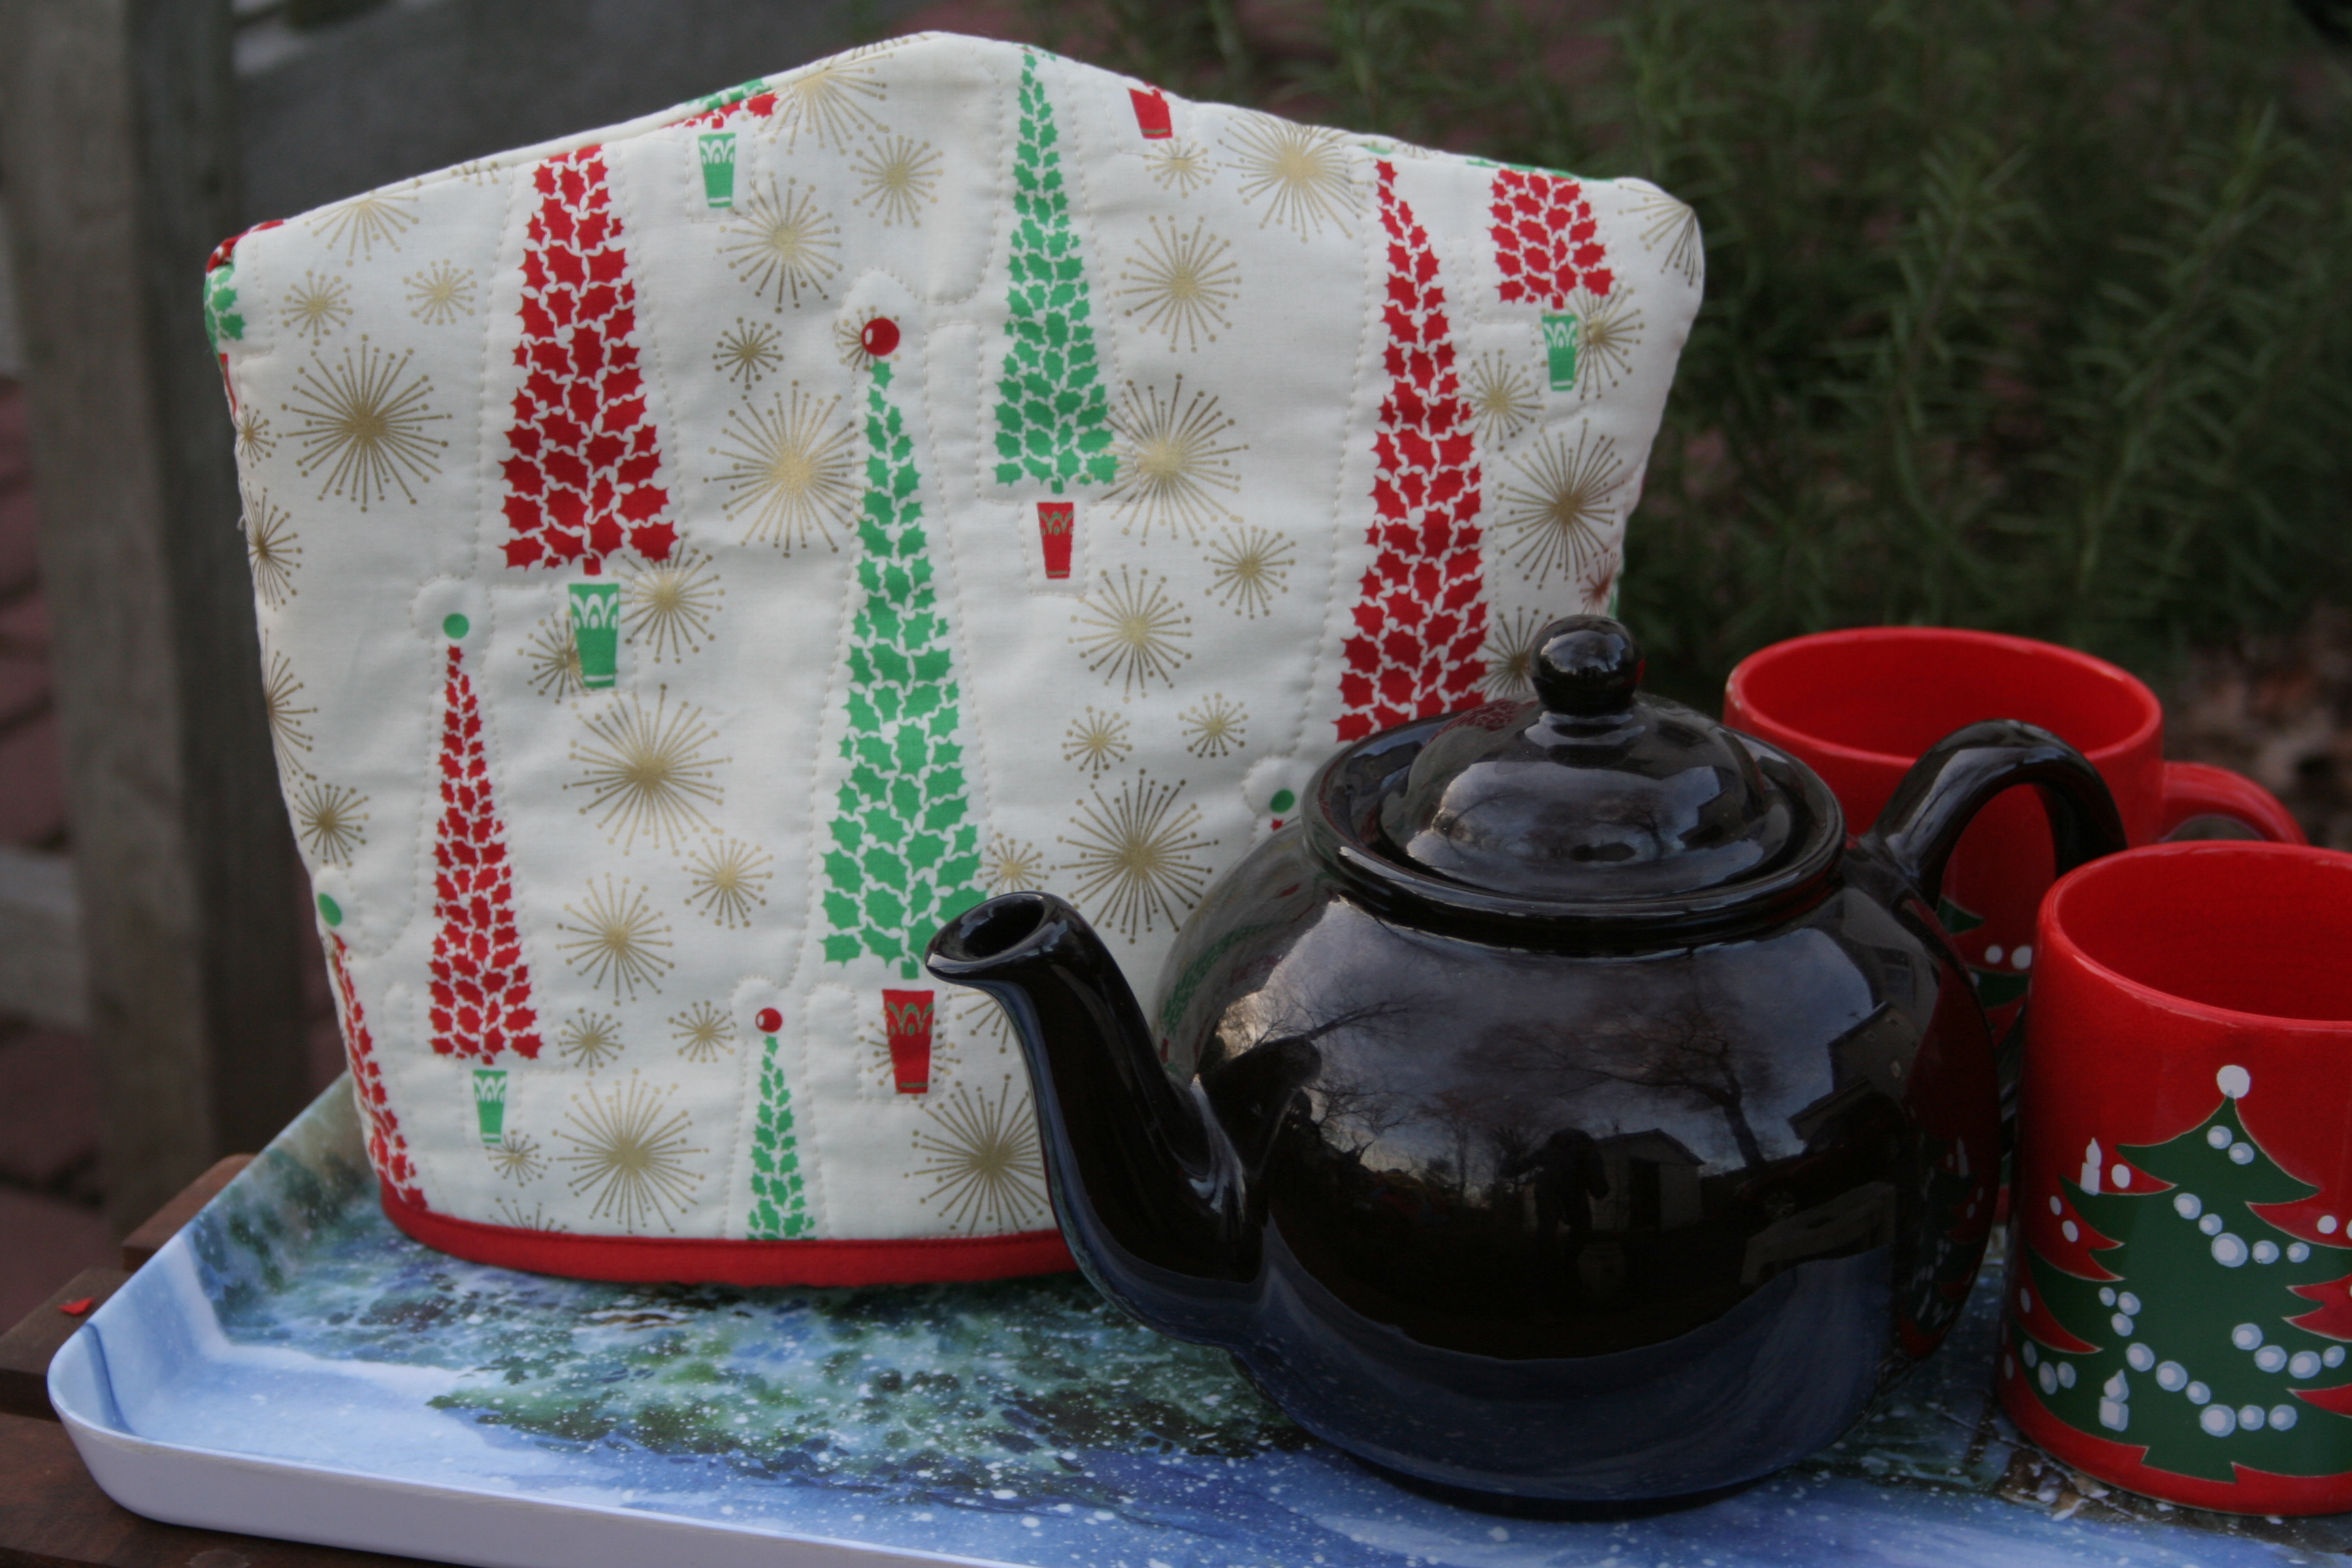
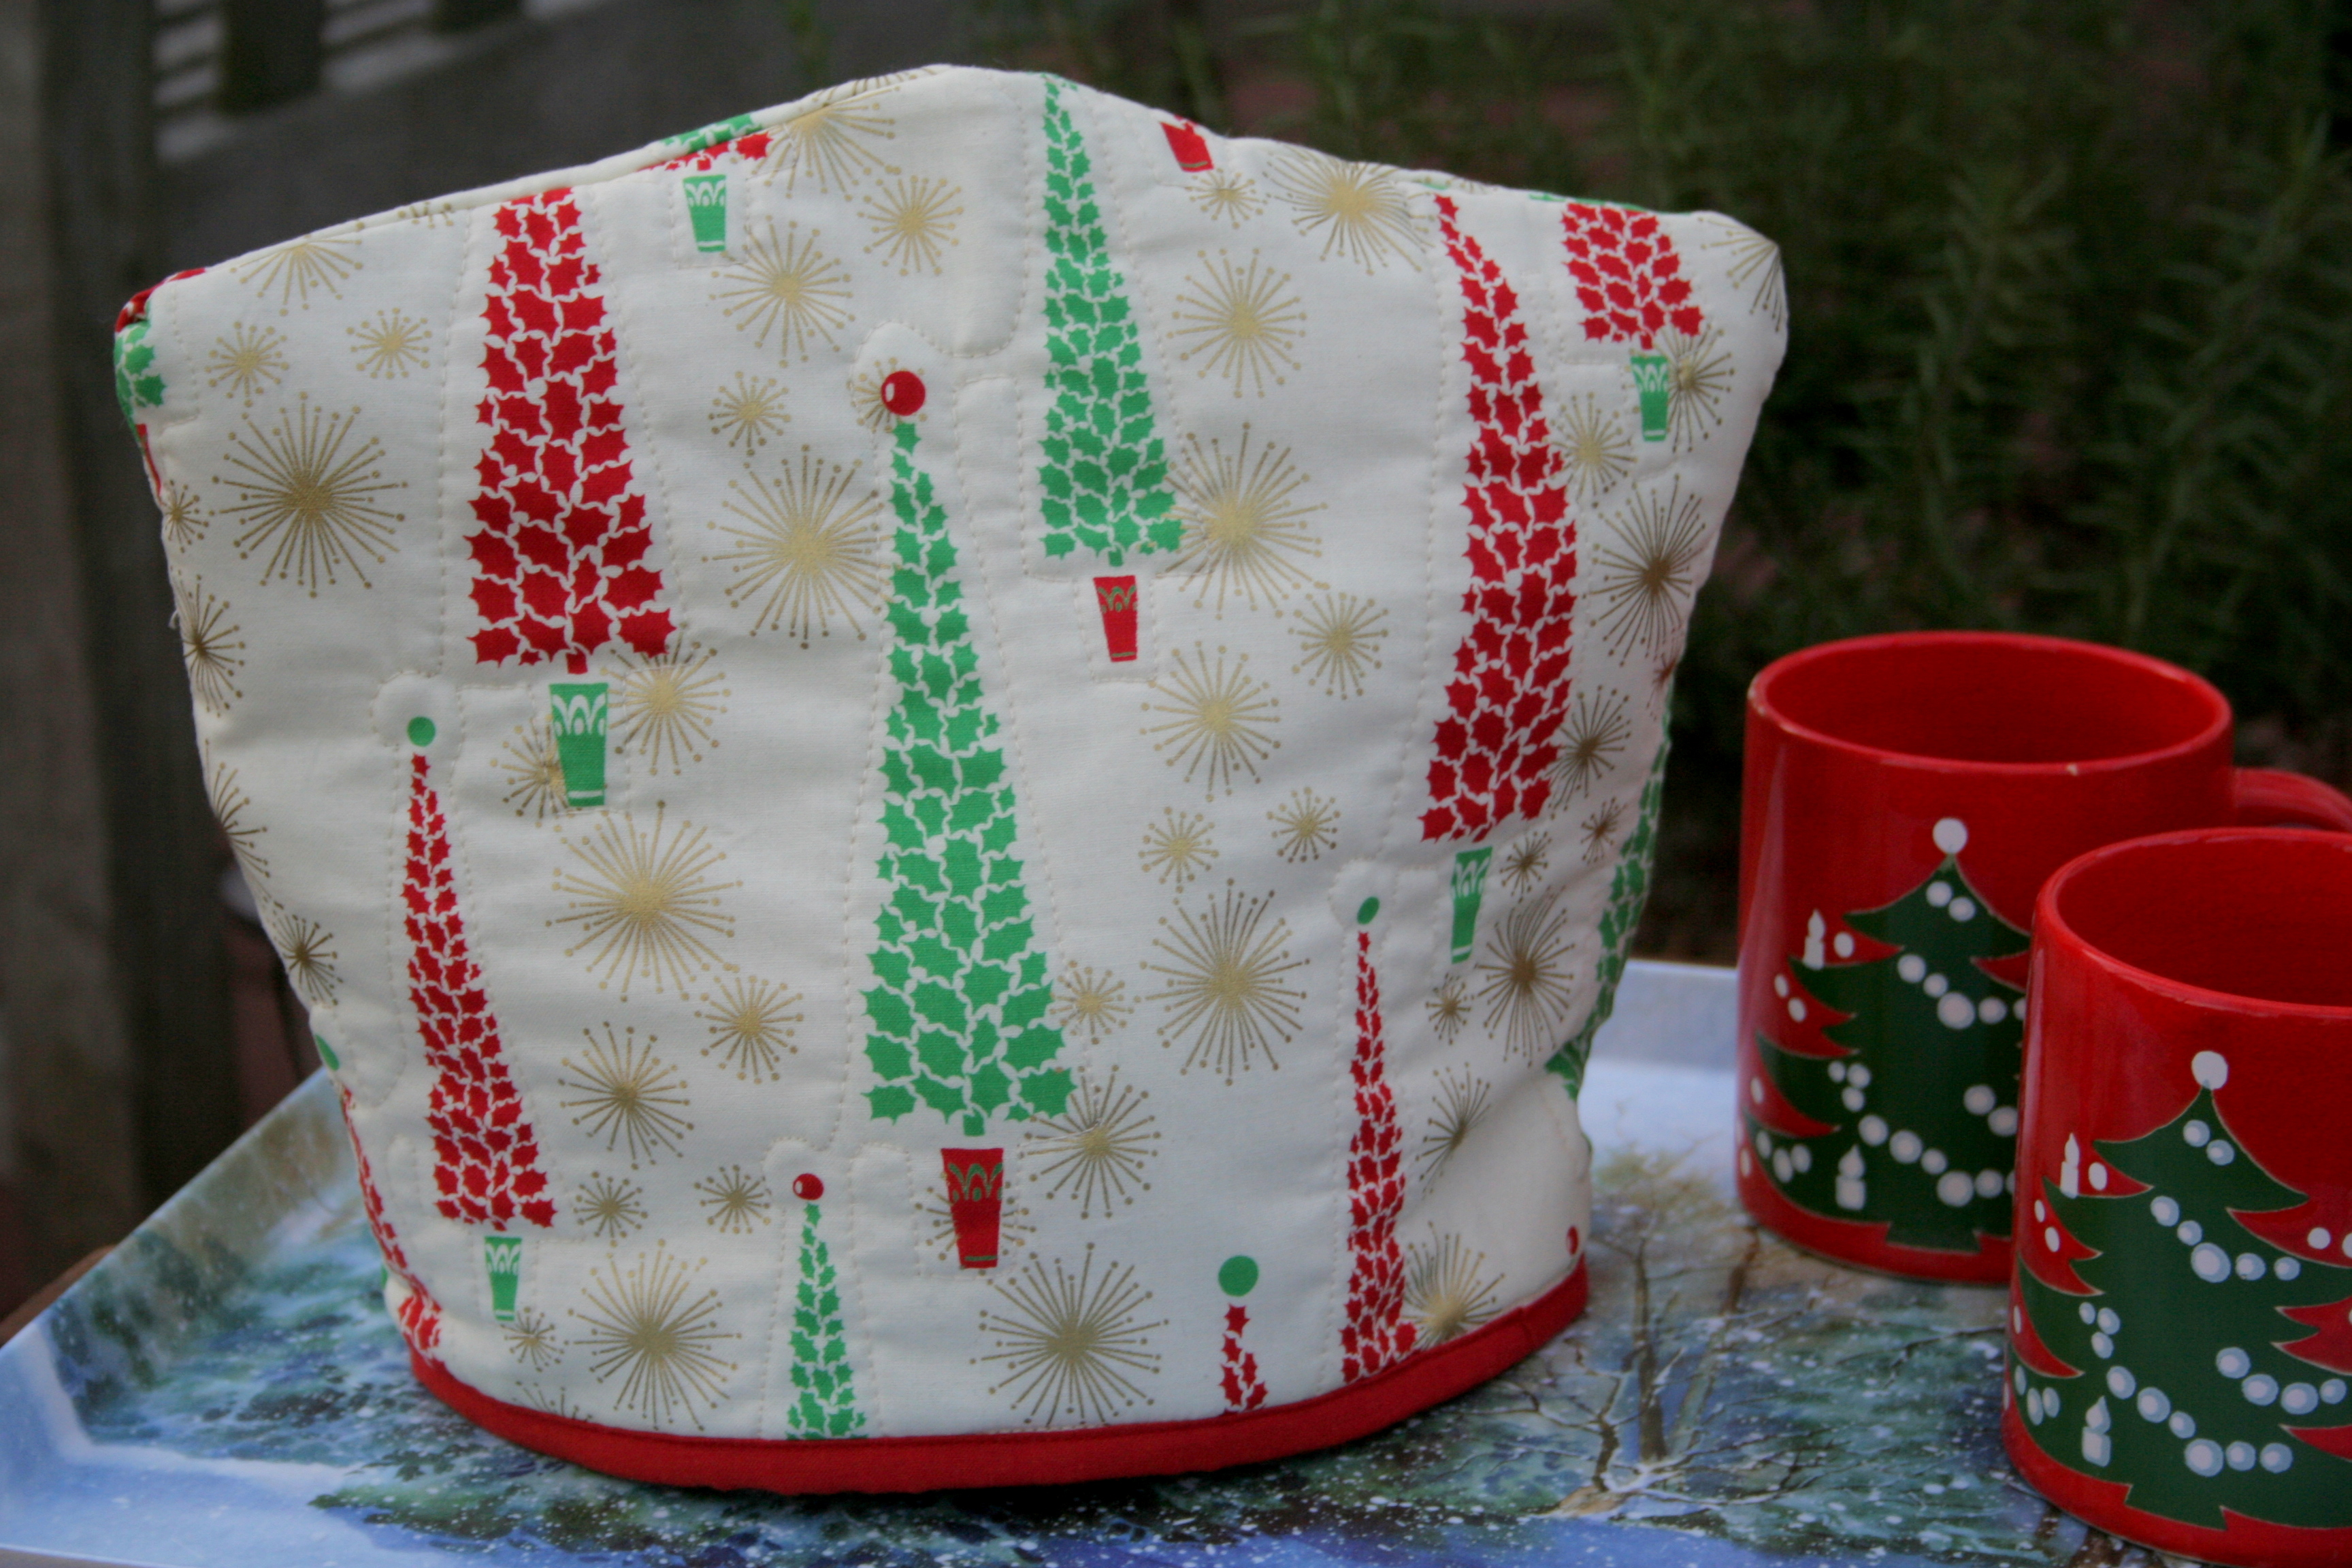
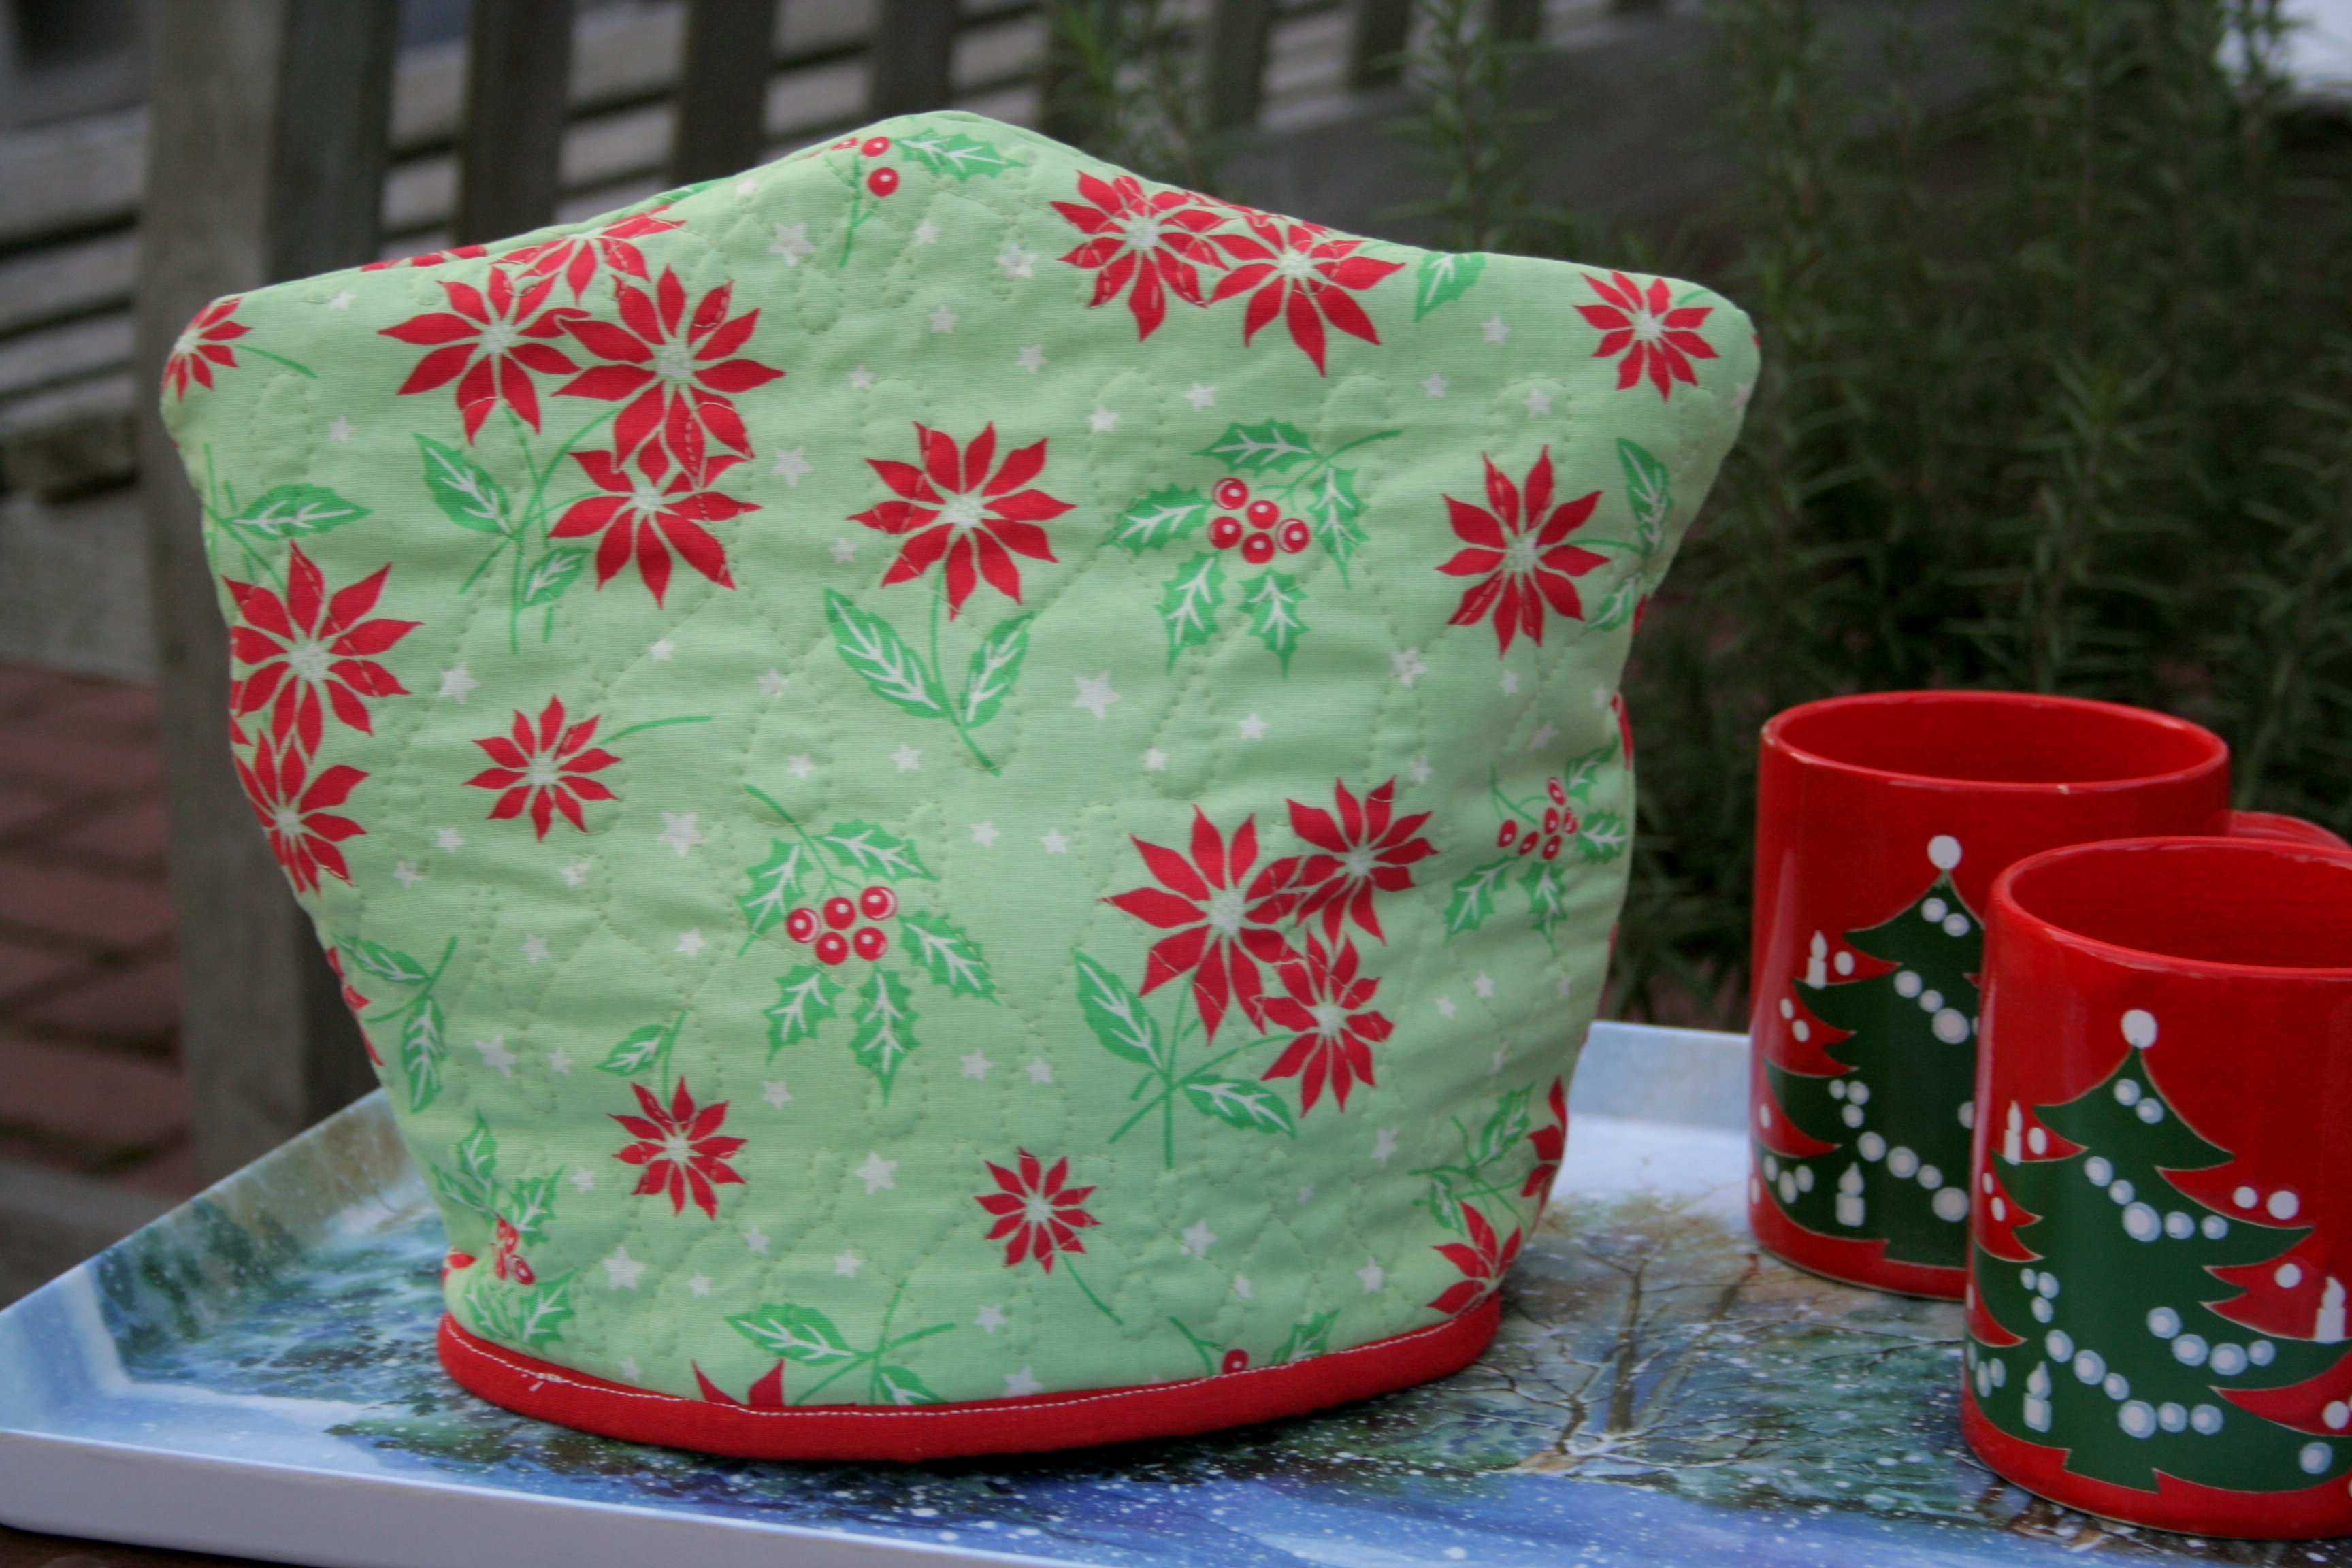
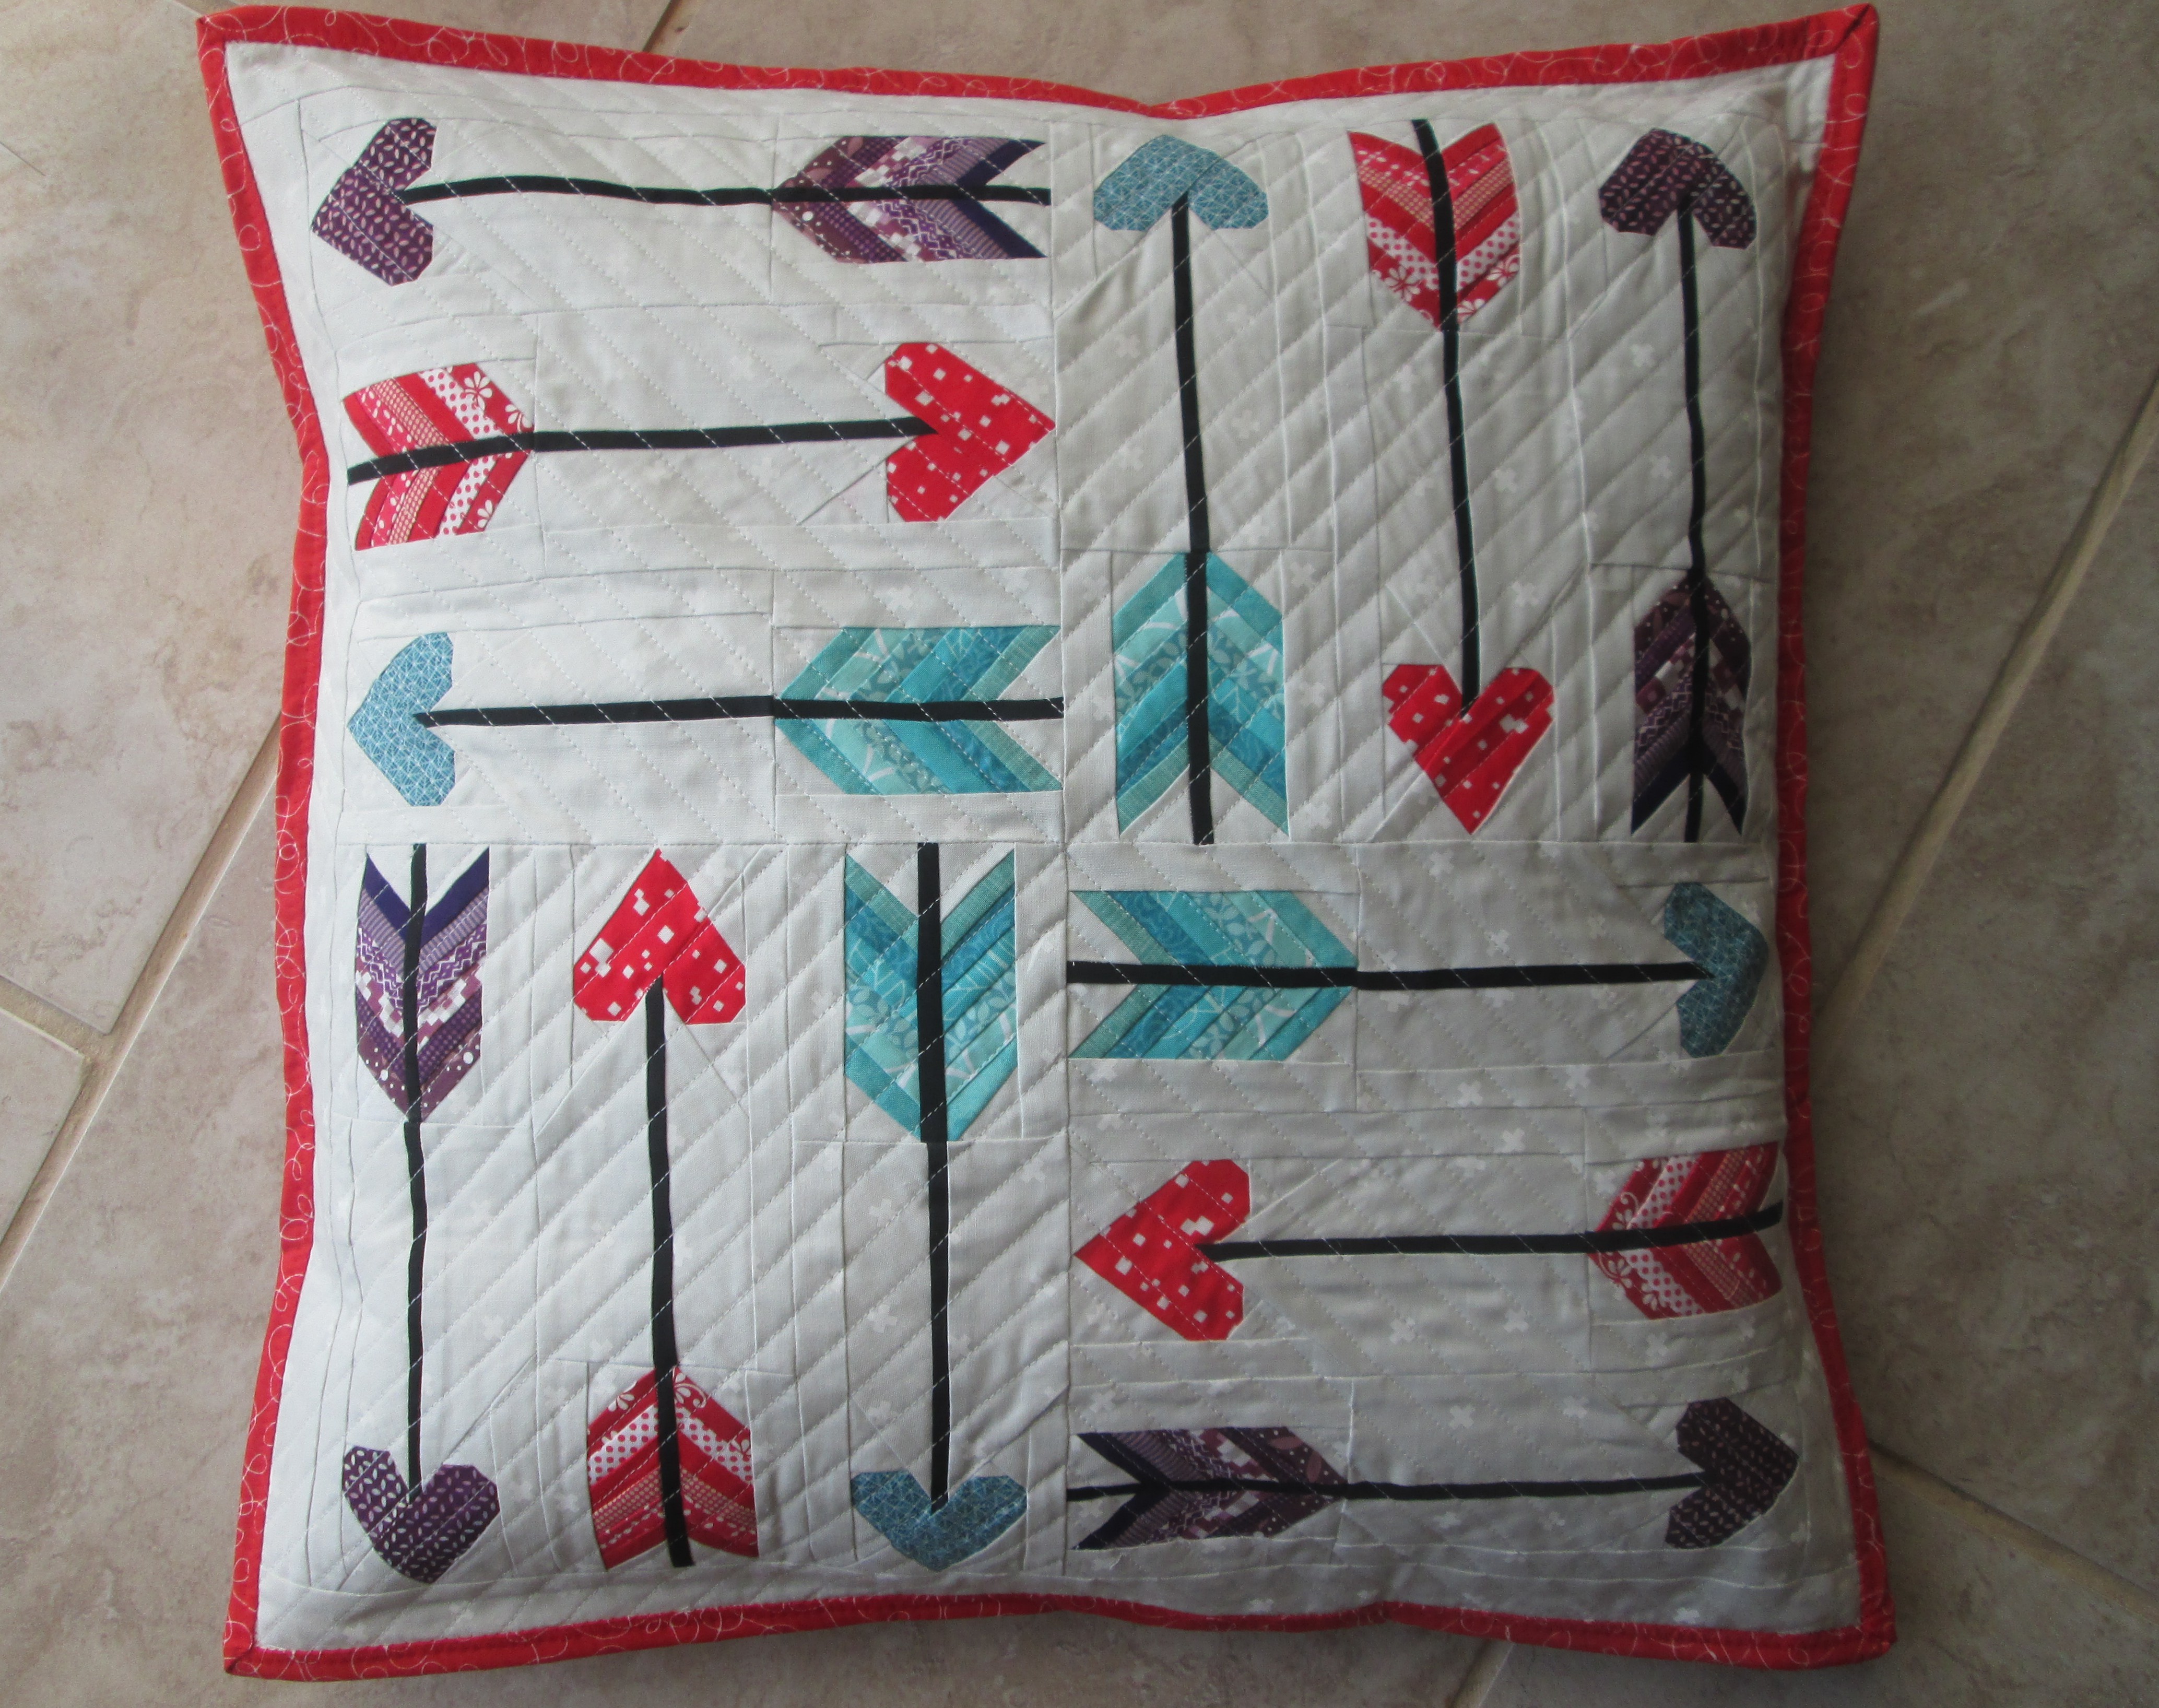
This block would be perfect for a variety of Valentine’s Day gifts, or even just to show your love any day of the year. I plan to make my block into a tea cozy using Yvonne’s great tutorial here, but you could make yours into a mug rug, mini wall hanging, table runner, or even add it to a larger quilt.
The pattern is for sale in my Craftsy shop for those in the US, or in my Payhip shop for international folk. It is on sale for only $3.50 until February 1st, when it will be listed at the usual $4.50.
Since this pattern combines paper piecing and applique, I decided to provide a tutorial to help explain and show each step more clearly. Once you’ve printed your pattern template, you are ready to go!
Instructions
Step 1
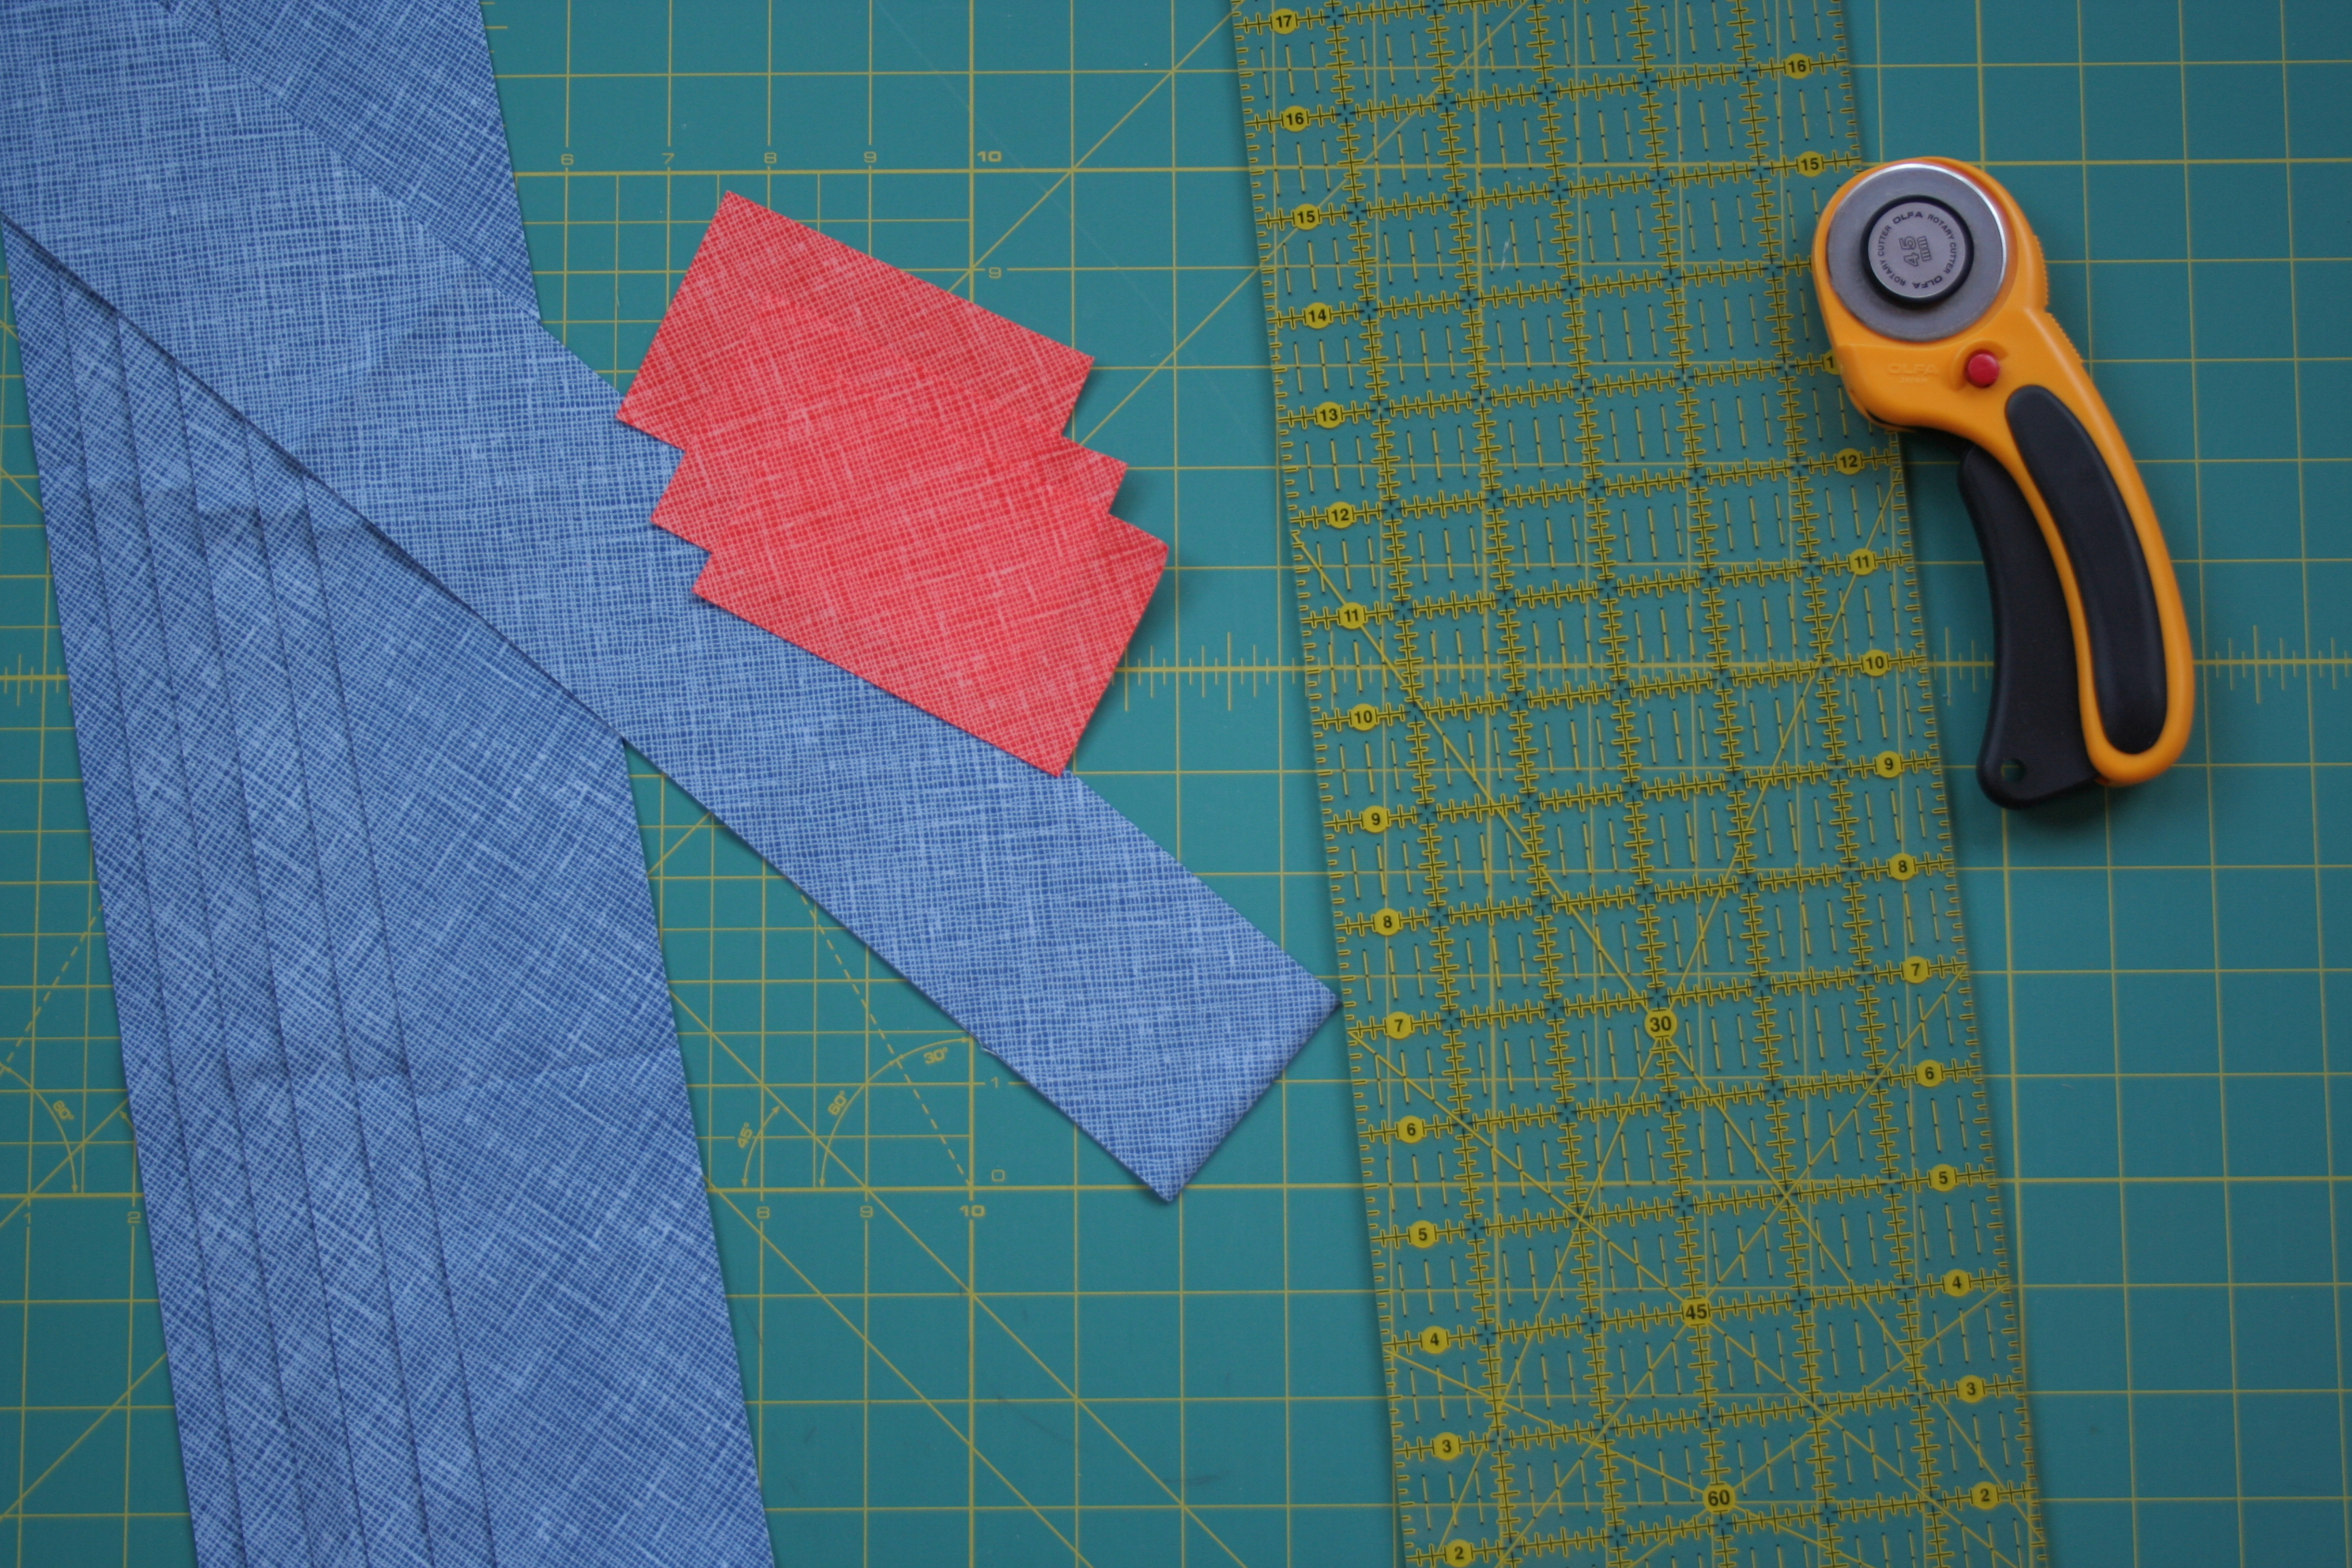
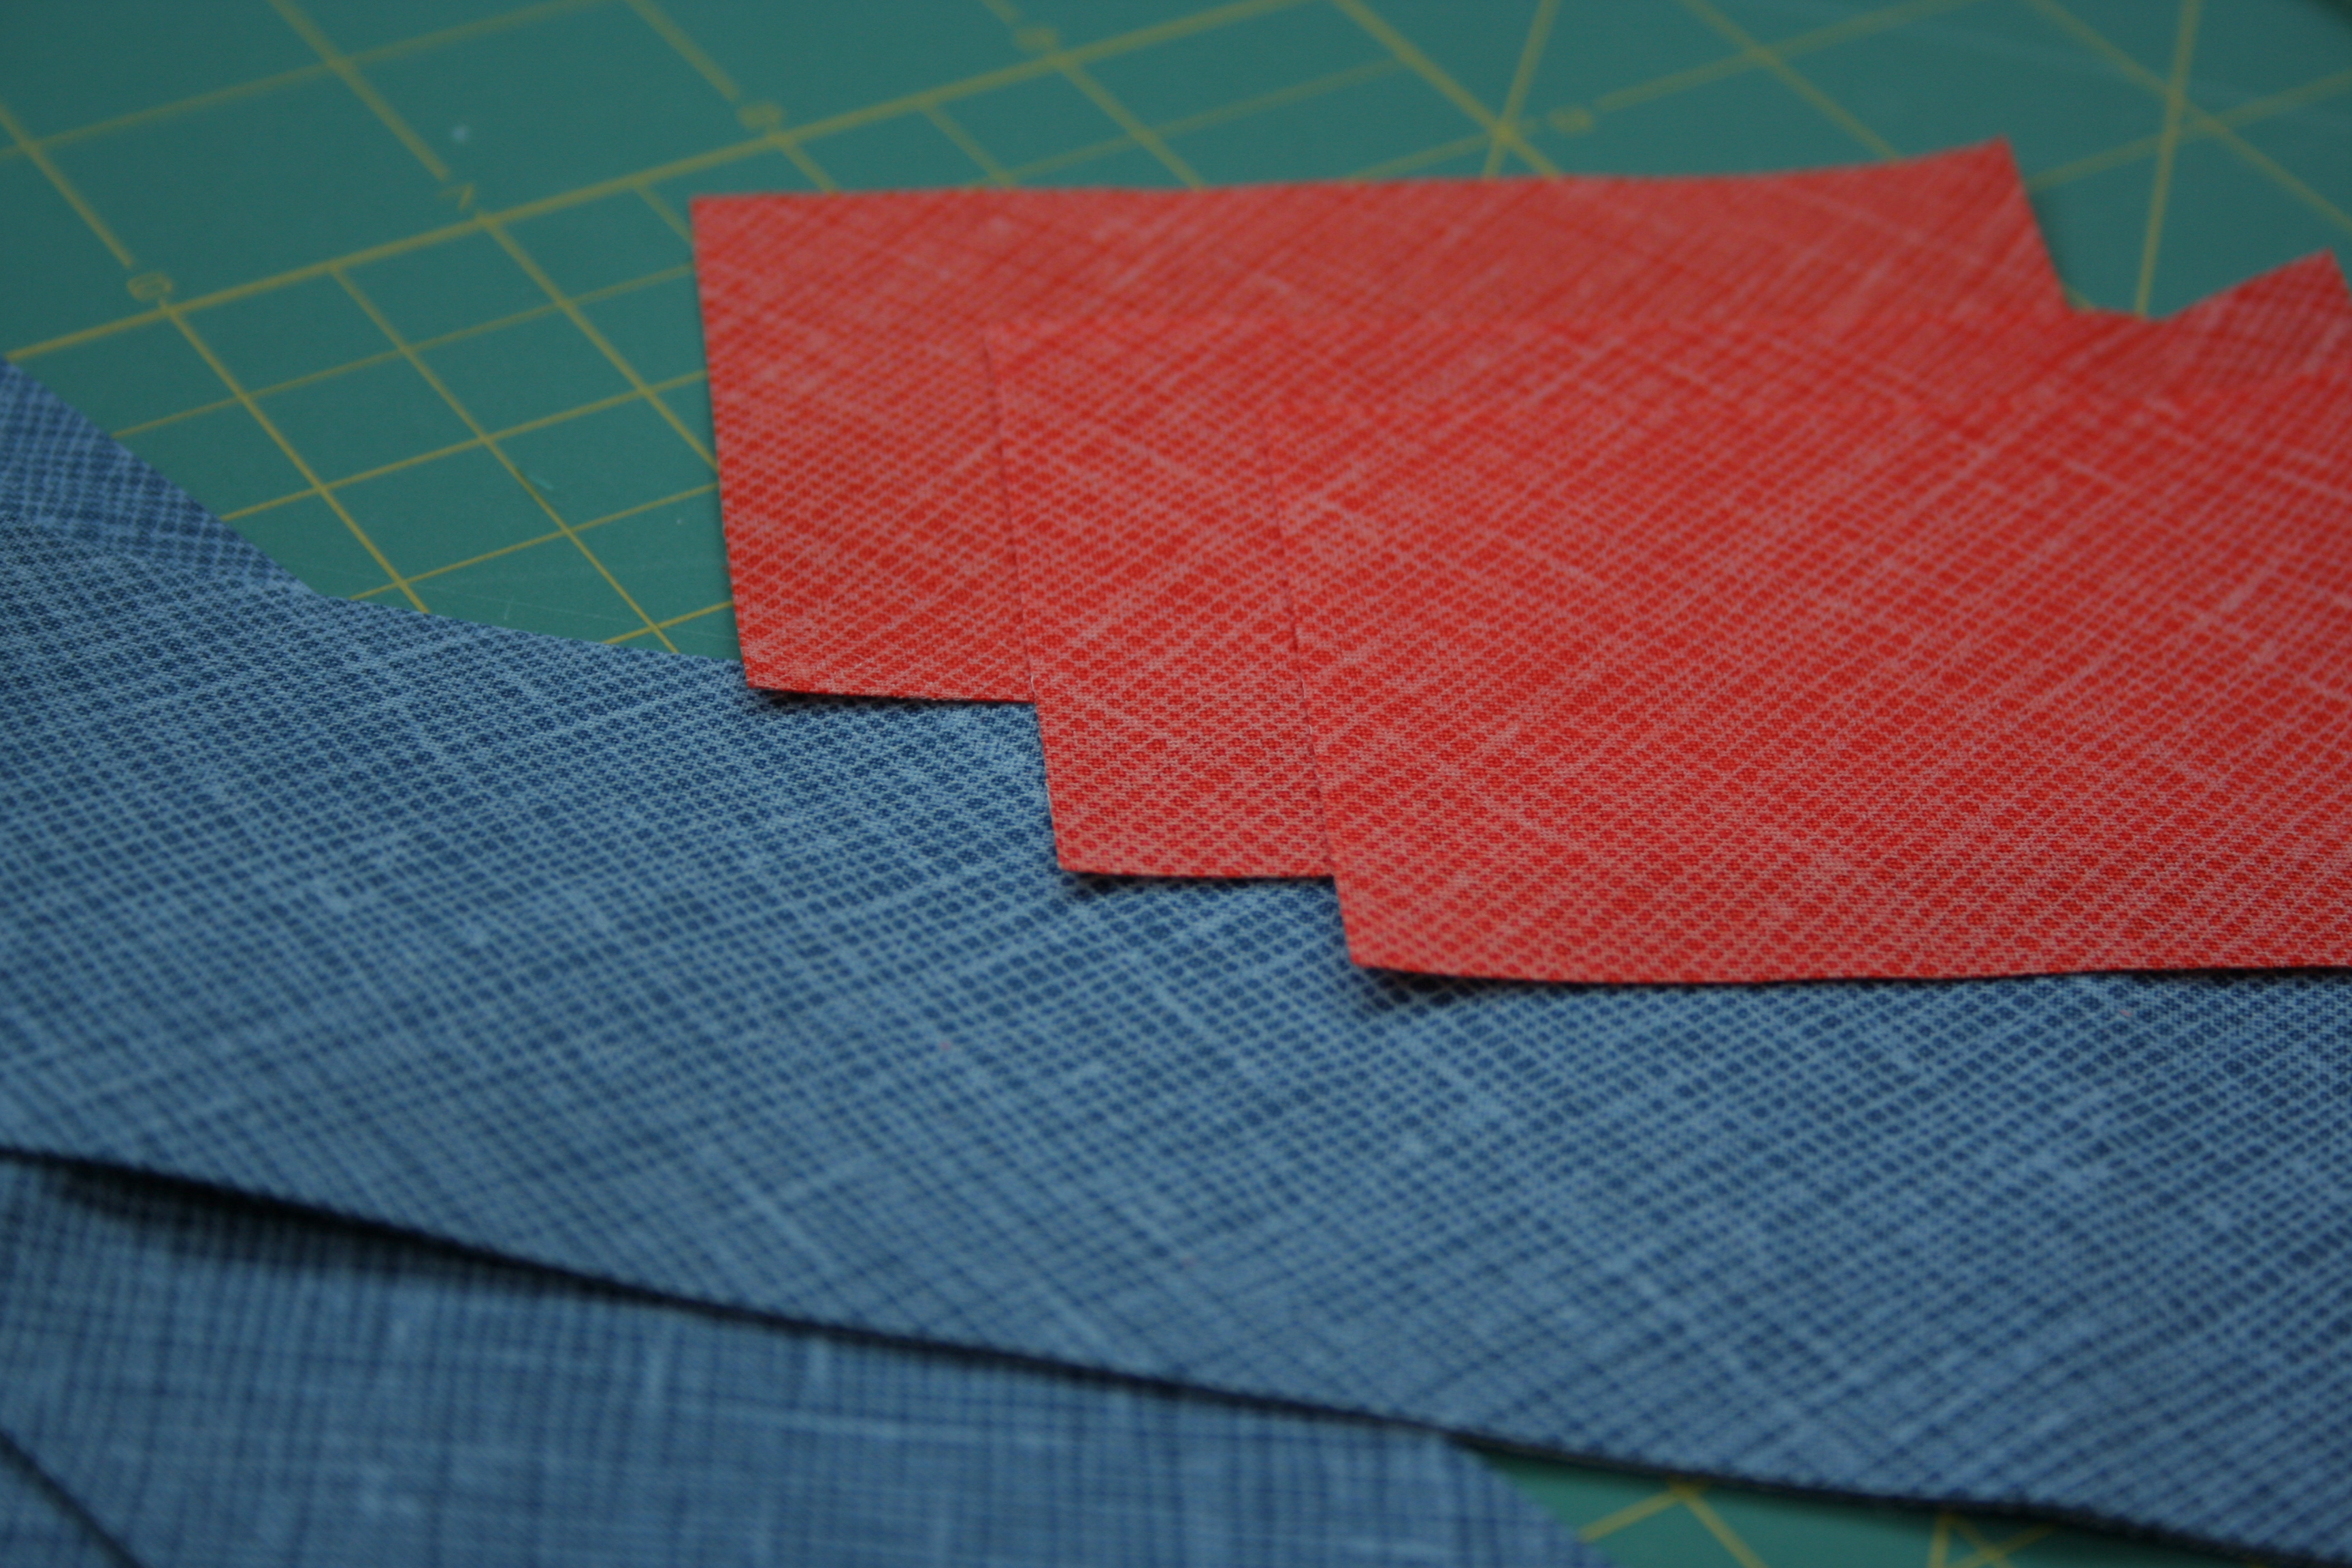
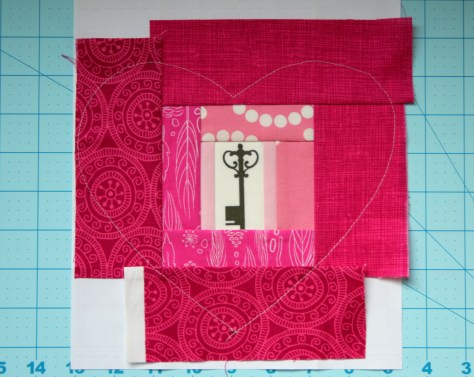
Paper piece the log cabin portion of the block until fabric extends at least 1/4″ beyond all edges of the heart.
Notes:
*Shorten your machine’s stitch length to 1.2 to make paper removal easy.
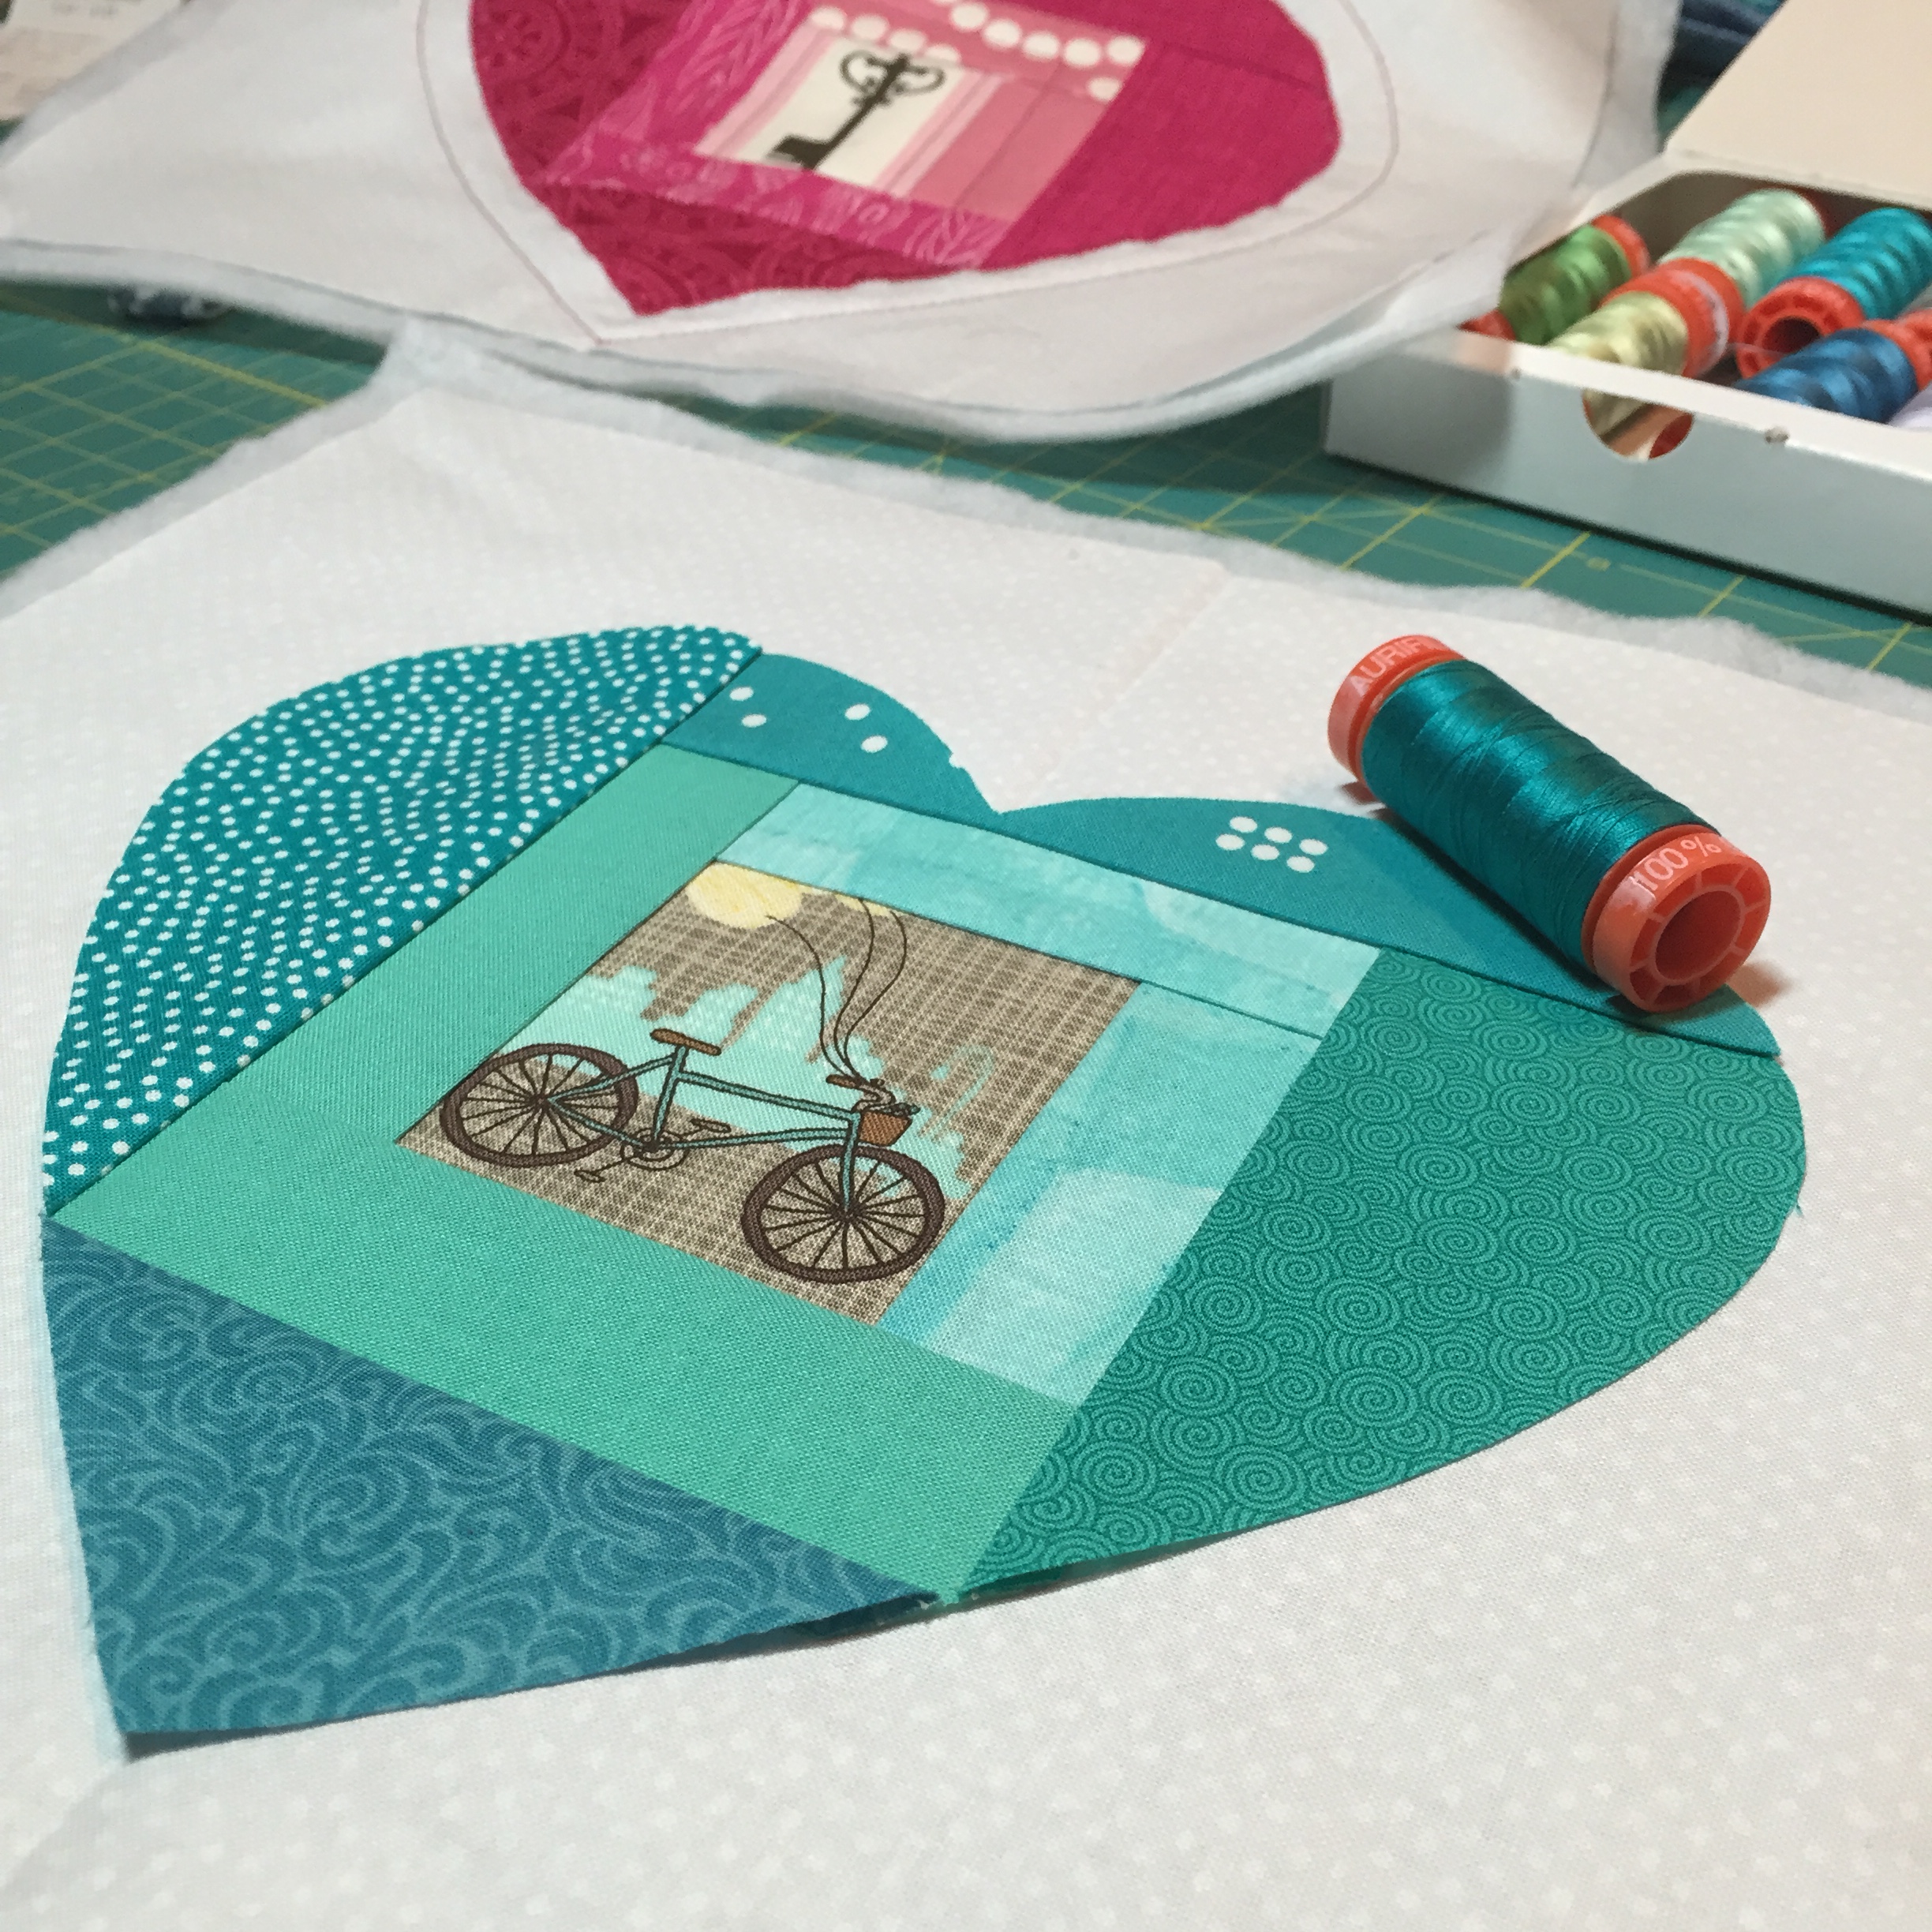
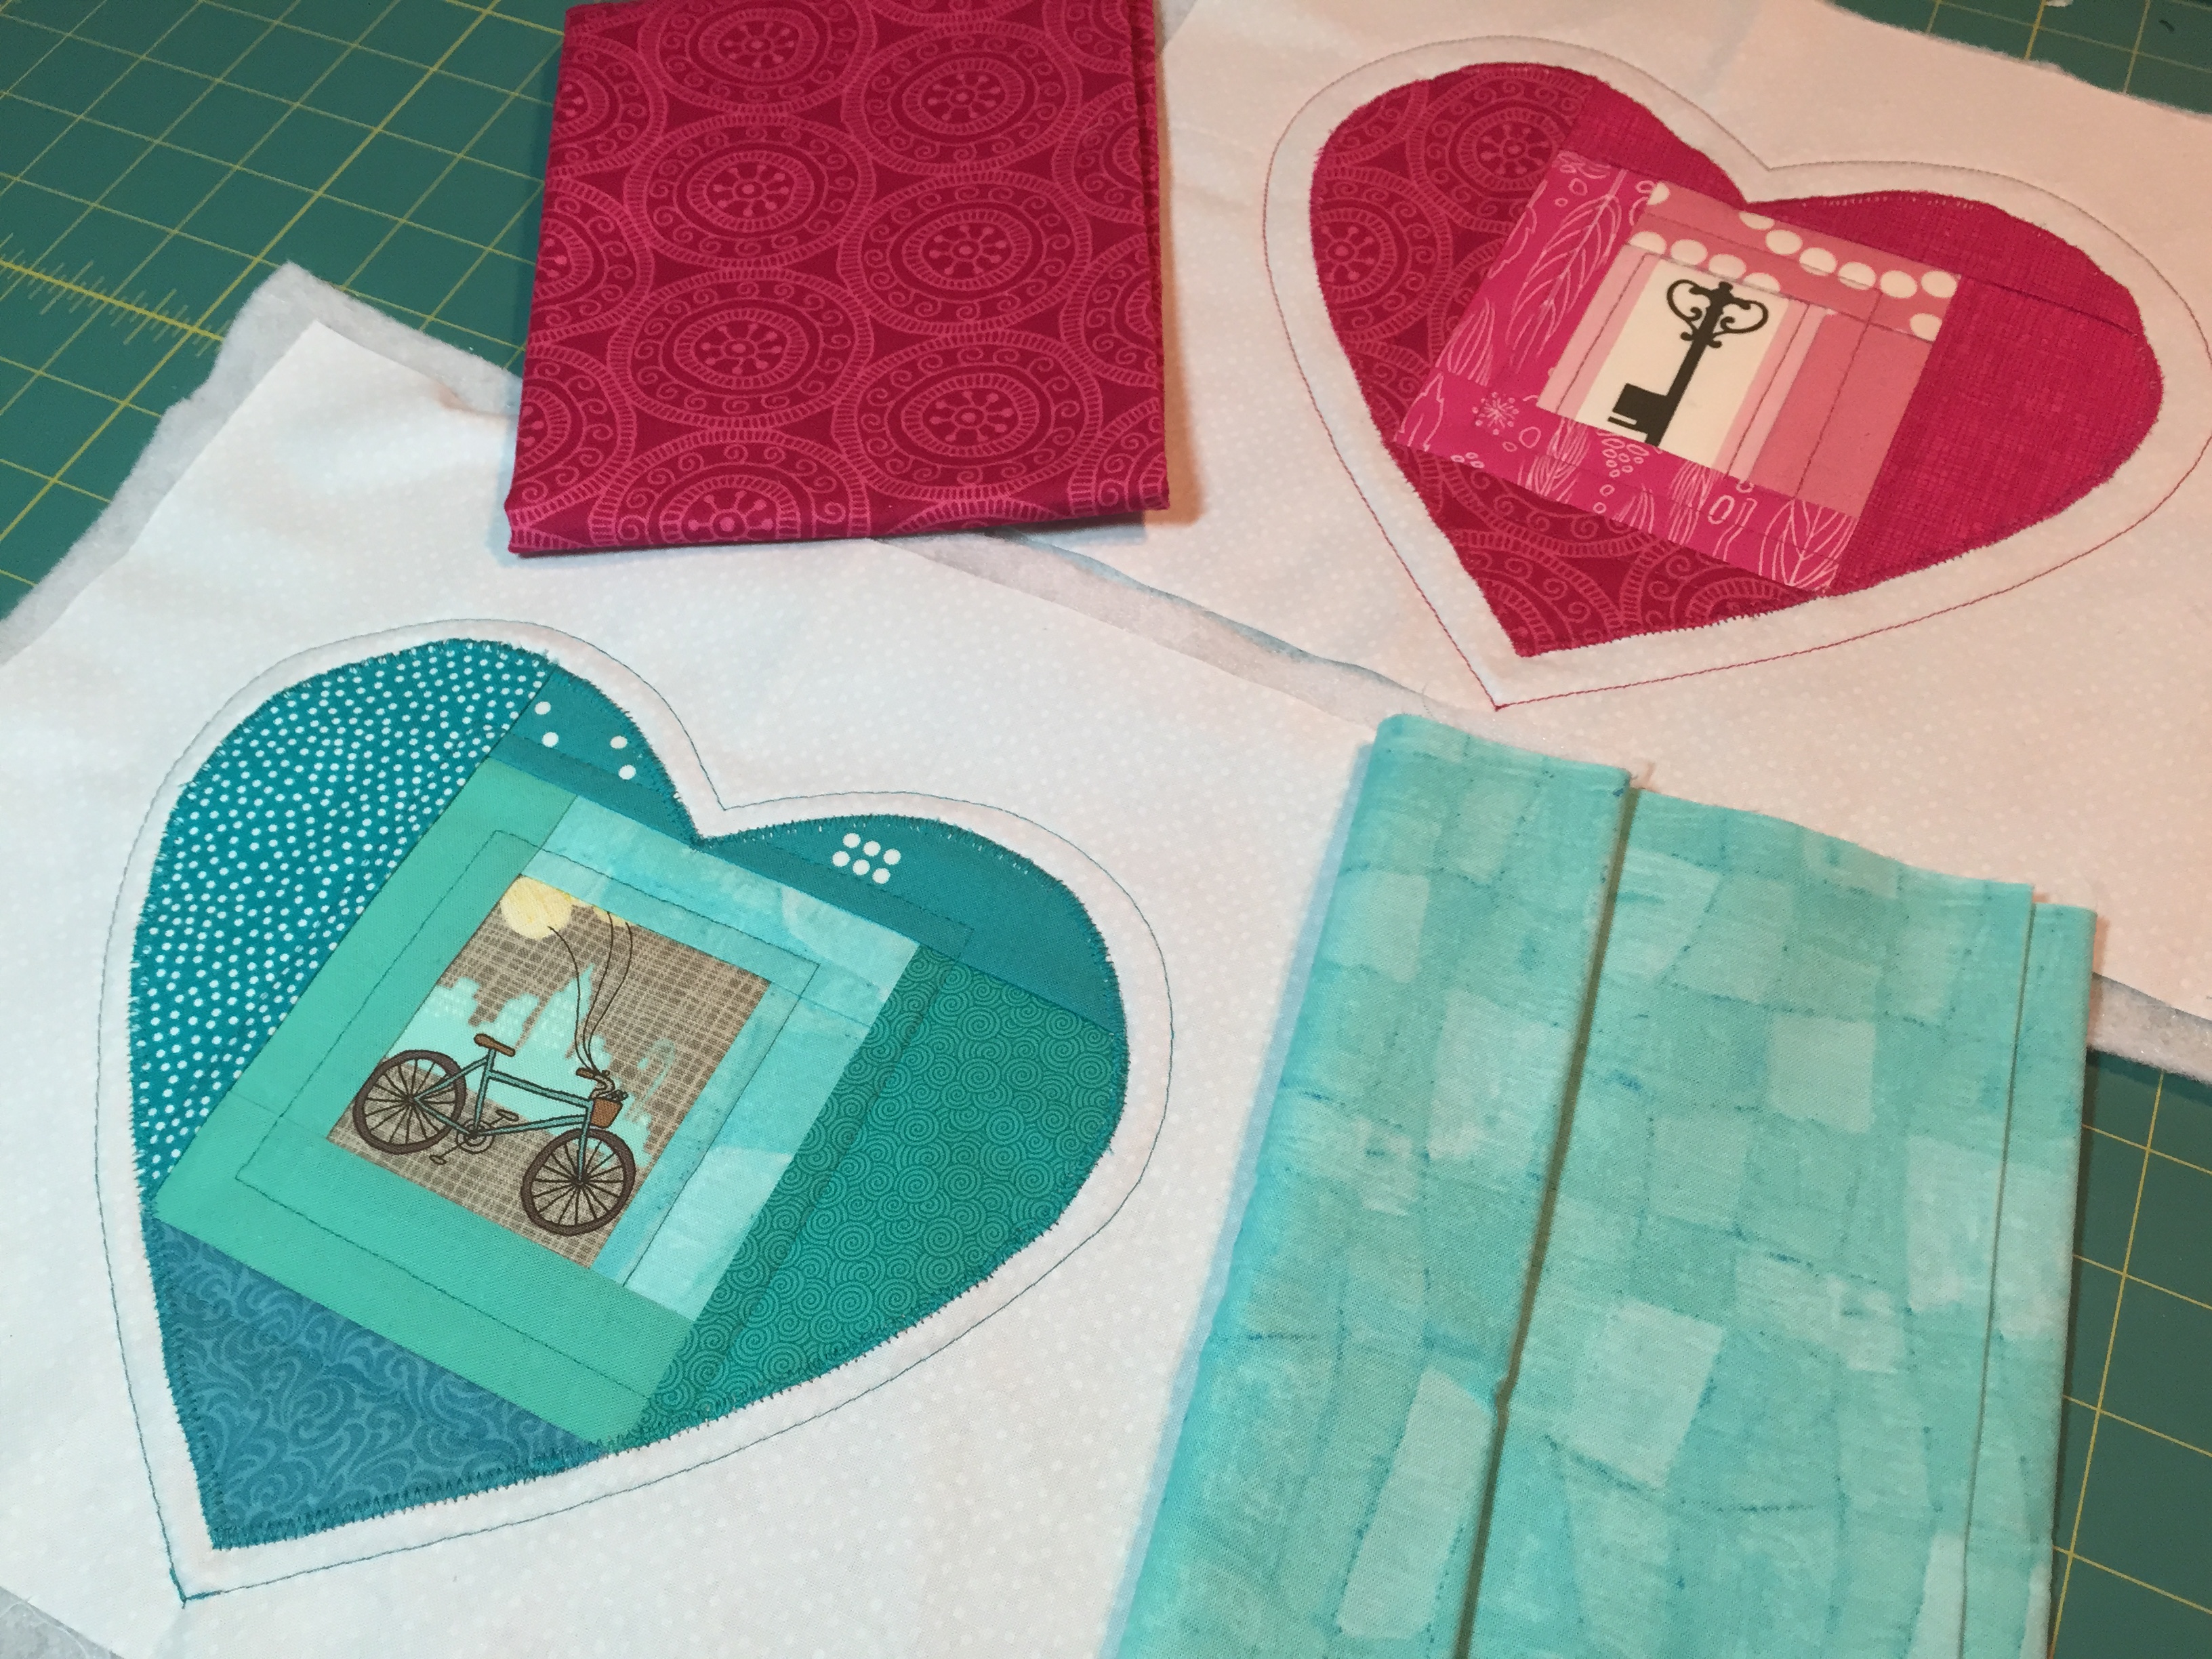
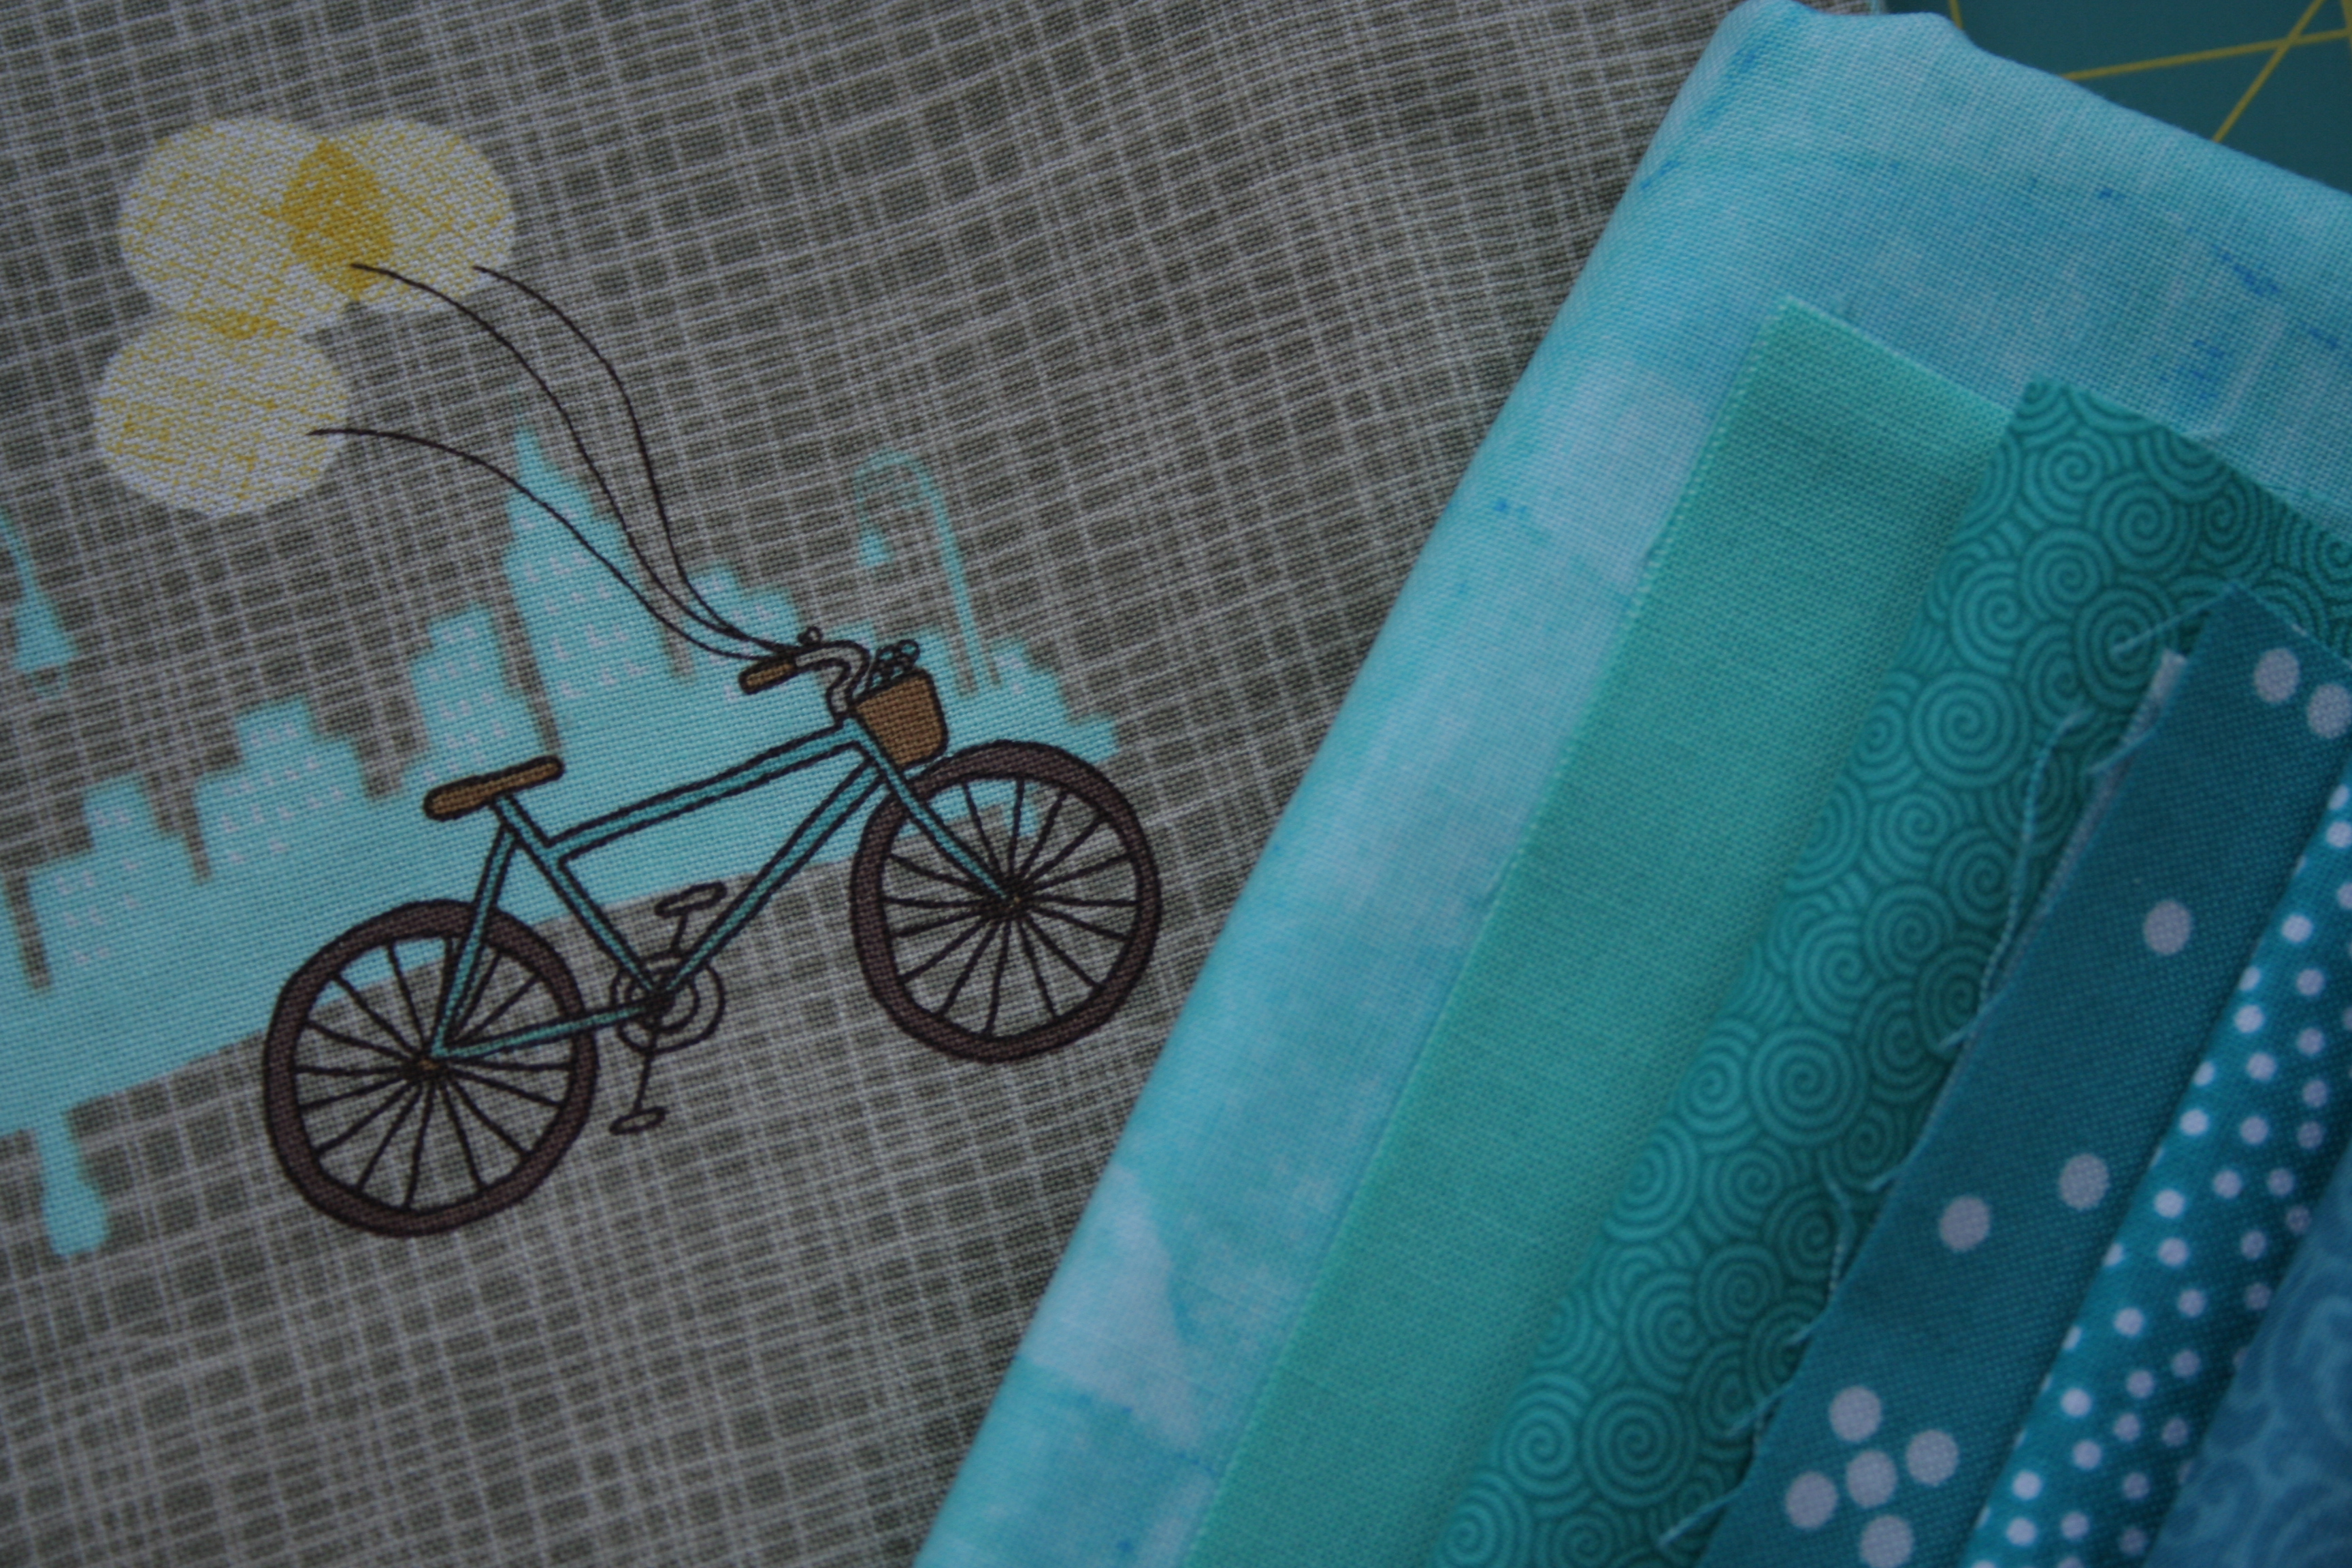
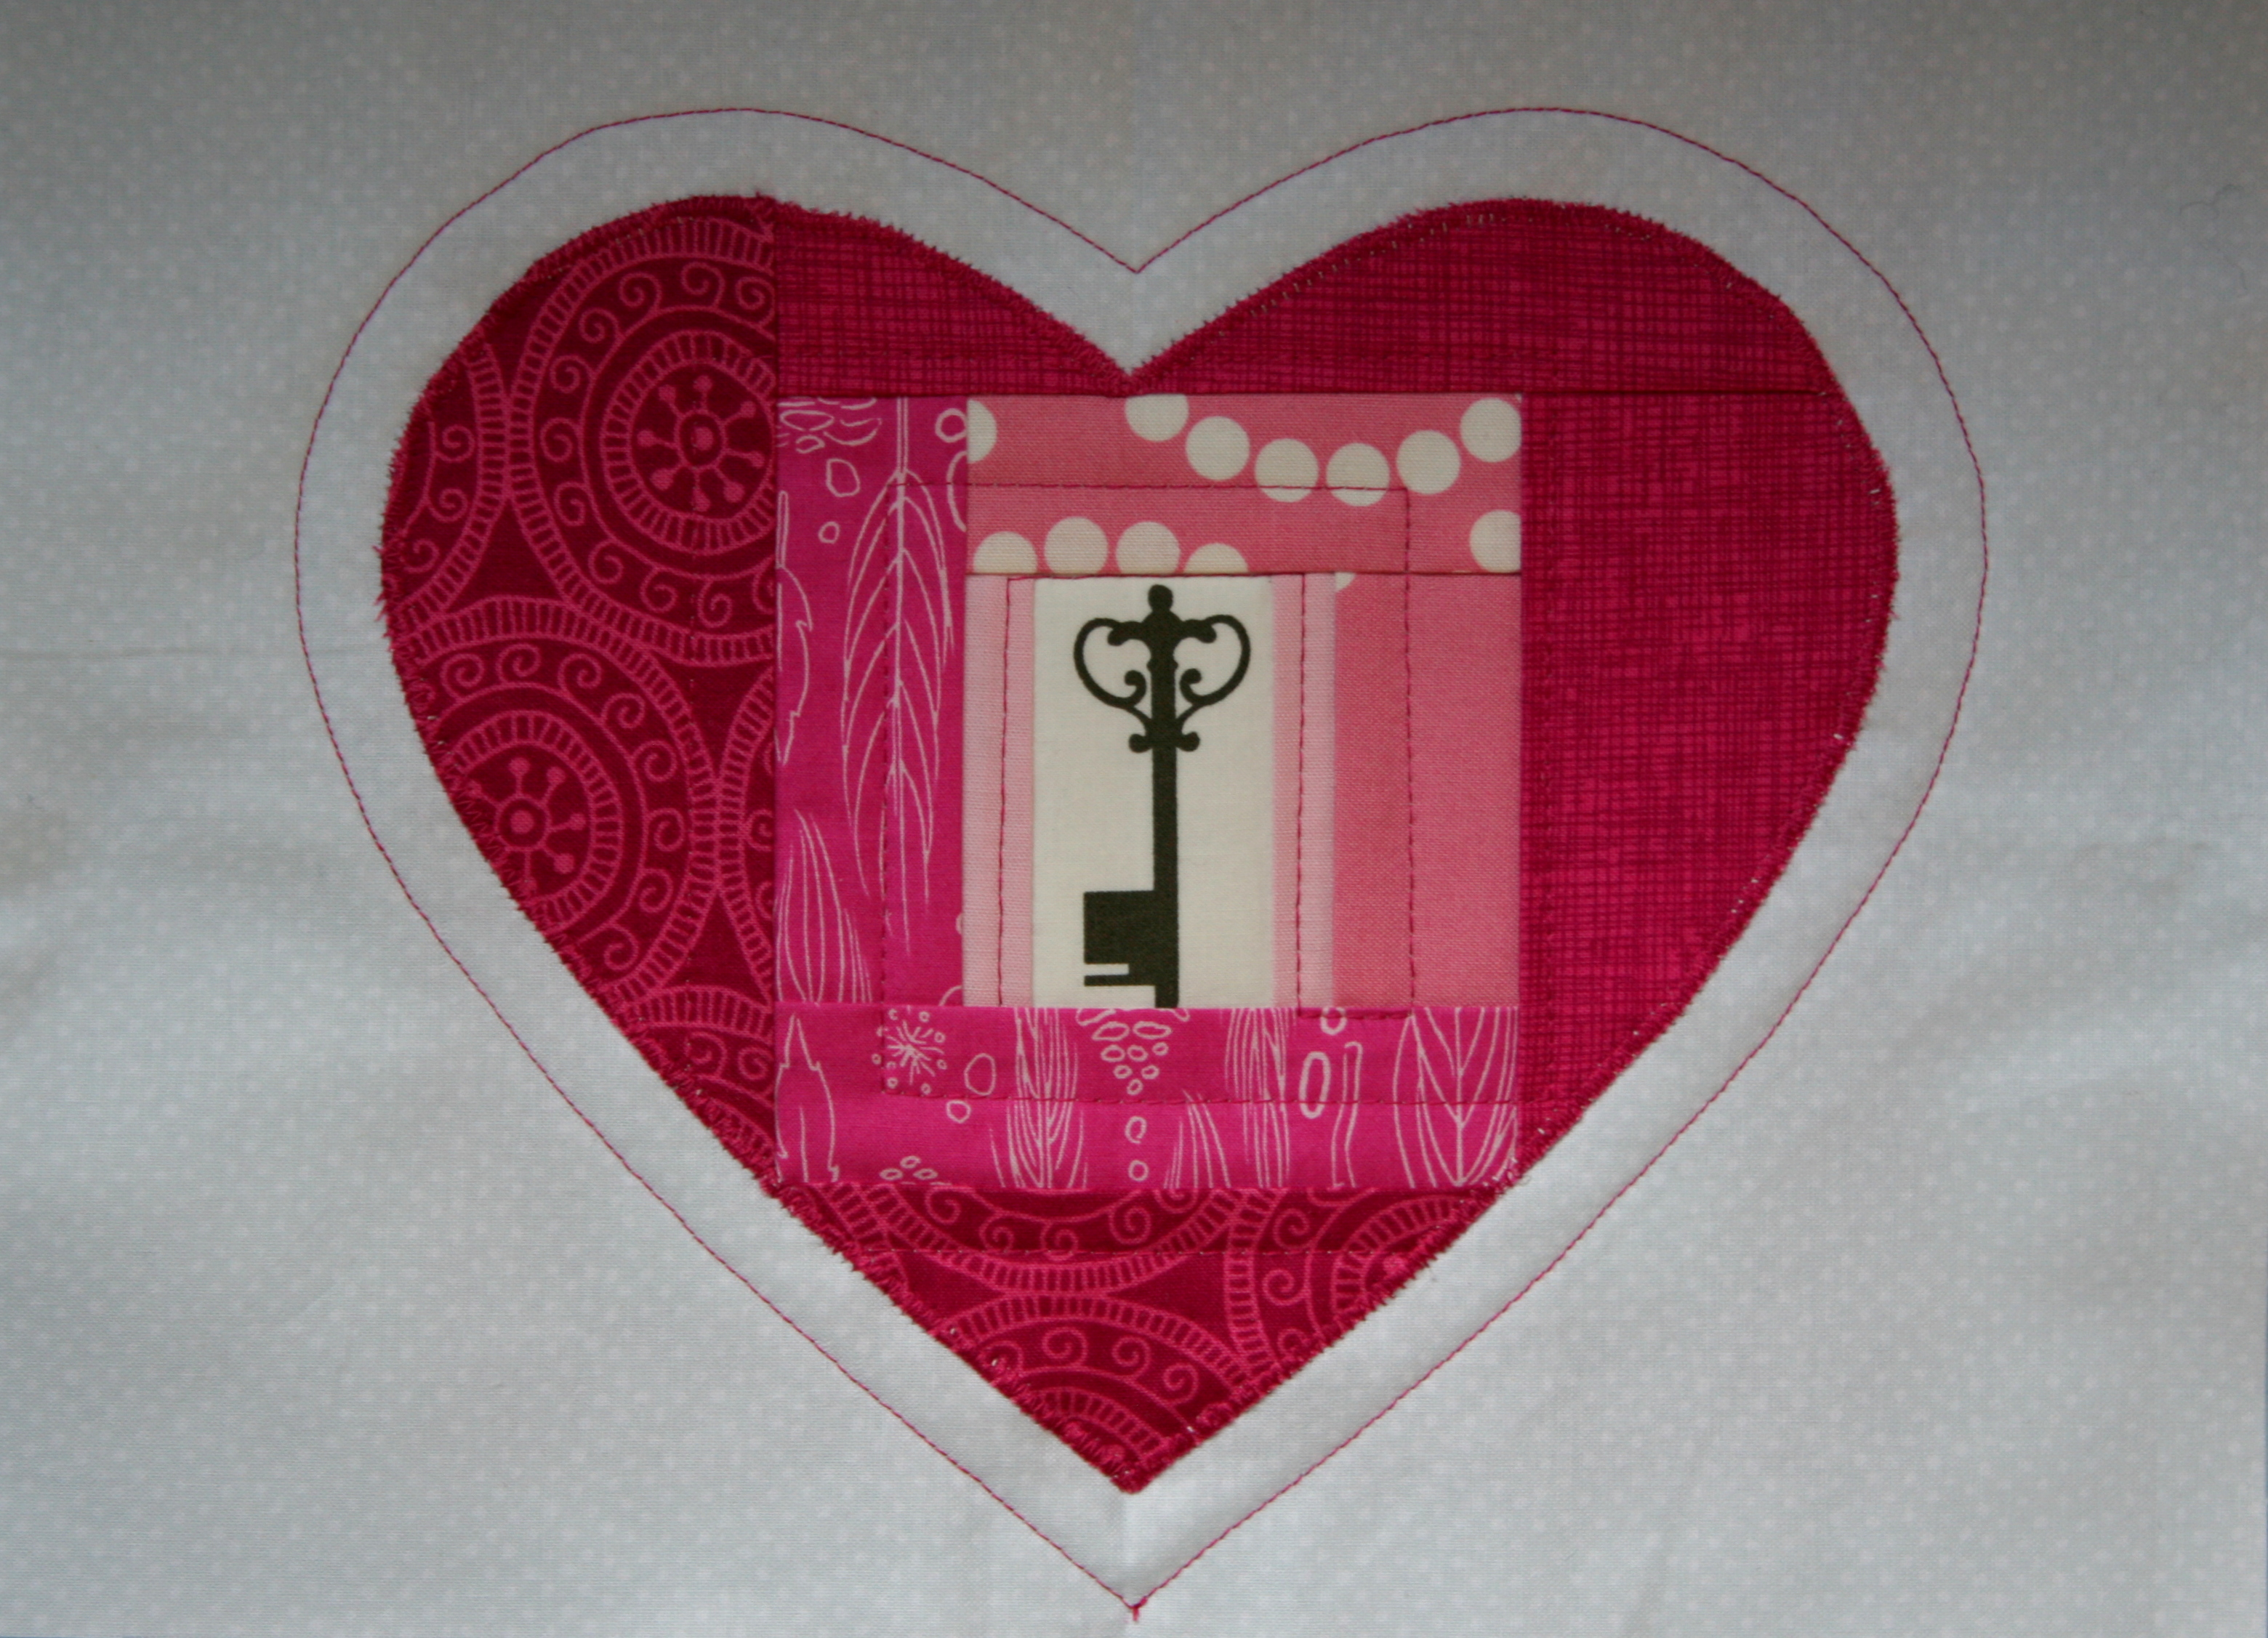
*The center square is perfect for fussy cutting! Find key fabric to share the key to your heart. Or, be creative! Do you love cats? Fussy cut a cat for the center. Love tea? Fussy cut a teapot for the center. Whatever you or the gift recipient loves can be fussy cut for the center of this heart.
Tip: Hold the paper and your fussy cut square up to a bright window or lightbox to be sure your fussy cut feature is centered before sewing.
Step 2
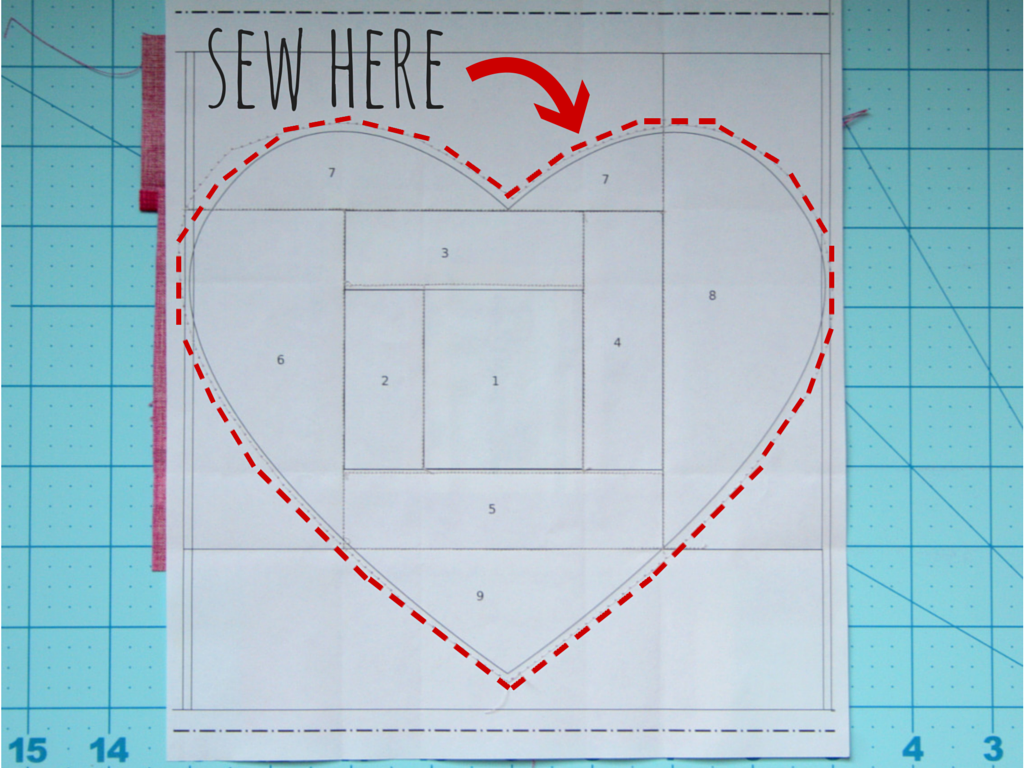
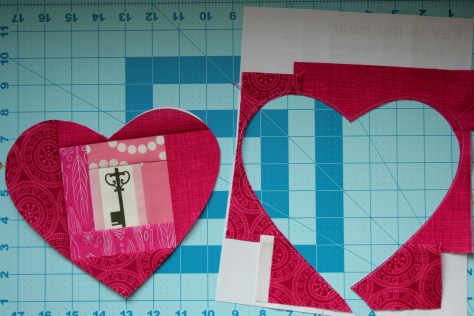
Using a long basting stitch (2.5 or larger), sew around the outside of the heart, approximately 1/8″ from the line (this distance does not need to be perfect, nor do the stitches need to be perfect. The purpose of these stitches is to hold all of your fabric flat while cutting out the heart shape.)

Step 3
Using scissors appropriate for cutting both fabric and paper, carefully cut along the dotted heart line.
Step 4
Remove paper piecing foundation paper.
Jump for joy at how easy it is since you shortened your stitch length to 1.2 before paper piecing!
Step 5
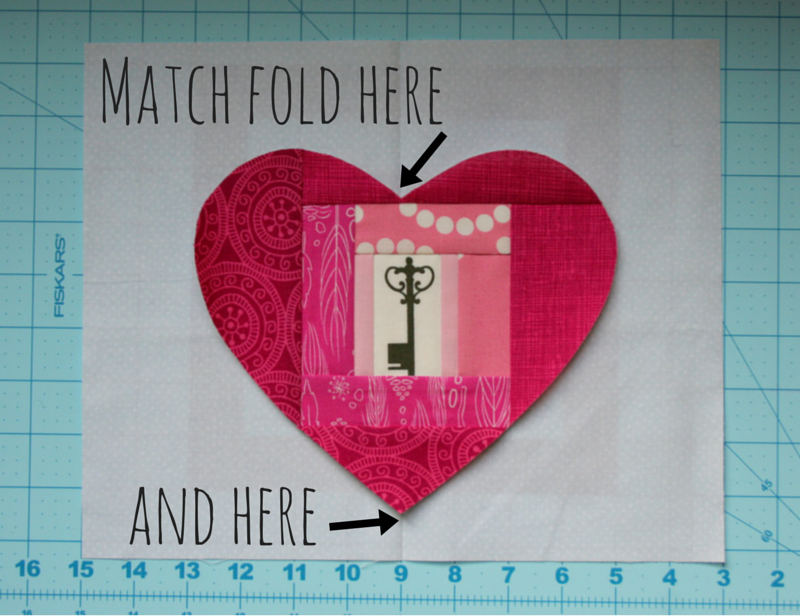
Applique your heart to the center of your background fabric using your preferred applique method.
Notes:
*To accurately center your heart, fold your background fabric in half and press lightly. With the fold running top to bottom, line up the center top and bottom of the heart with the pressed center line of the background fabric. Either measure the distance from top and bottom of the background fabric until it’s equal, or position your heart as desired.

Step 6
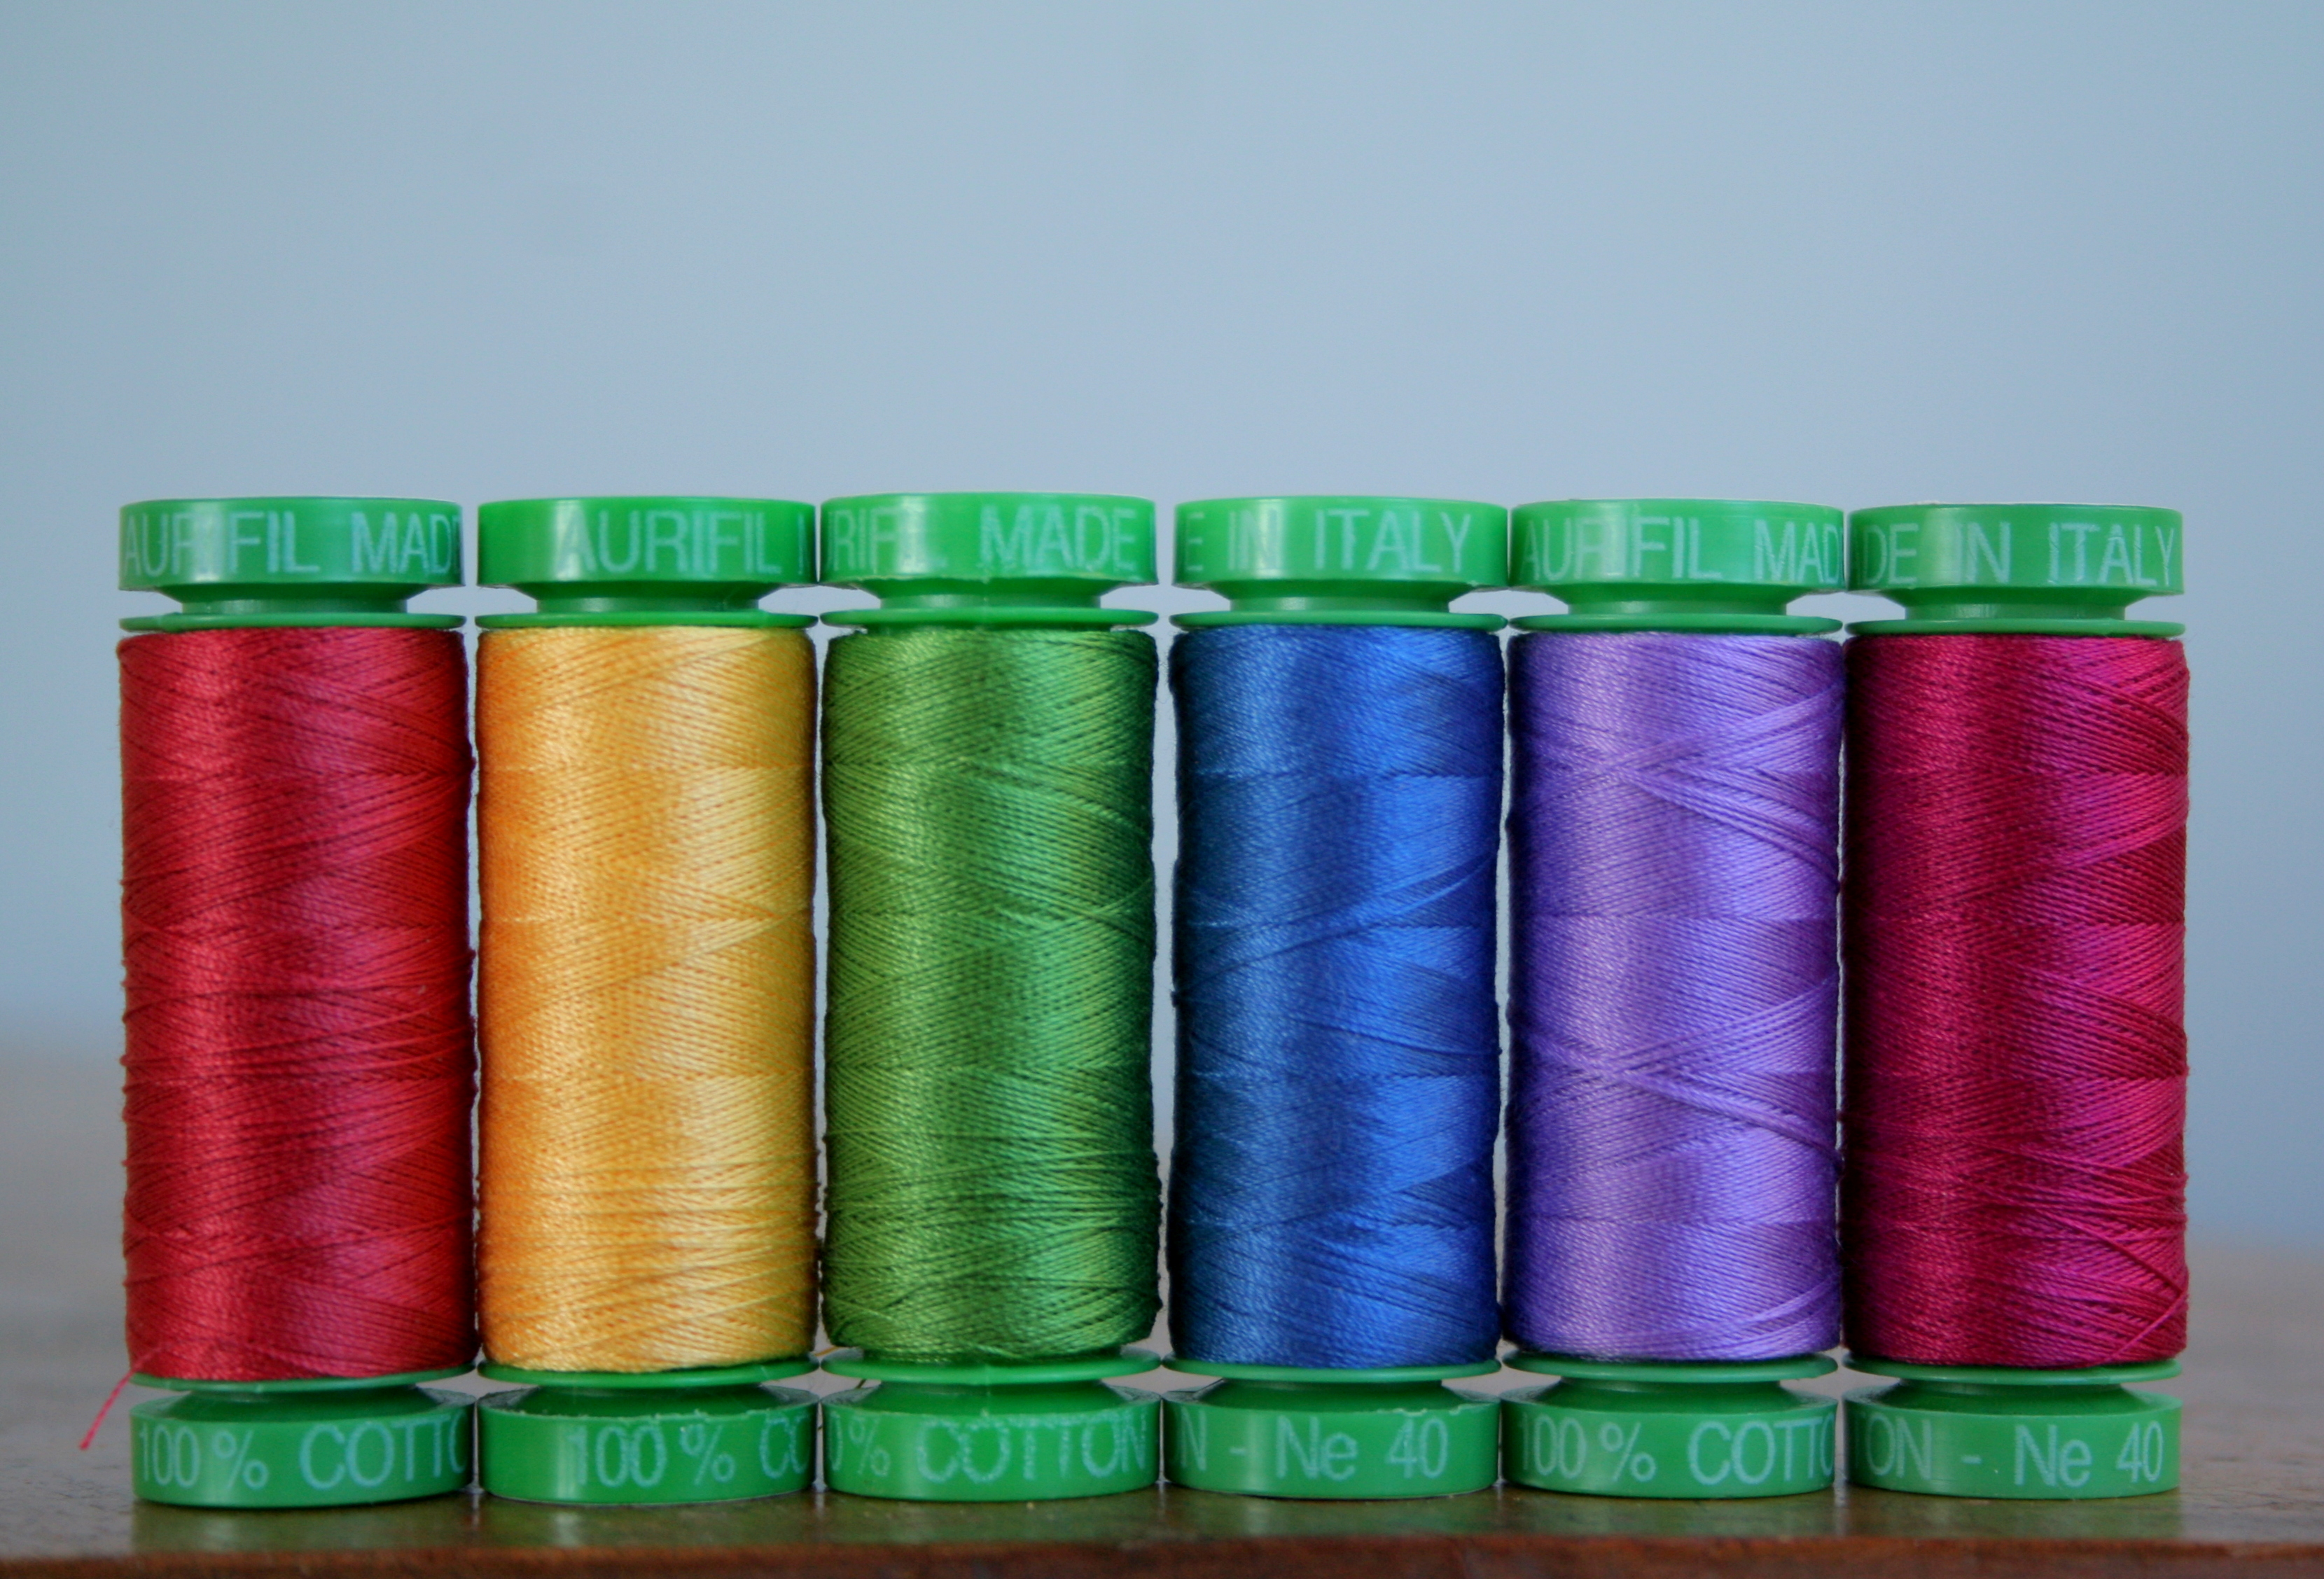
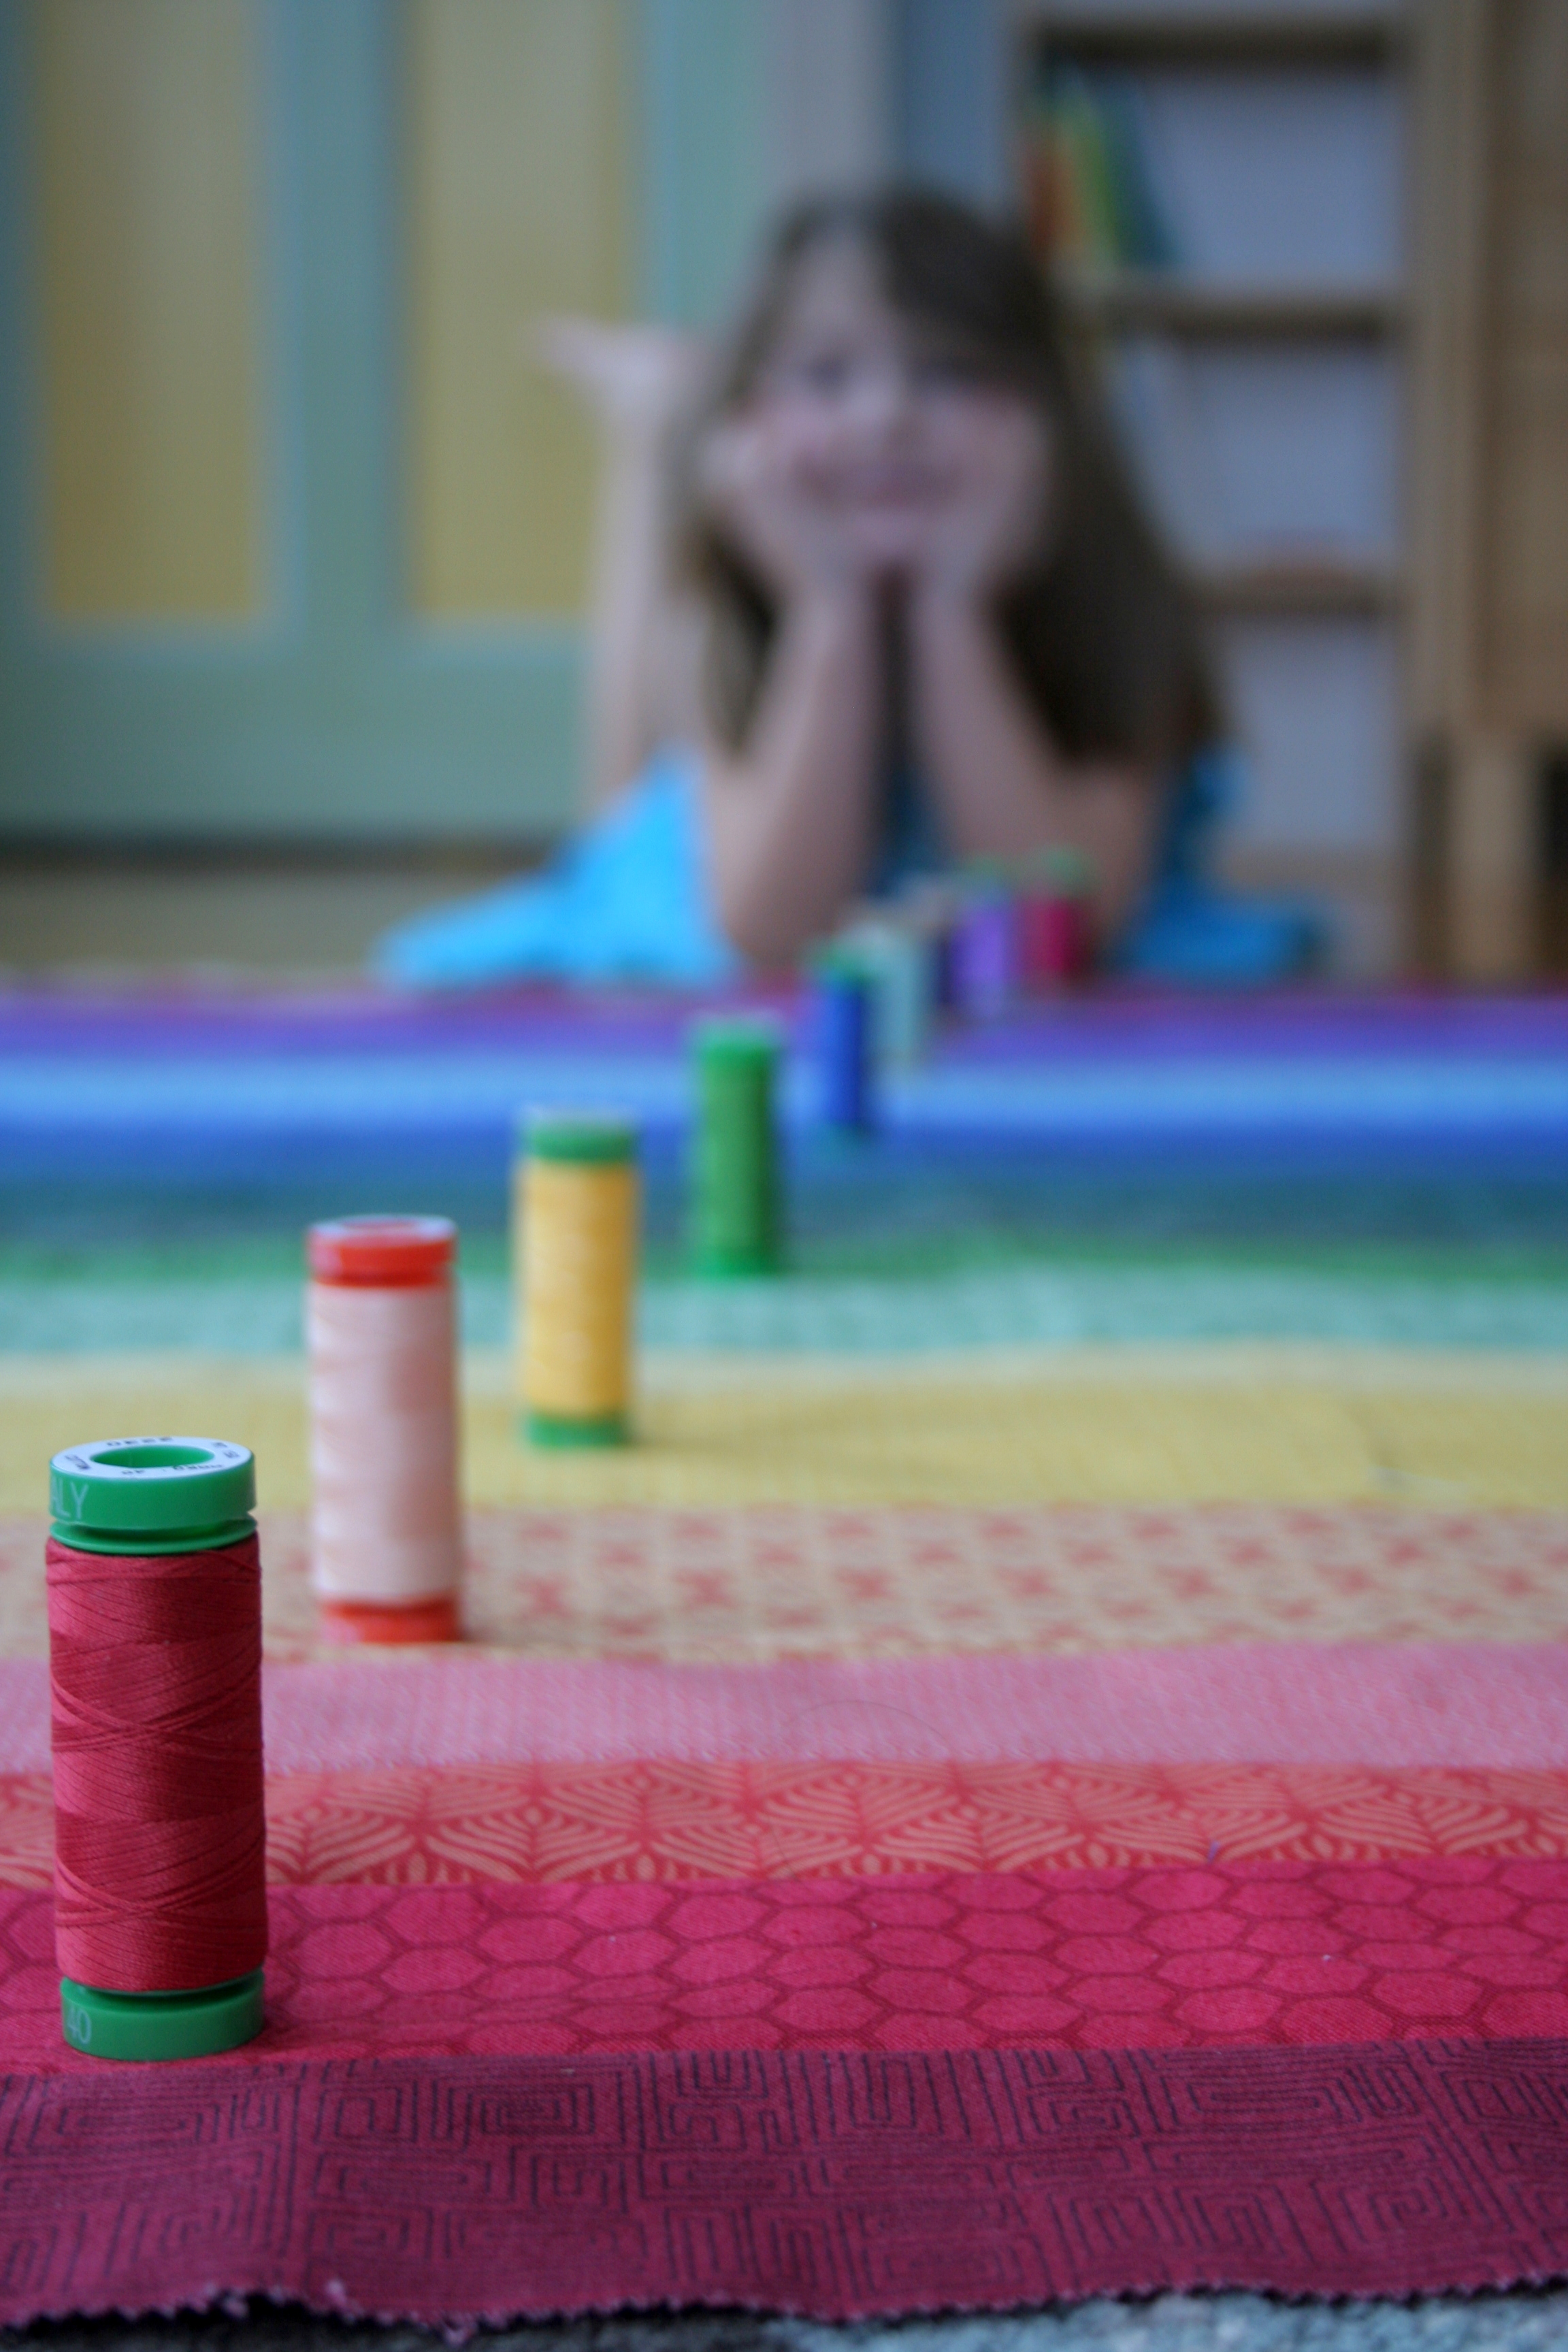
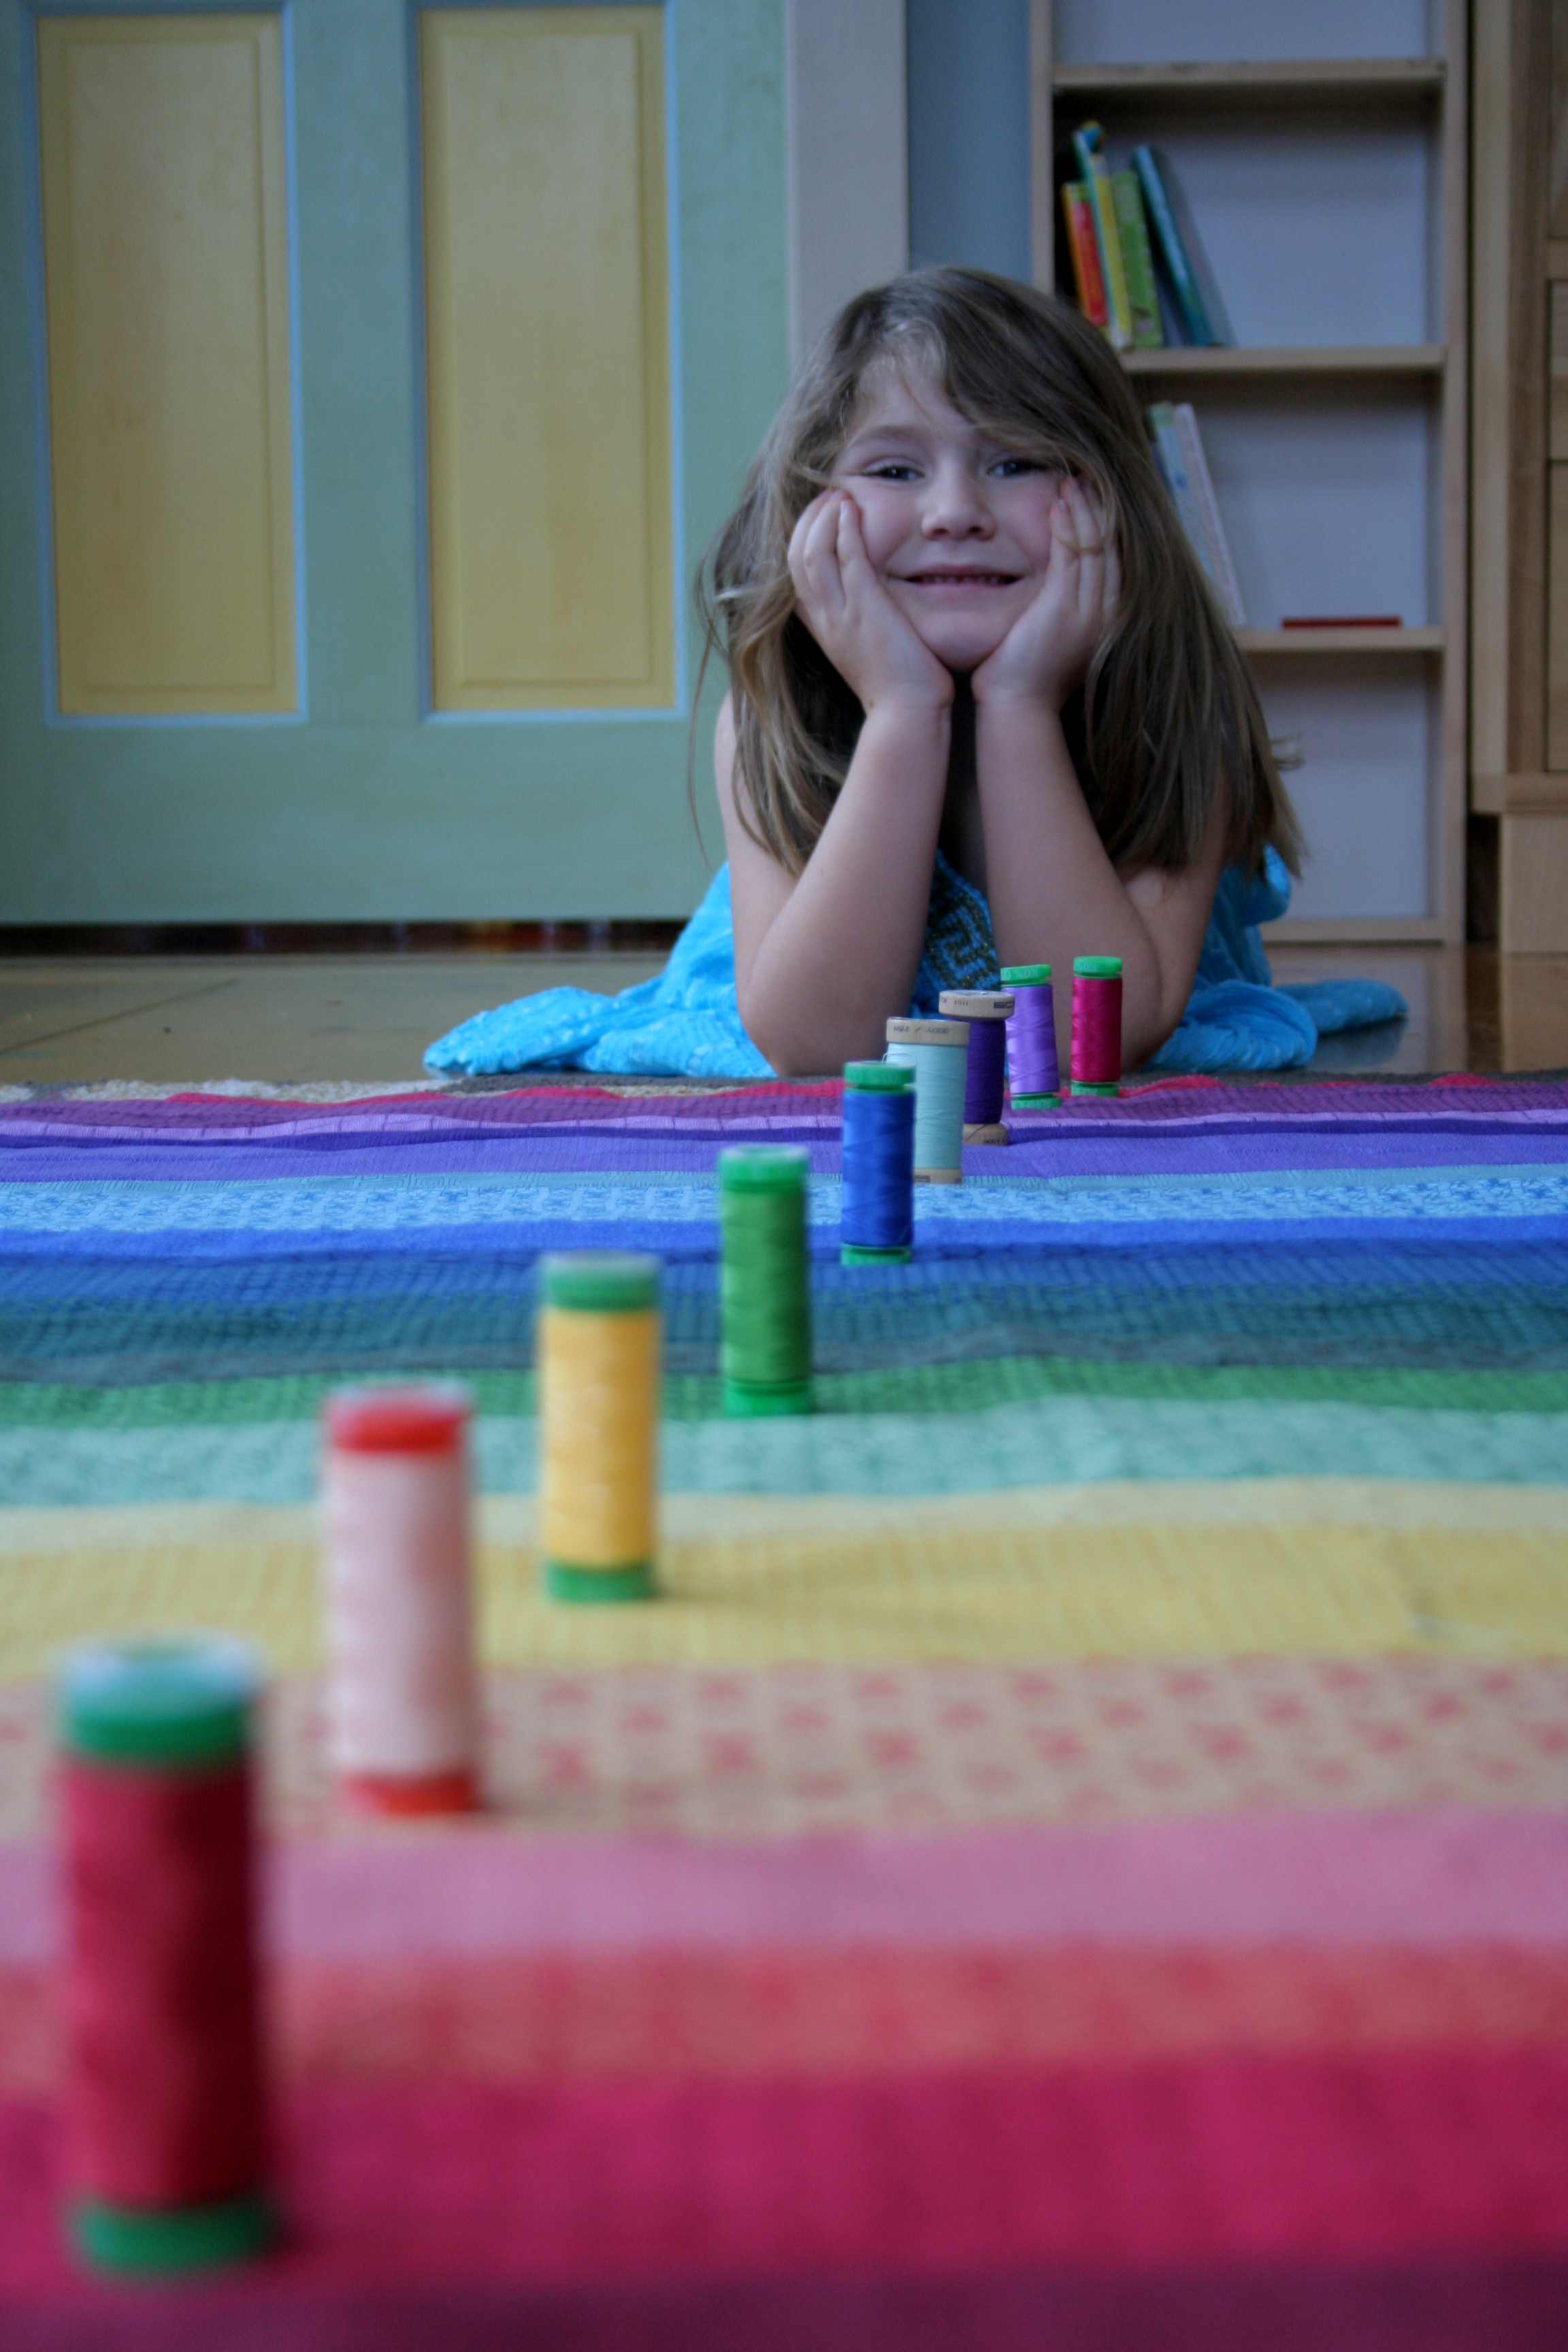
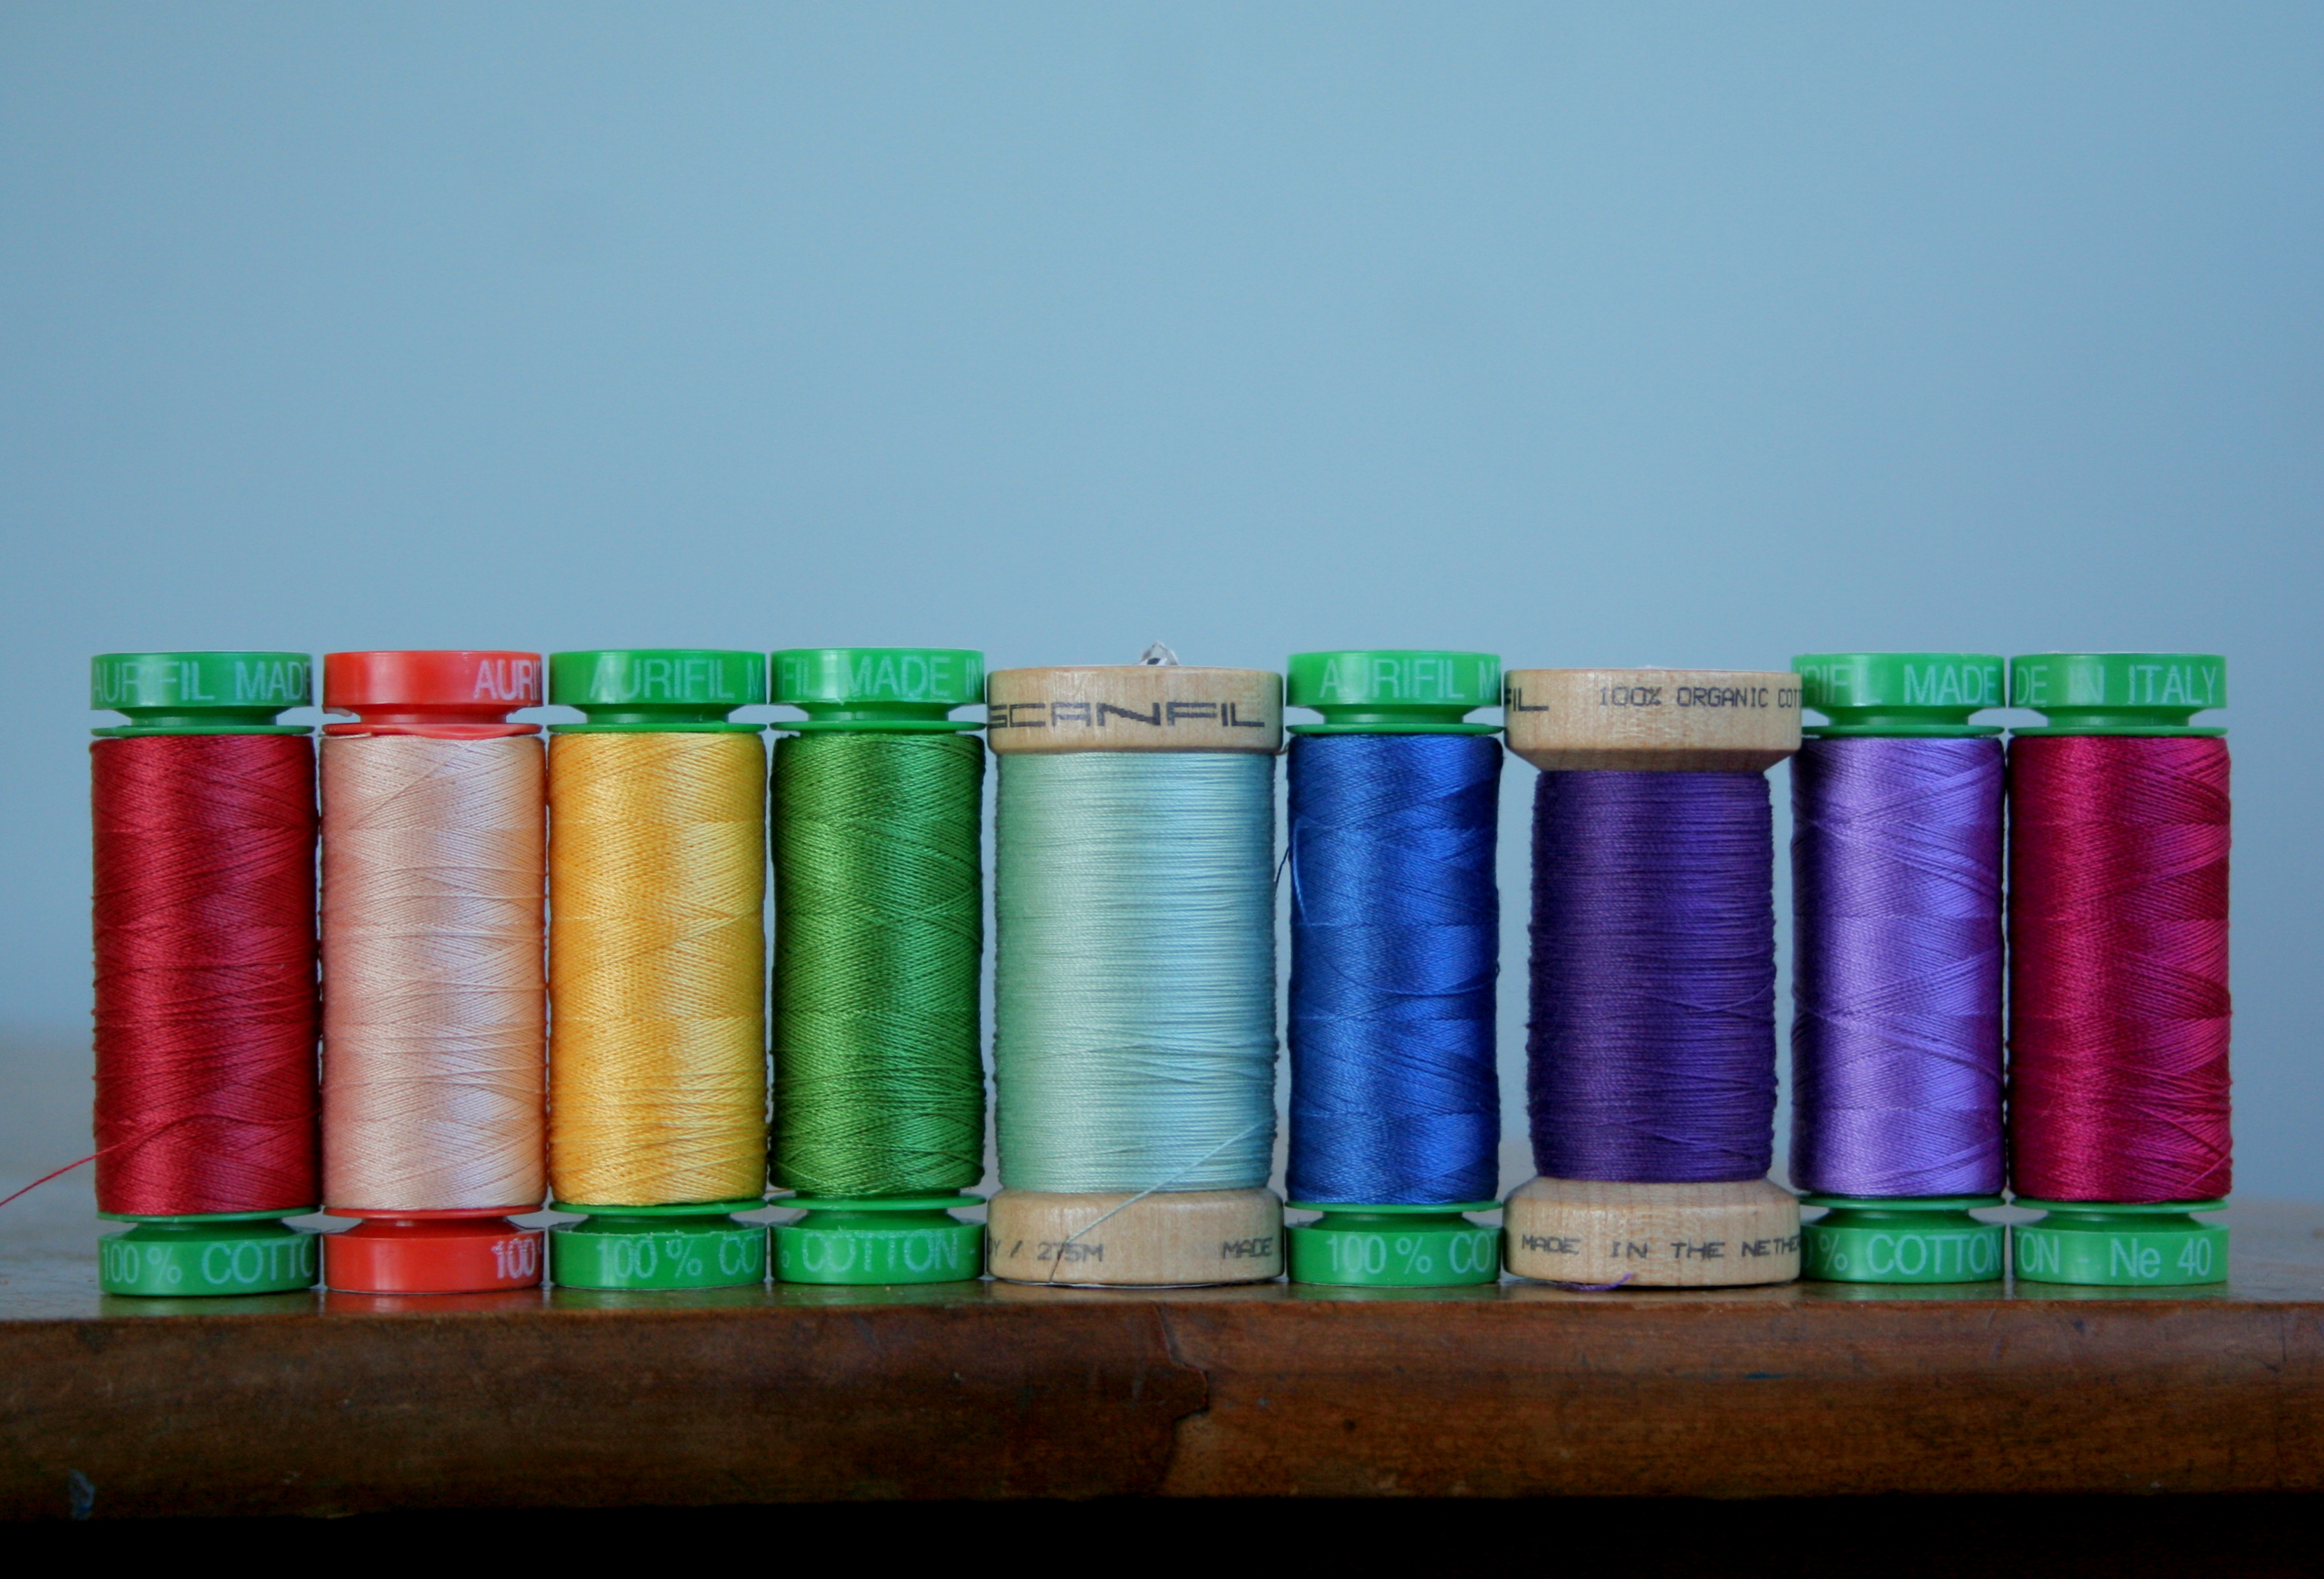
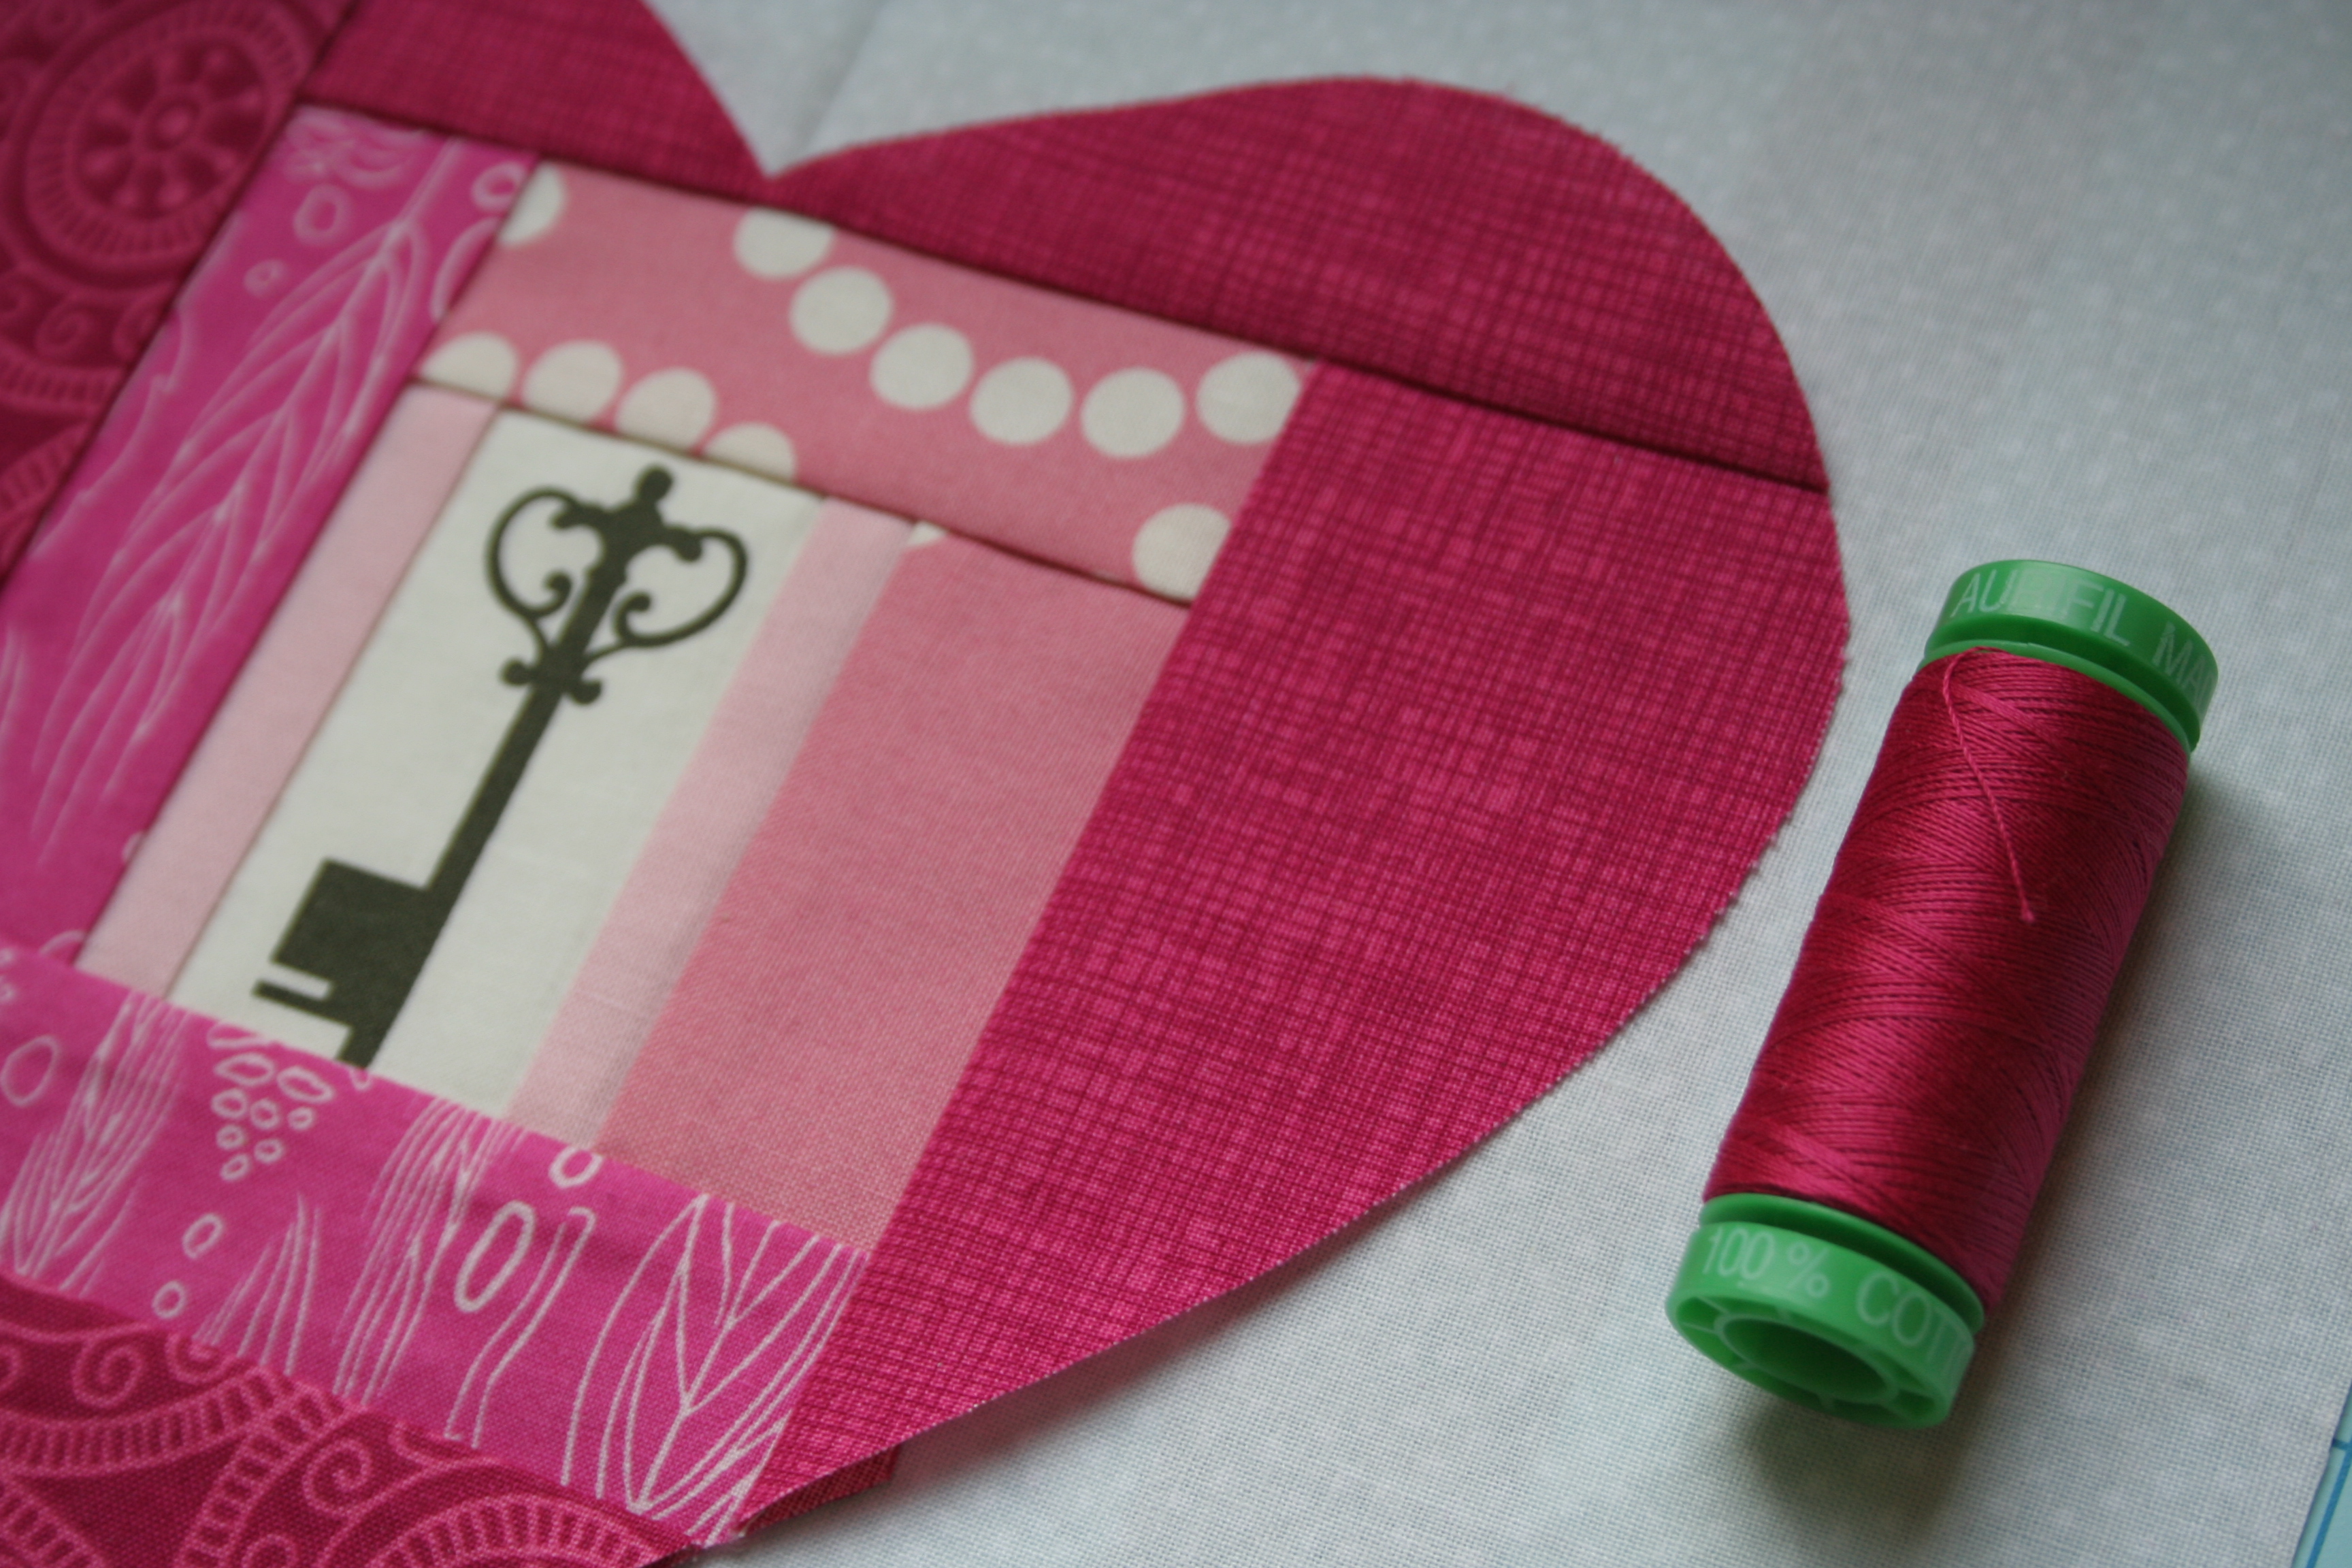
Find gorgeous matching thread. (I love Aurifil, and there’s almost always a perfect match!).
Step 7
Quilt and finish as desired.

I would love to see if you create this block. Photos of your finished block can be posted in my Night Quilter Creations group on Flickr found HERE, or can be added to the Craftsy page HERE. The first three (3) people to buy, complete, and upload a photo of a completed block to either the Flickr group or my Craftsy page will receive a full refund OR choice of another pattern from my shop. How about that for sharing the love!?
Want to share the love some more? Instagram your blocks and tag me @nightquilter.
I’m linking up with Crazy Mom Quilts Finish it up Friday. Share the love ❤


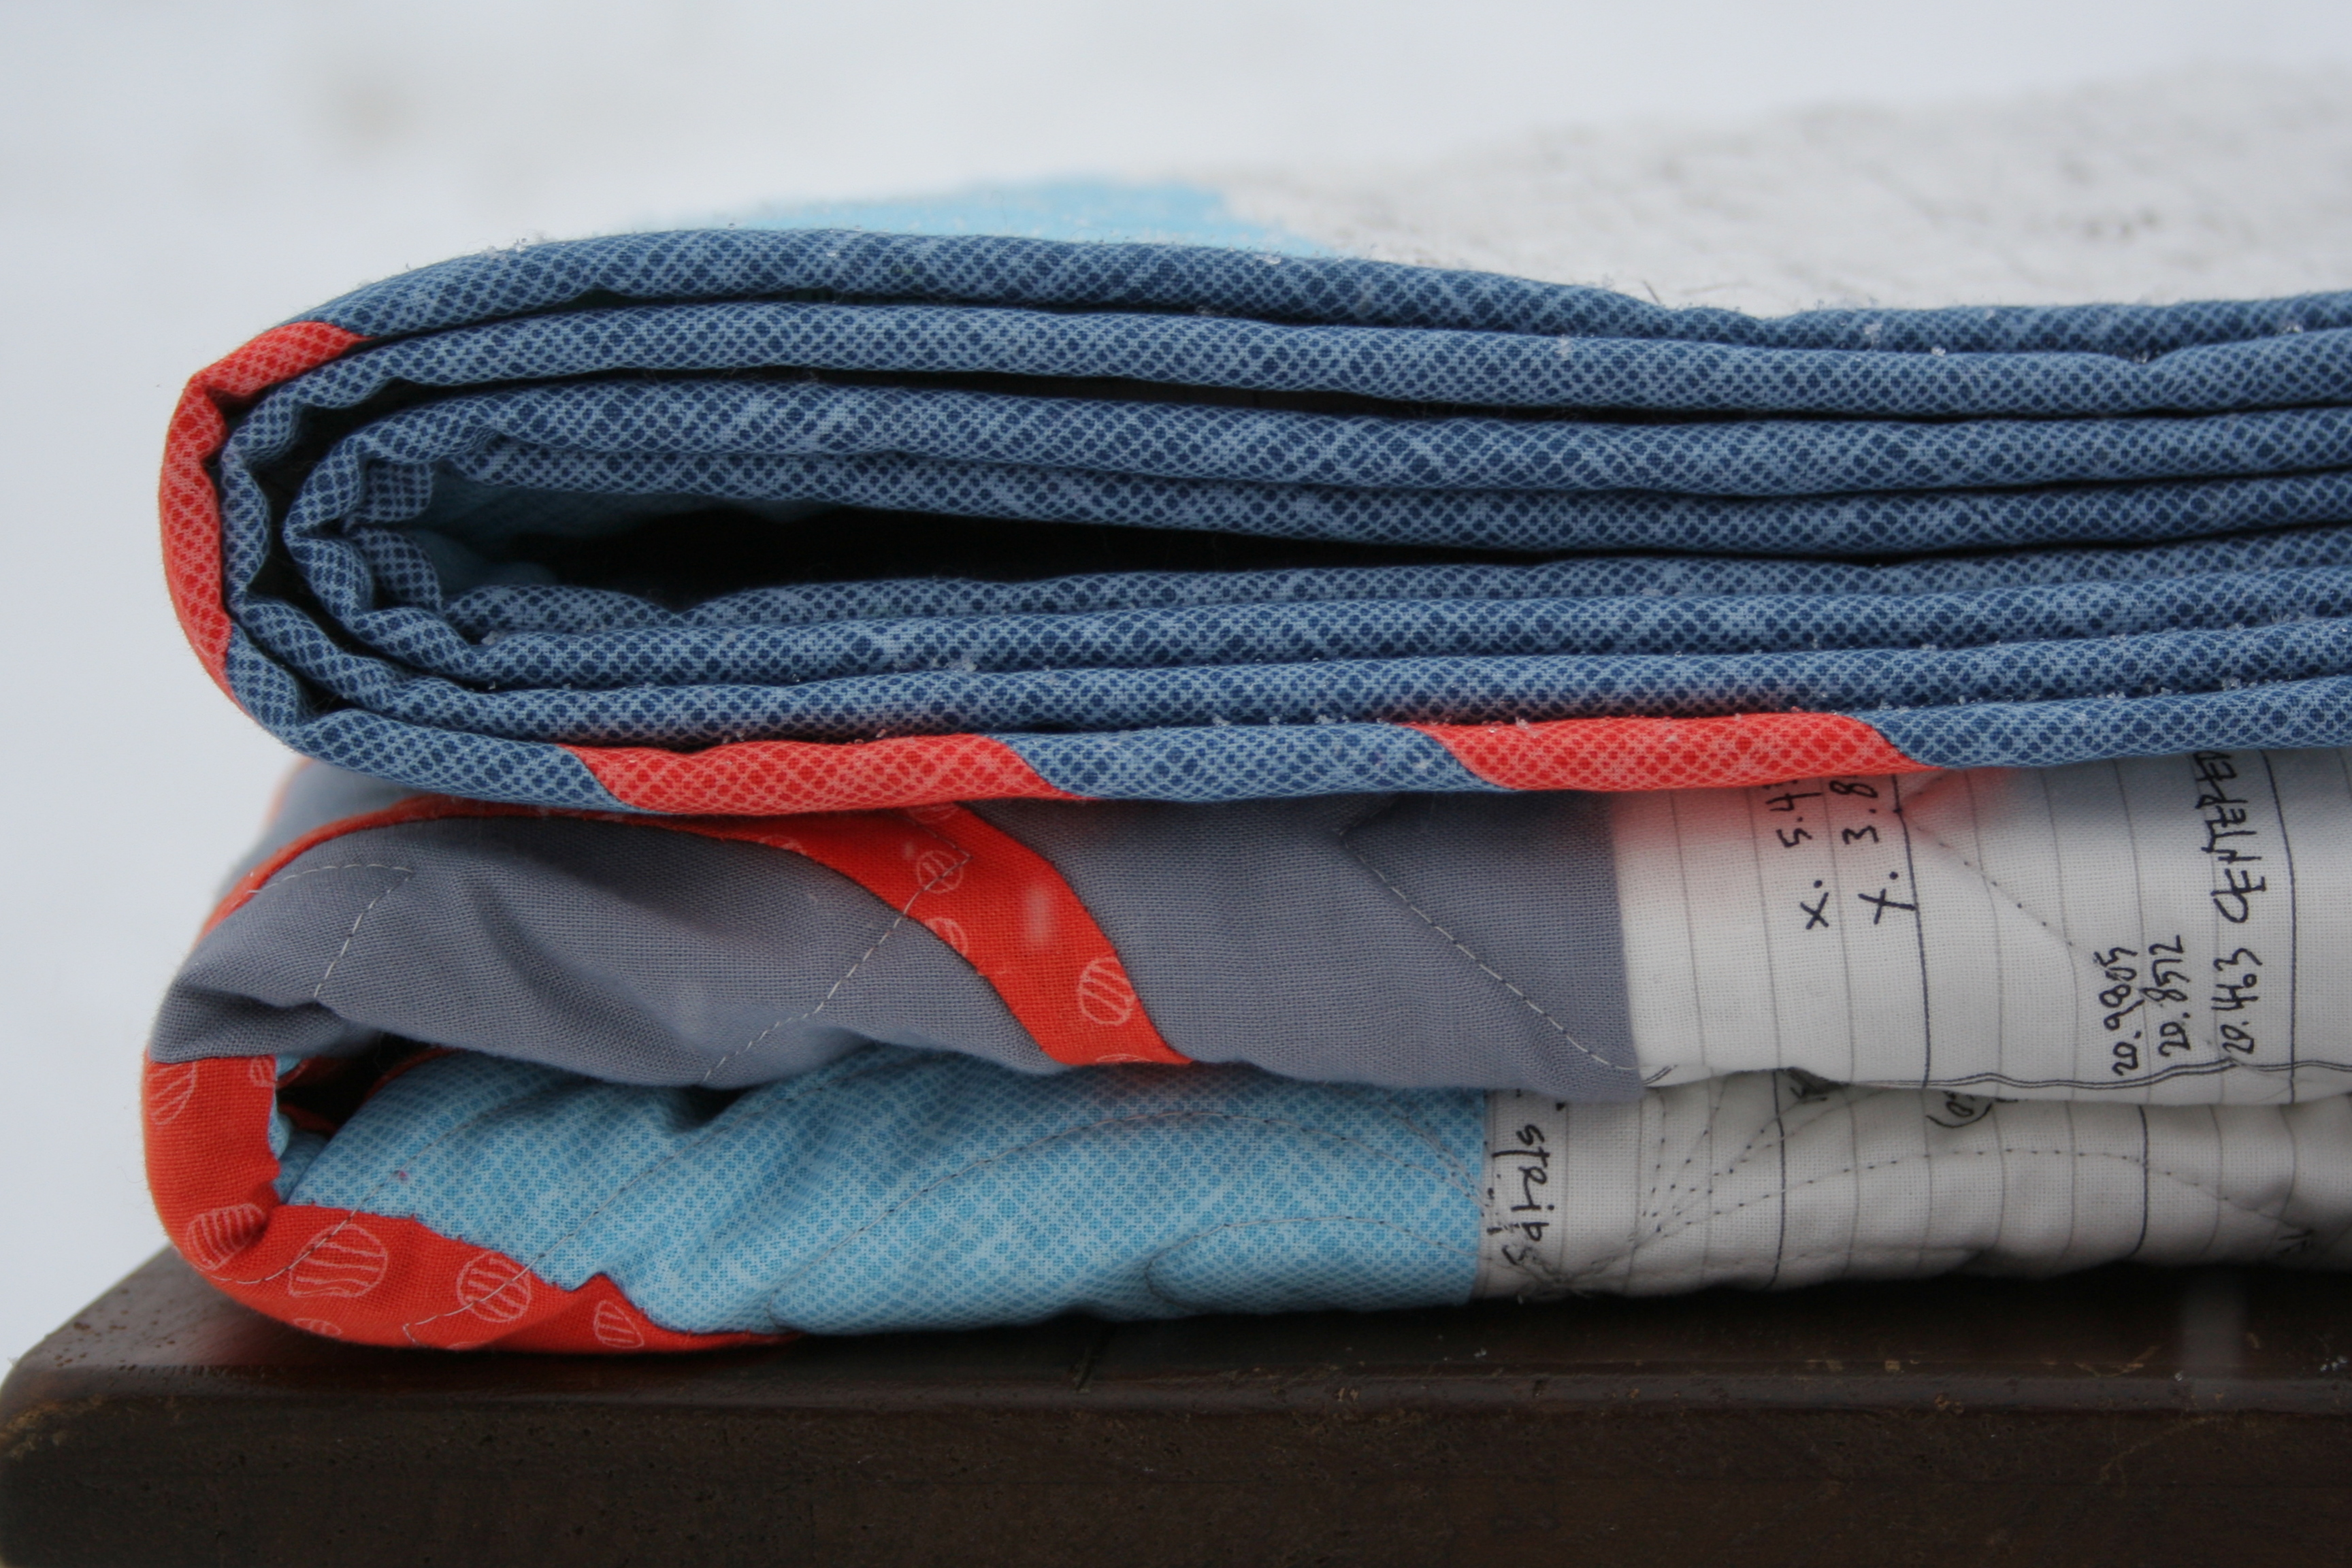
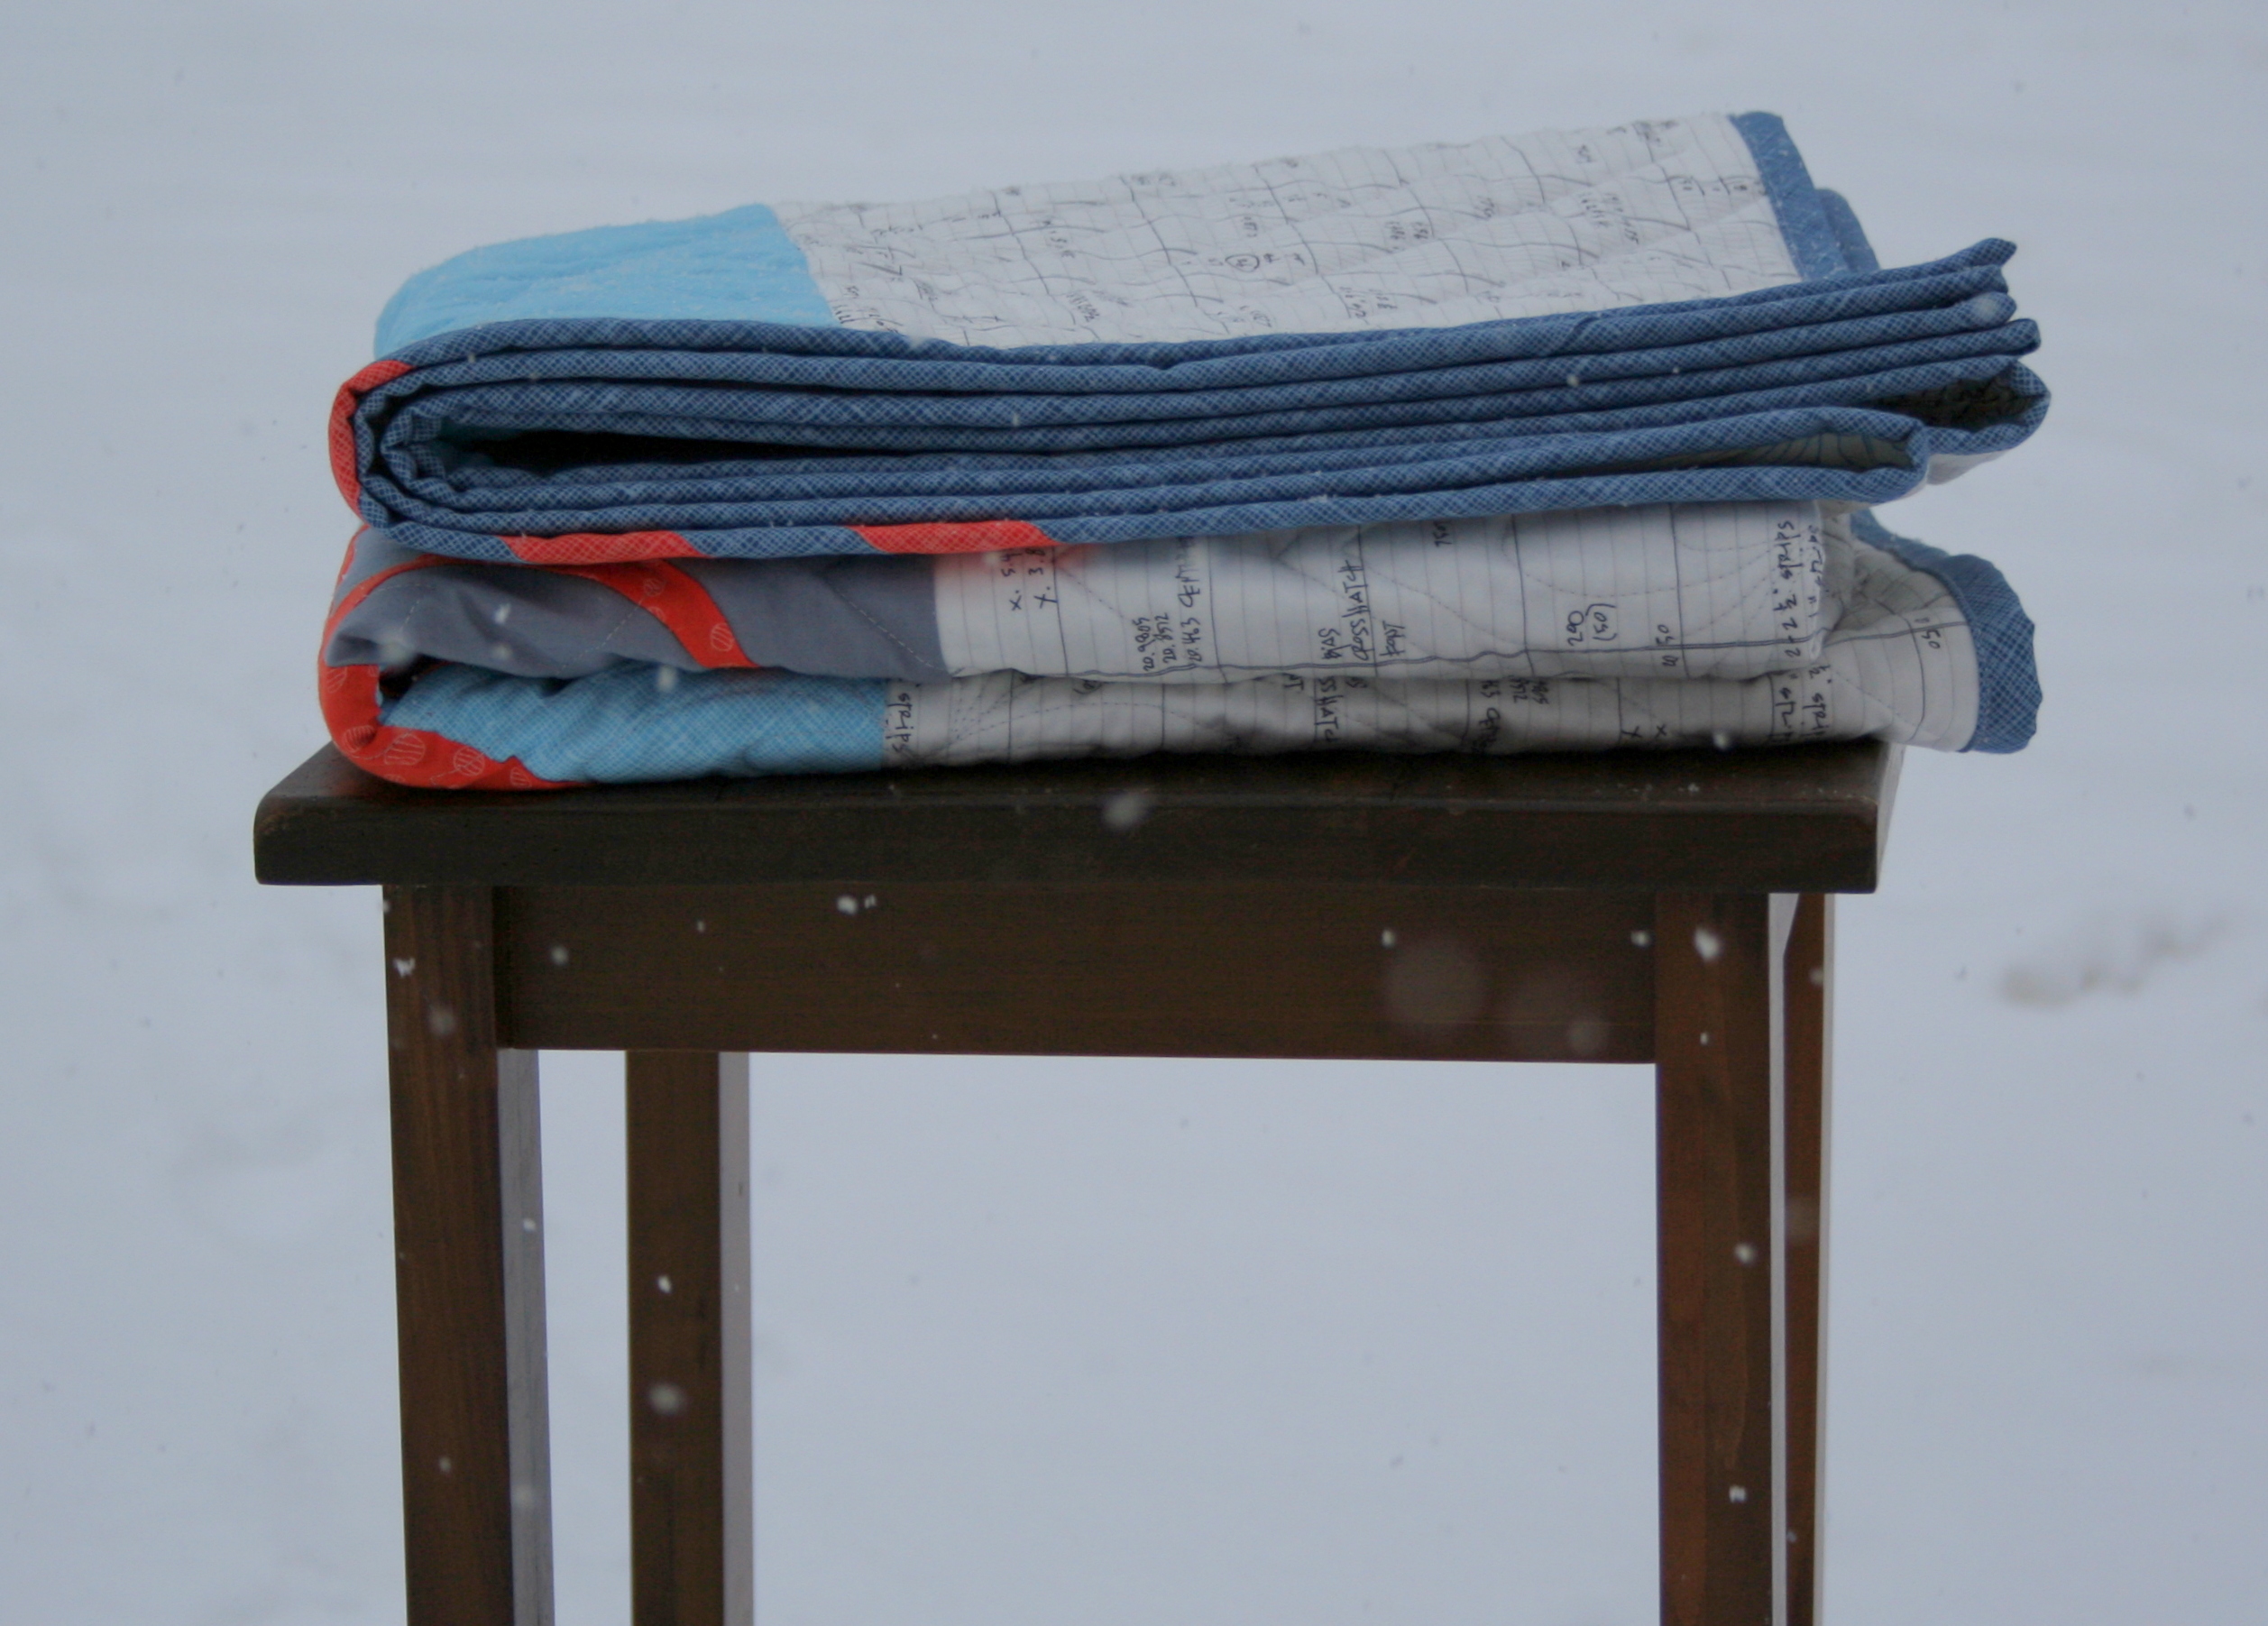
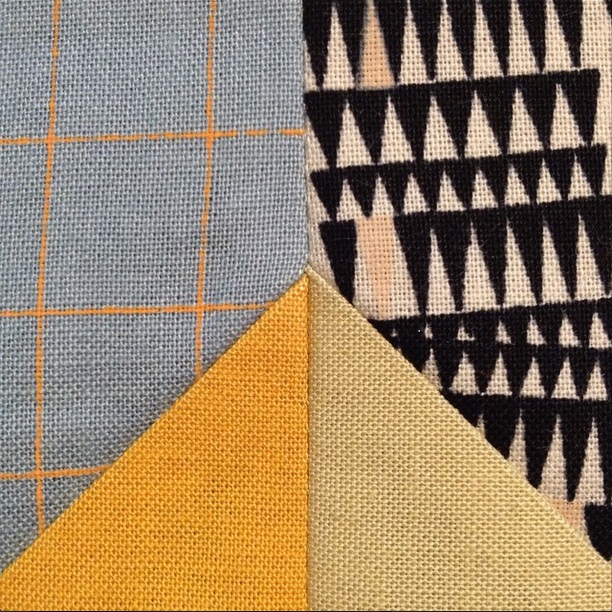
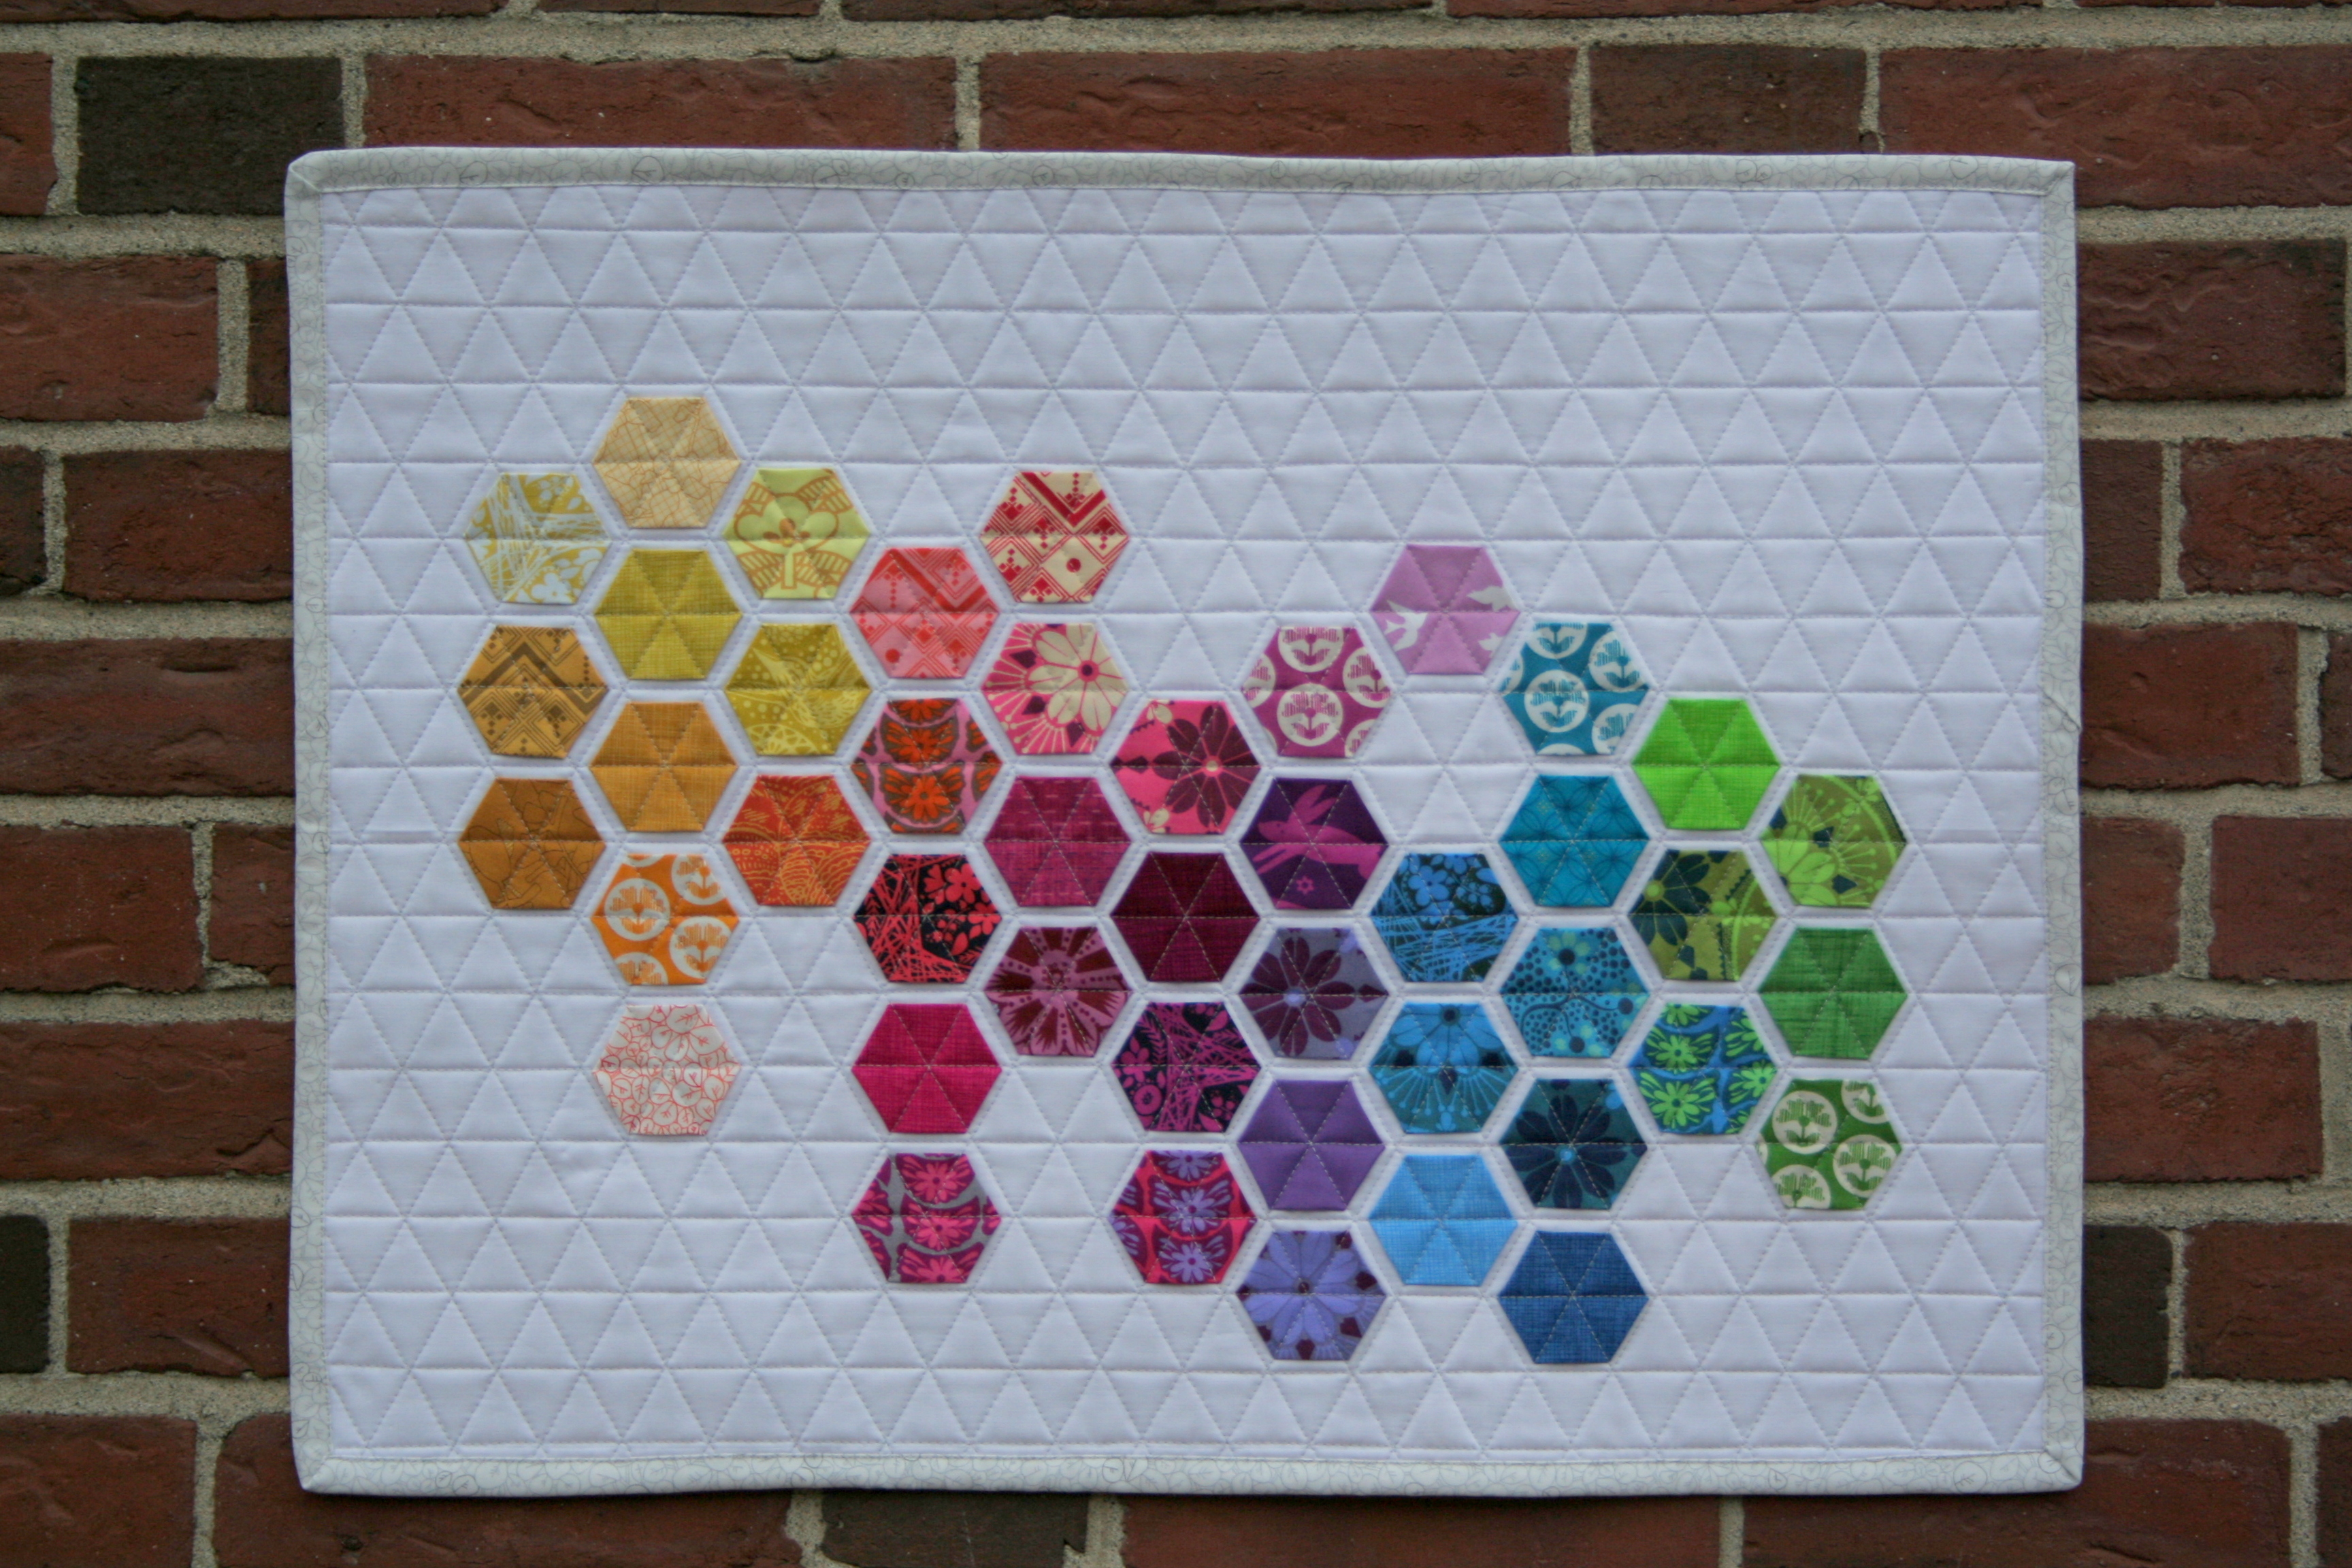
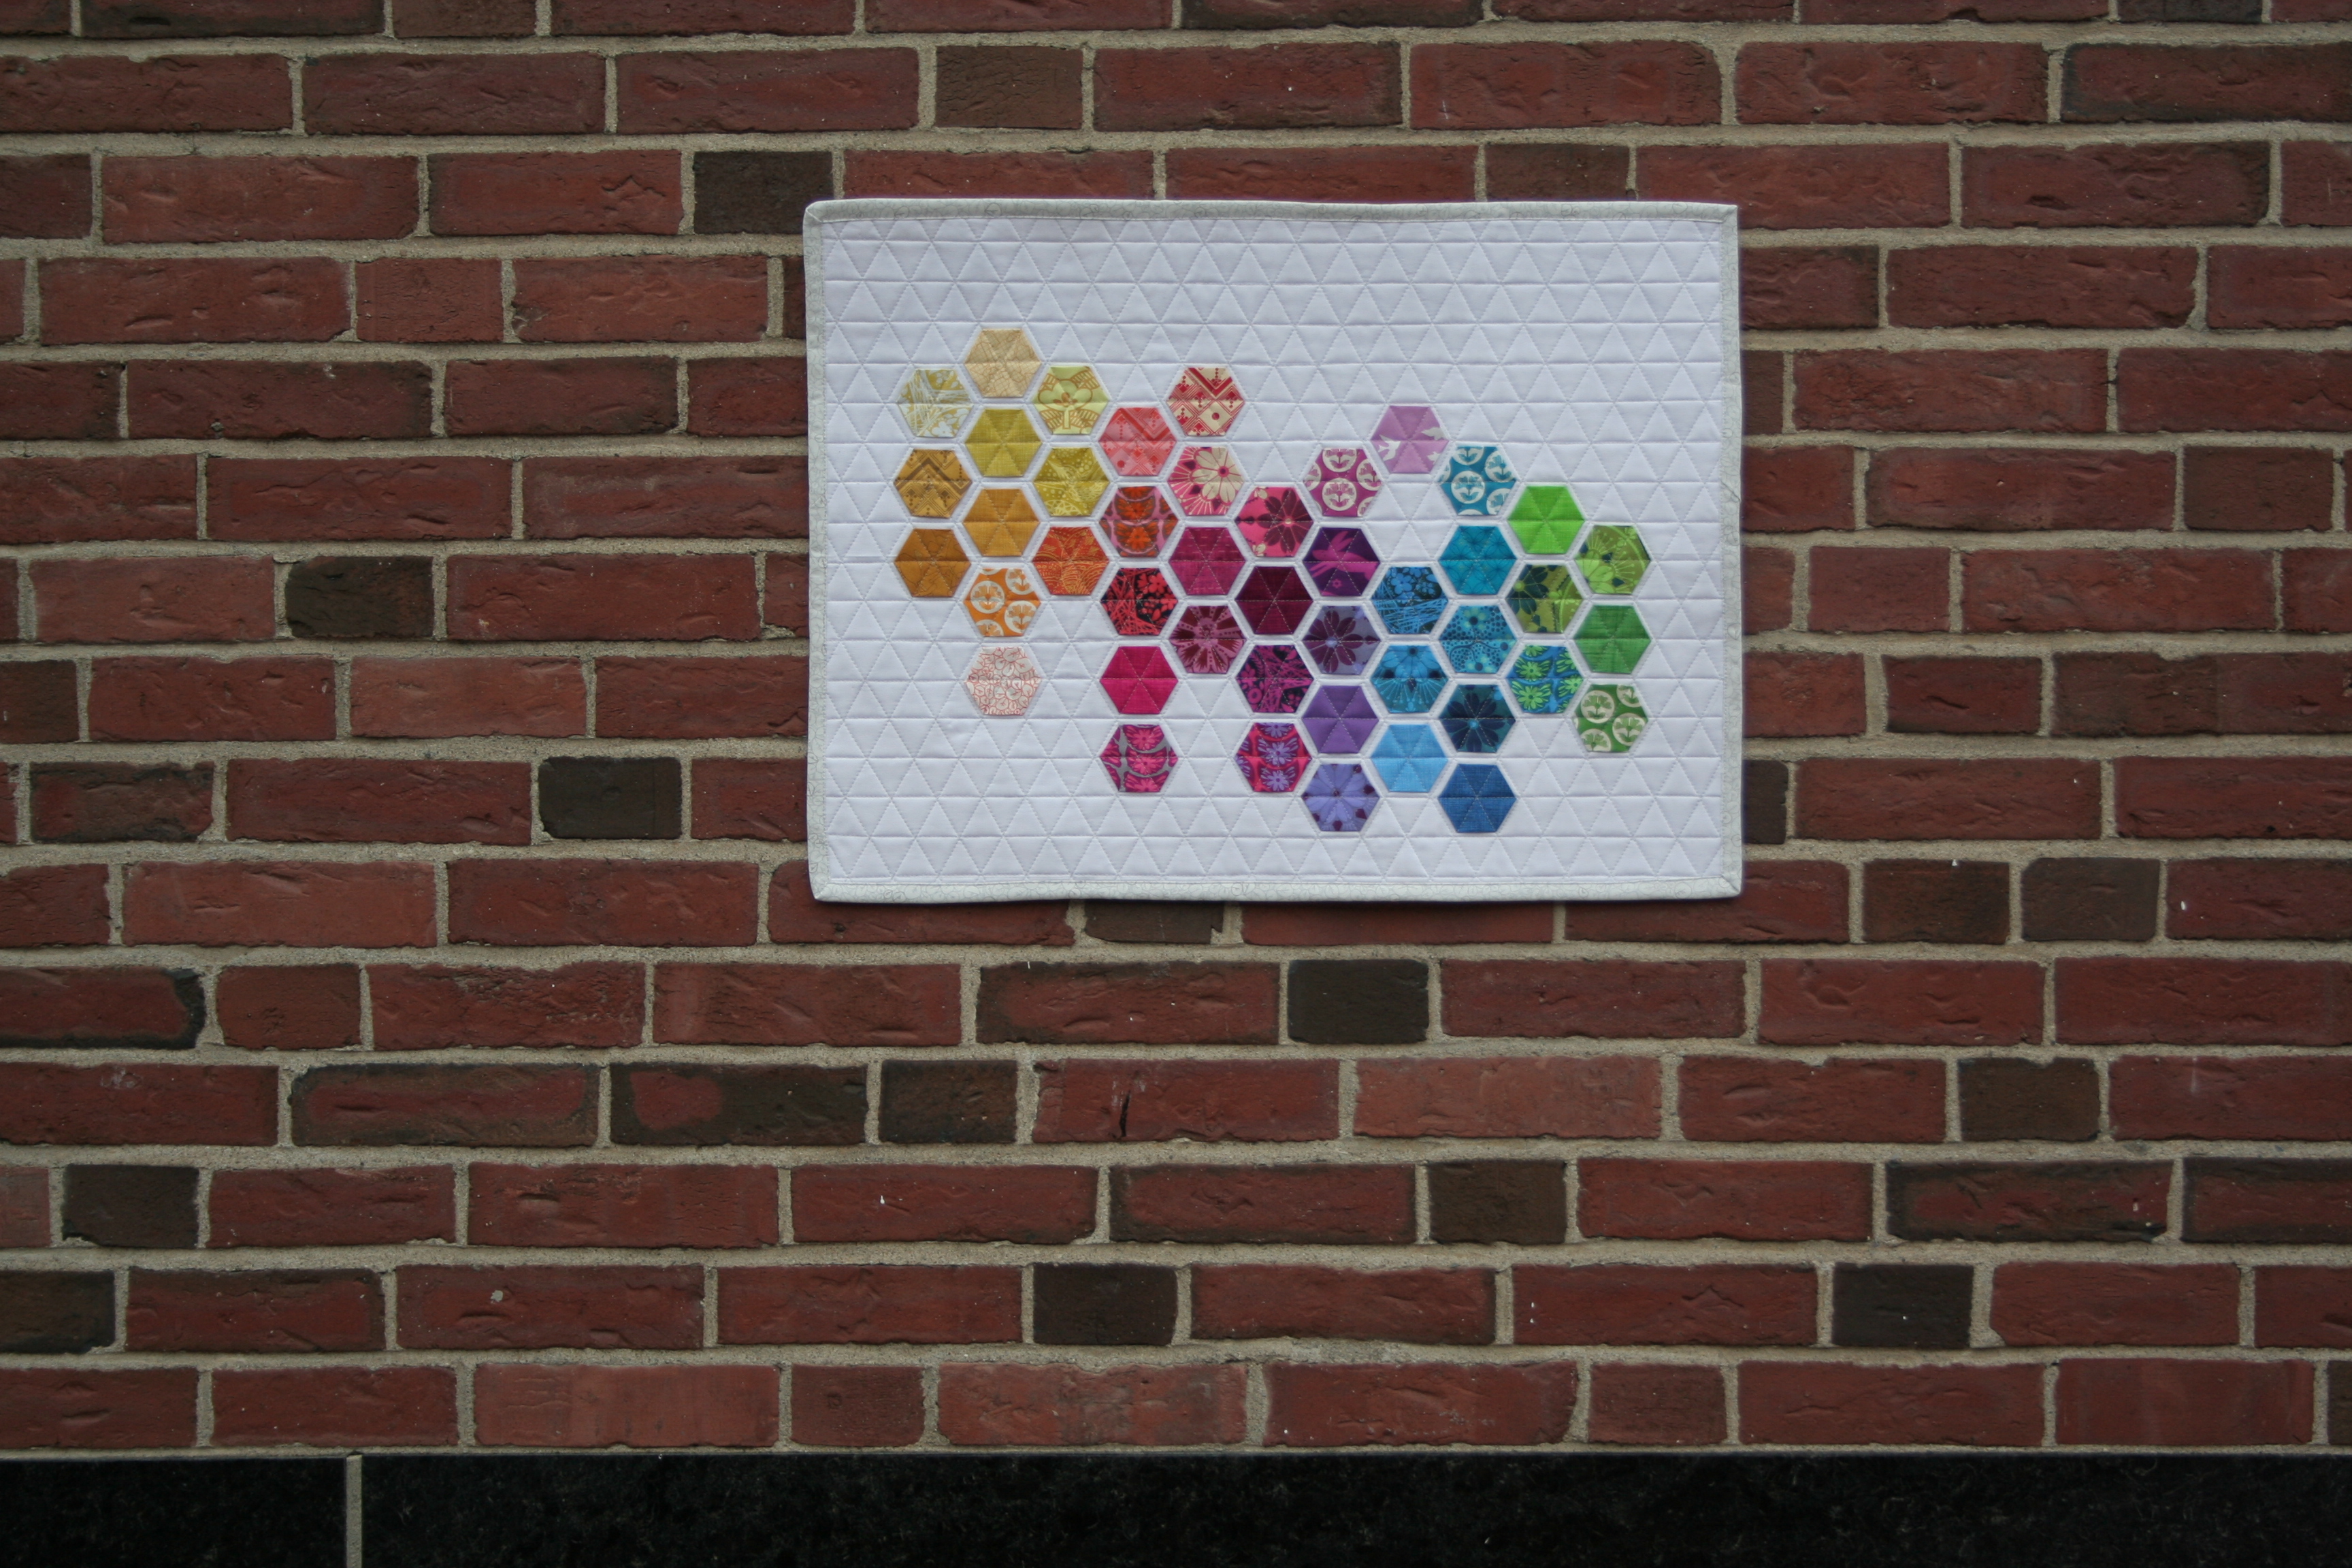
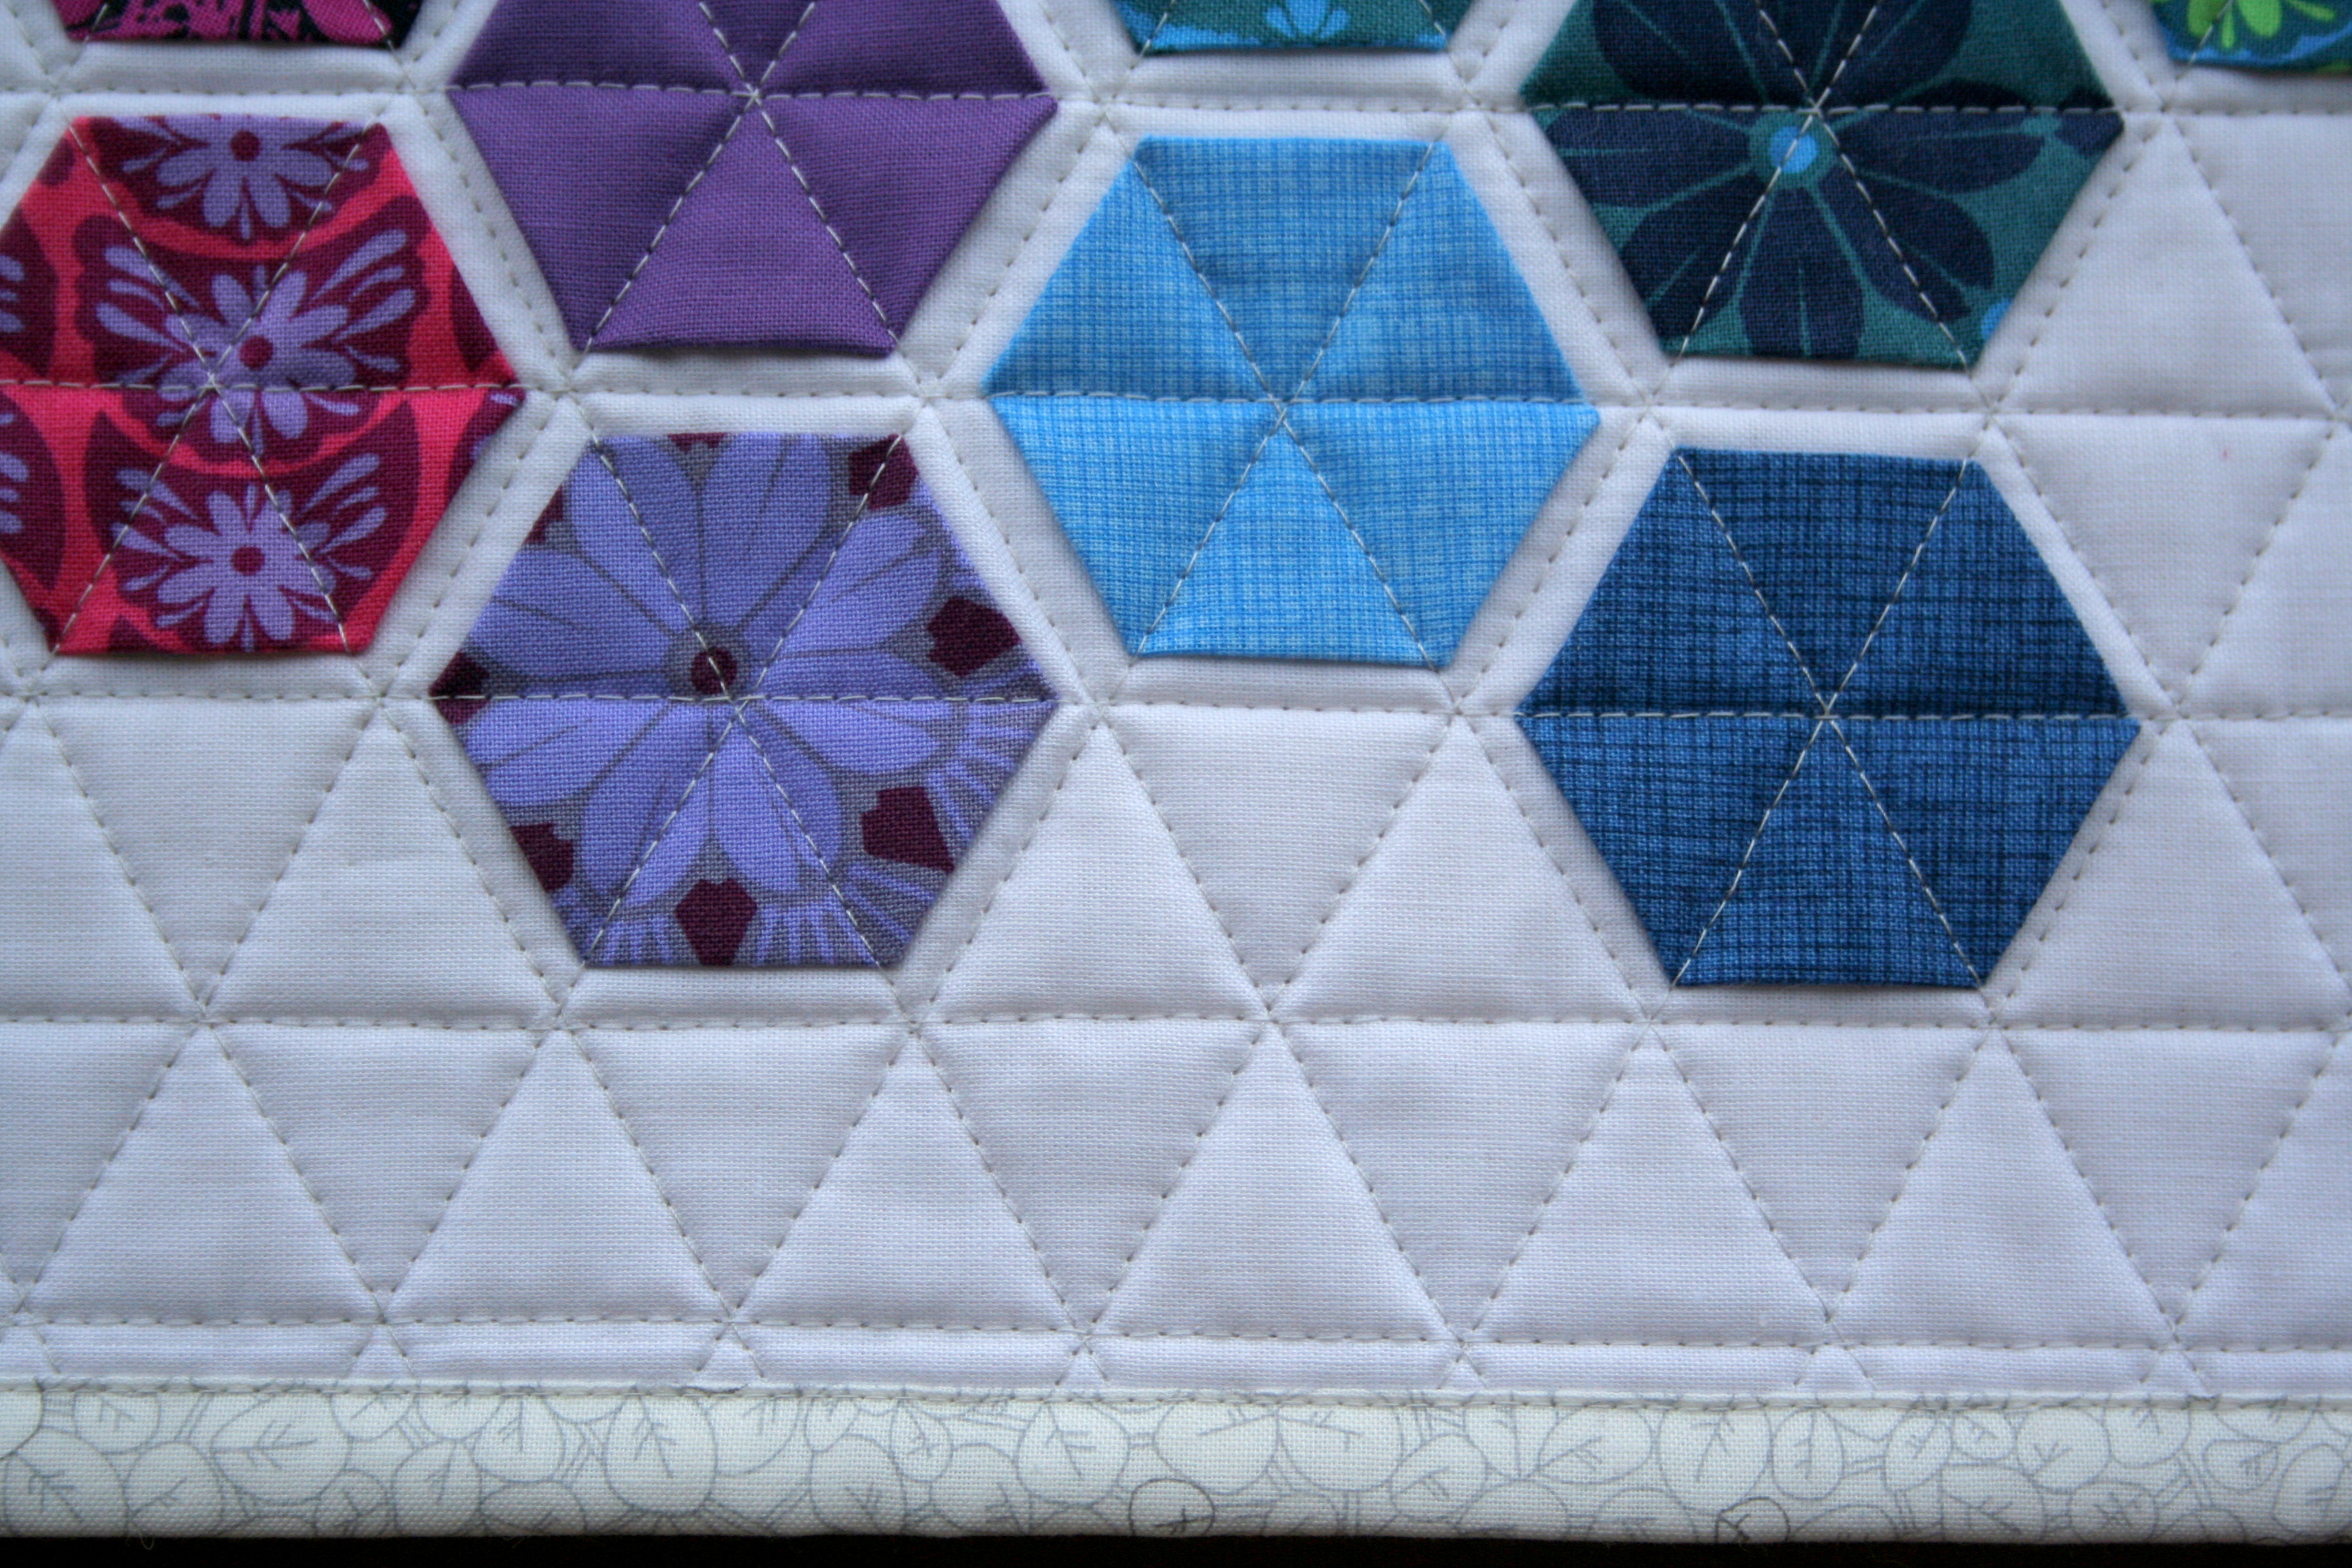
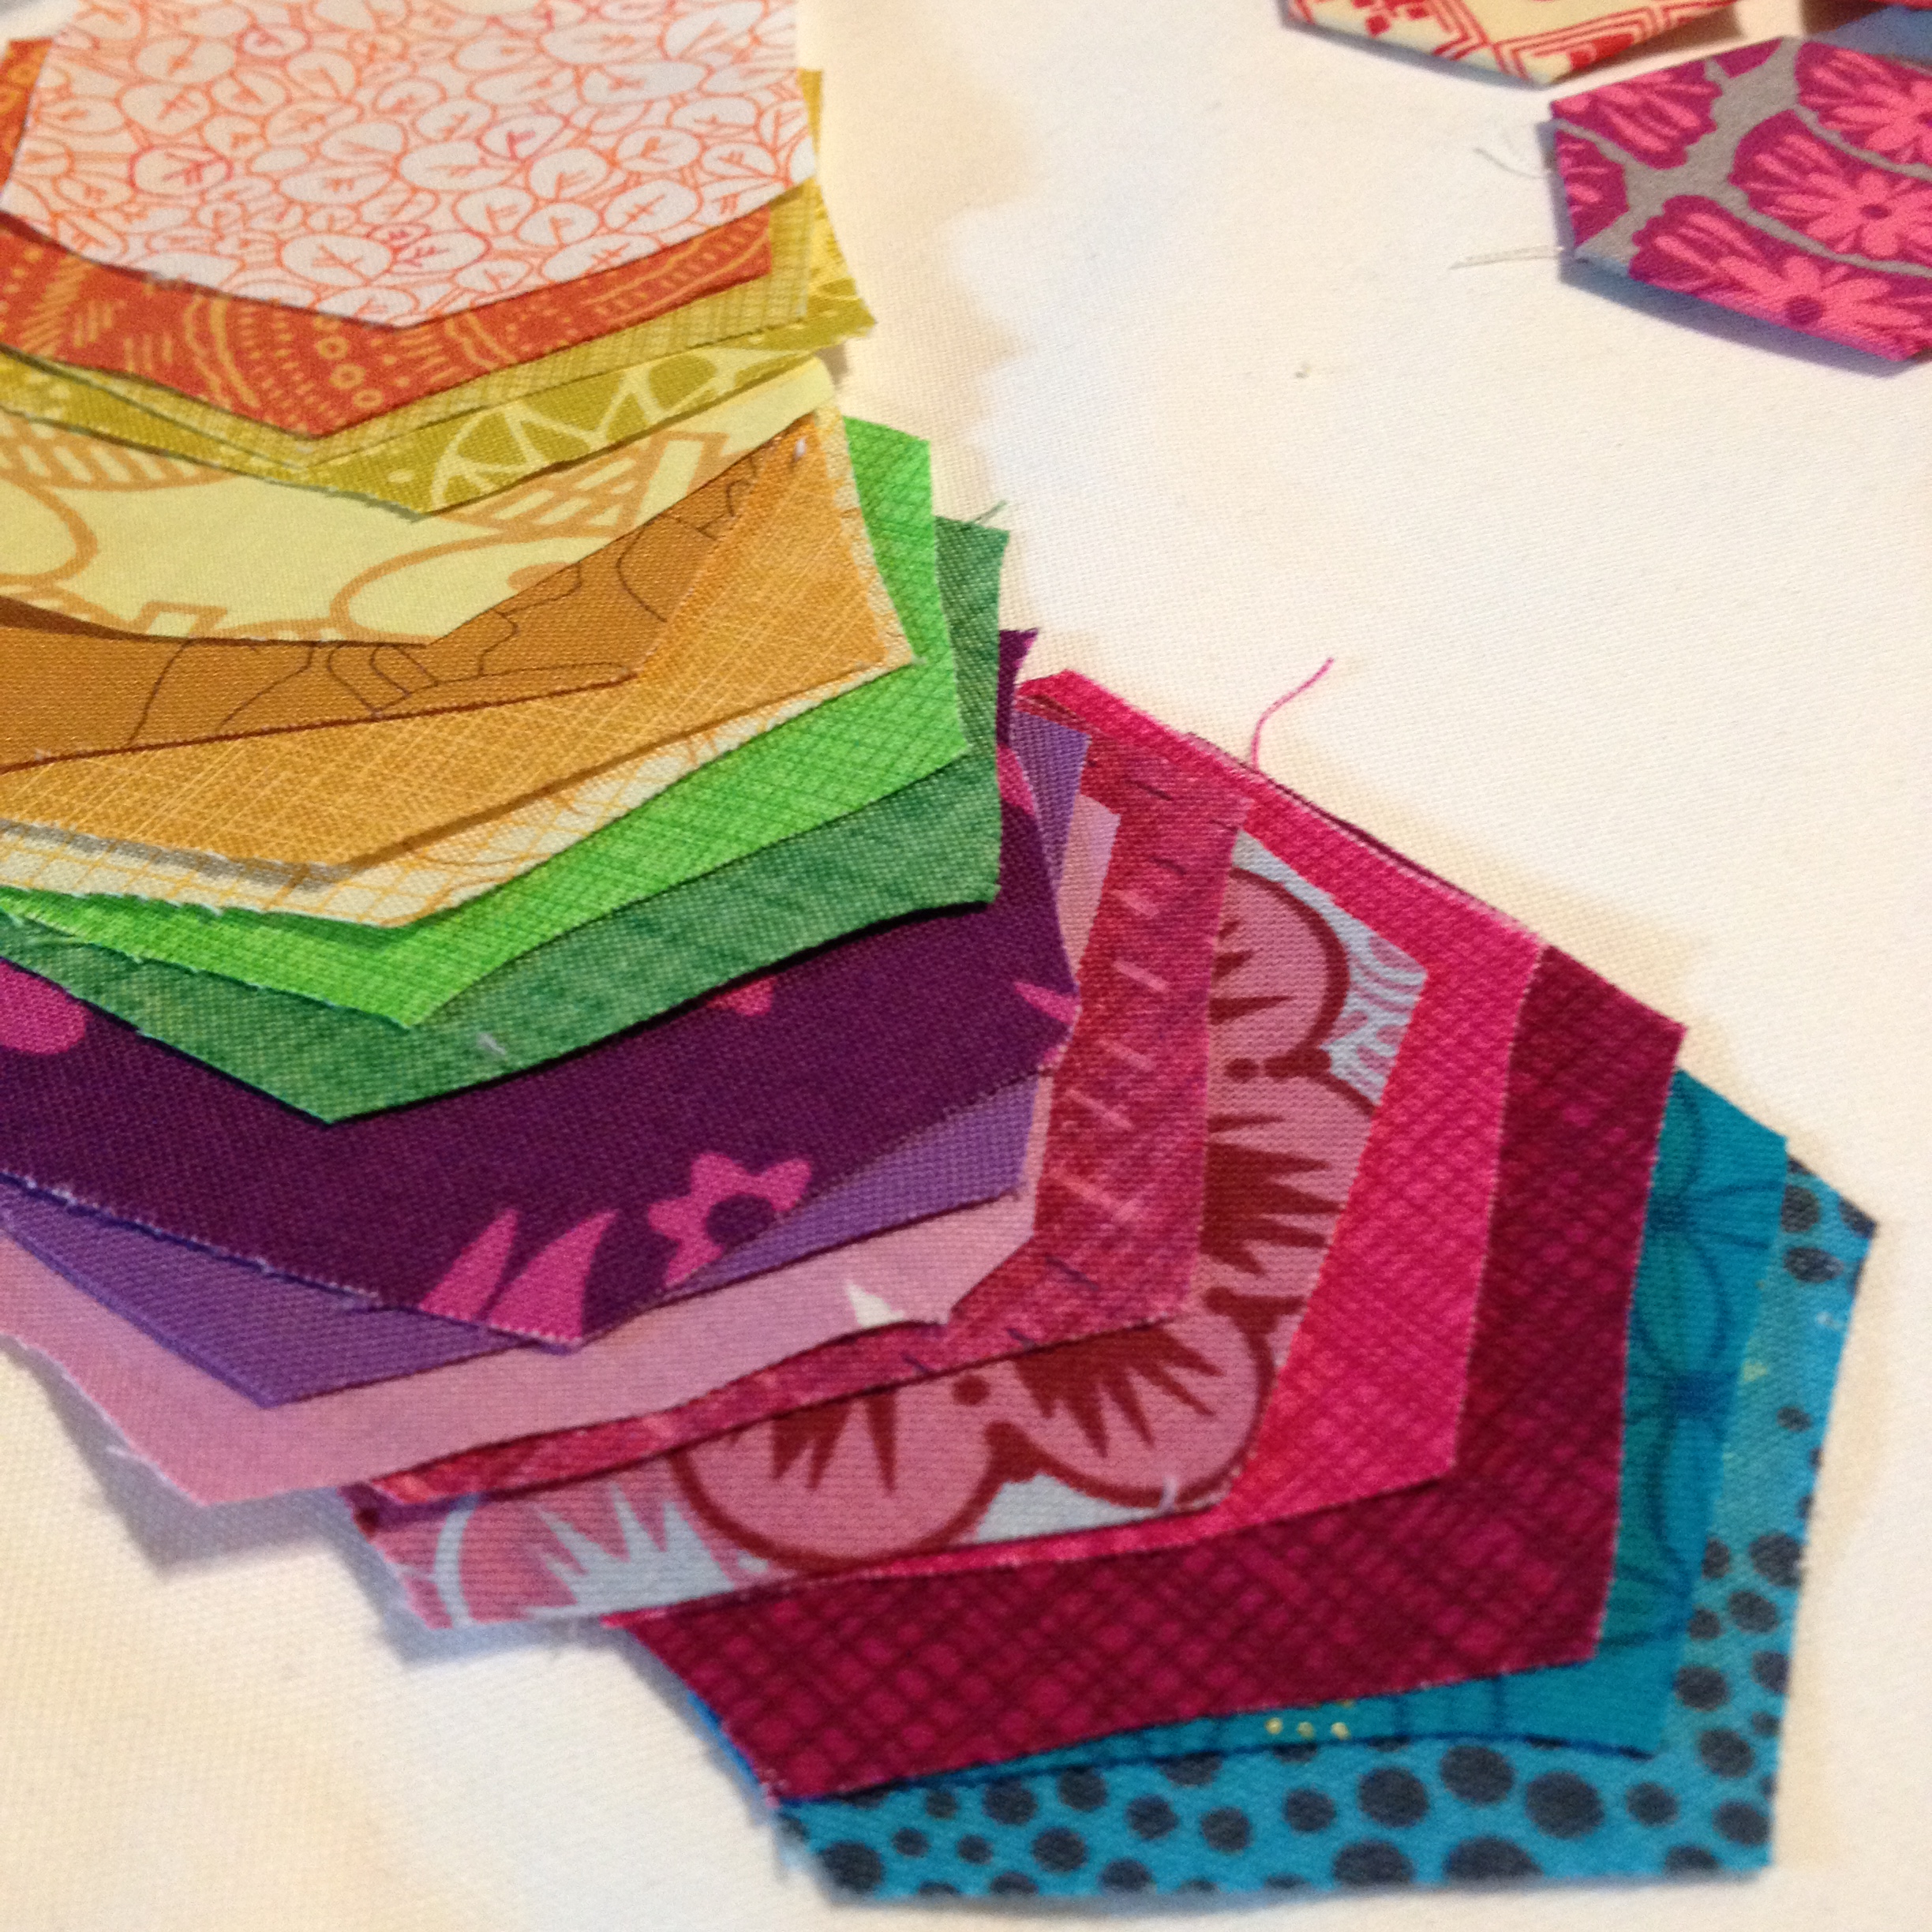
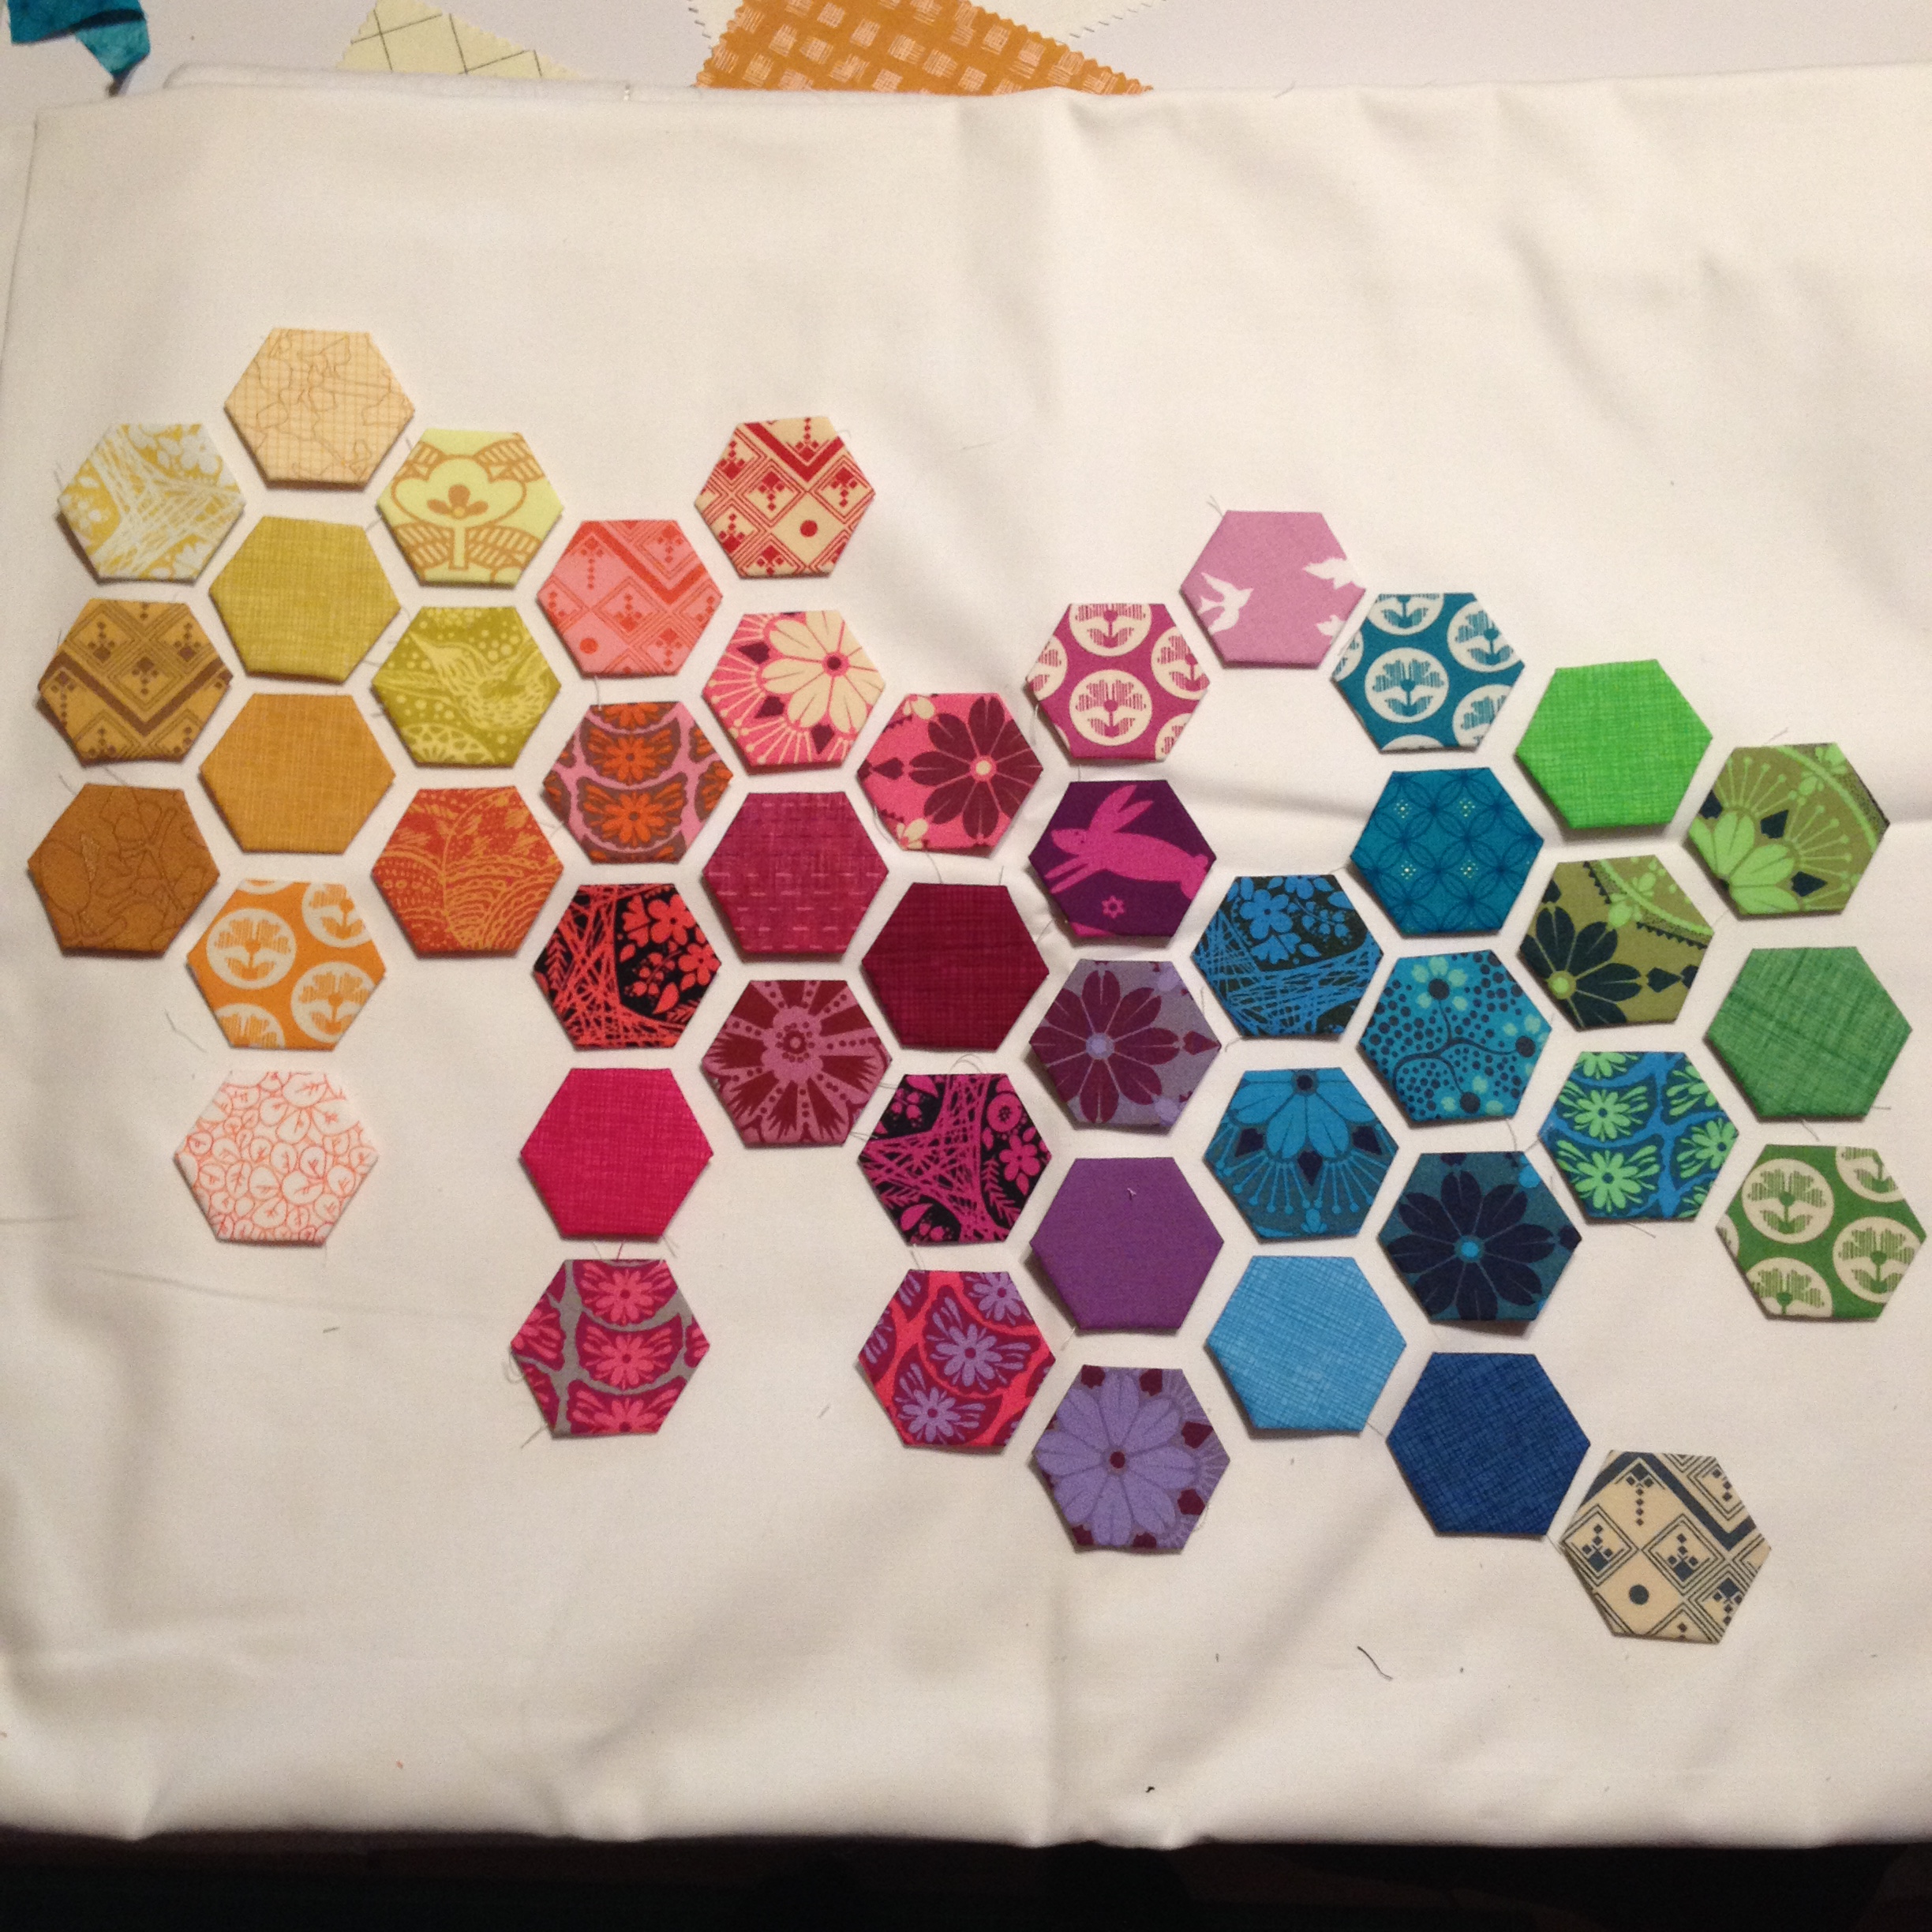
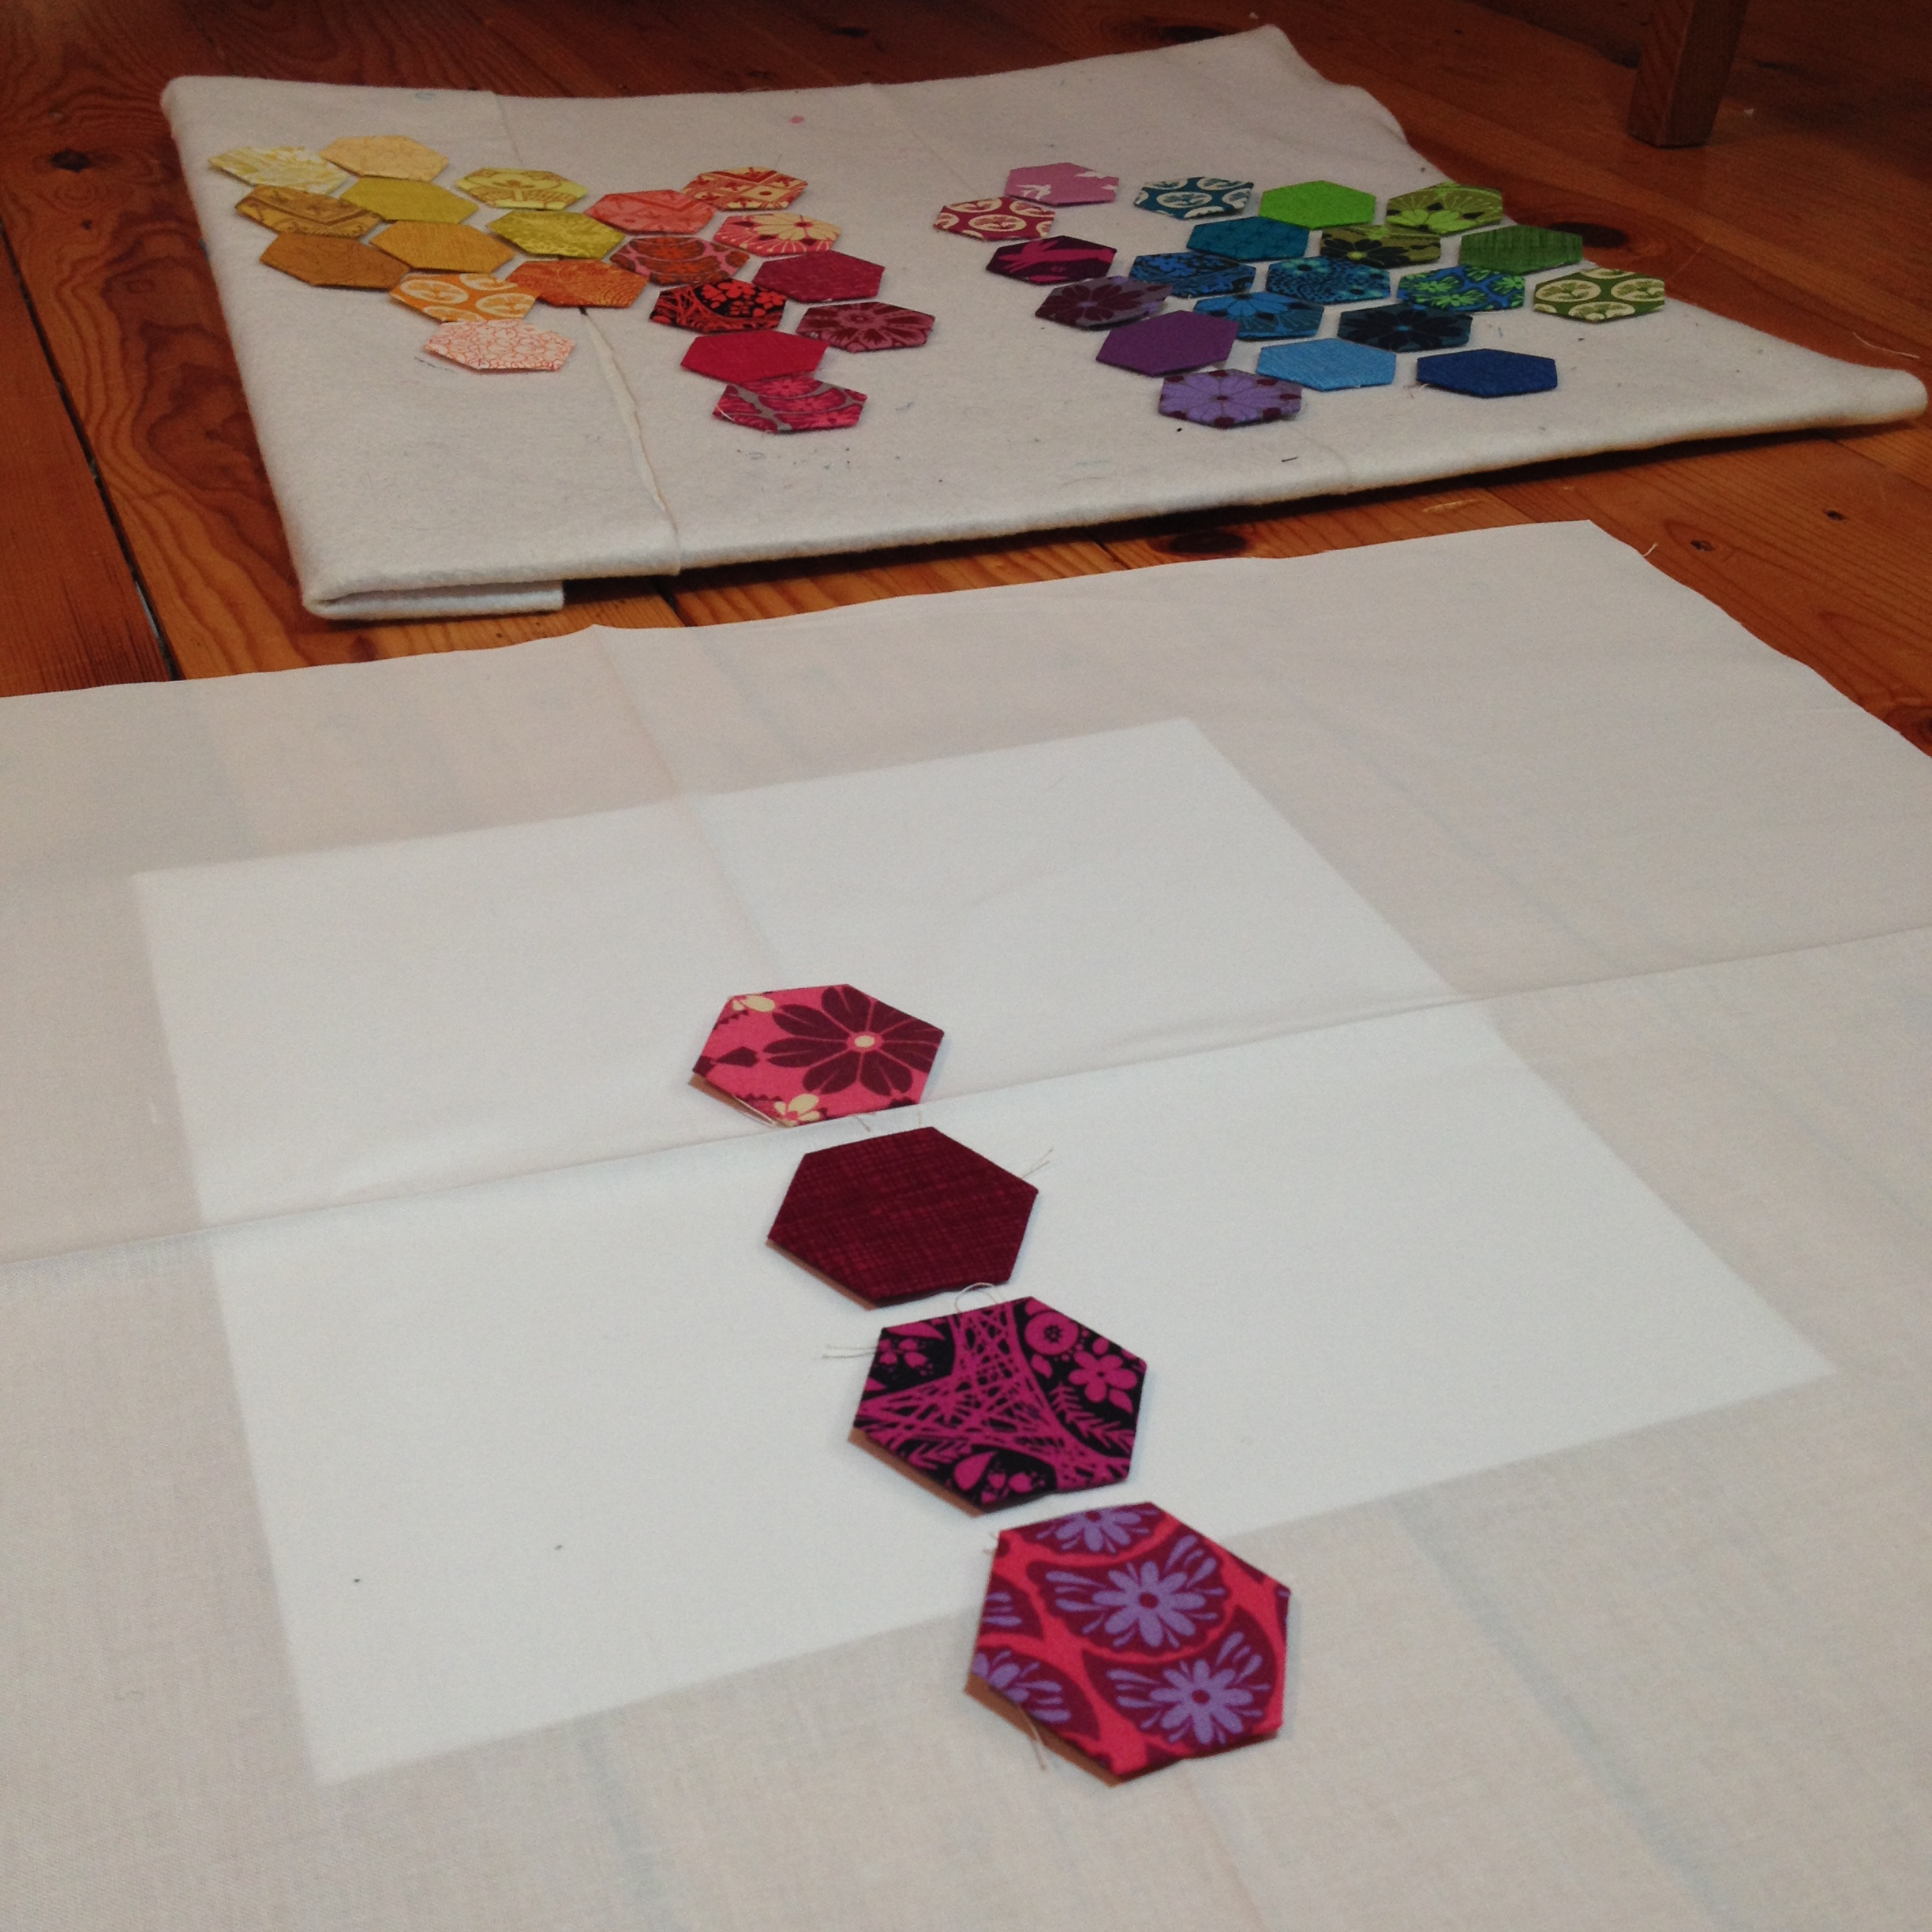
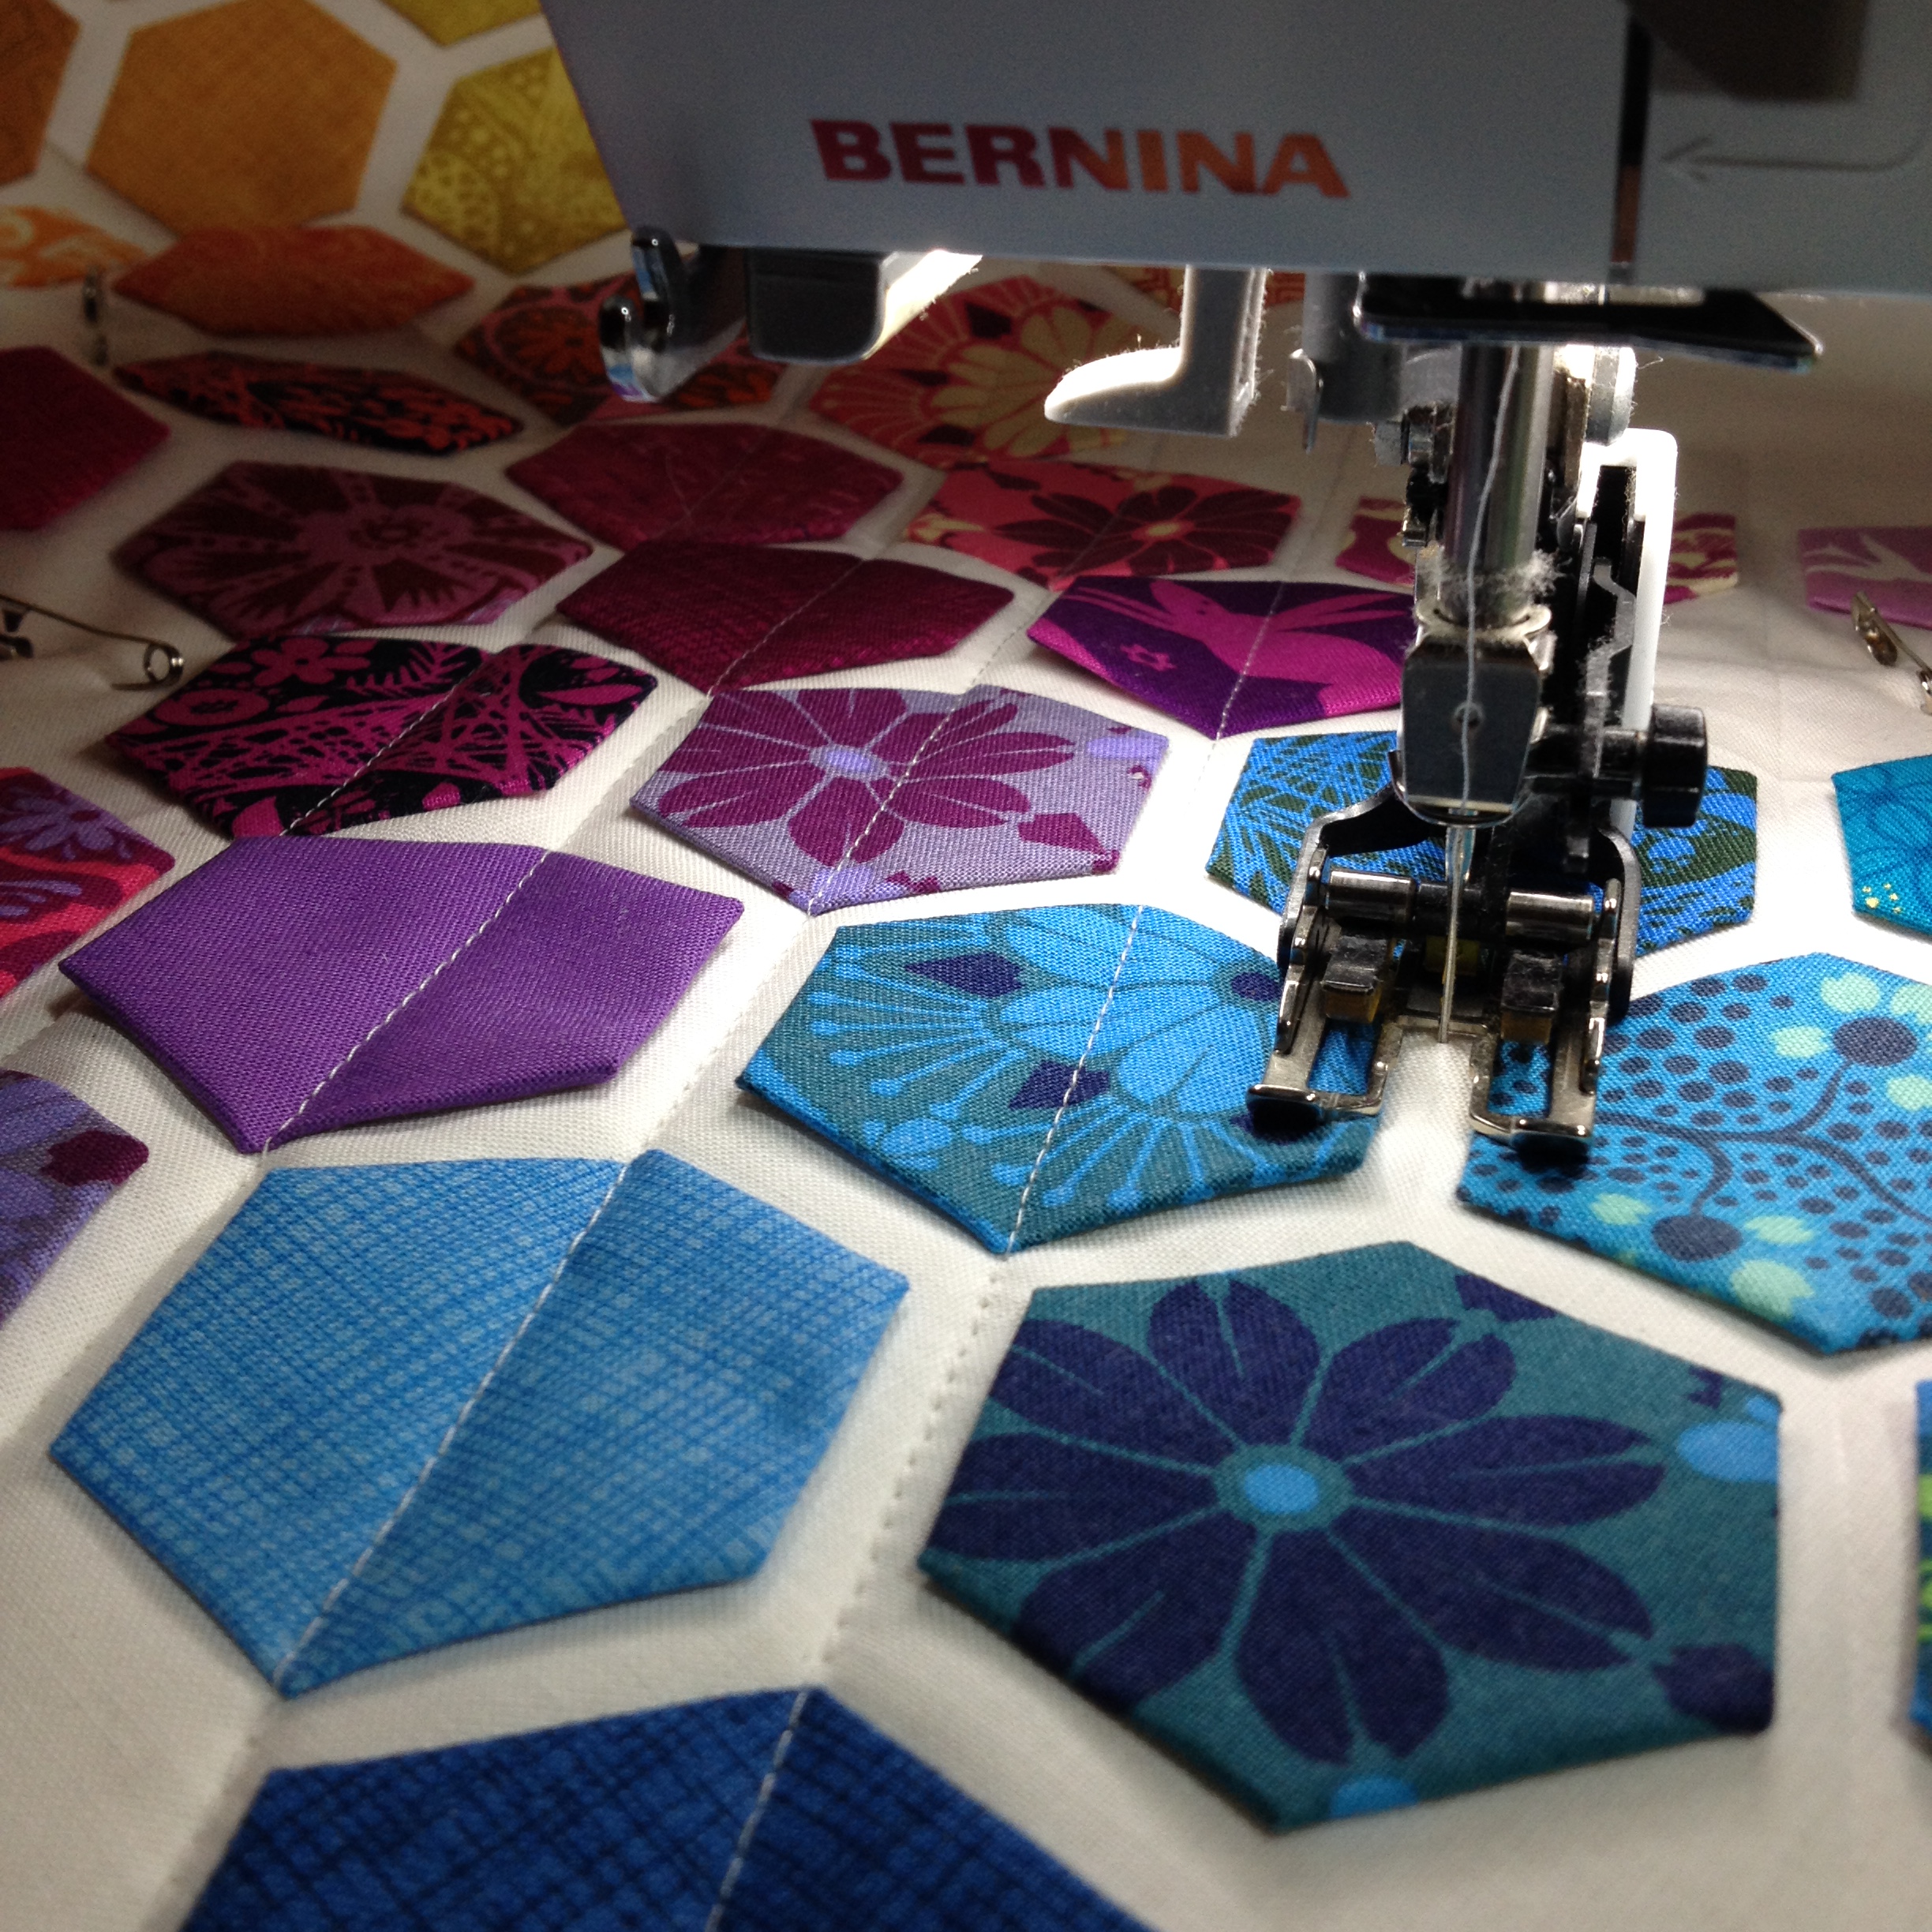
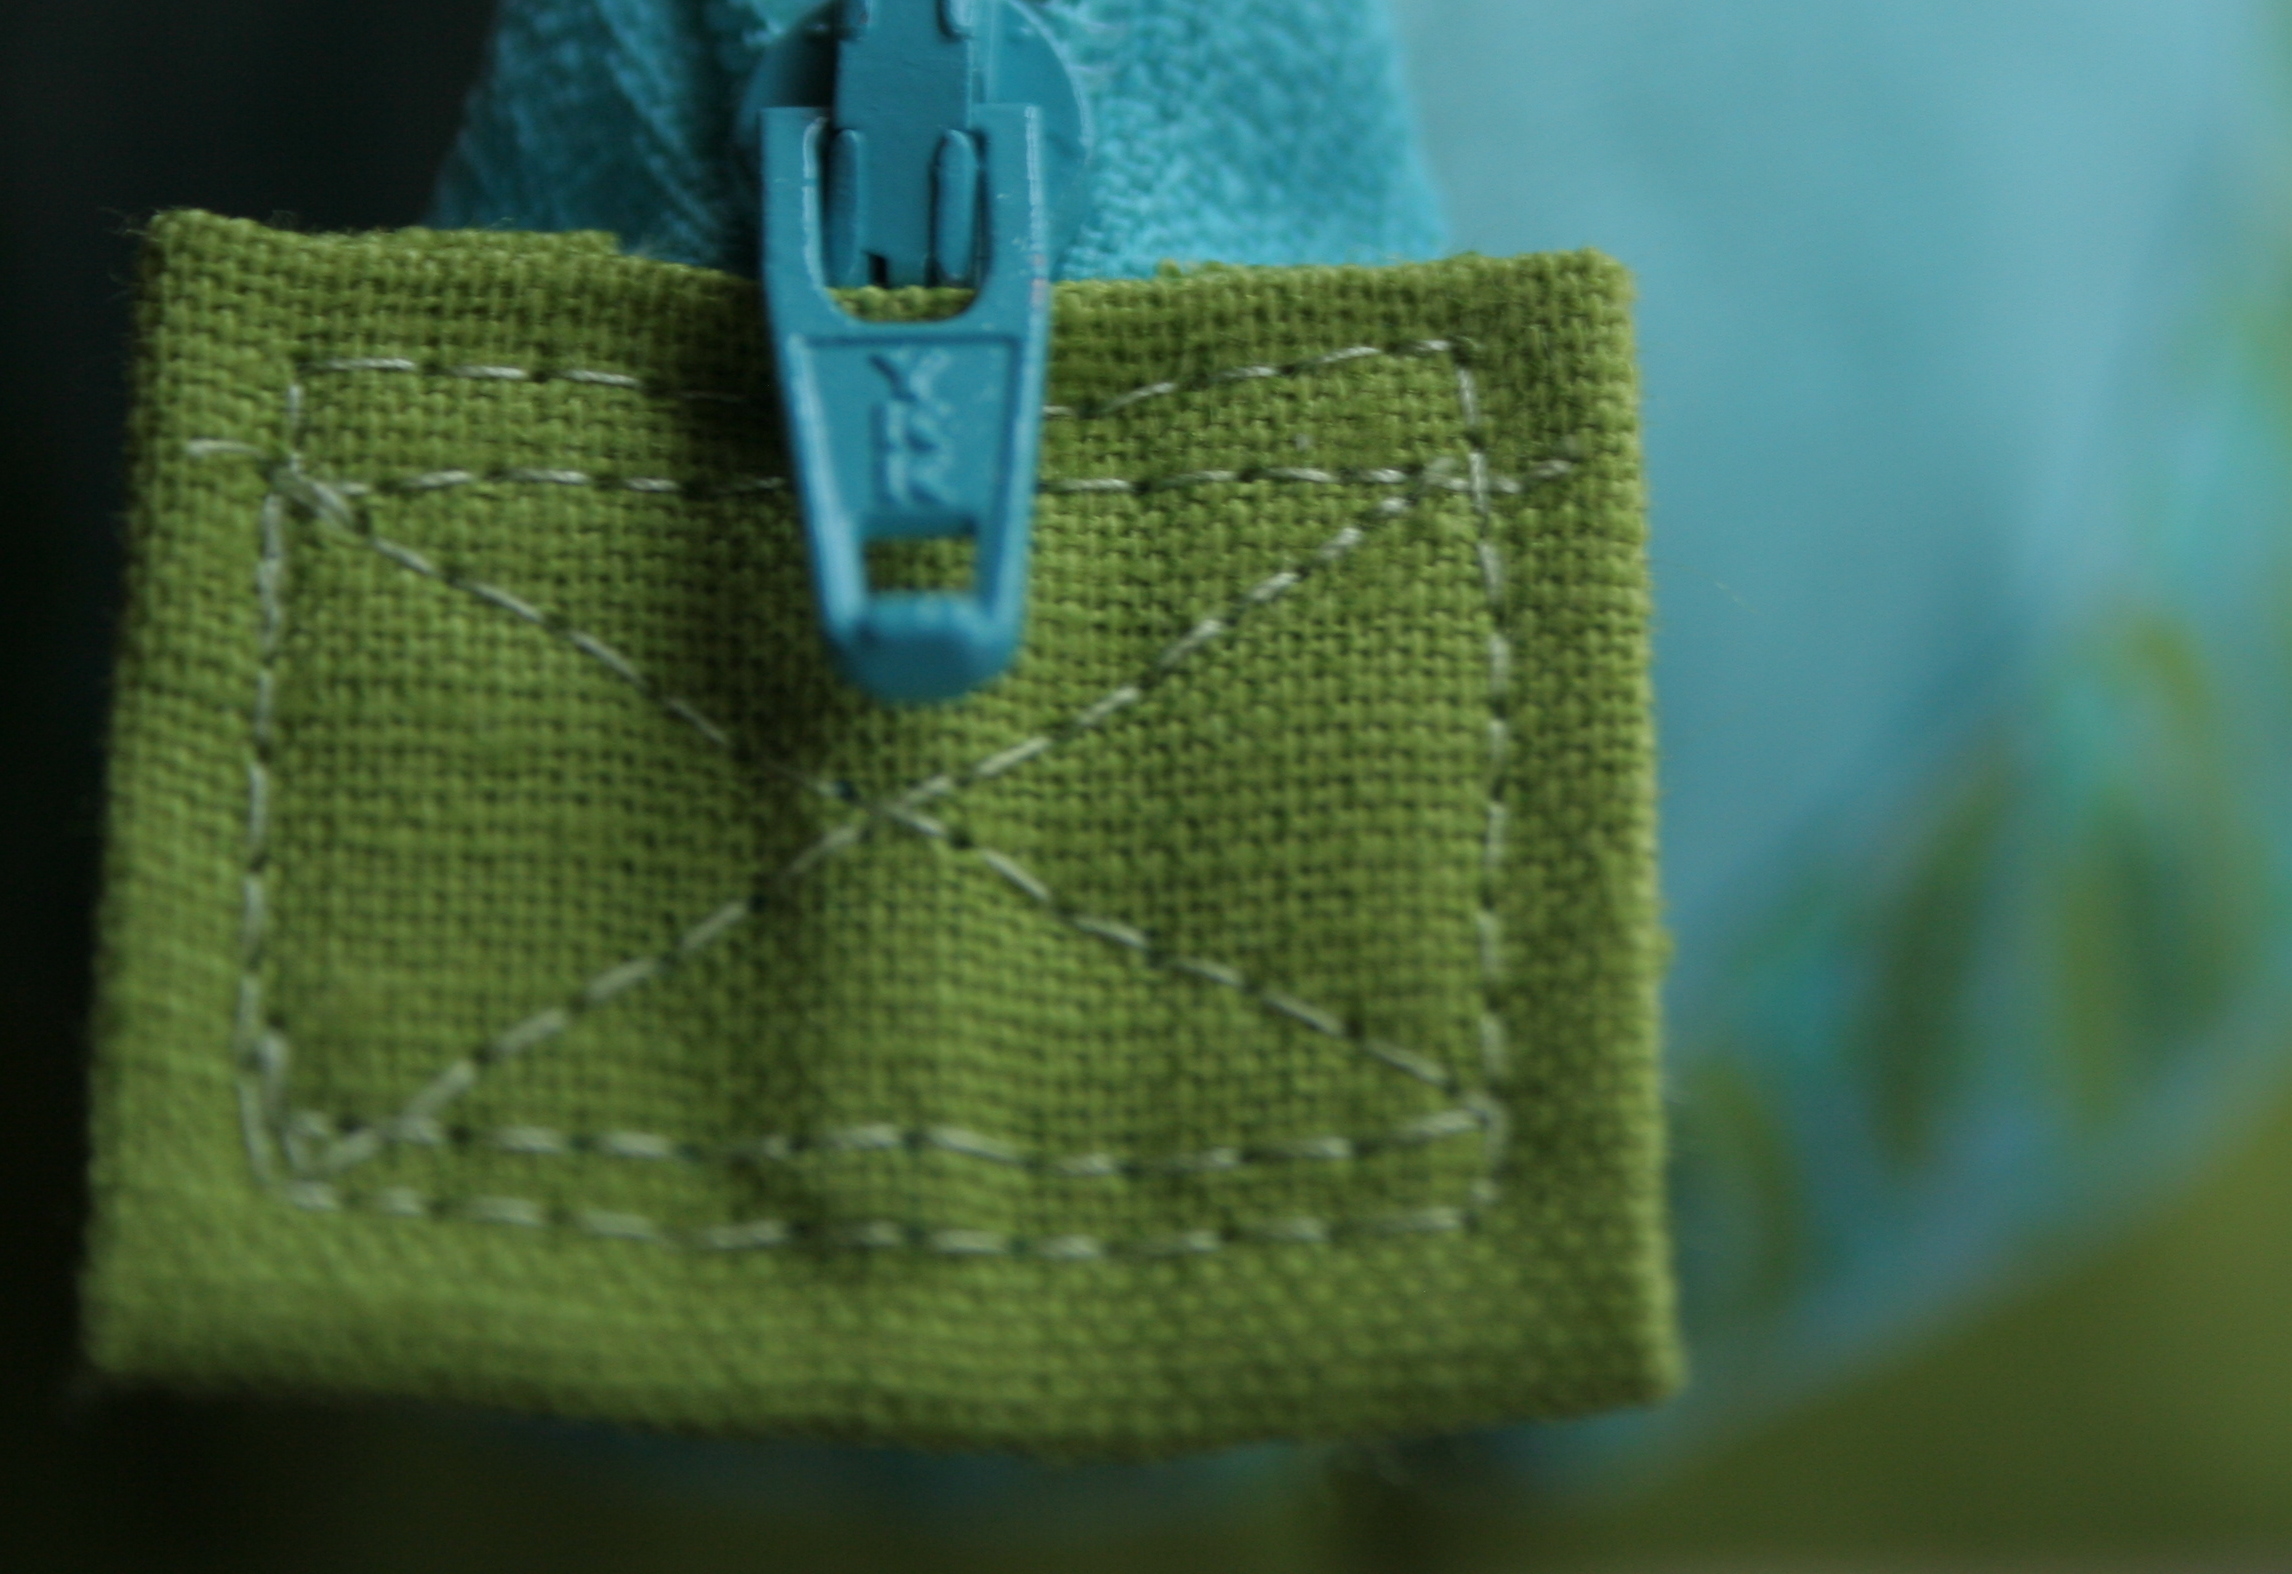
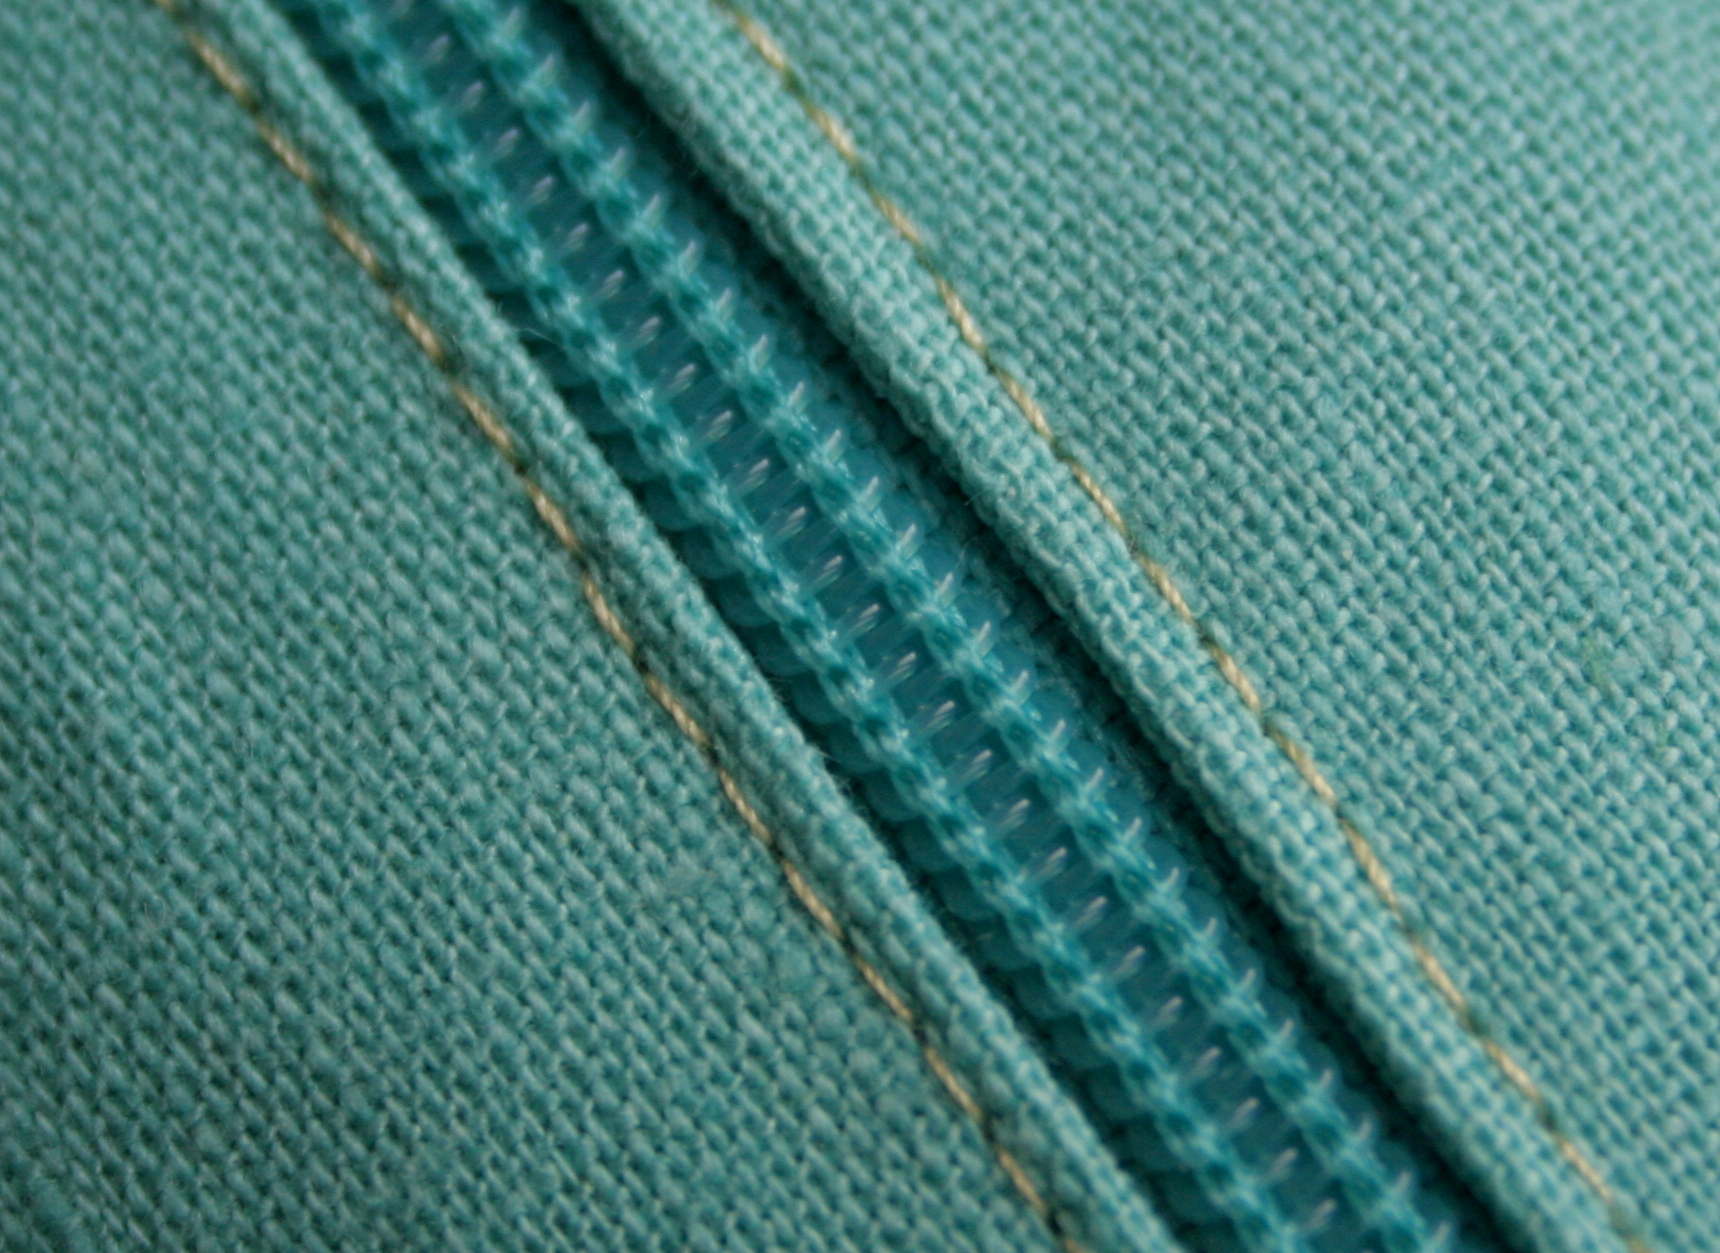
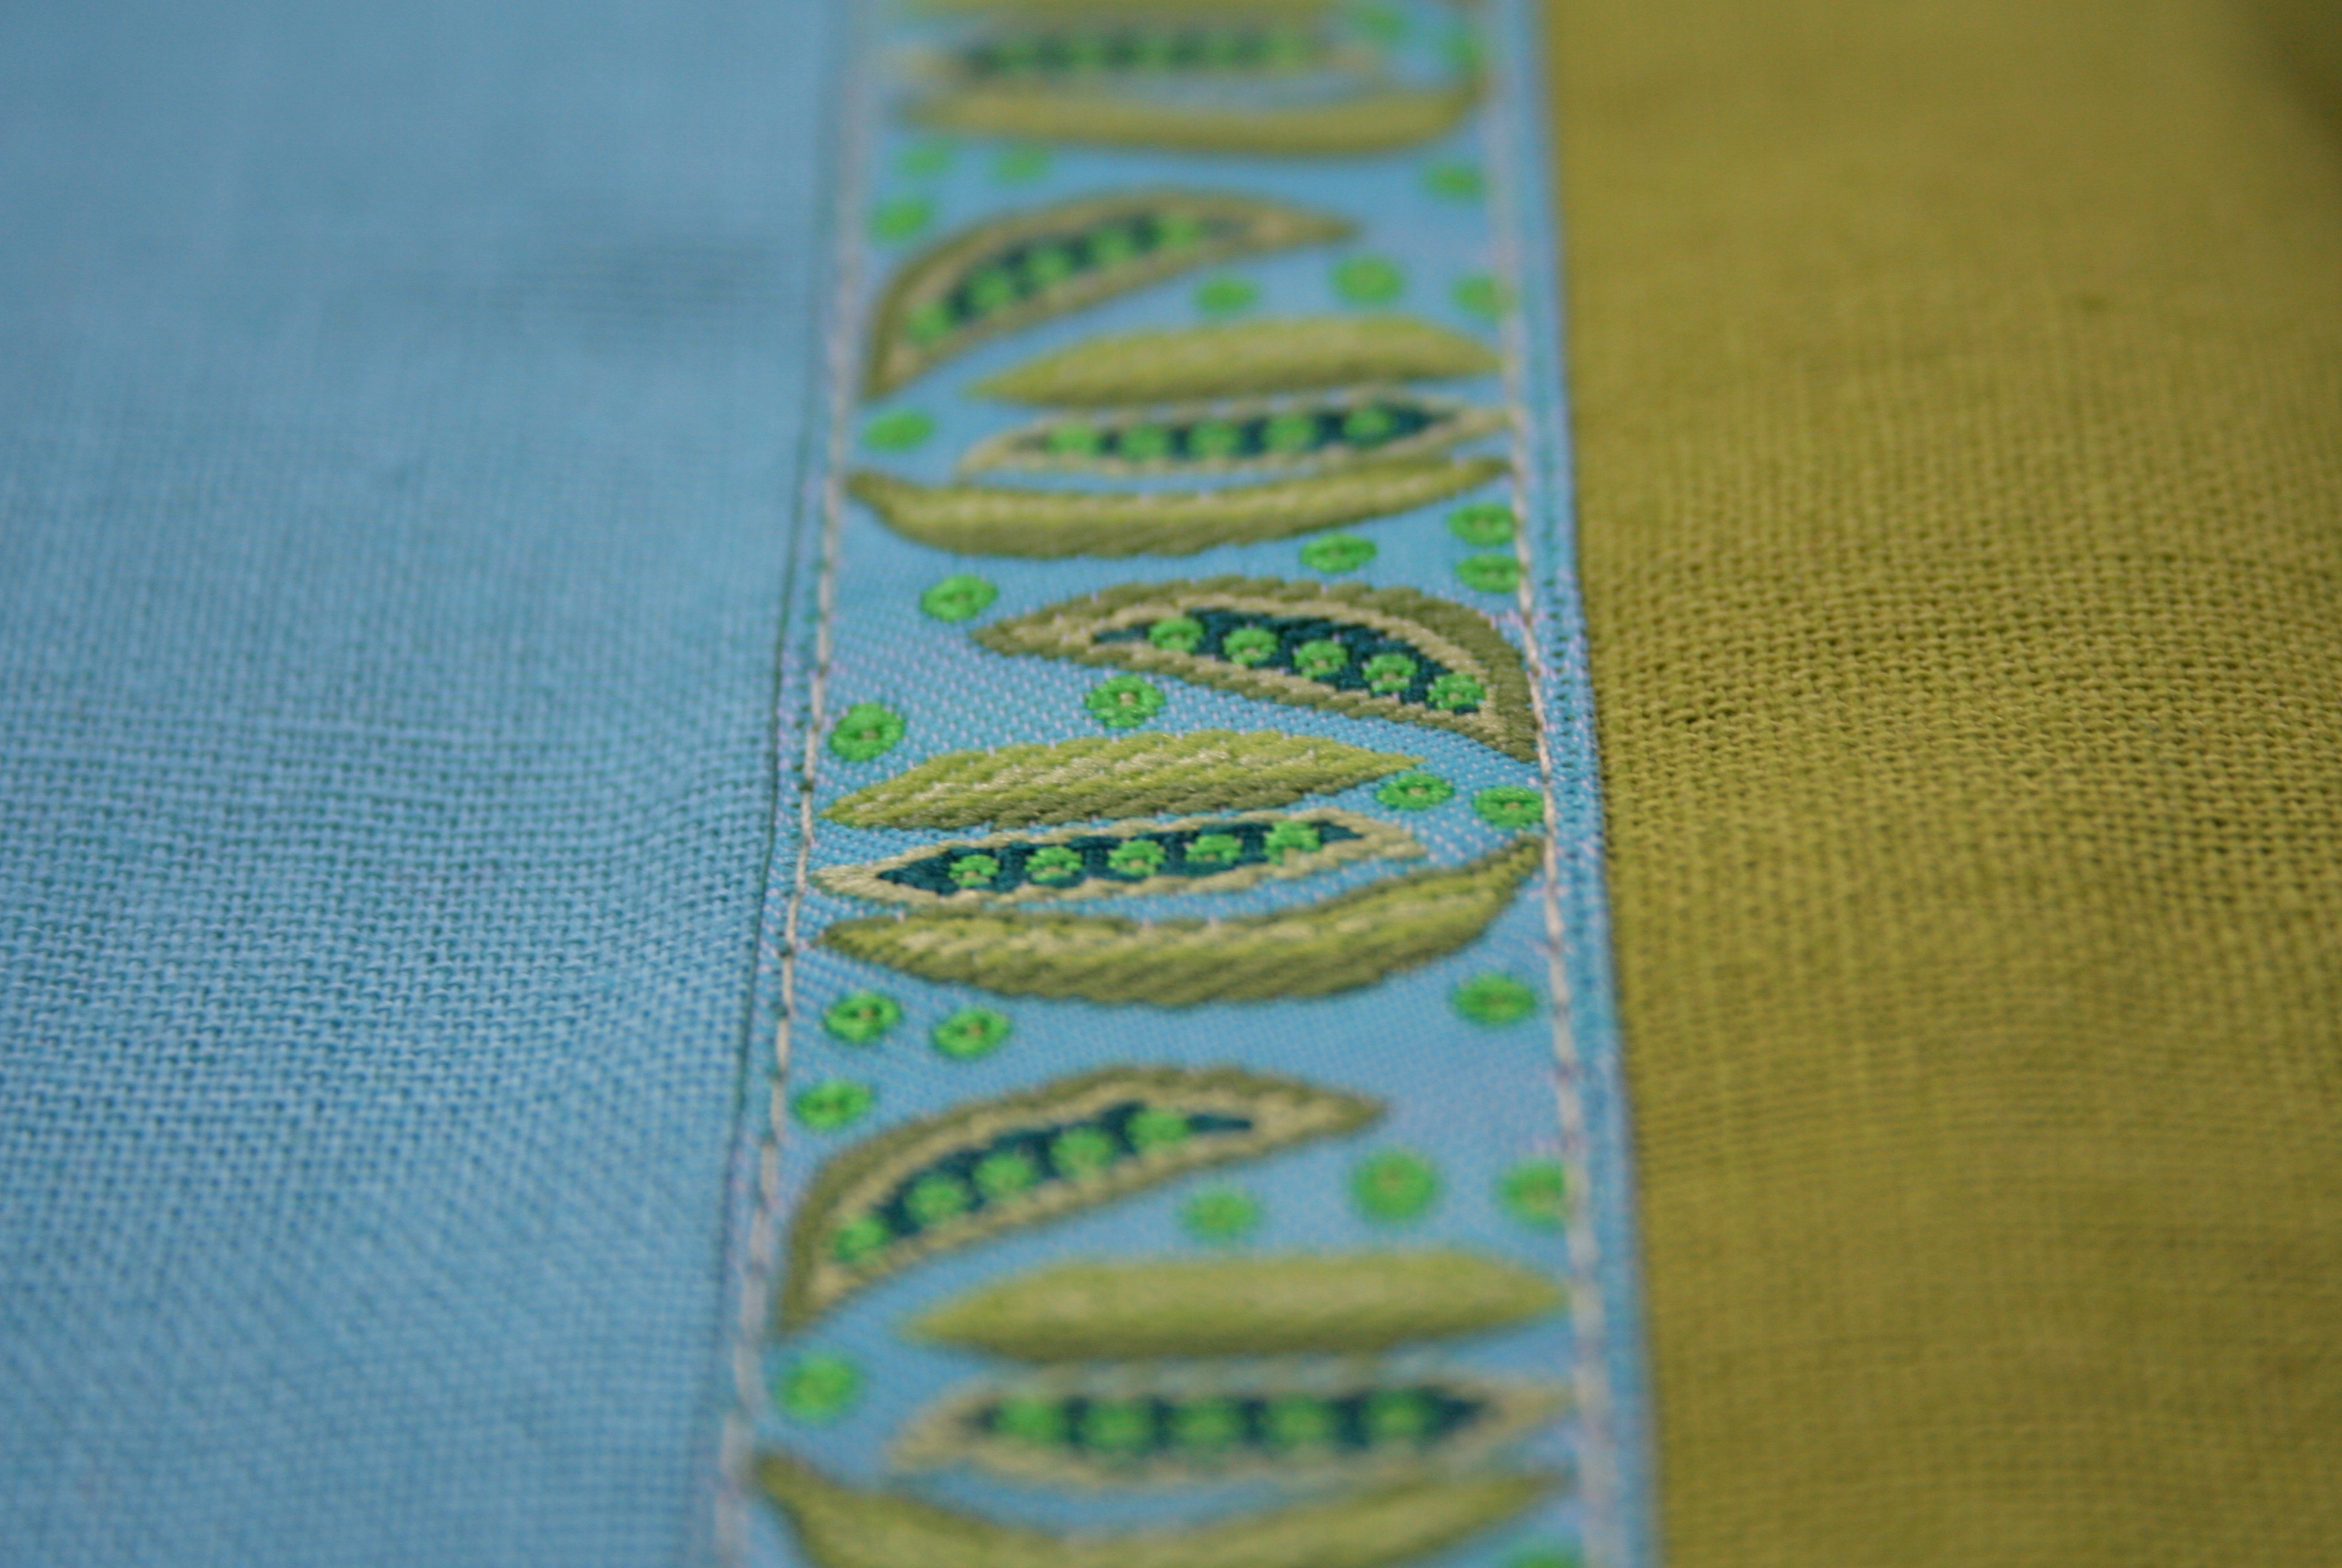
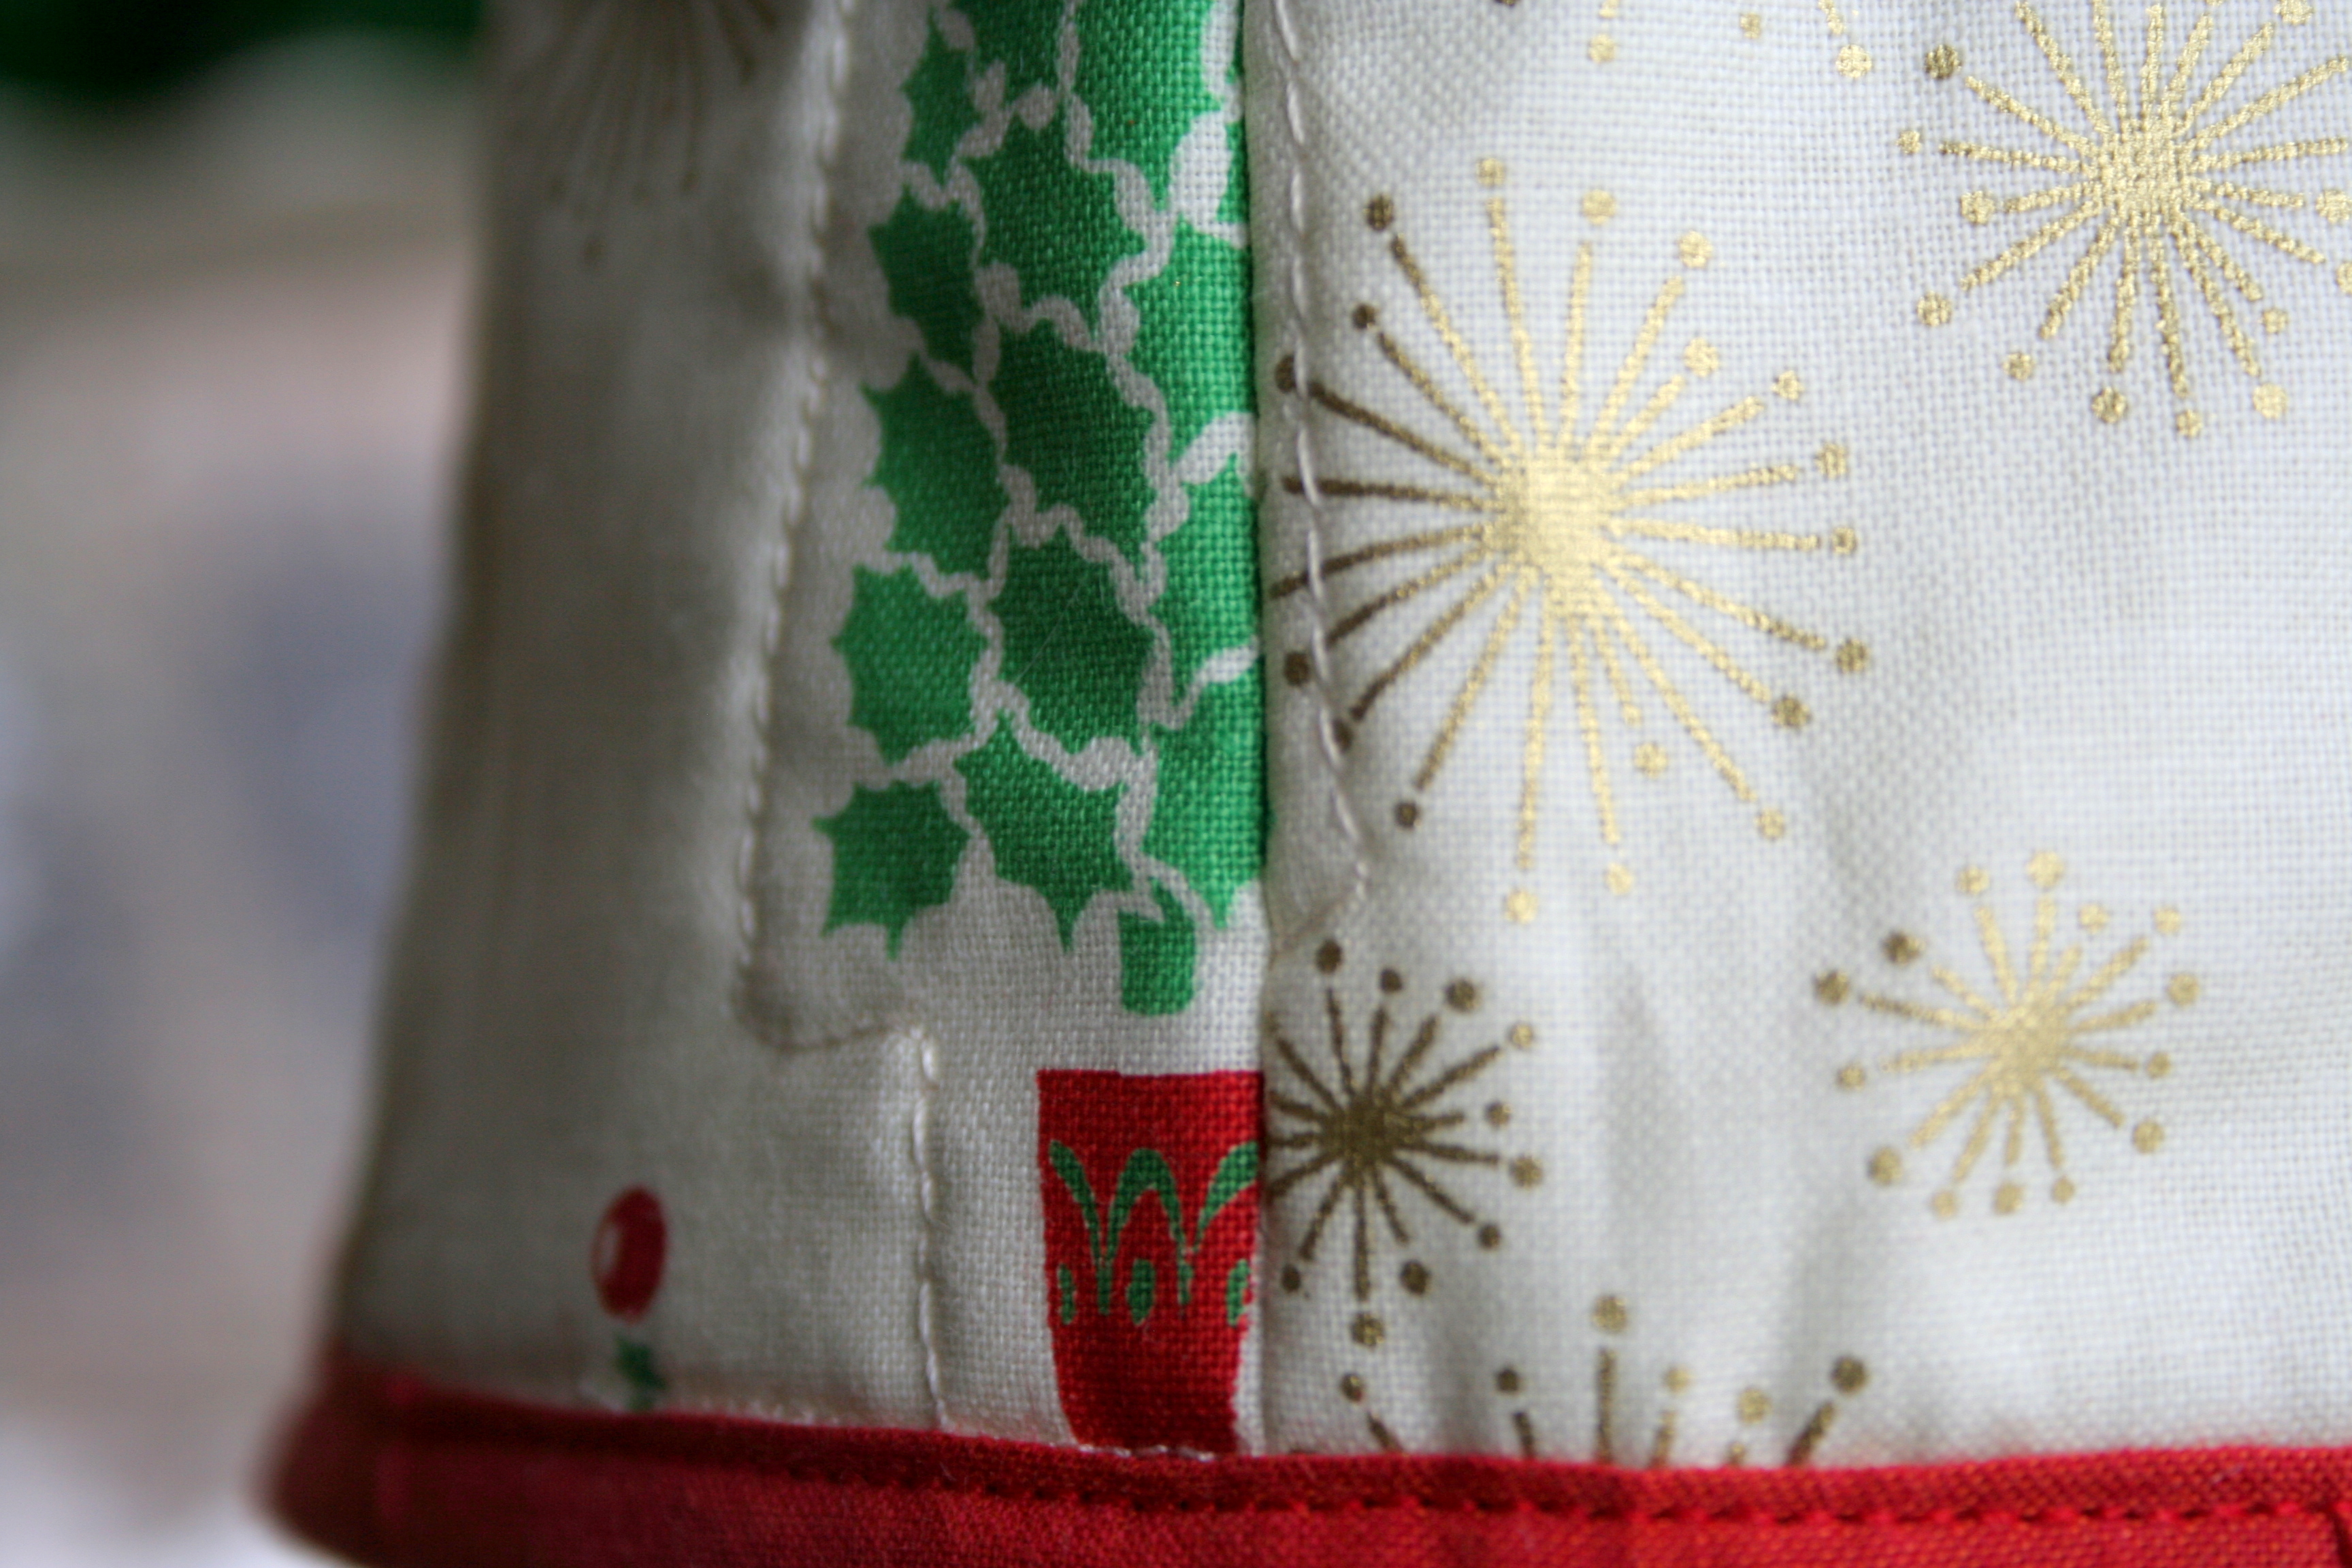
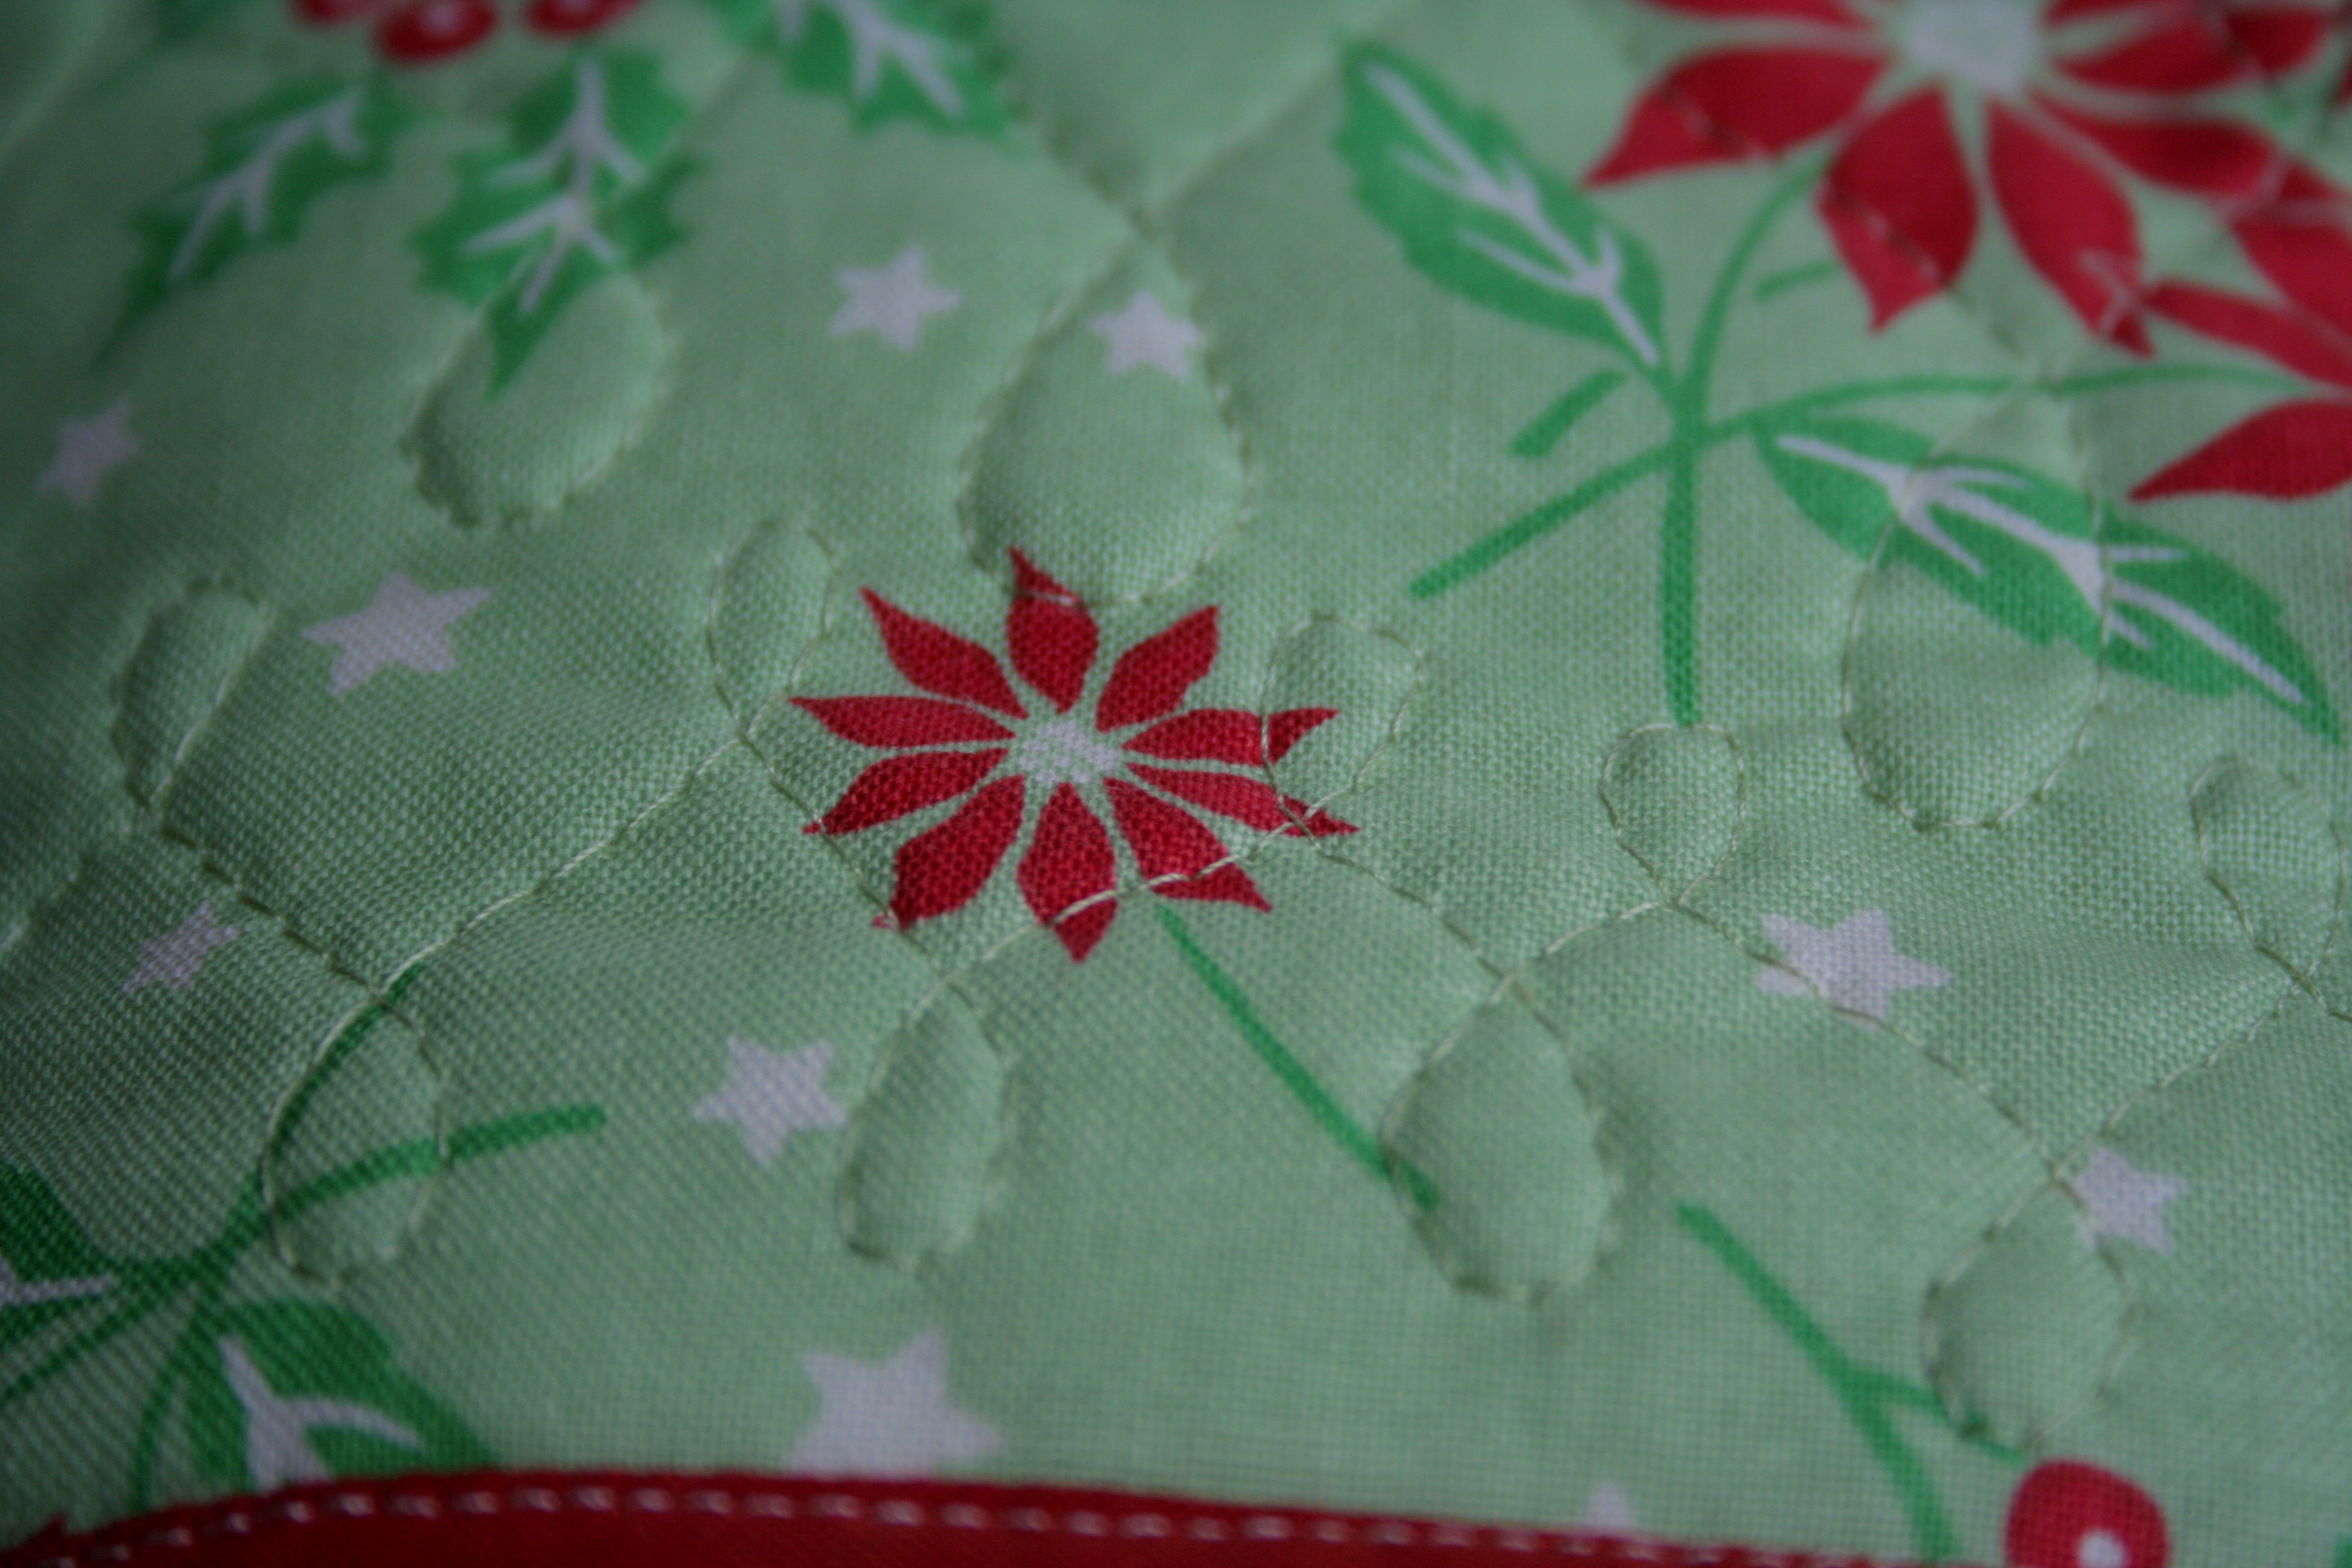
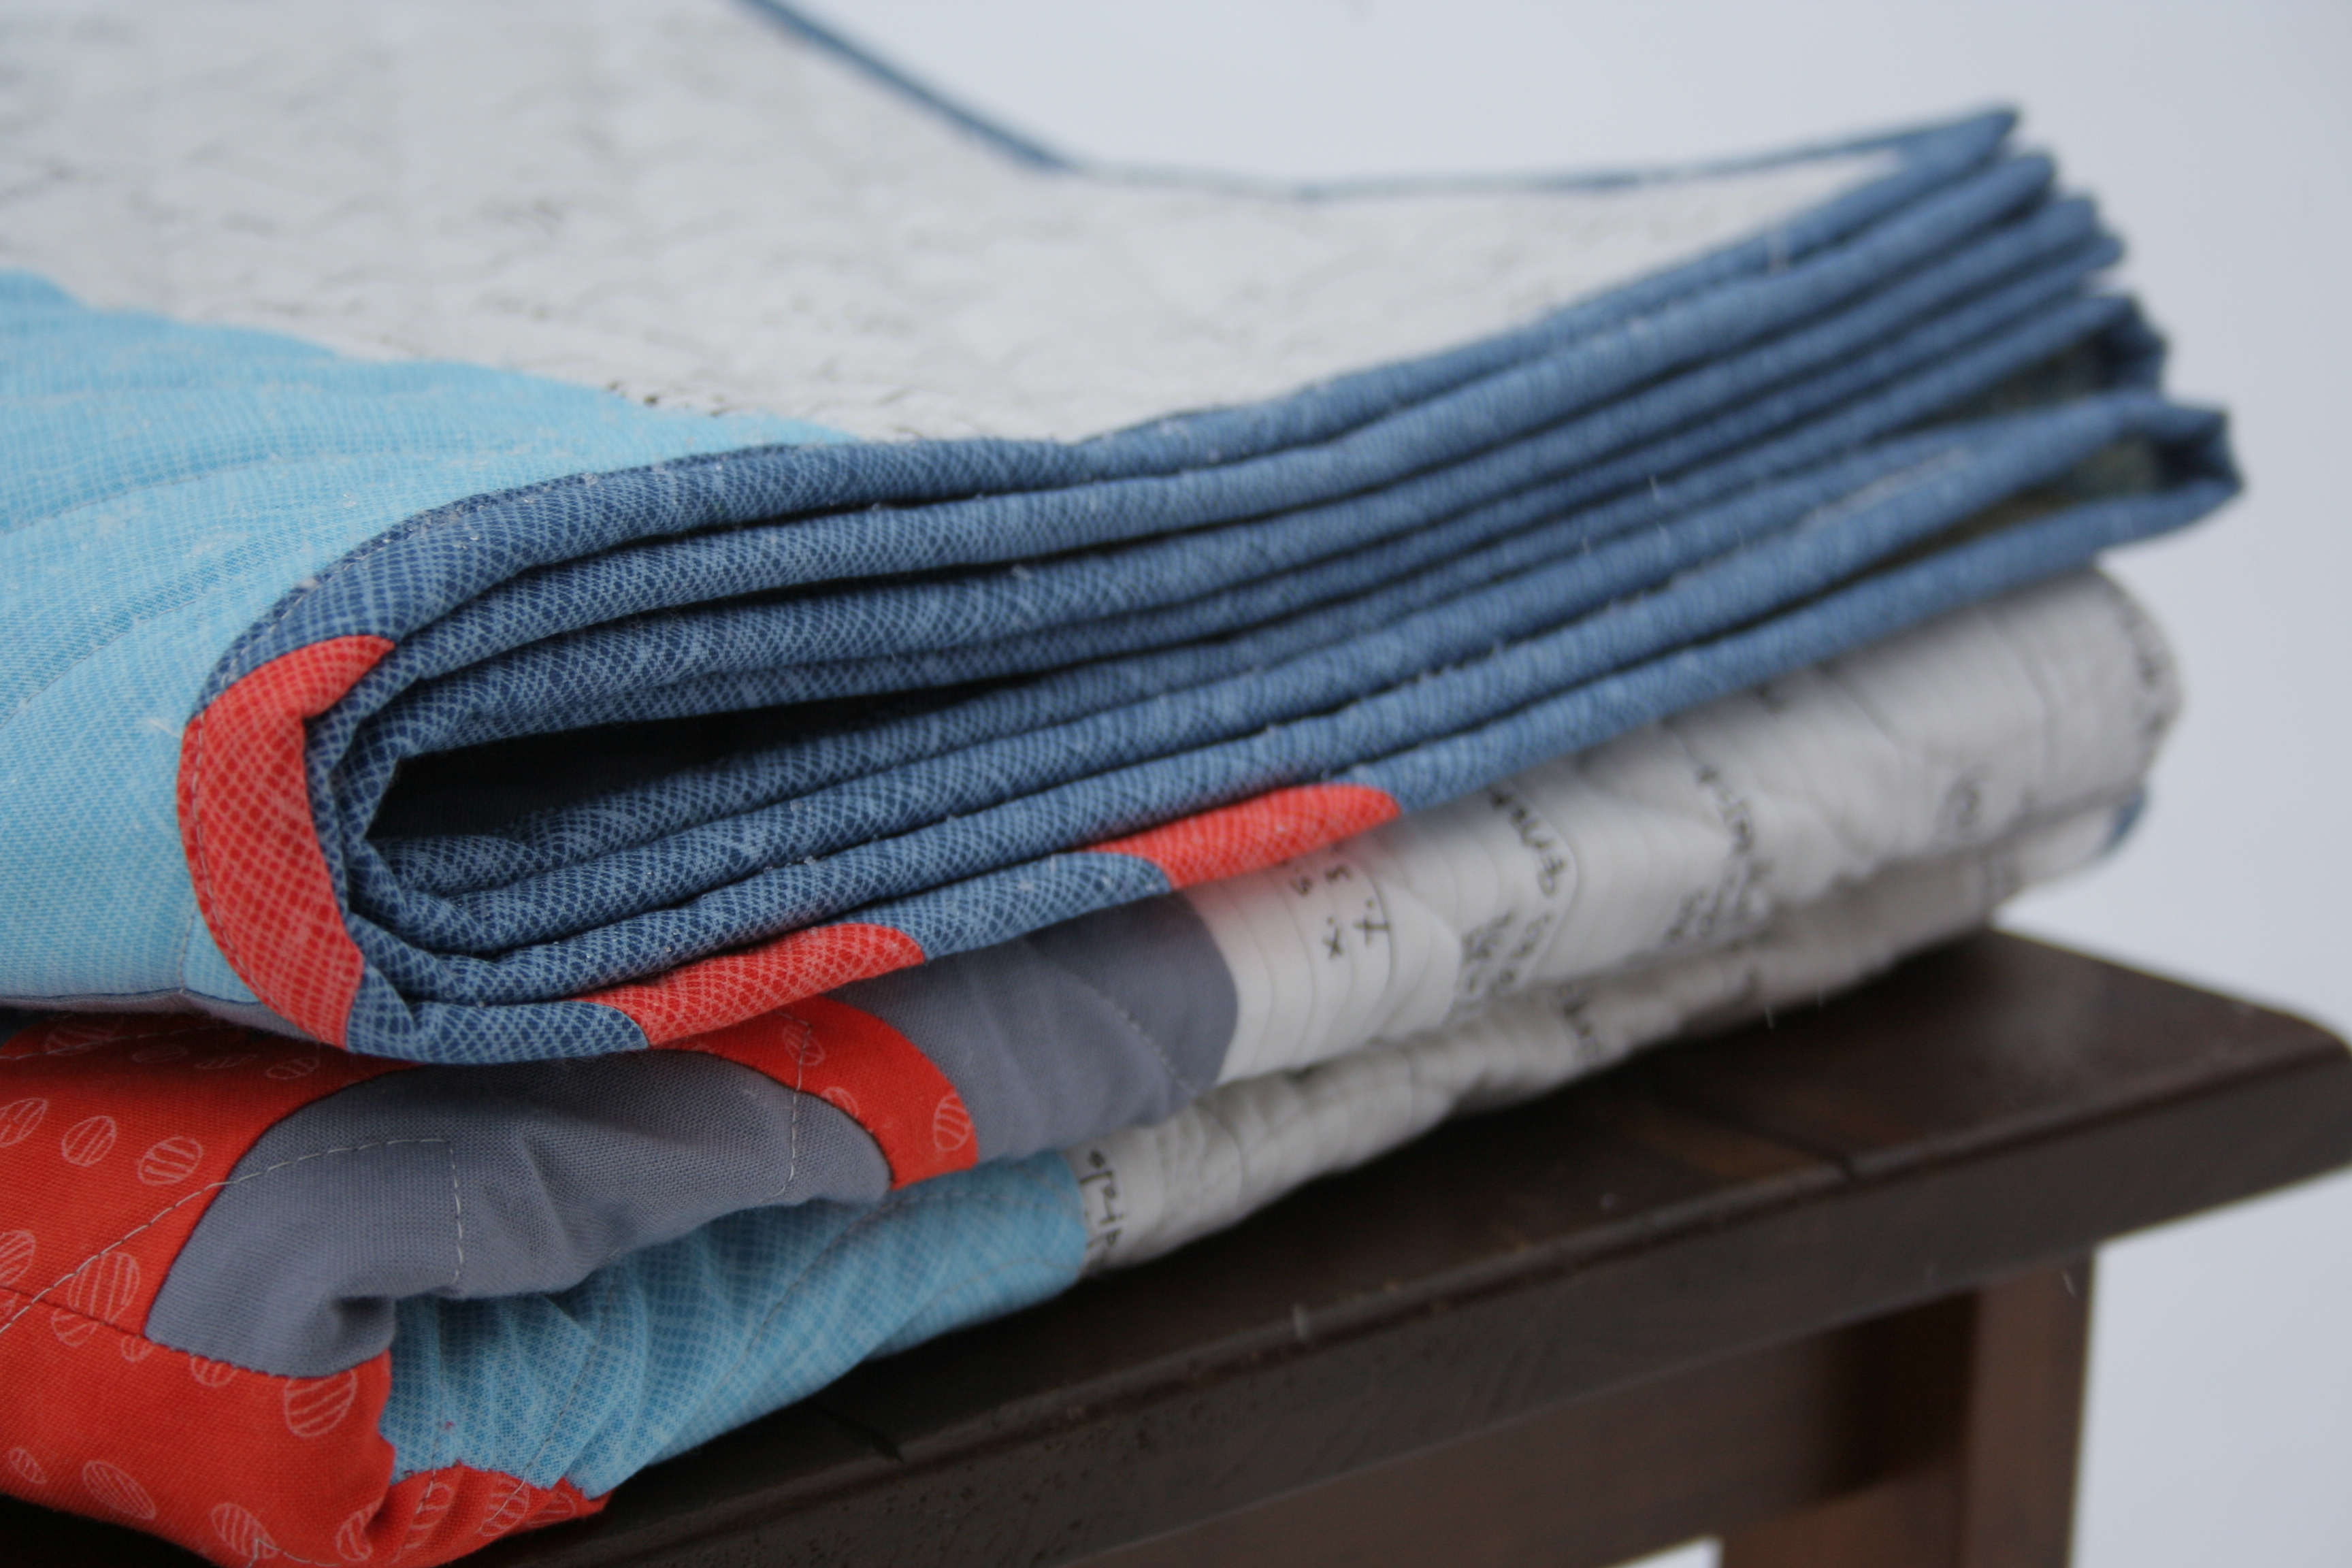 I can’t wait to show you more of this quilt. But I will. I’m planning an epic whole-family quilt photo shoot this weekend, weather and toddler willing, so you will get to see every detail. Soon.
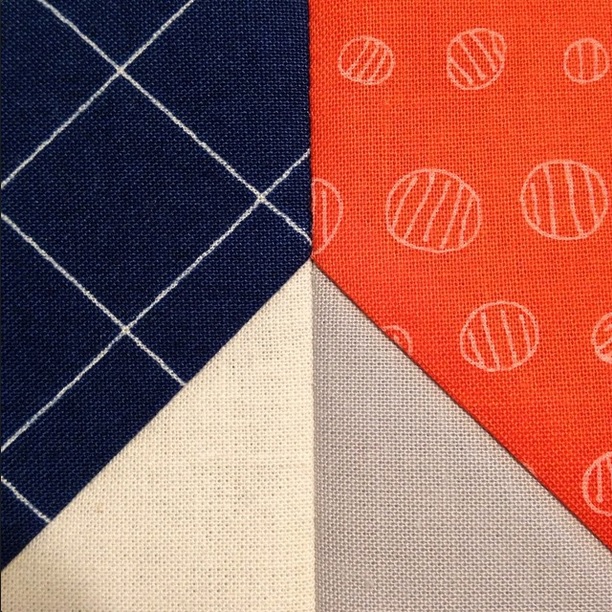