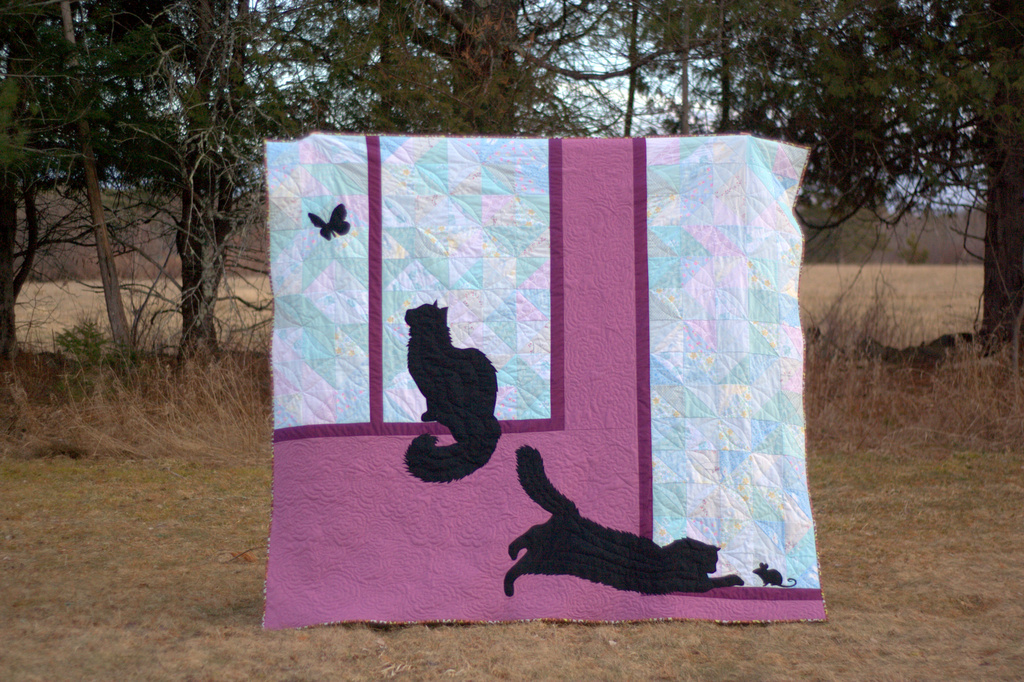
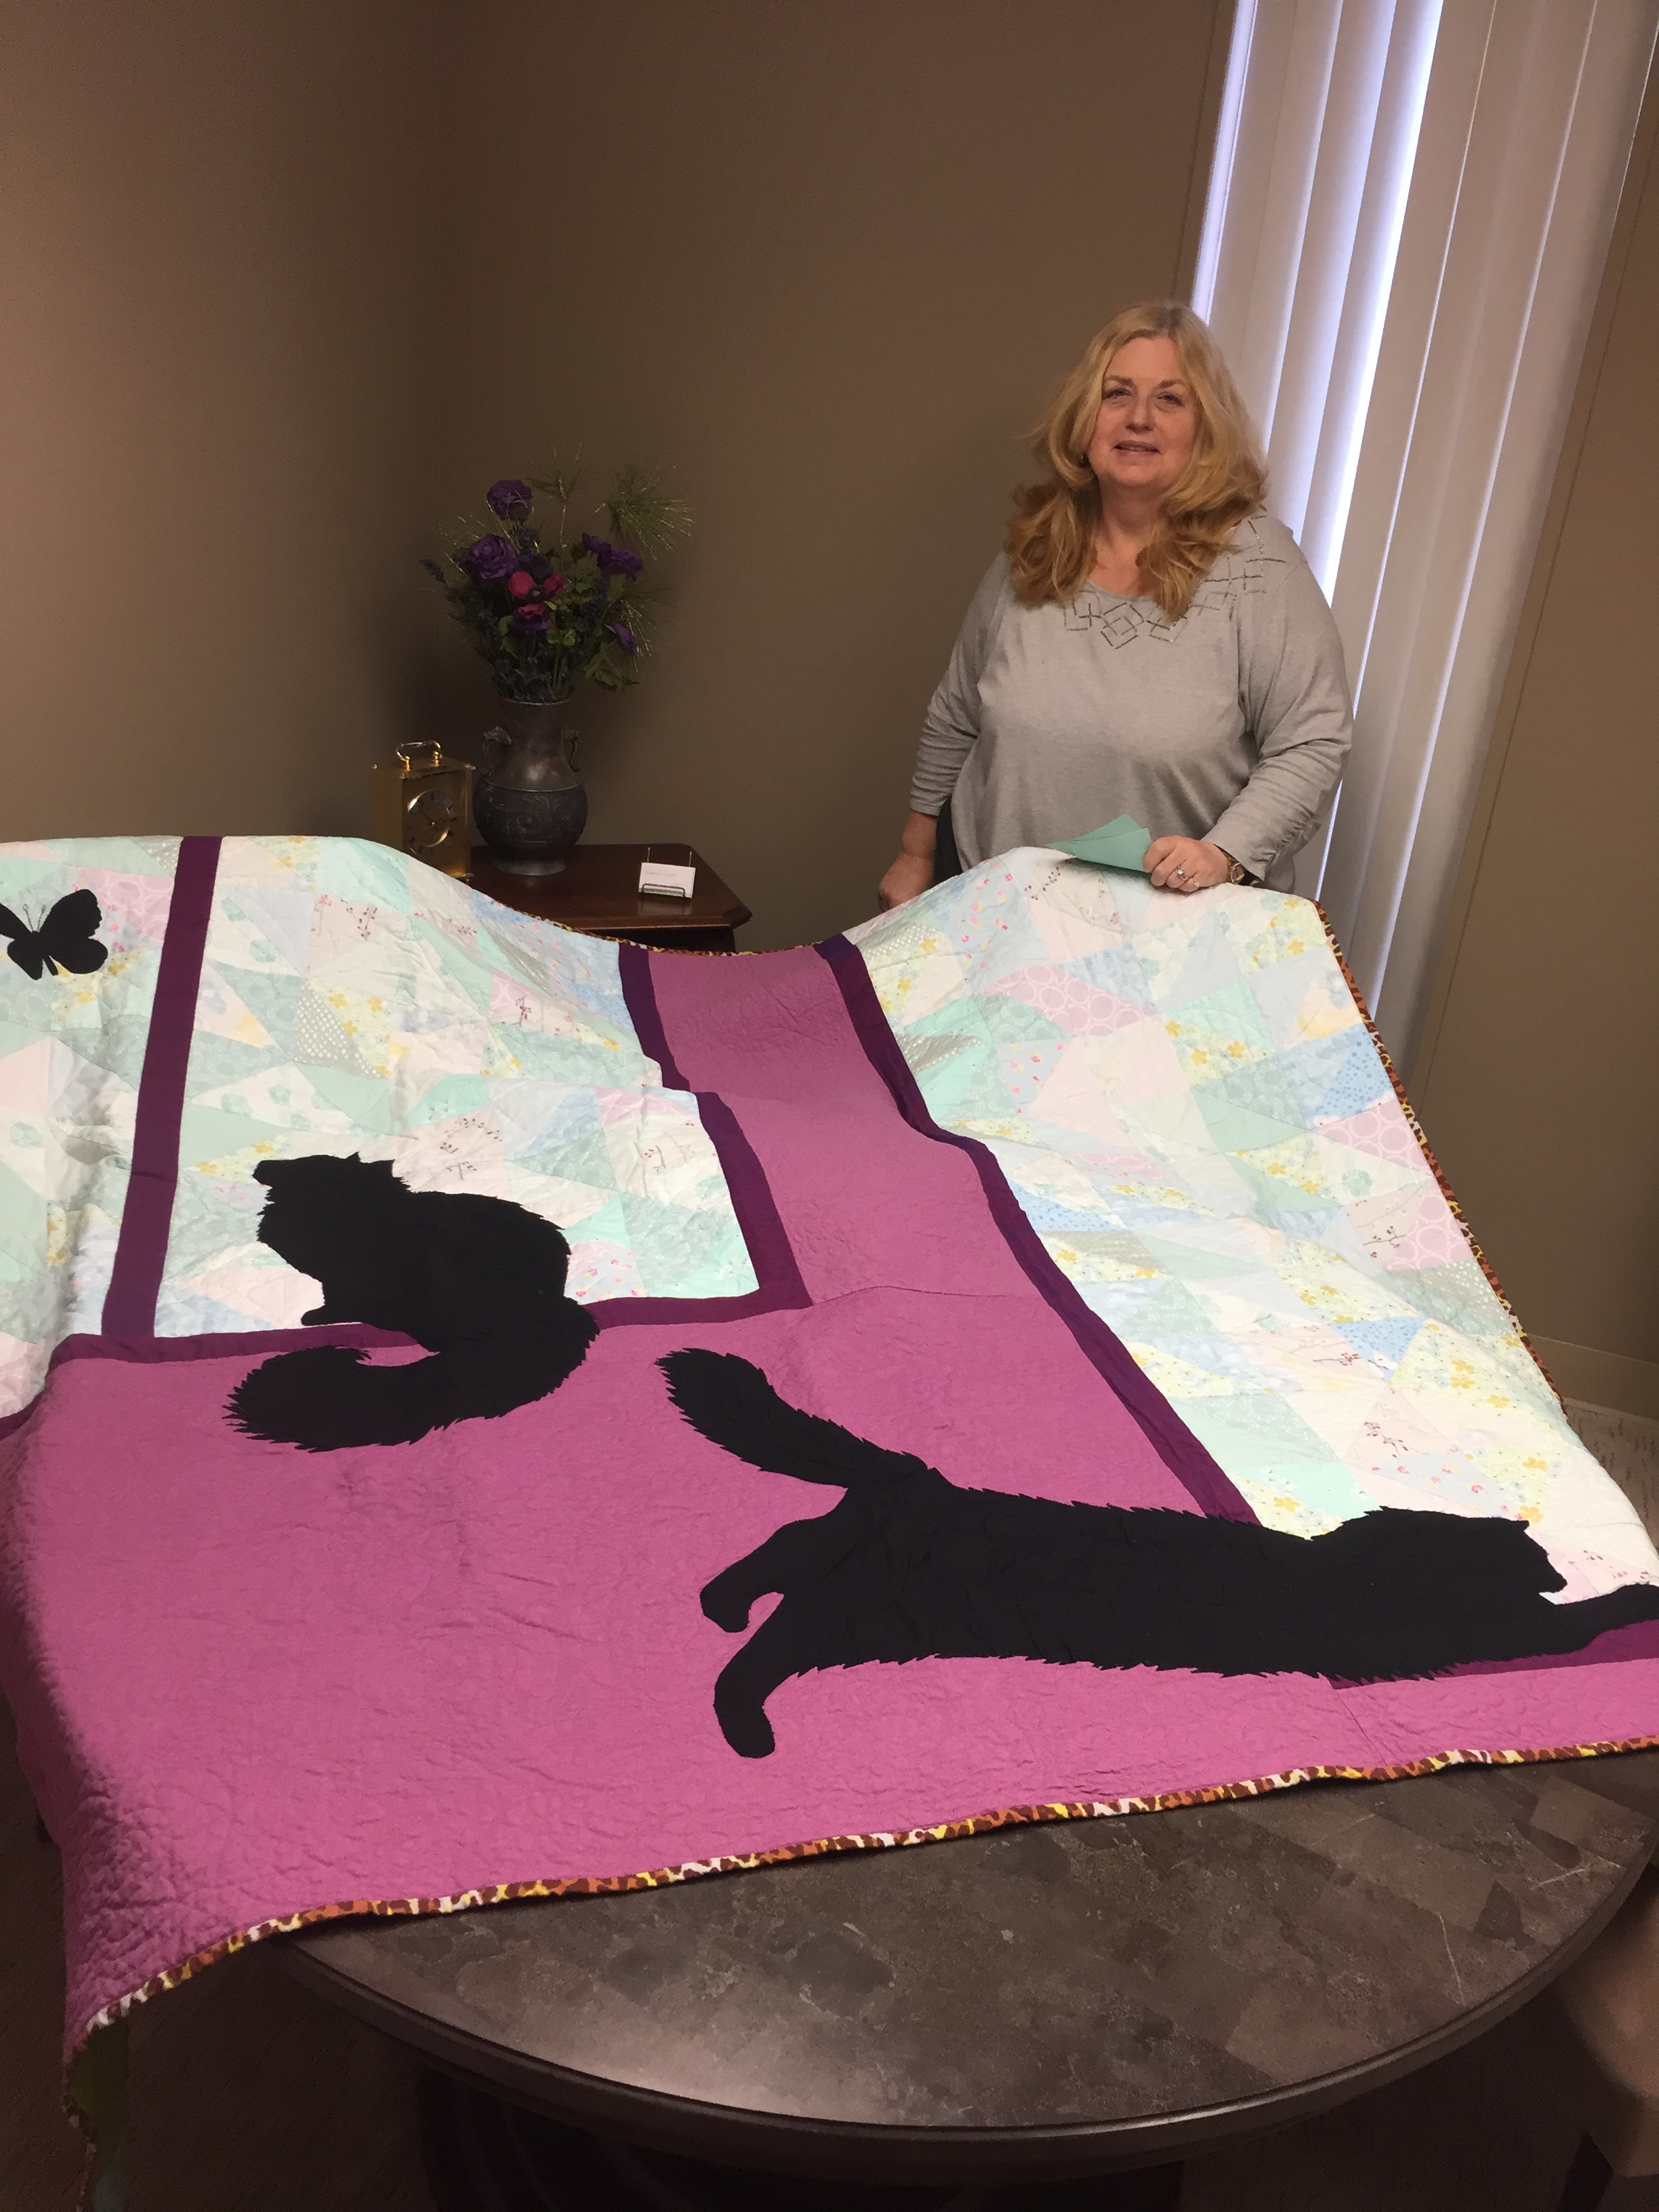
Today I am excited to share my first commissioned quilt with you! This quilt was a long time in the making, but has finally been finished, mailed, and happily received. It was a project for my father-in-law (GrandDude to my kids), who wanted to commission a secretly-made quilt for his adored wife (Grand Princess). The quilt features their two kittens Gina and Rascal, and incorporates many of my mother-in-law’s favorites. At 80″x74″, it was the largest quilt I’ve made to date, and lots of fun!
 When my FIL first suggested the idea of making a quilt for J, I asked him what he had in mind. He wanted a kitten quilt and suggested a mauve color palette. I showed him a few examples of kitten quilts with a modern aesthetic, and we decided on a quilt inspired by Luke Haynes’ Silhoucat quilt and tutorial found on Bernina’s We All Sew blog.
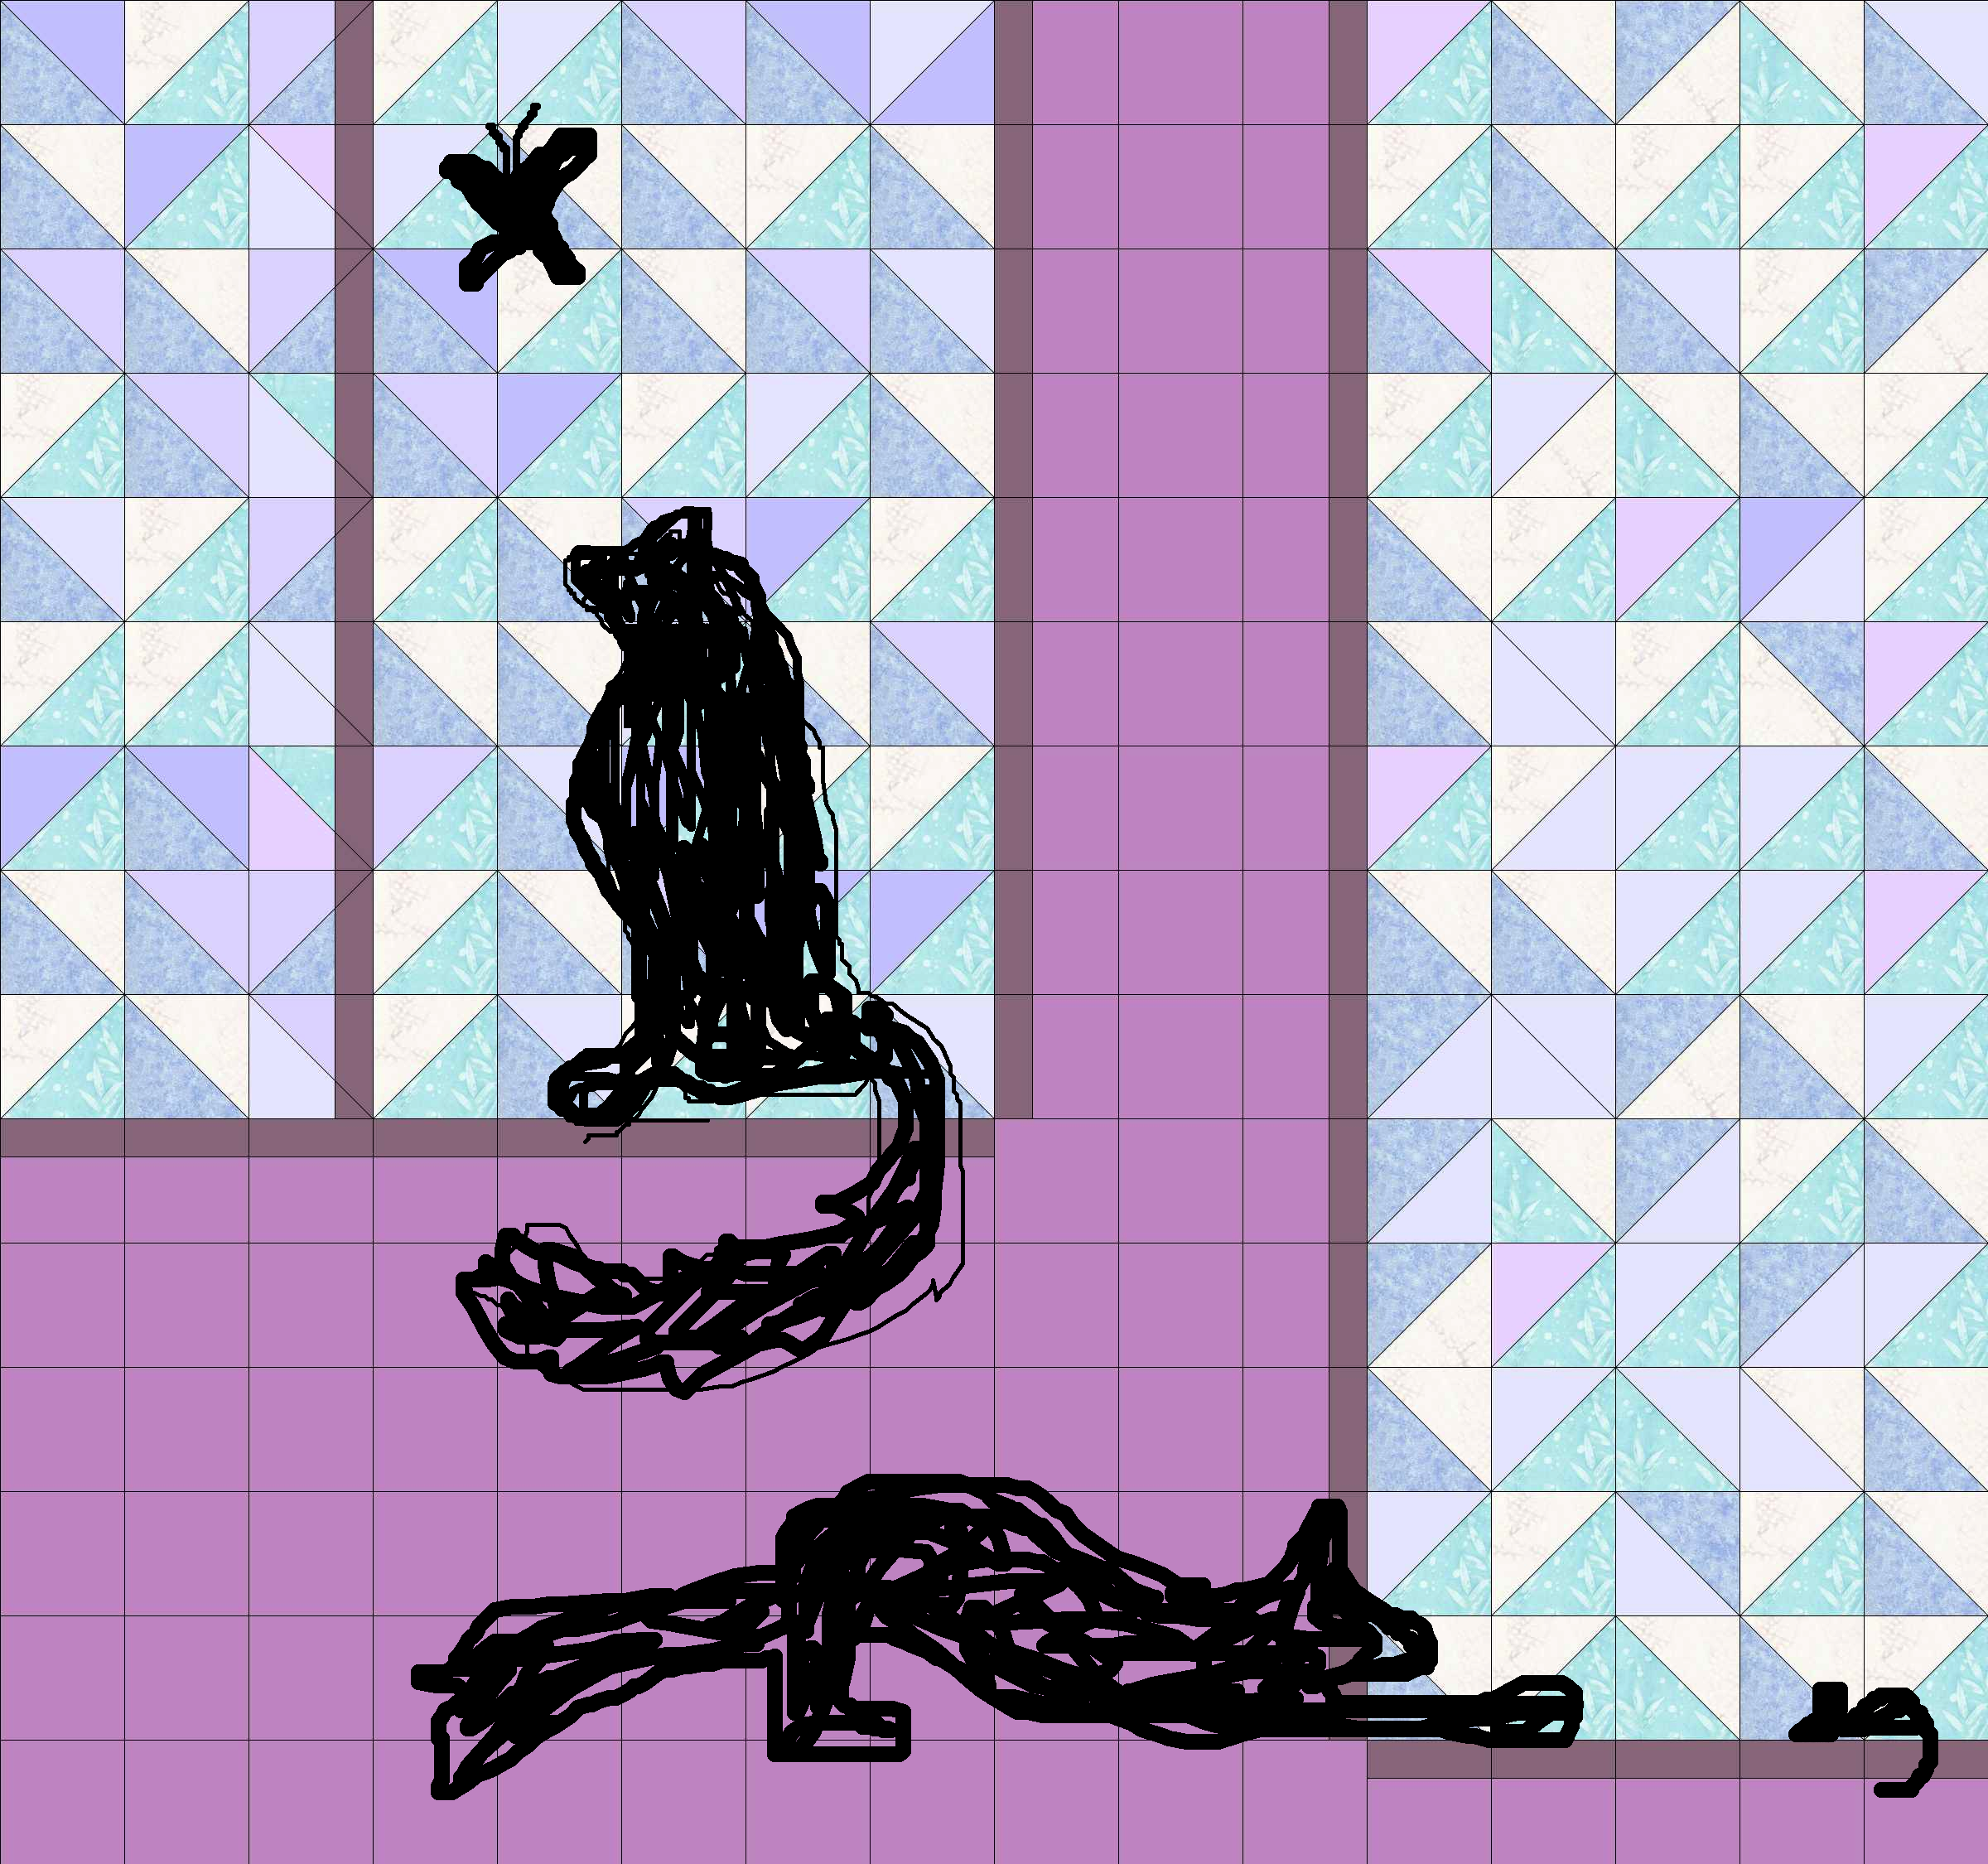
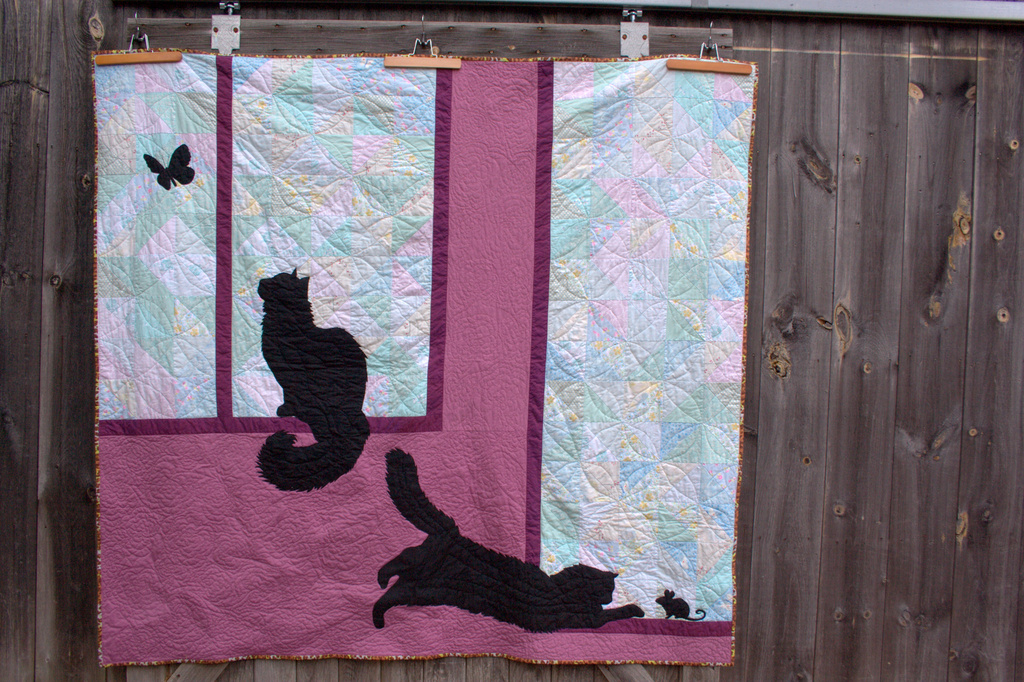
 I sketched out a few versions with one kitten, but then he decided it would be really fabulous if I could show Gina looking out the window at a butterfly and Rascal looking out the door at a mouse. He sent a photo of the “green room” in their home since it is where the kittens often lounge, and asked if I could make the quilt look like the room. Since they live hundreds of miles away, matching the green would have been near impossible, so I grasped the mauve color palette suggestion and came up with a final layout. My thought was that it is reminiscent of the green room in layout and kitten position, but the color would coordinate with either the green room or the living room, so the quilt could be an all purpose snuggle quilt. I sent him a rough mock up, created in EQ7 and paint–don’t you love my scribble kitties?–which amazingly came really close to looking like the finished quilt (little did we know at the time). He gave me the go-ahead to take artistic license and make the quilt, and so I began!
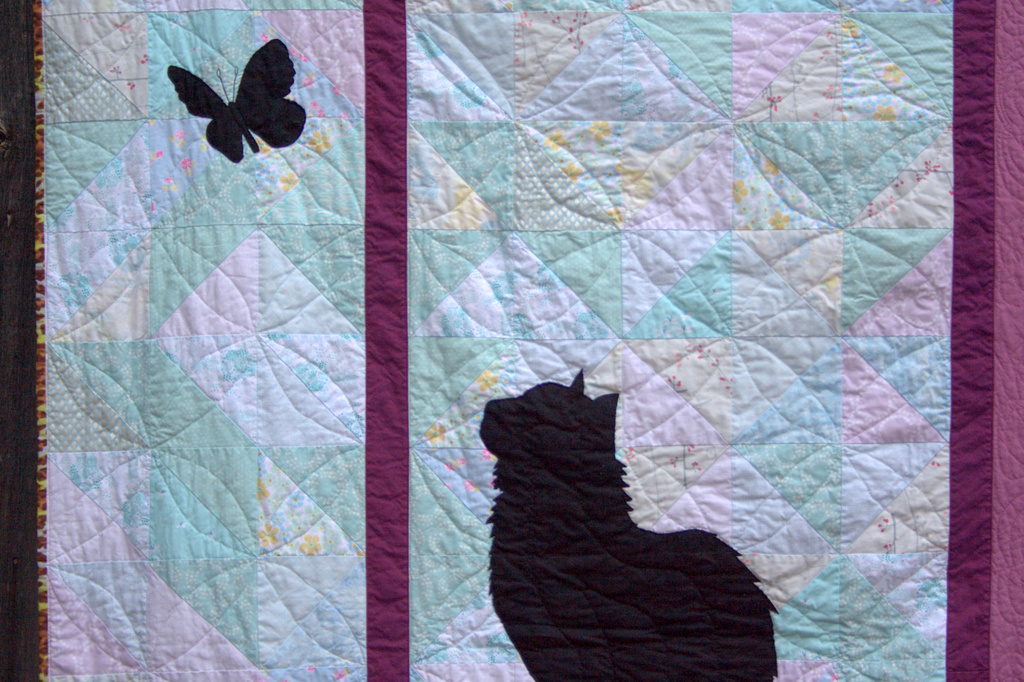
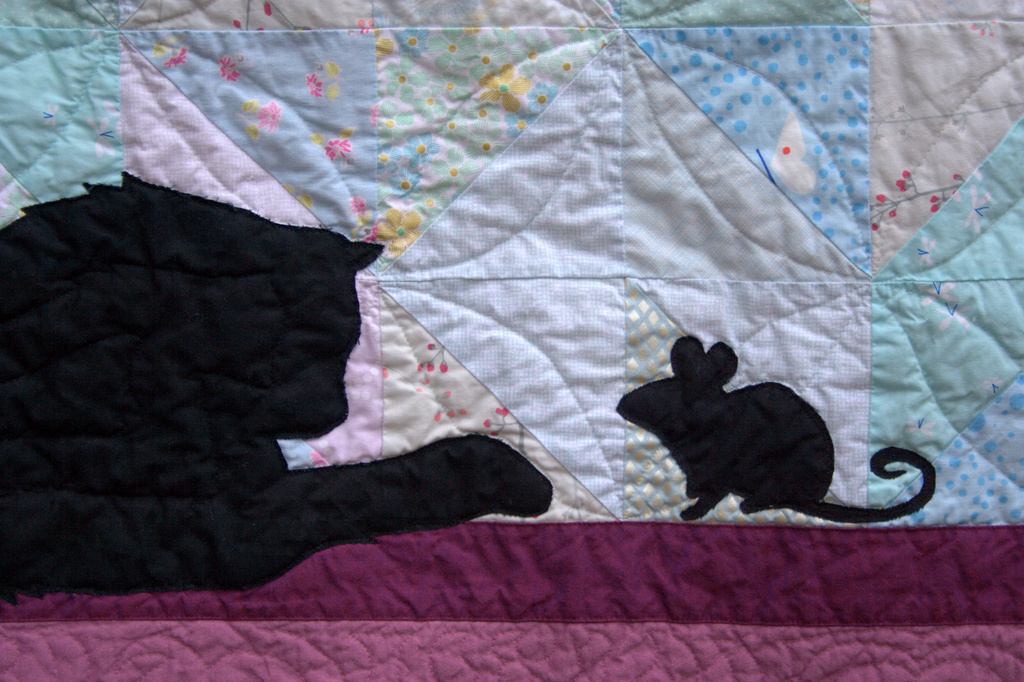
 The windows are made up of an assortment of light teal, blue, and grey half square triangles (HST), since I wanted it to look like dappled light through the windows. I’m definitely happy with the outcome, and think that it worked well! The walls and window/door frame are Interweave chambrays in colors sorbet and boysenberry, and the cats are Moda bella black, fused and raw-edge appliqued in place during quilting.
 Not having cats myself, I had to do some research into cat posture and the meanings behind different stances. Many thanks to Yvonne at Quilting Jetgirl and Stephanie at Late Night Quilter for their input and cat positioning feedback. I think the playfulness of Rascal came across well as he eyed a mouse in preparation of pouncing!
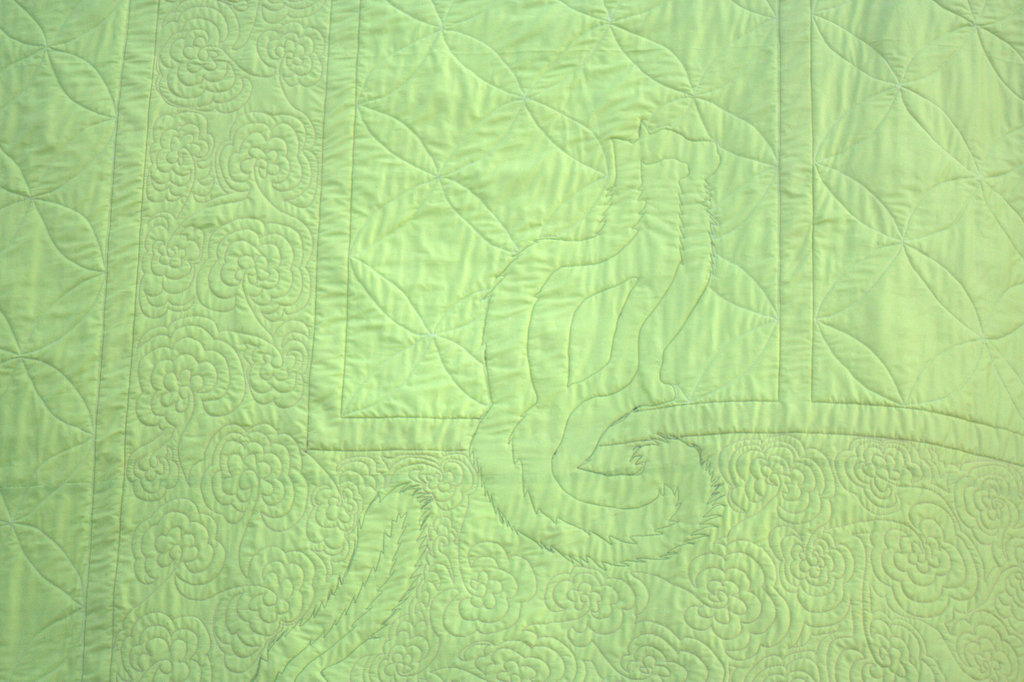
 The binding and backing were a step outside of my comfort zone, but I think they work well. J’s favorite color is lime green, so I knew from the start that I wanted to work some into the quilt. After considering many options (and confirming with my FIL), I made a bold choice to go with a solid lime green lawn for the backing. Lawn is super soft, so it is perfect for a couch snuggle quilt, and the solid lets the quilting shine on the back. I used Anna Maria Horner’s Spotted in the Crowd in Amelie from her Field Study line for binding, since I know J loves animal prints. Plus, the binding has both bits of lime green and teal/light blue, which helps tie the windows from the front into the lime green back.
 I had lots of fun and tried new things with the quilting for this quilt, and I’m really happy with the outcome. I used coordinating 50wt Aurifil thread, changing colors for each section so that the quilting created texture without detracting from the design. I first quilted straight lines to frame the windows and keep the quilt squared (thank you, Stephanie for the pro tip!). Next, I raw edge appliquéd around the cats, butterfly, and mouse. I echo quilted inside of the cats to secure them while still keeping the shape apparent. For the walls, I free motion quilted a large mod flower pattern to give the walls texture and softness at the same time. I free motion quilted a large orange peel into the windows, using the HST grid as my base. As is my style, I didn’t mark the quilt at all and just went for it! Every time I free motion quilt, I begin terrified and quickly get into the rhythm, grinning and loving the process. I really need to do this more often!
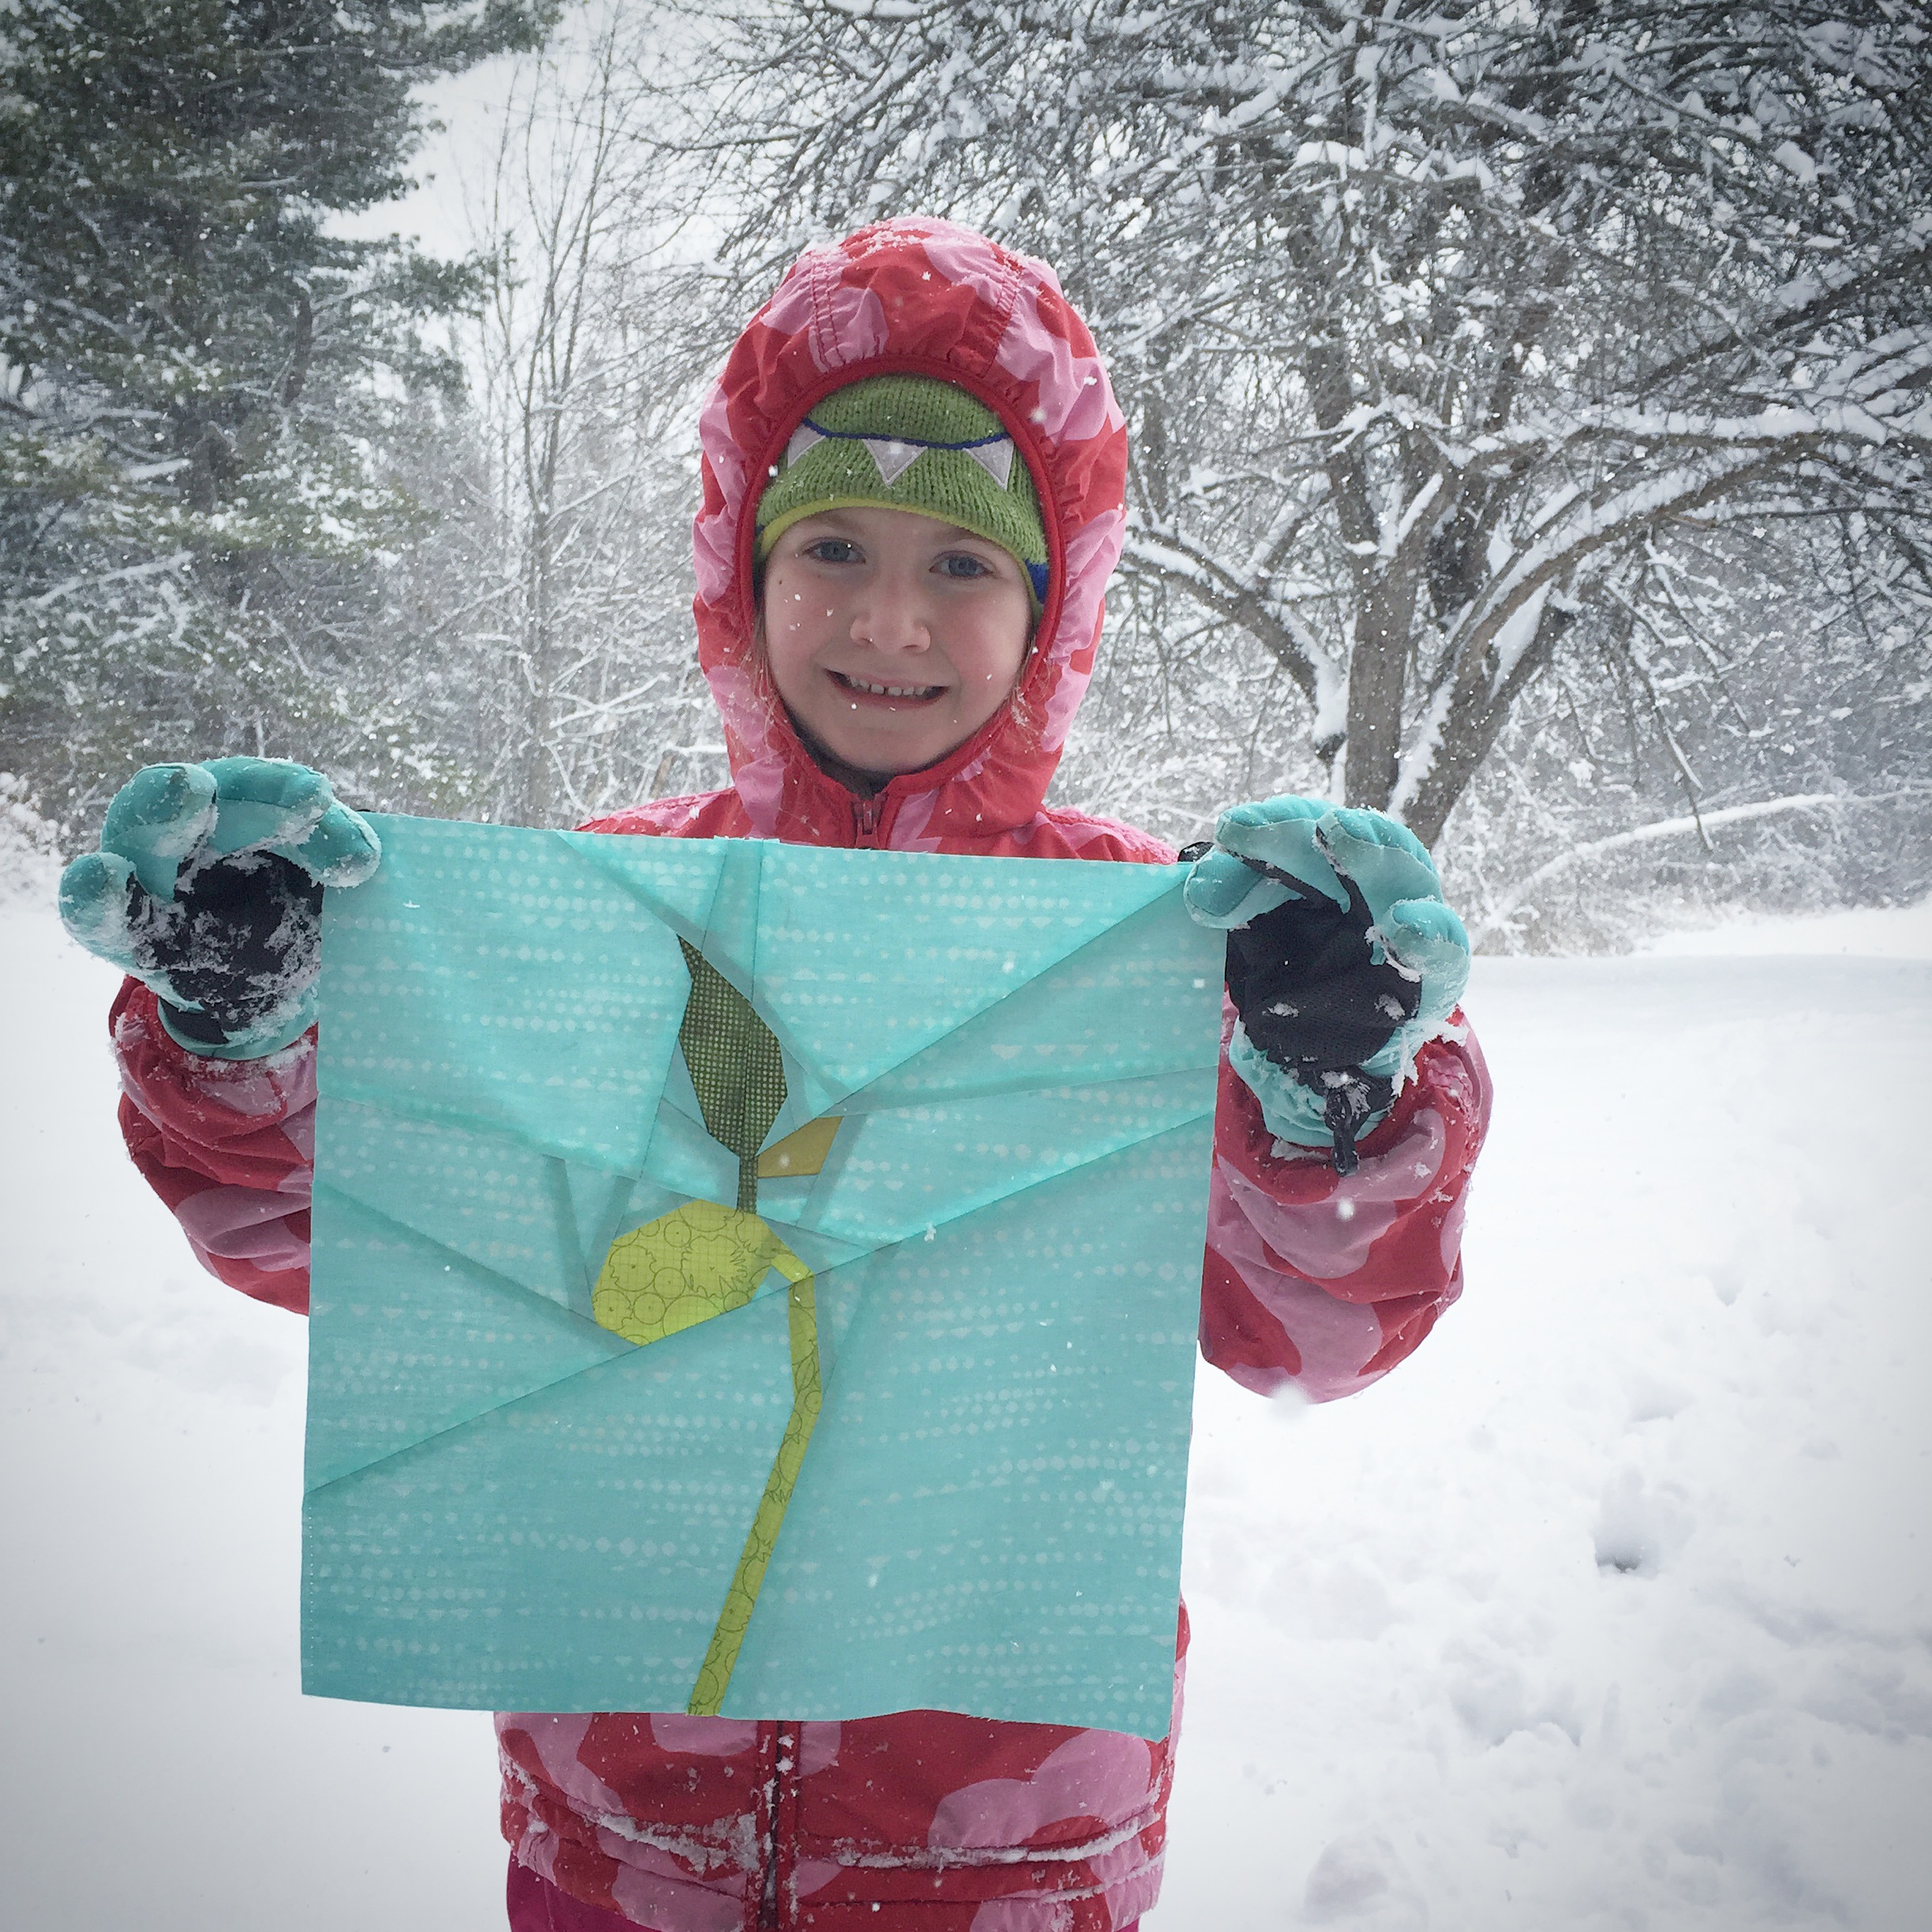
 Aside from finding the necessary time to piece, layer, trace, fuse, and cut applique, baste, quilt, and finish this commission, the trickiest part was photographing the finished quilt. This quilt was too wide for even my tall 6’2″ husband to hold fully extended, although he did his best. He even tried to jump to get his feet out of the photo, but lo it only resulted in laughs. After washing and drying the quilt, I gave photographing it in full another go, trying the pant-hanger on the shed trick. Still not my favorite quilt photos, but they show the full quilt, so I’ll concede. The quilt is cute and loved, and that’s what matters!

 J is happy with her quilt, so I’m thrilled!
Quilt Stats
Pattern: My own design, method inspired by Luke Haynes’ Silhoucat Quilt and fashioned after the recipients home and kittens
Size: 80″x74″
Fabric:
Front: The windows are an assortment of MANY teal/light blue/grey prints including but not limited to: Firefly Jar Mint from Curiosities by Jeni Baker (Art Gallery), Shimmer 2 fabric by Jennifer Sampou (Robert Kaufman), Mini Pearl Bracelets in Petal by Lizzy House (Andover), Full Circle in Robin’s Egg from Full Circle by Eloise Renouf (Cloud 9), Hilltop Mint Hearts for Wee Gallery (Dear Stella), Geo Mist in Mist from Anna Elise by Bari J (Art Gallery), Flirt Spring Branches on Grey (Dear Stella), Grey Mini Confetti from Confetti Dot (Dear Stella), Net in Smoke and Mint (Dear Stella), Crosshatch in Lake from Architextures by Carolyn Friedlander (Robert Kaufman), Chasing Butterflies in Blue by Lizzy House (Andover), Flowers on Blue by Pippa Moon (Studio E), The Sweet Life by Cori Daitini (Blend), Three French Hens by Pearl Louise Krush for Riverwoods Collection (Troy Corp), Glitz Flower in Aqua from Glitz Garden (Michael Miller);
The walls are Interweave Chambray in Sorbet (Robert Kaufman), and the door and window frames are Interweave Chambray in Boysenberry (Robert Kaufman); the cats and creatures are Moda Bella black.
Back: Cotton Lawn in Lime
Binding: Spotted in the Crowd in Amelie from Field Study by Anna Maria Horner (Free Spirit)
Batting: 100% cotton Soft n’ Crafty batting
Thread: Aurifil 50wt in 2600 – Dove for piecing and Aurifil 50wt 2800- Mint Ice, 5003-Wine, 4030-Plum and, 2692-Black for quilting
Quilting: Both straight line and free motion quilting on my Bernina 560 and a walking foot/open fronted darning foot
Time:
Piecing the top: 12 hours
Tracing, cutting, fusing applique: 4 hours
Piecing the back: 35 minutes
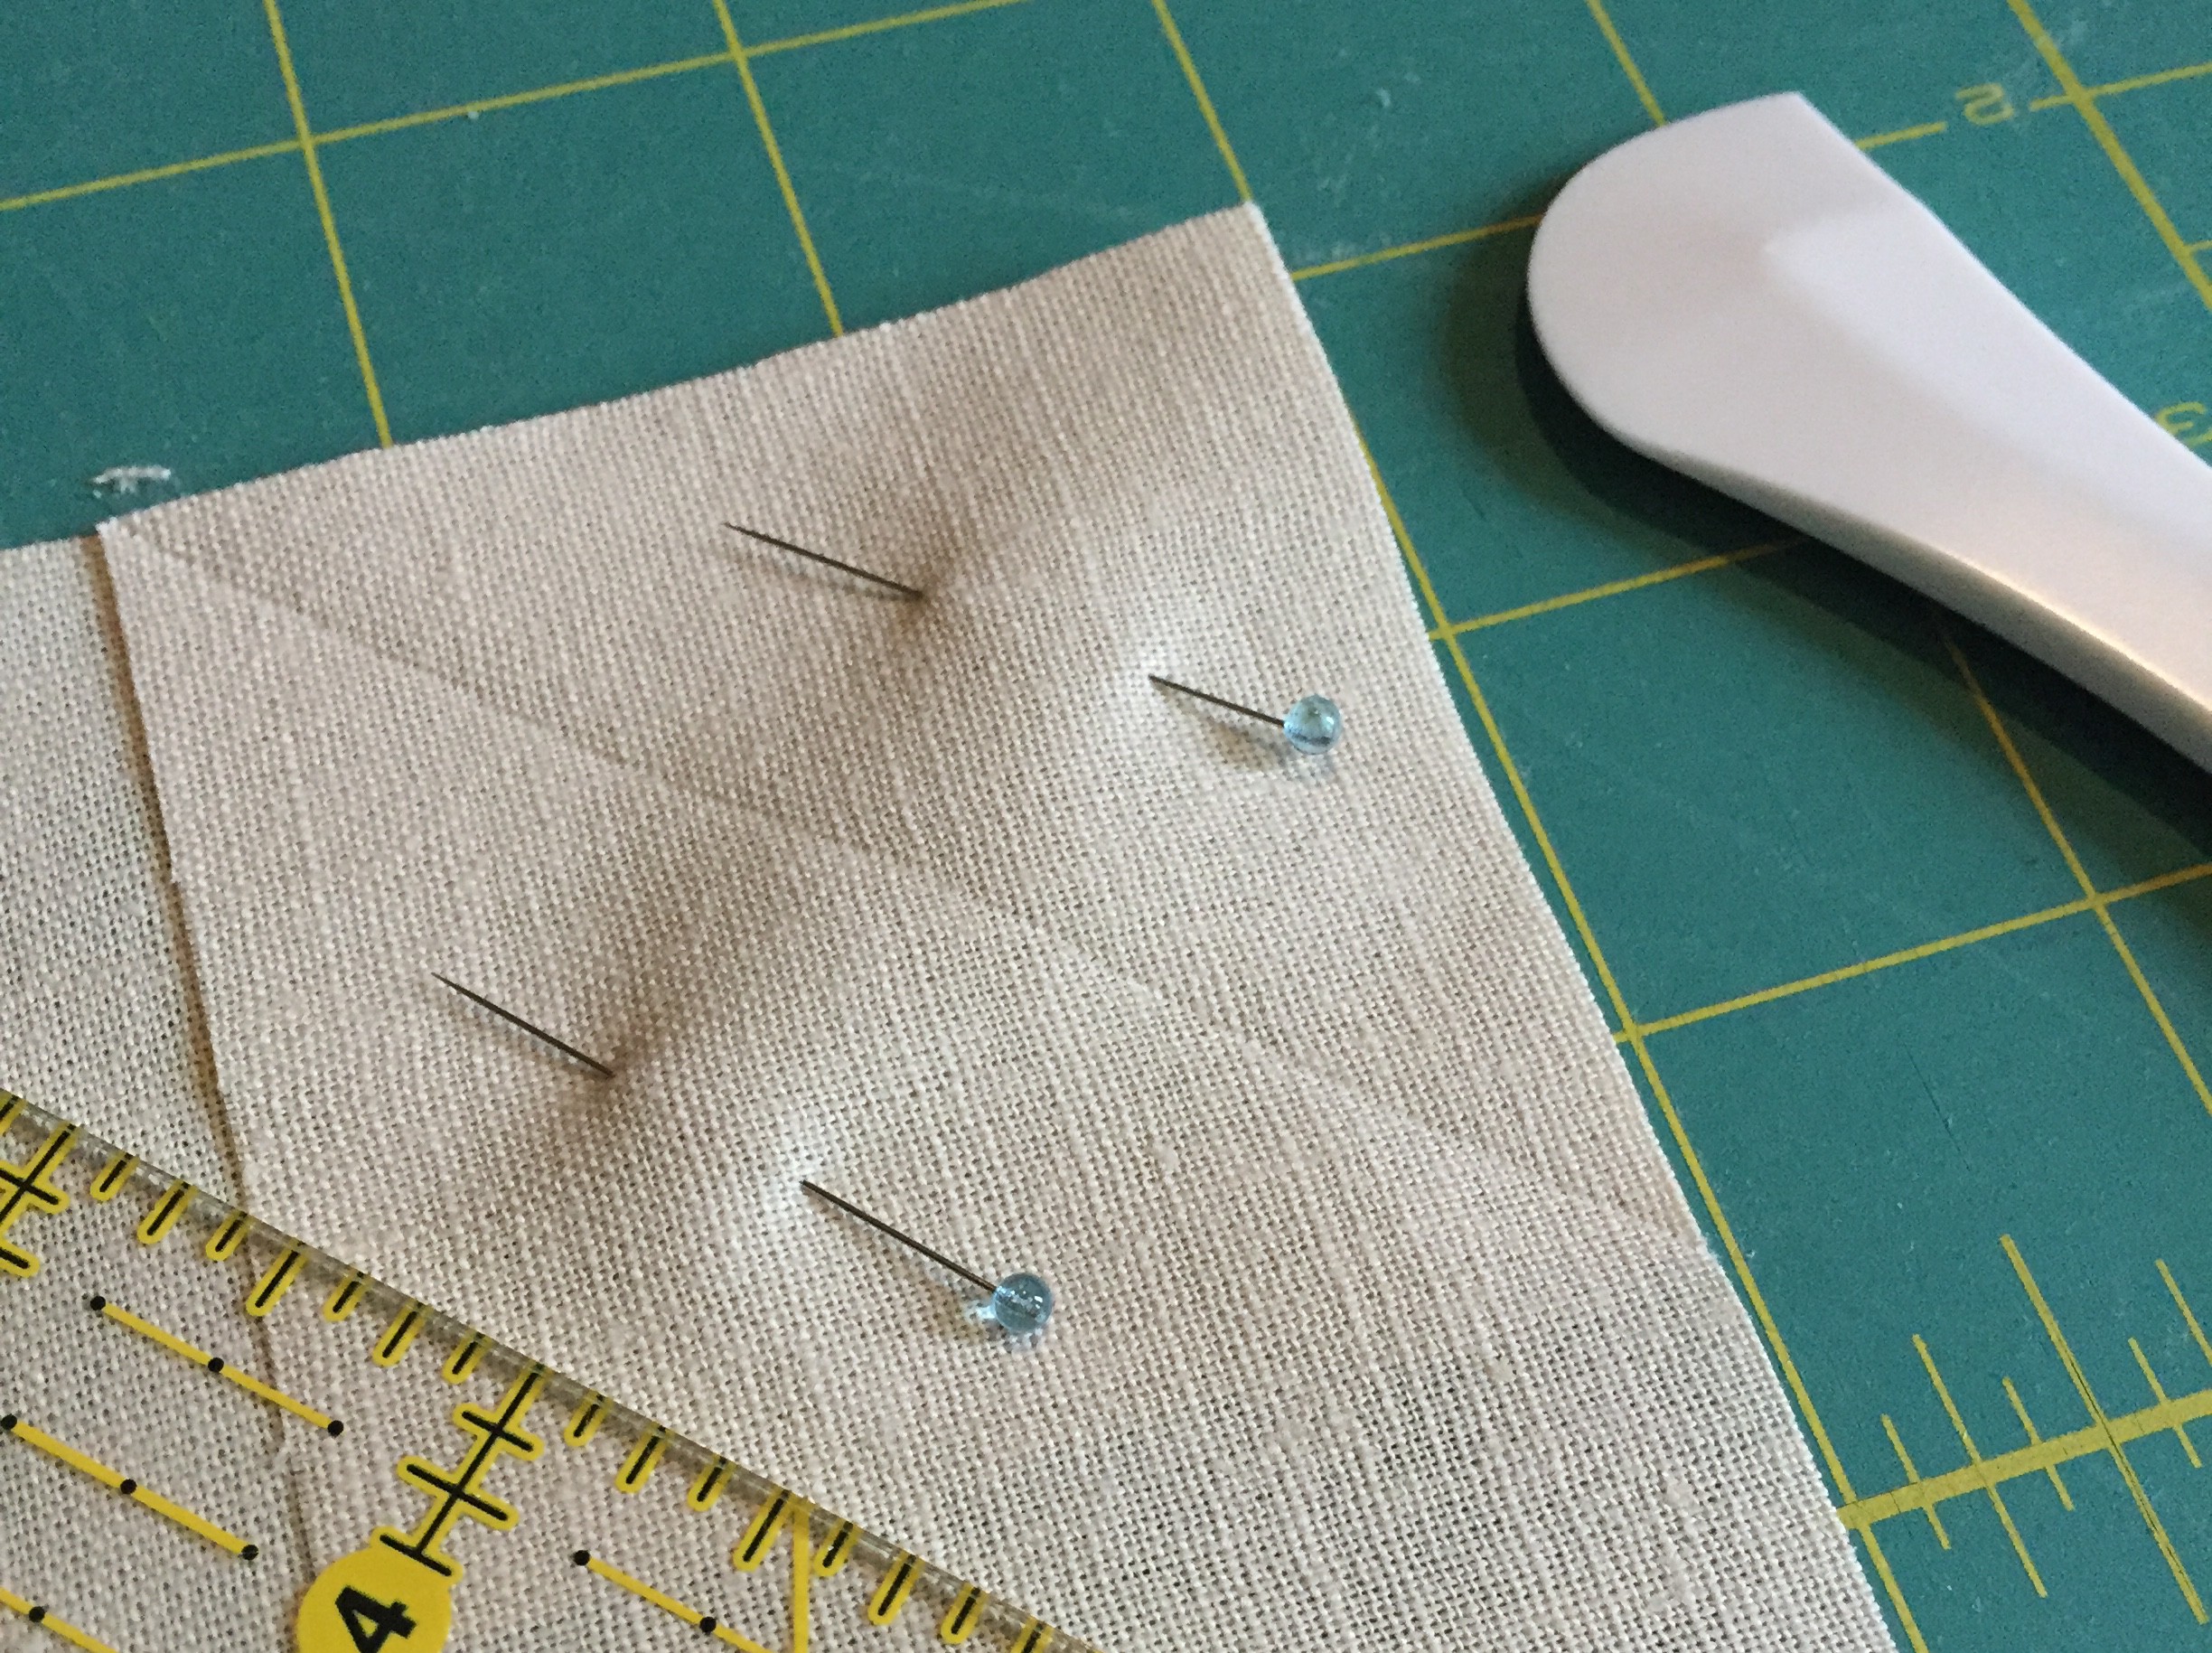
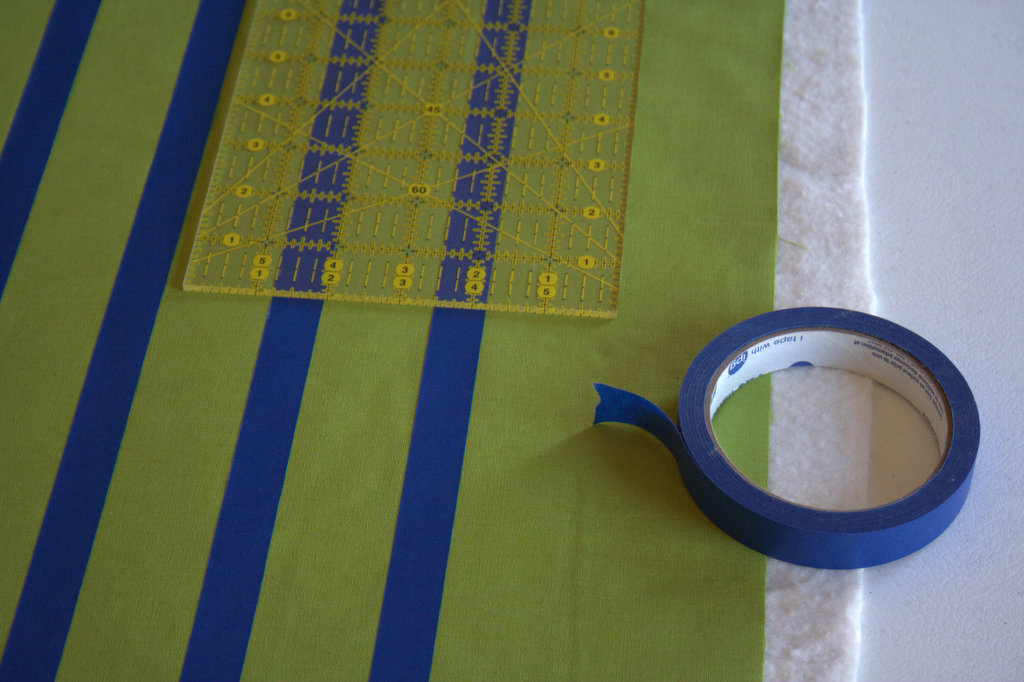
Squaring, layering, and basting: 1 hour 40 min
Quilting: 9 hours 30 min
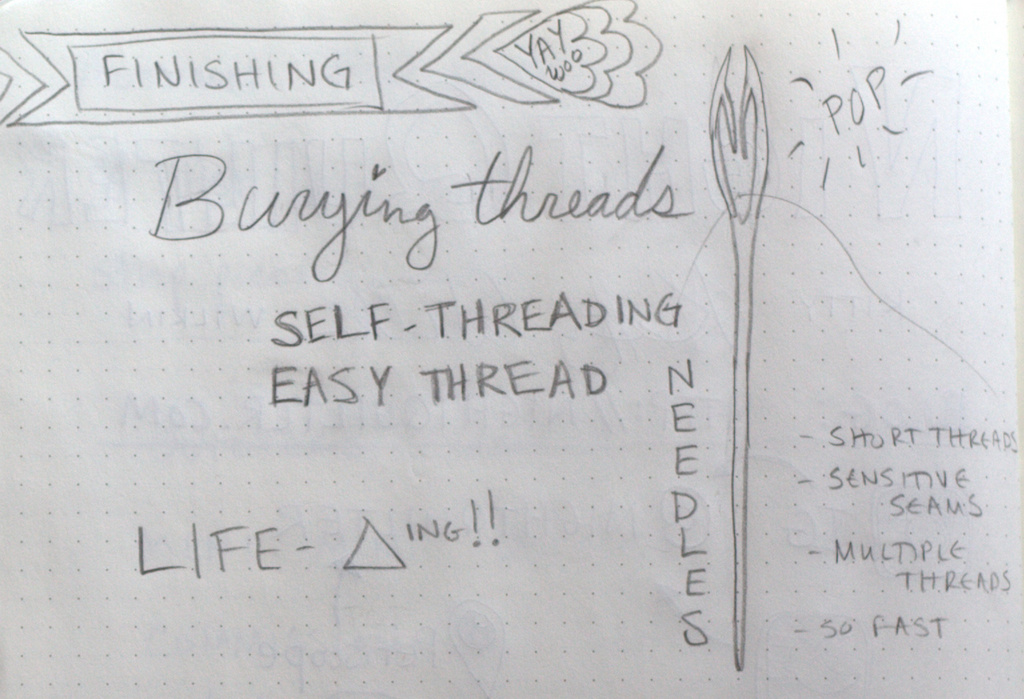
Finishing (squaring & burying threads): 2 hours
Binding: 3 hours
Total: Approx. 32 hours 45 min
Related Blog Post: Slow and Steady
I’m linking up with Crazy Mom Quilts Finish it up Friday, Needle and Thread Thursday, and TGIFF. I’m so excited to have my first commissioned quilt under my belt, and I’m so grateful to my FIL for not only seeing the value in handmade, but insisting on supporting the business side of what I do, too!


 I’m excited to be joining a fantastic group of pattern designers to bring you a Christmas in July pattern bundle, available for $25 for three days only. There are 23+ great patterns included, as well as some great sponsor prizes. Both of my top selling foundation paper pieced patterns Lupine & Love Struck are included in the bundle, as well as a variety of other fantastic patterns by talented designers, both holiday themed and all purpose patterns great to have in your library.
 As an extra special incentive, if you buy the bundle from me, you will also be entered to win a Quilter’s Planner 2017 Starter Kit, which includes a 2017 Quilter’s Planner as well as pens, stickers, and highlighters to help you stay organized, productive, and inspired! (Note: The winner will receive the starter kit as soon as it’s available, expected to be shipping in October). Congratulations to Sharon, the winner of the Quilter’s Planner Starter Kit!
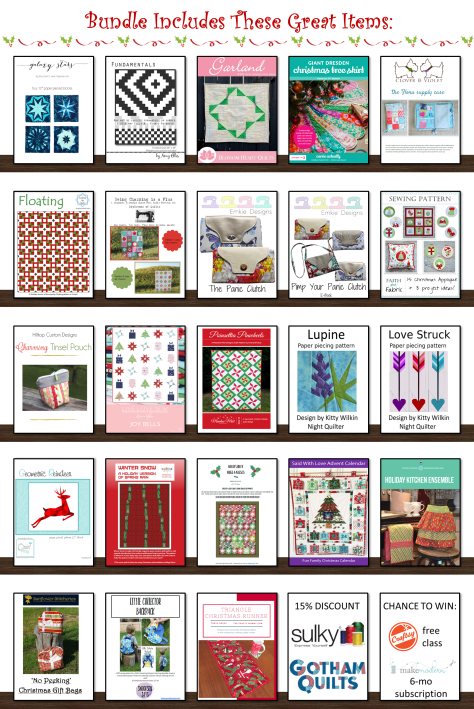
 You will get immediate digital download of all of the patterns shown above, plus:

 I really love clear video tutorials since I am very much a visual learner. Seeing each step helps make the process smooth and easy to complete without hang up or confusion. That, to me, is a big win!
 I decided to make my pin cushion with a range of warm Alison Glass Sun Prints 2015 and 2016, and once it was finished, it begged to be photographed out in the garden with the peonies. Such vibrant colors need to be in colorful company.
 I used a Tula Pink ribbon I won in a giveaway from
  I backed the pin cushion in Ex Libris Bookplate in Charcoal by Alison Glass (Andover Fabrics), and really would be tempted to use the pin cushion upside down every so often, it’s so pretty. This pin cushion is not for me, though, so the recipient can do with it as she pleases!
 This is the first pin cushion I’ve stuffed entirely with crushed walnut shell, at Sherri’s suggestion, and I really like the sturdiness and ease with which pins go into it. I bought the crushed walnut shell from a quasi-local, fabulous quilt shop,
  Check out the video below and make your own pin cushion if you want! There’s no such thing as too many pin cushions, right?


 The pattern includes clear piecing diagrams, sewing tips, and templates for the 8″x12″ finished block, with various shading to help with accurate fabric placement. Quarter inch seam allowances are included on all pattern pieces to help ensure easy piecing, and a 1″ reference square is on every printable page so that scale can be confirmed. Full foundation paper piecing instructions are not included in the pattern, but I have a thorough paper piecing tutorial