Twice a year, Amy from Amy’s Creative Side hosts a Bloggers Quilt Festival, an online quilt show where peers vote for their favorite quilt in each category. It should come as no surprise that I am entering a quilt into the ROYGBIV category, given my penchant for rainbows. As my first-ever entry into the Bloggers Quilt Festival, I’m entering my Alison Glass Prismatic Medallion mini quilt. Yes, this quilt will soon be mailed off to my swap partner, but that’s one of the huge benefits of this Quilt Festival–you don’t need the quilt in hand to enter!
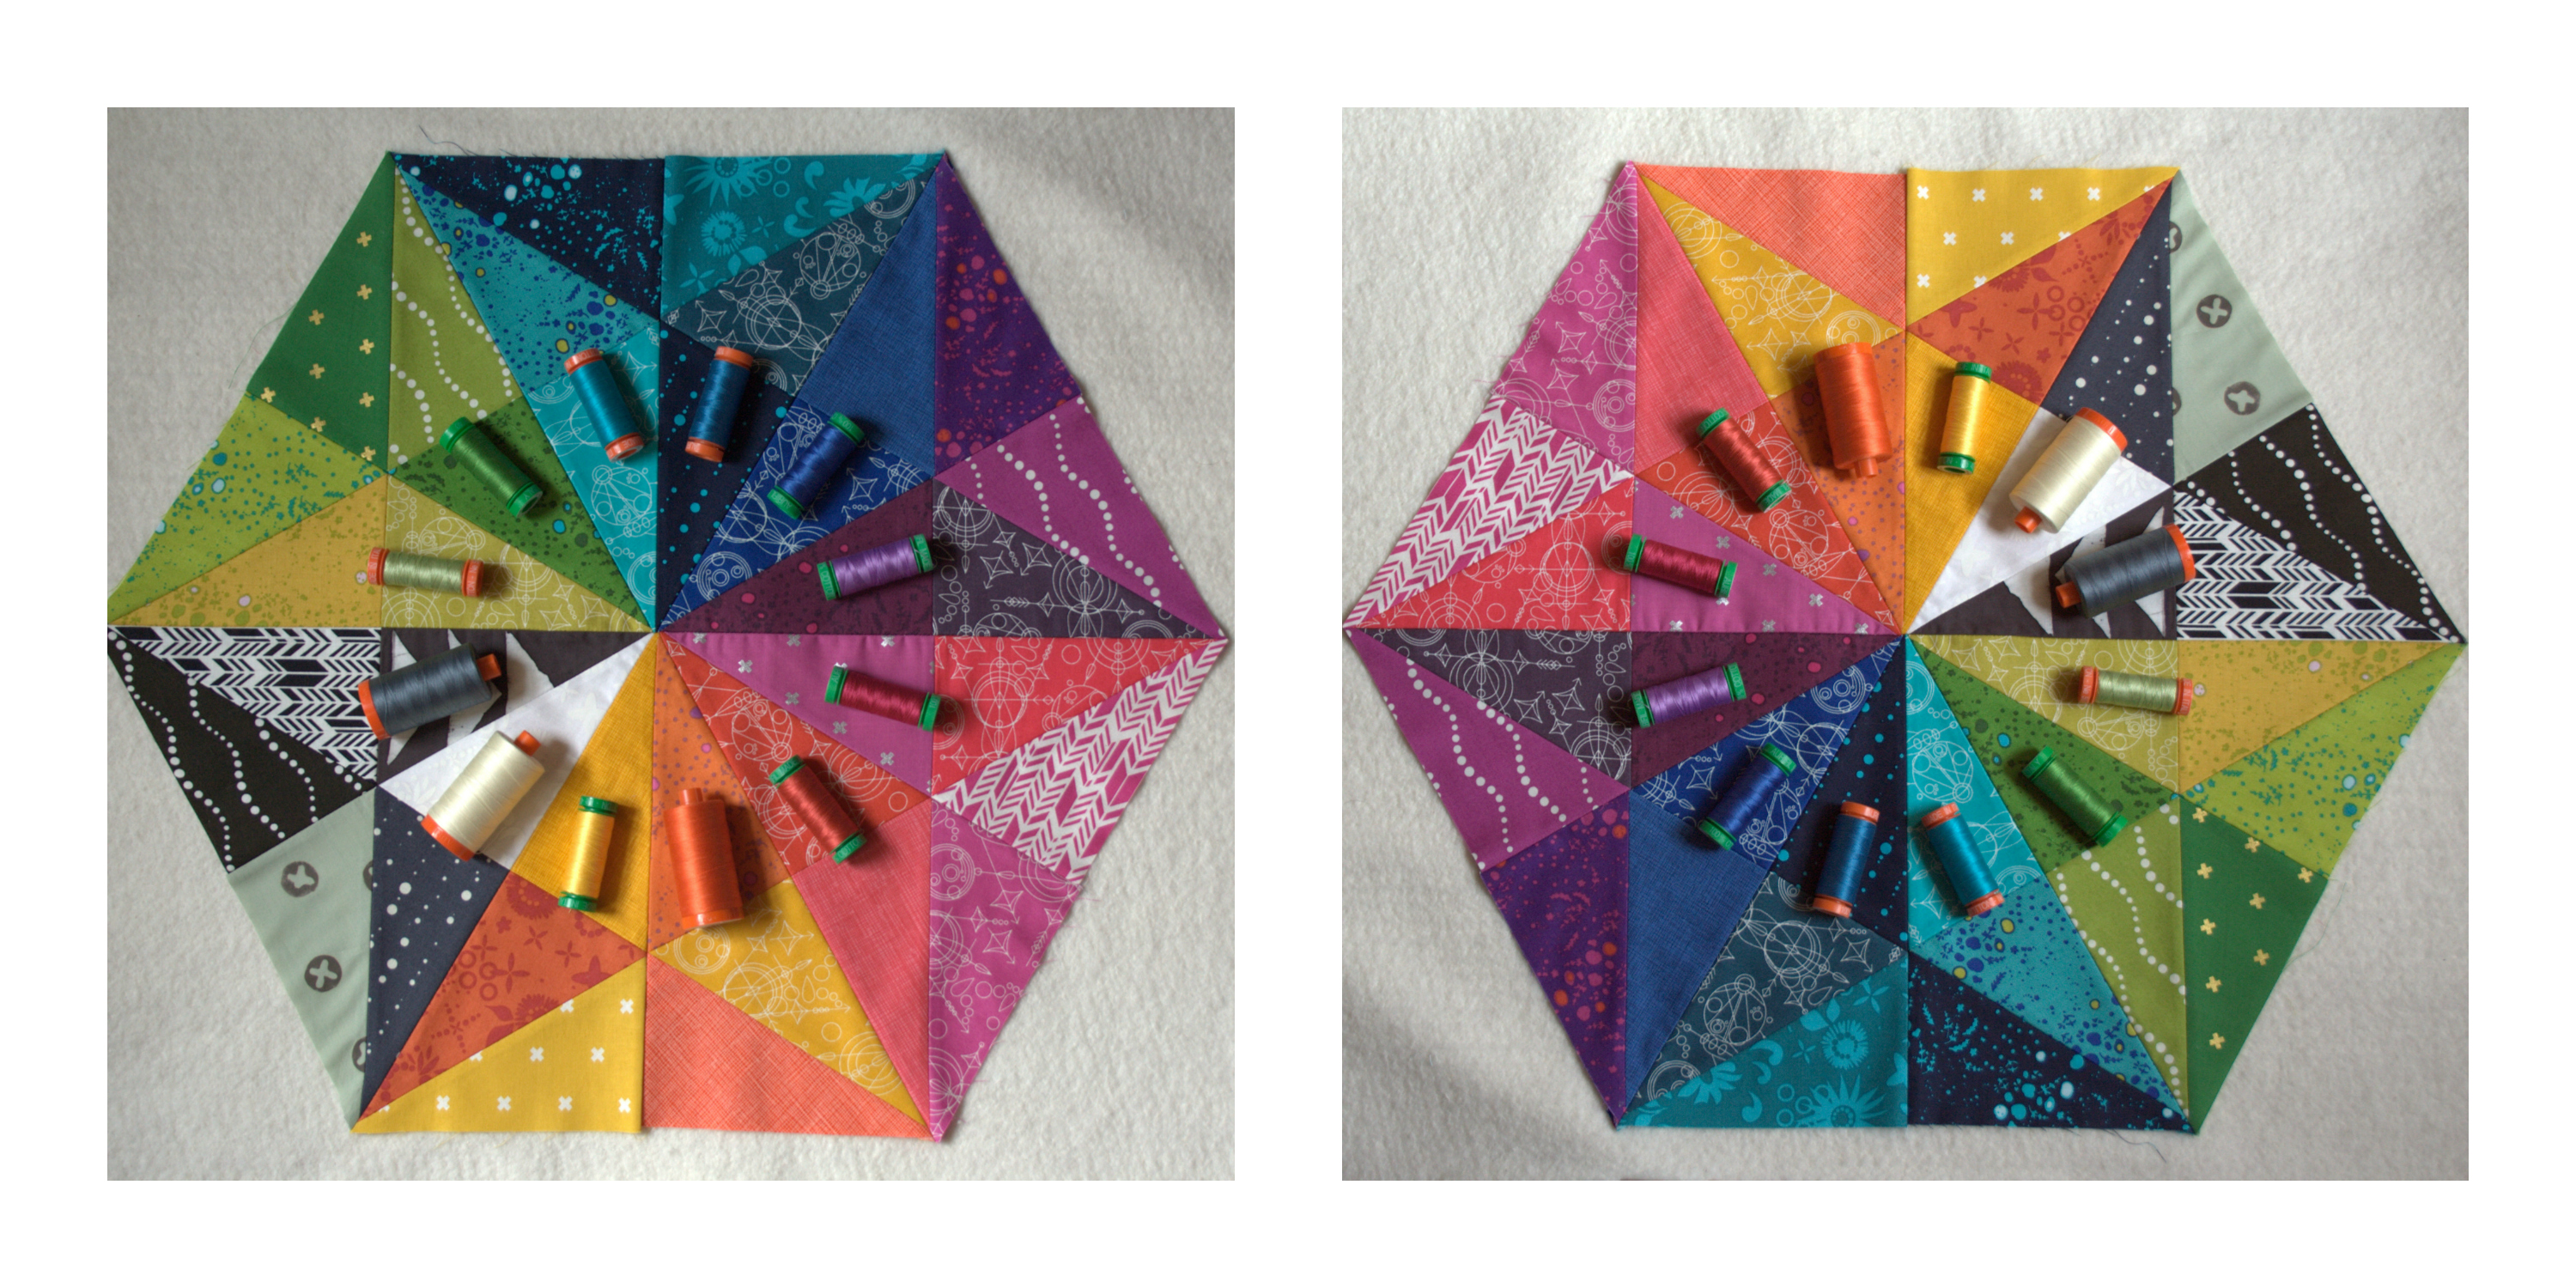
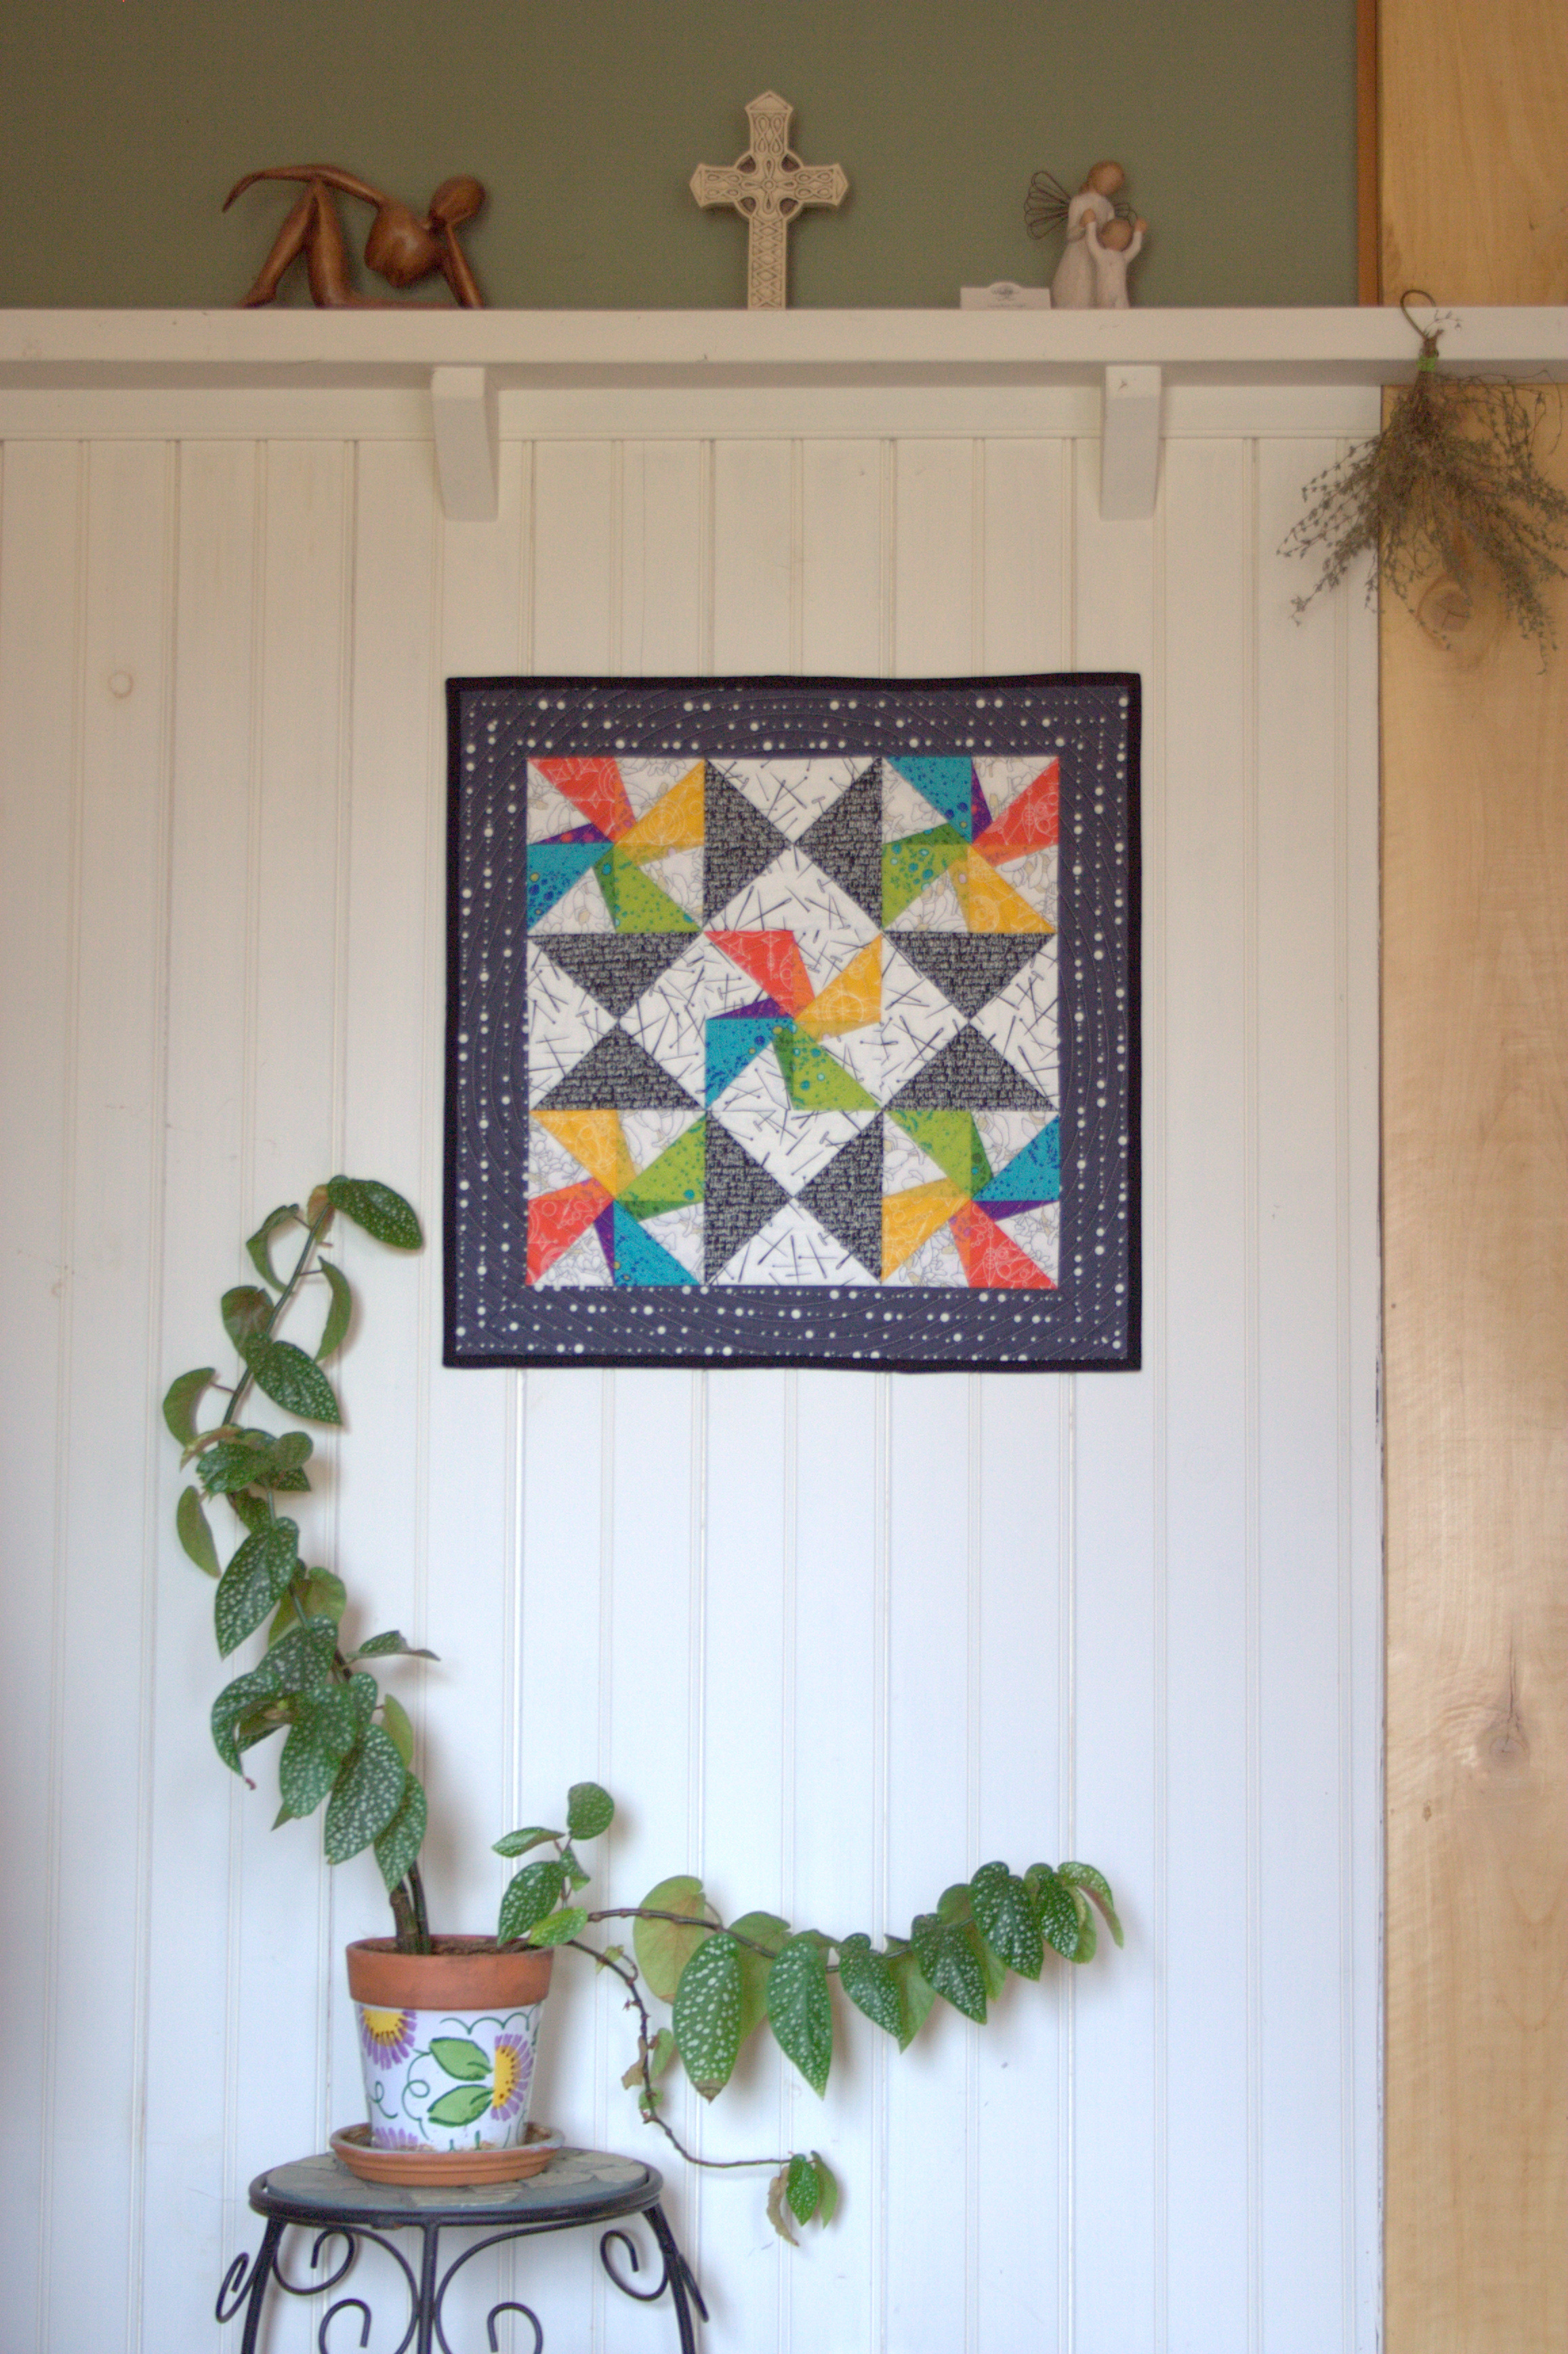
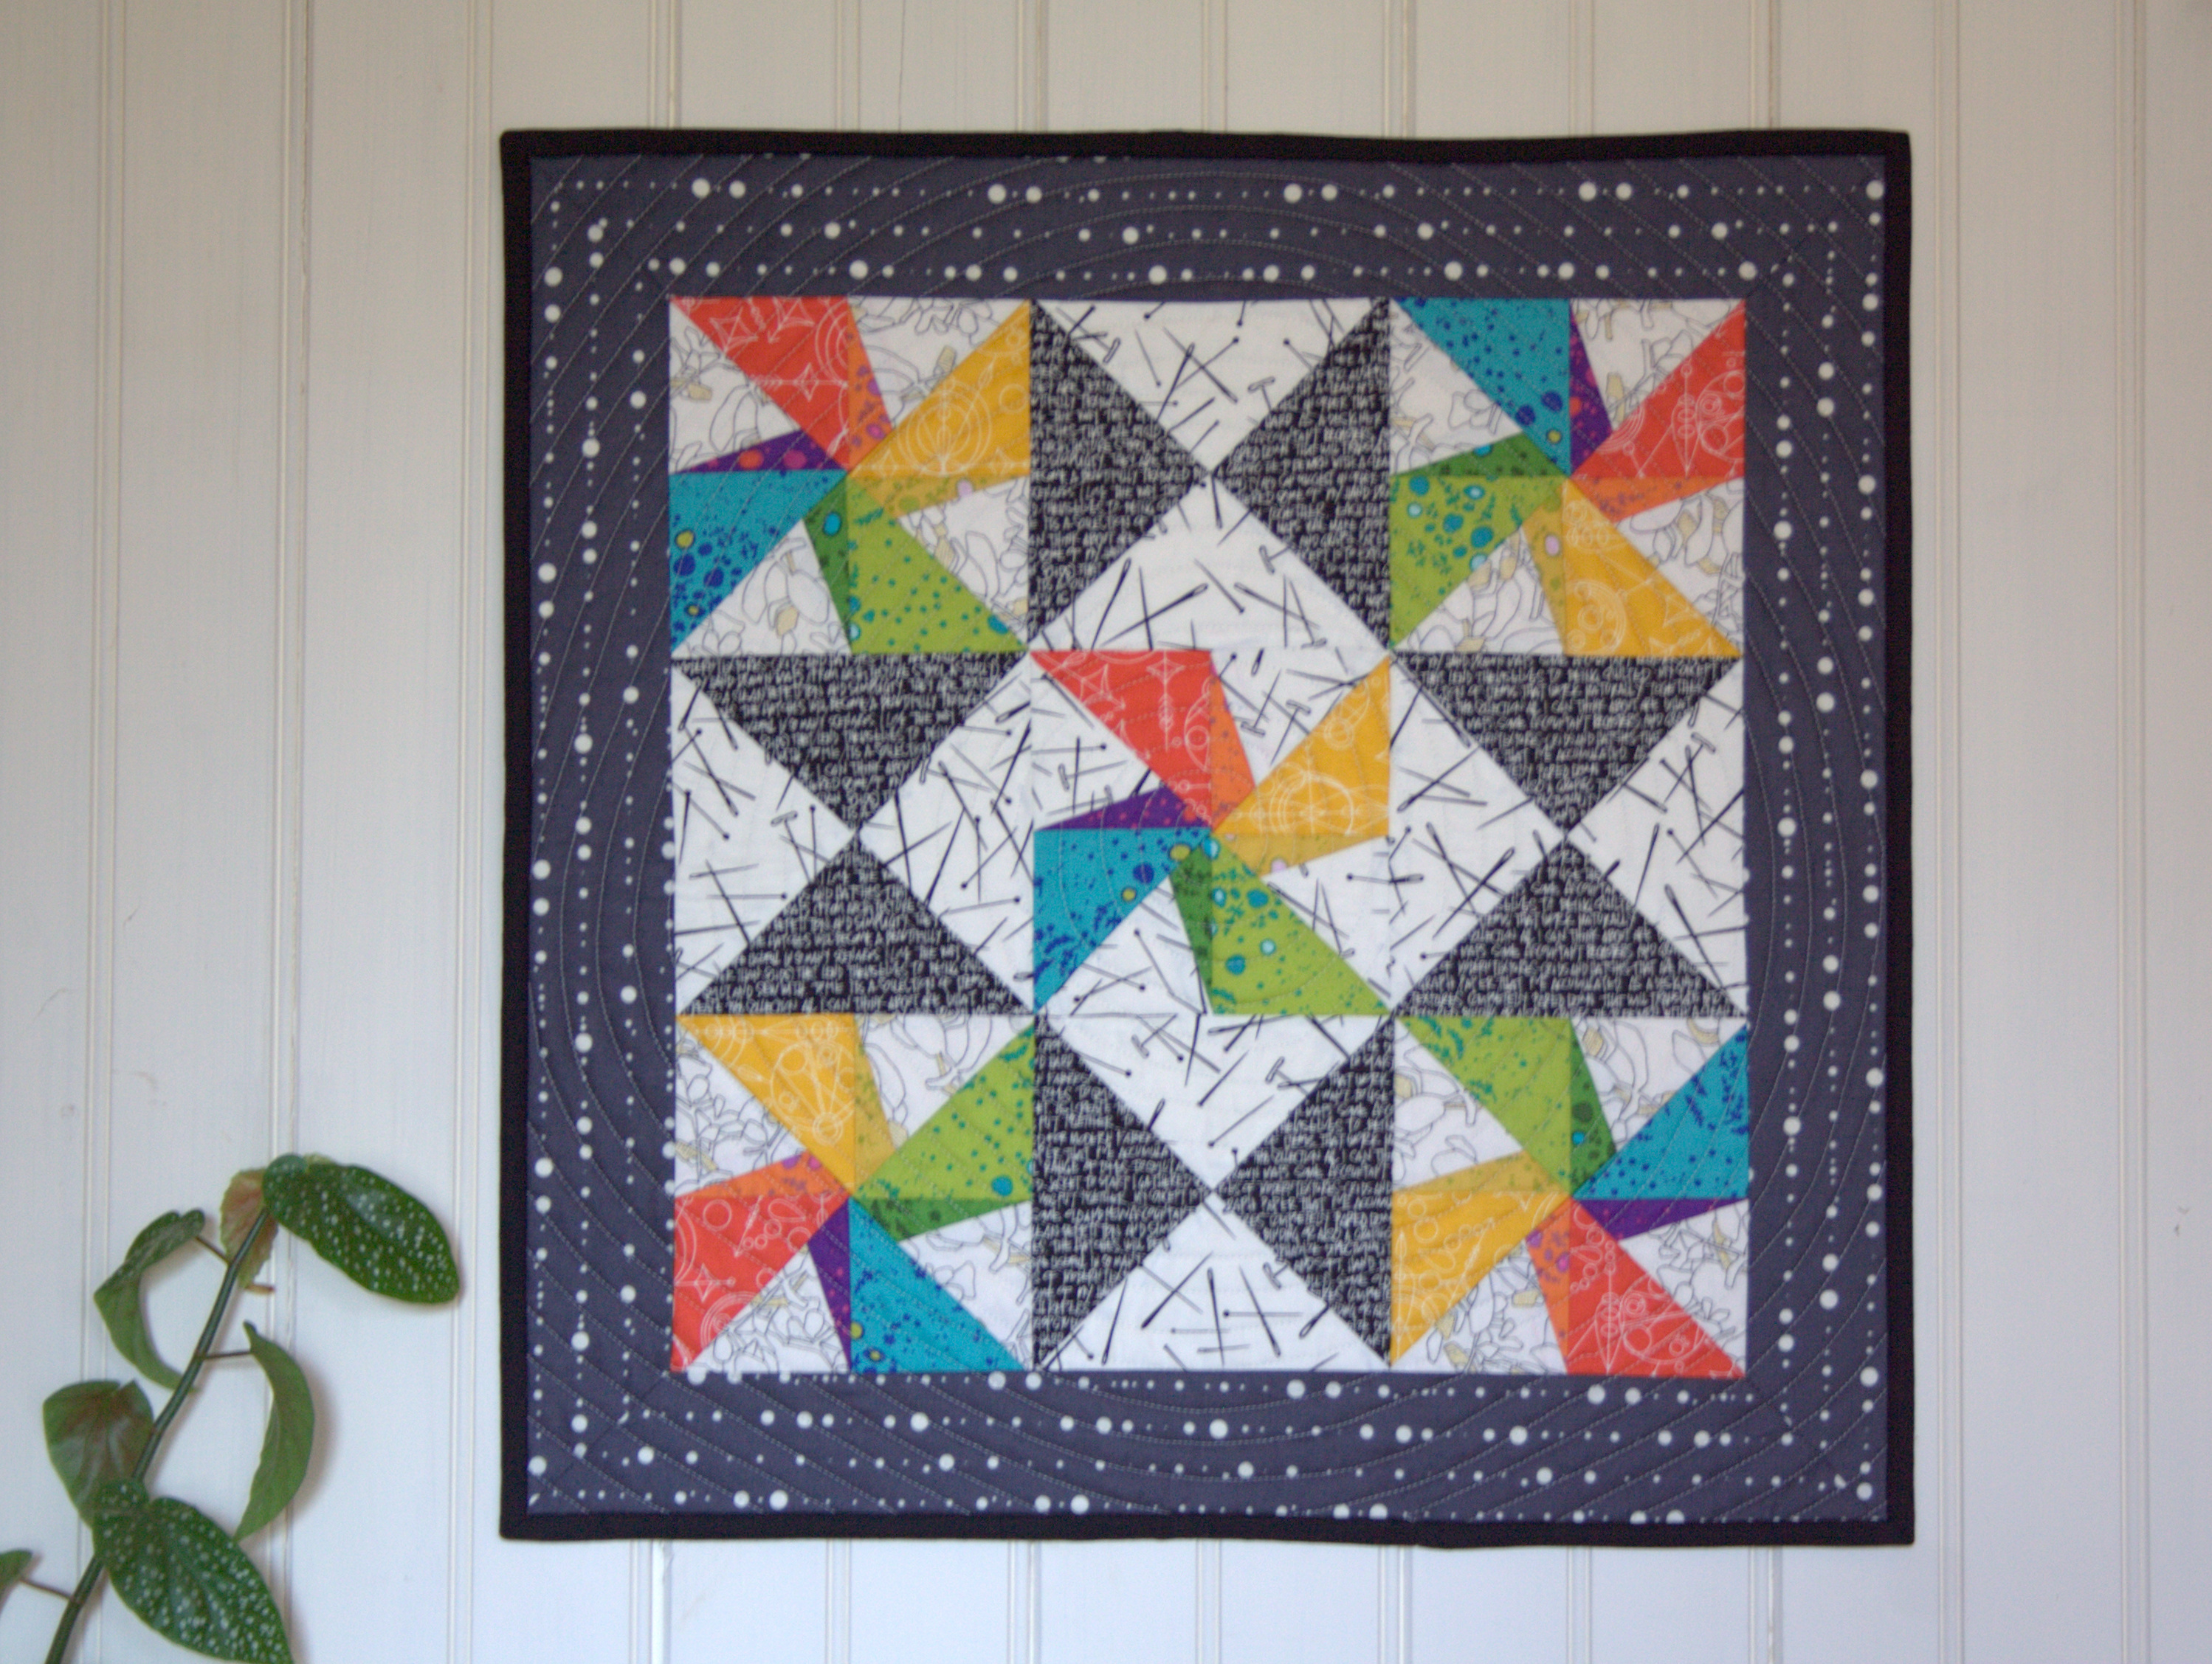
Without further ado, I give you Alison Glass Prismatic Medallion:
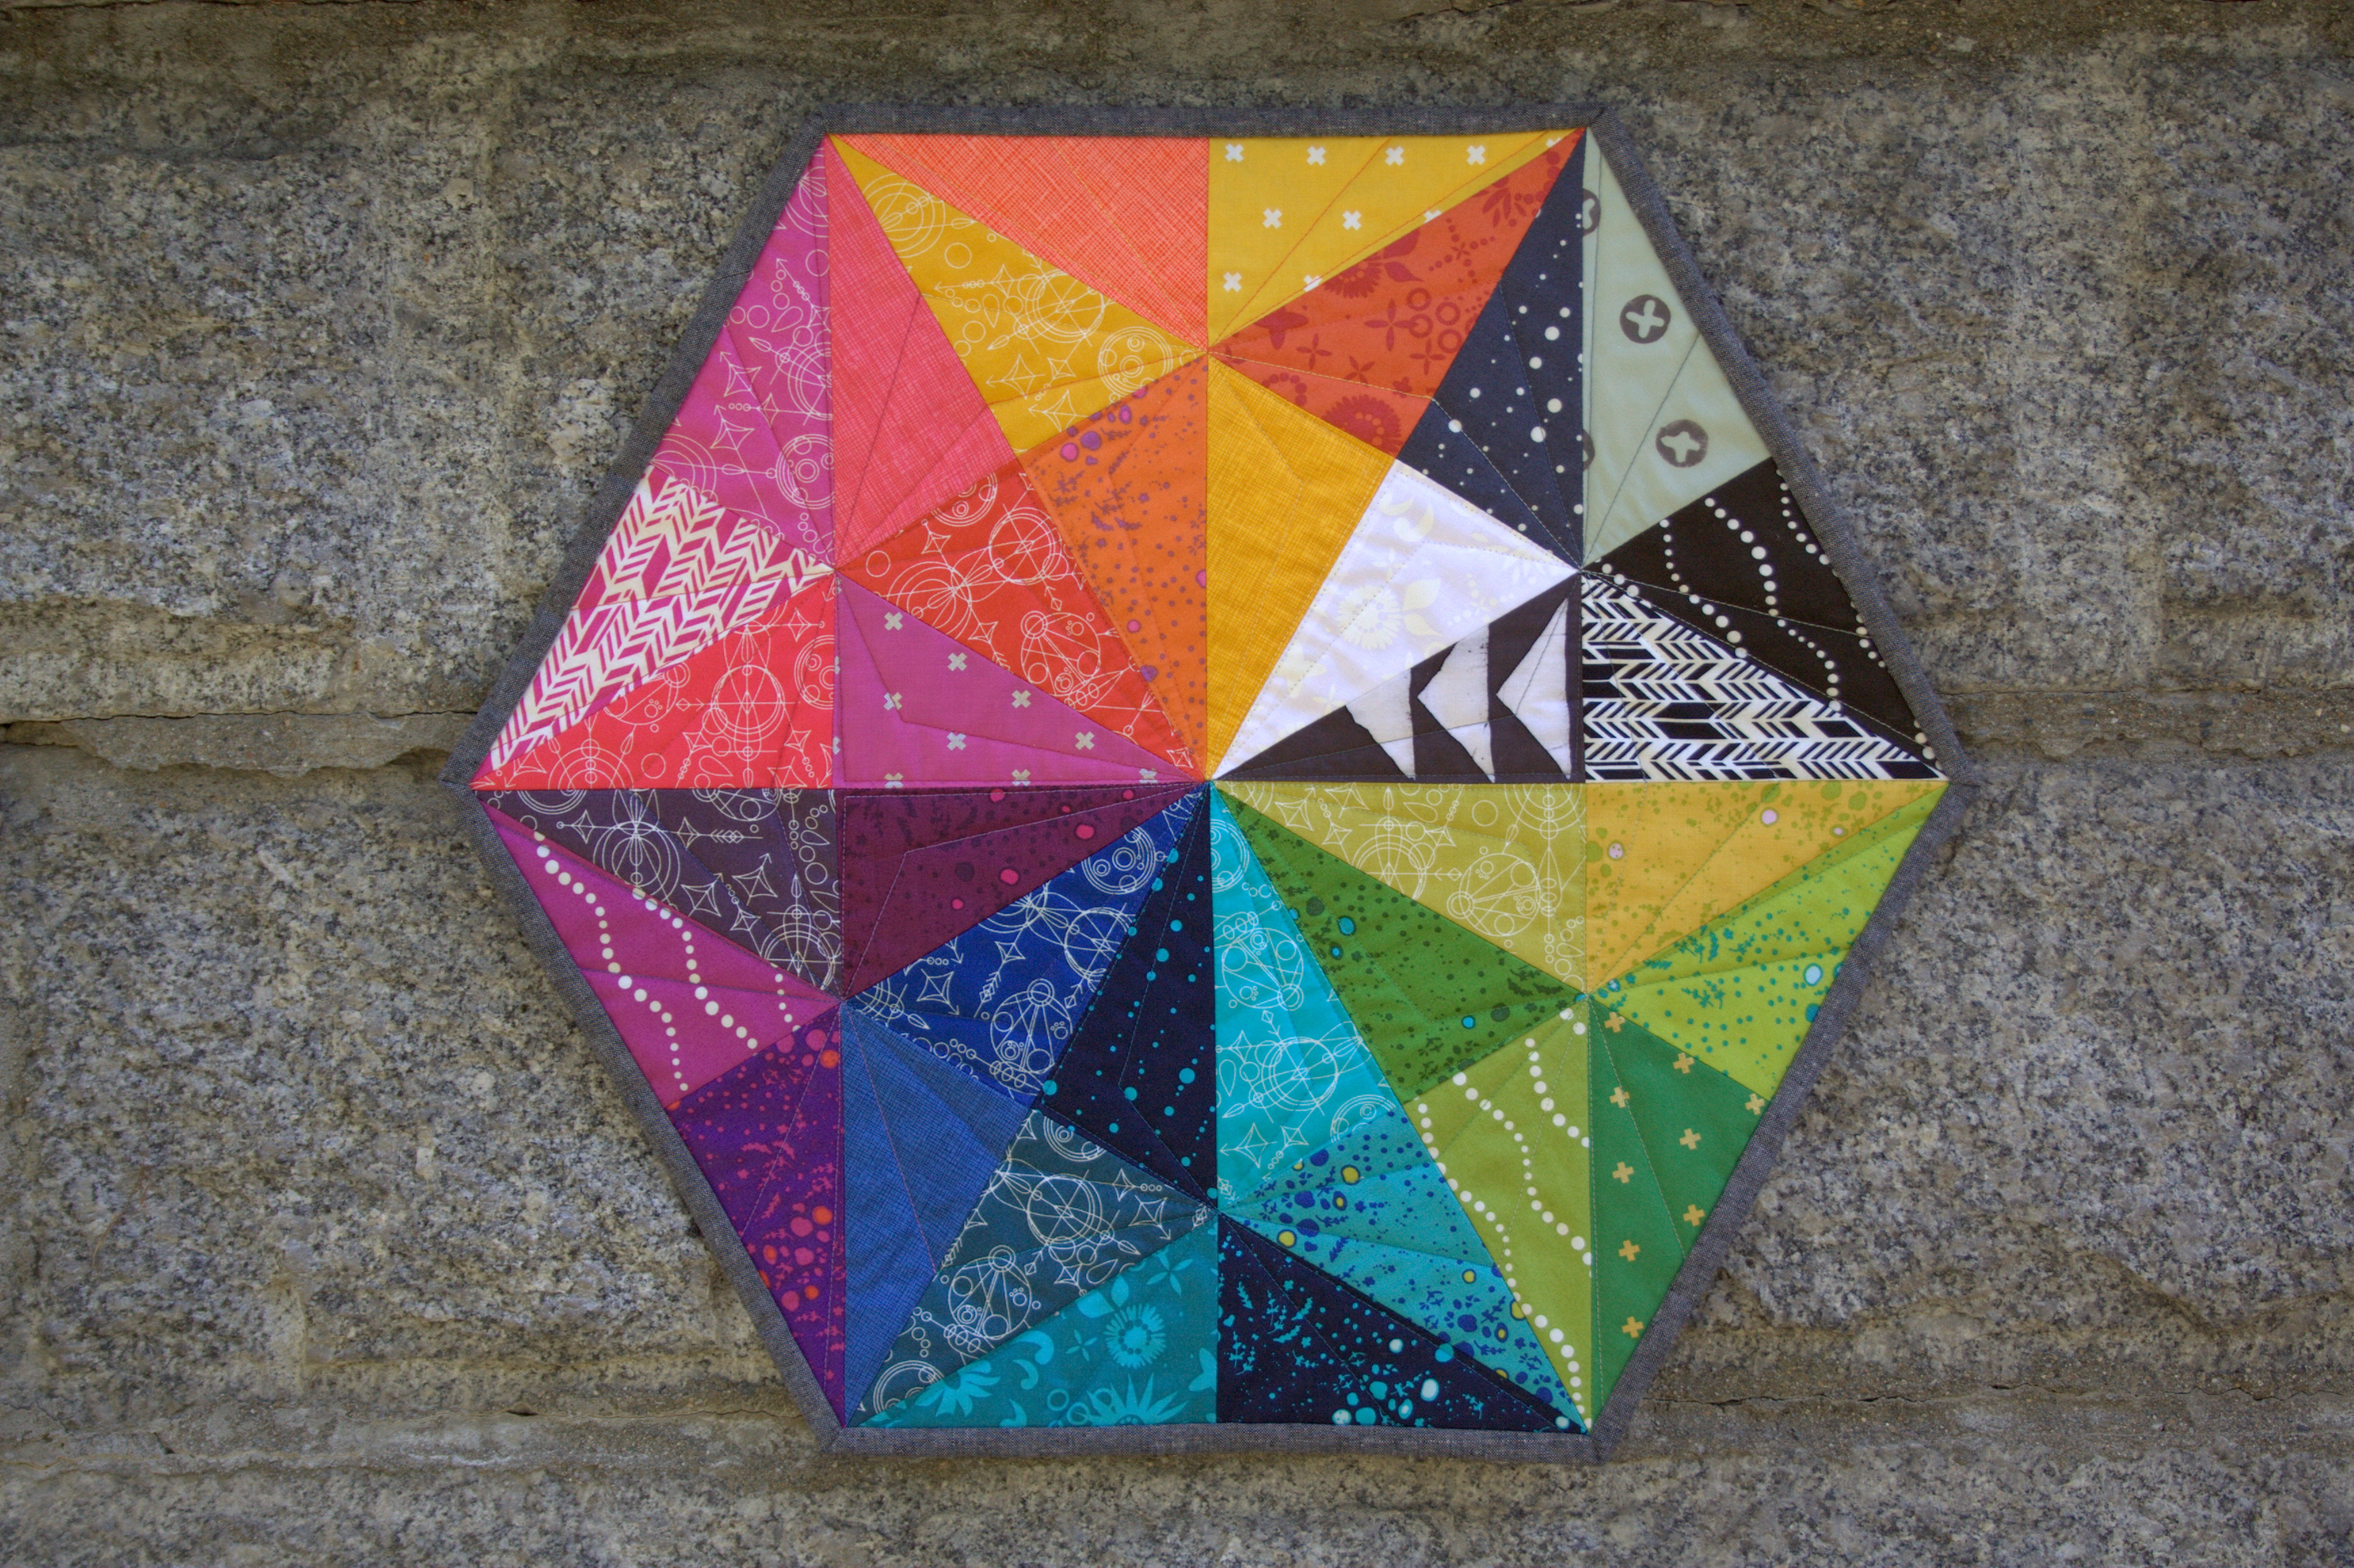
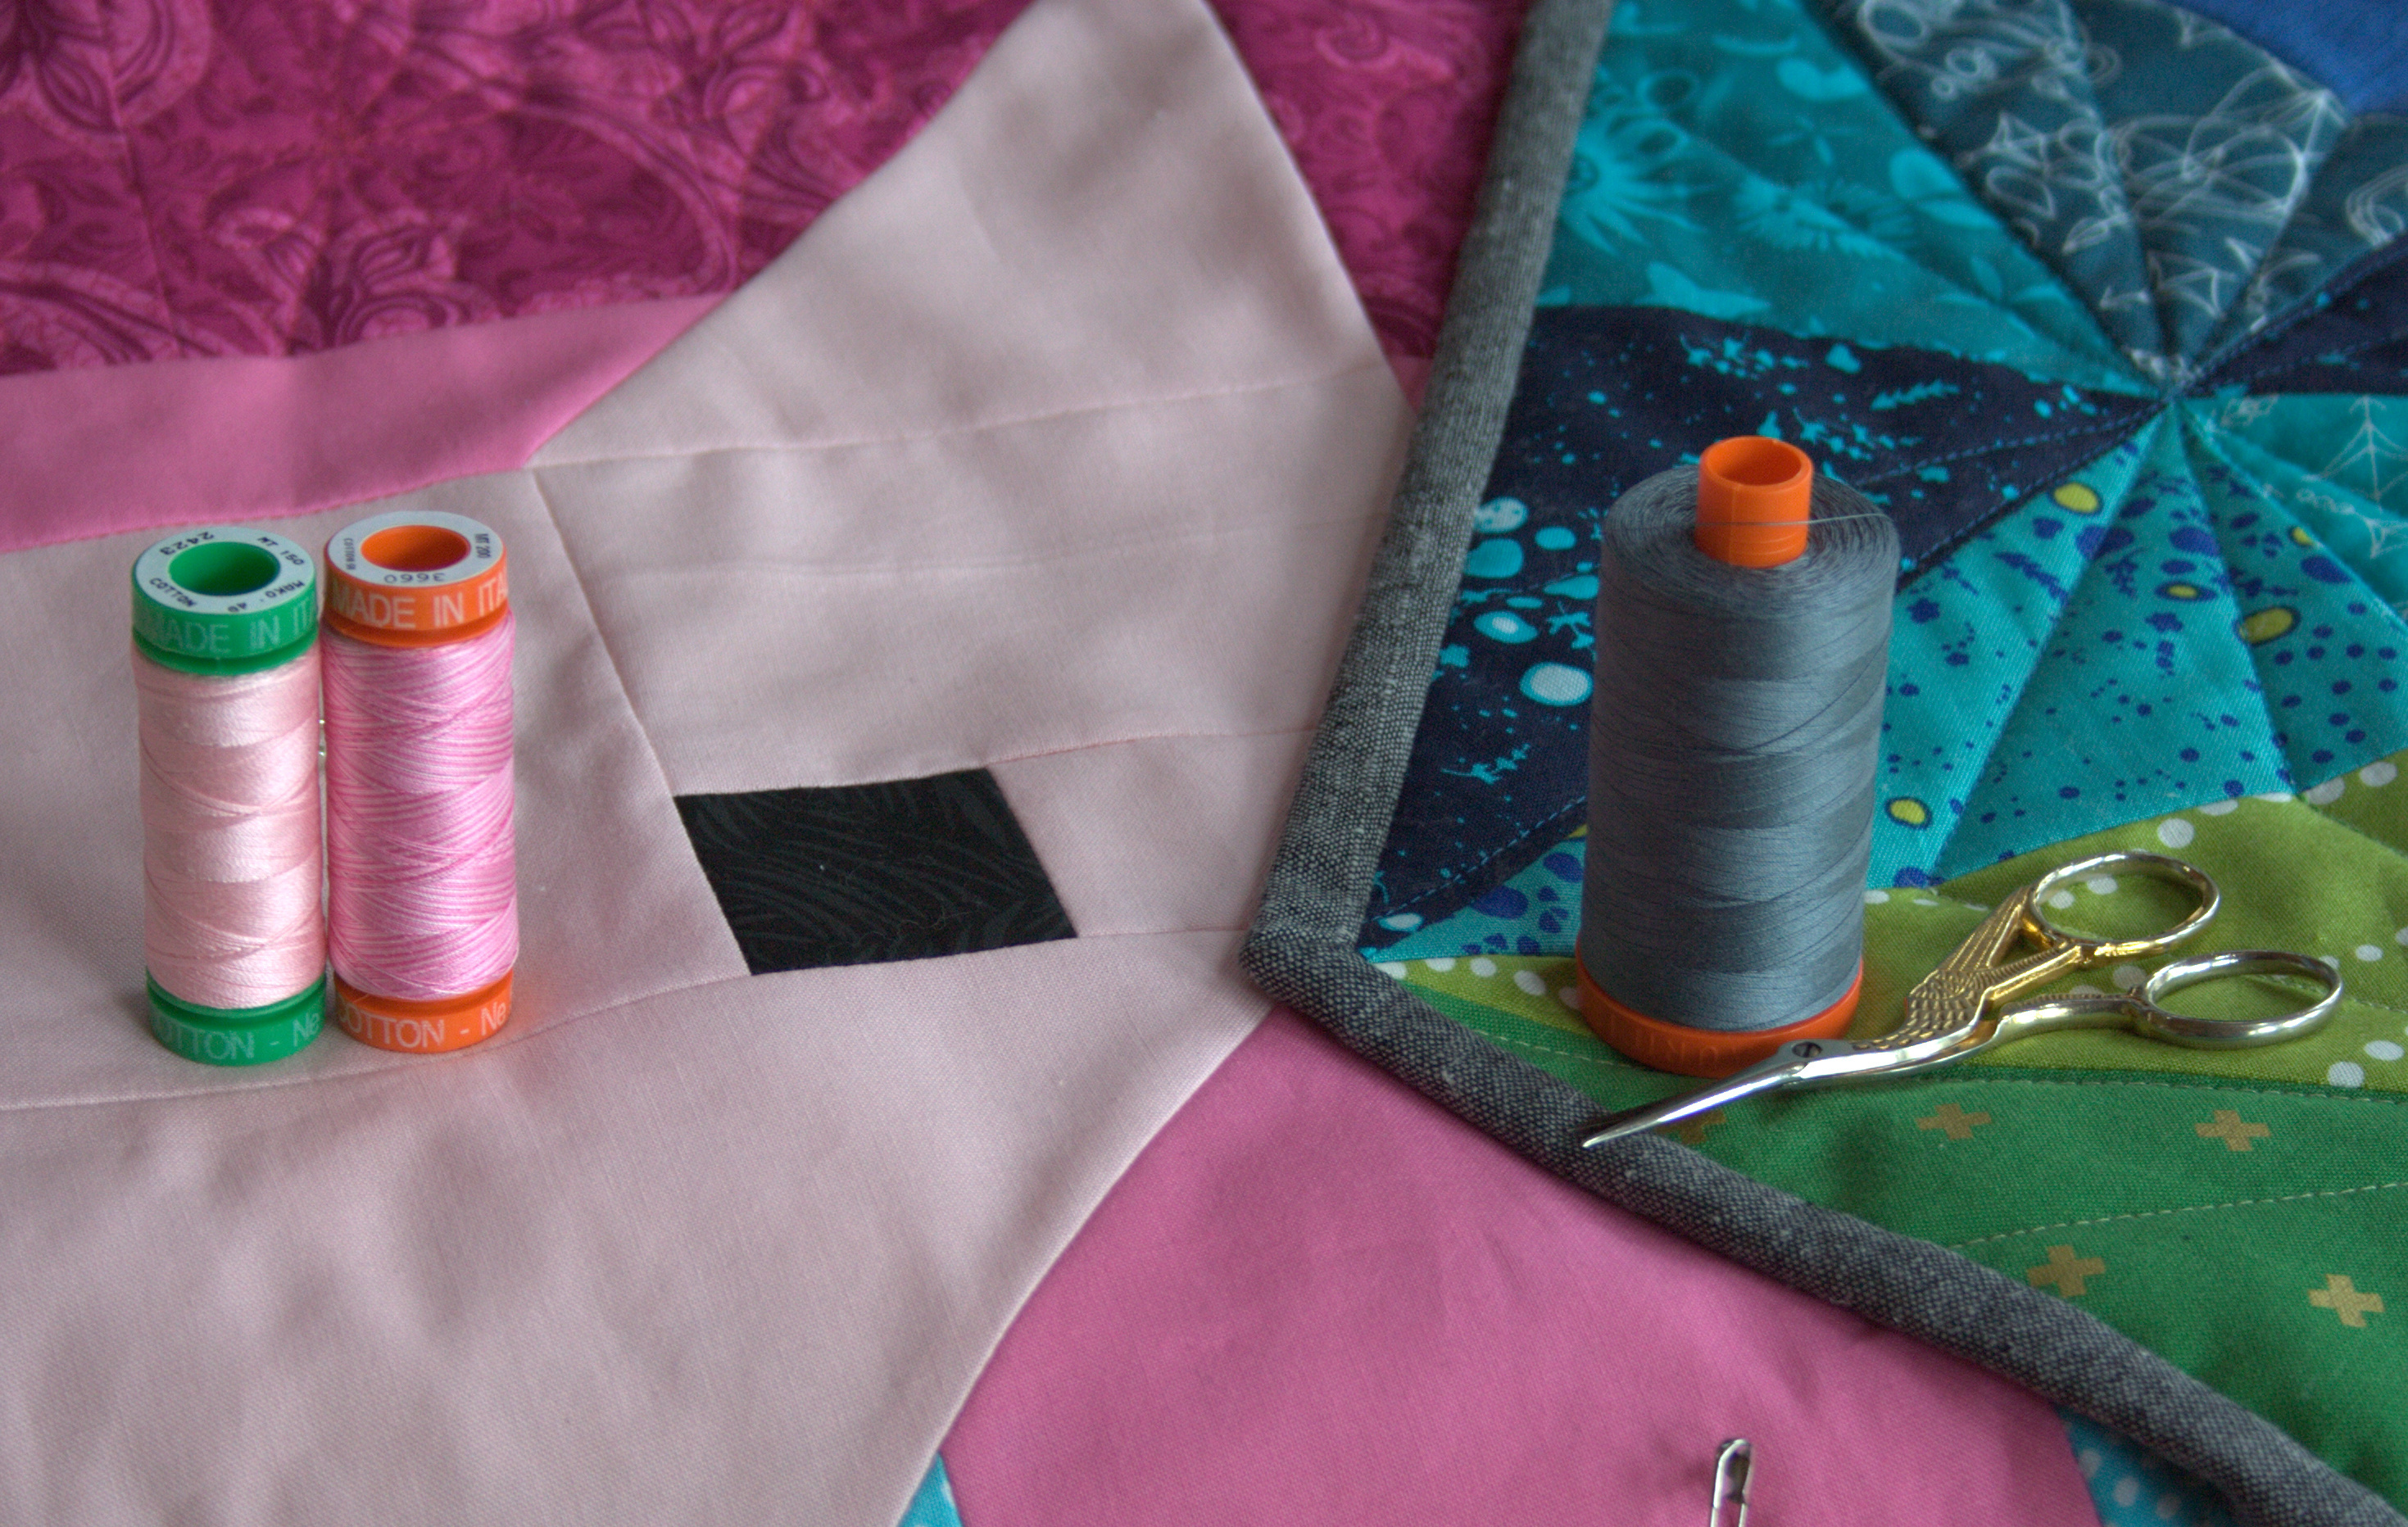
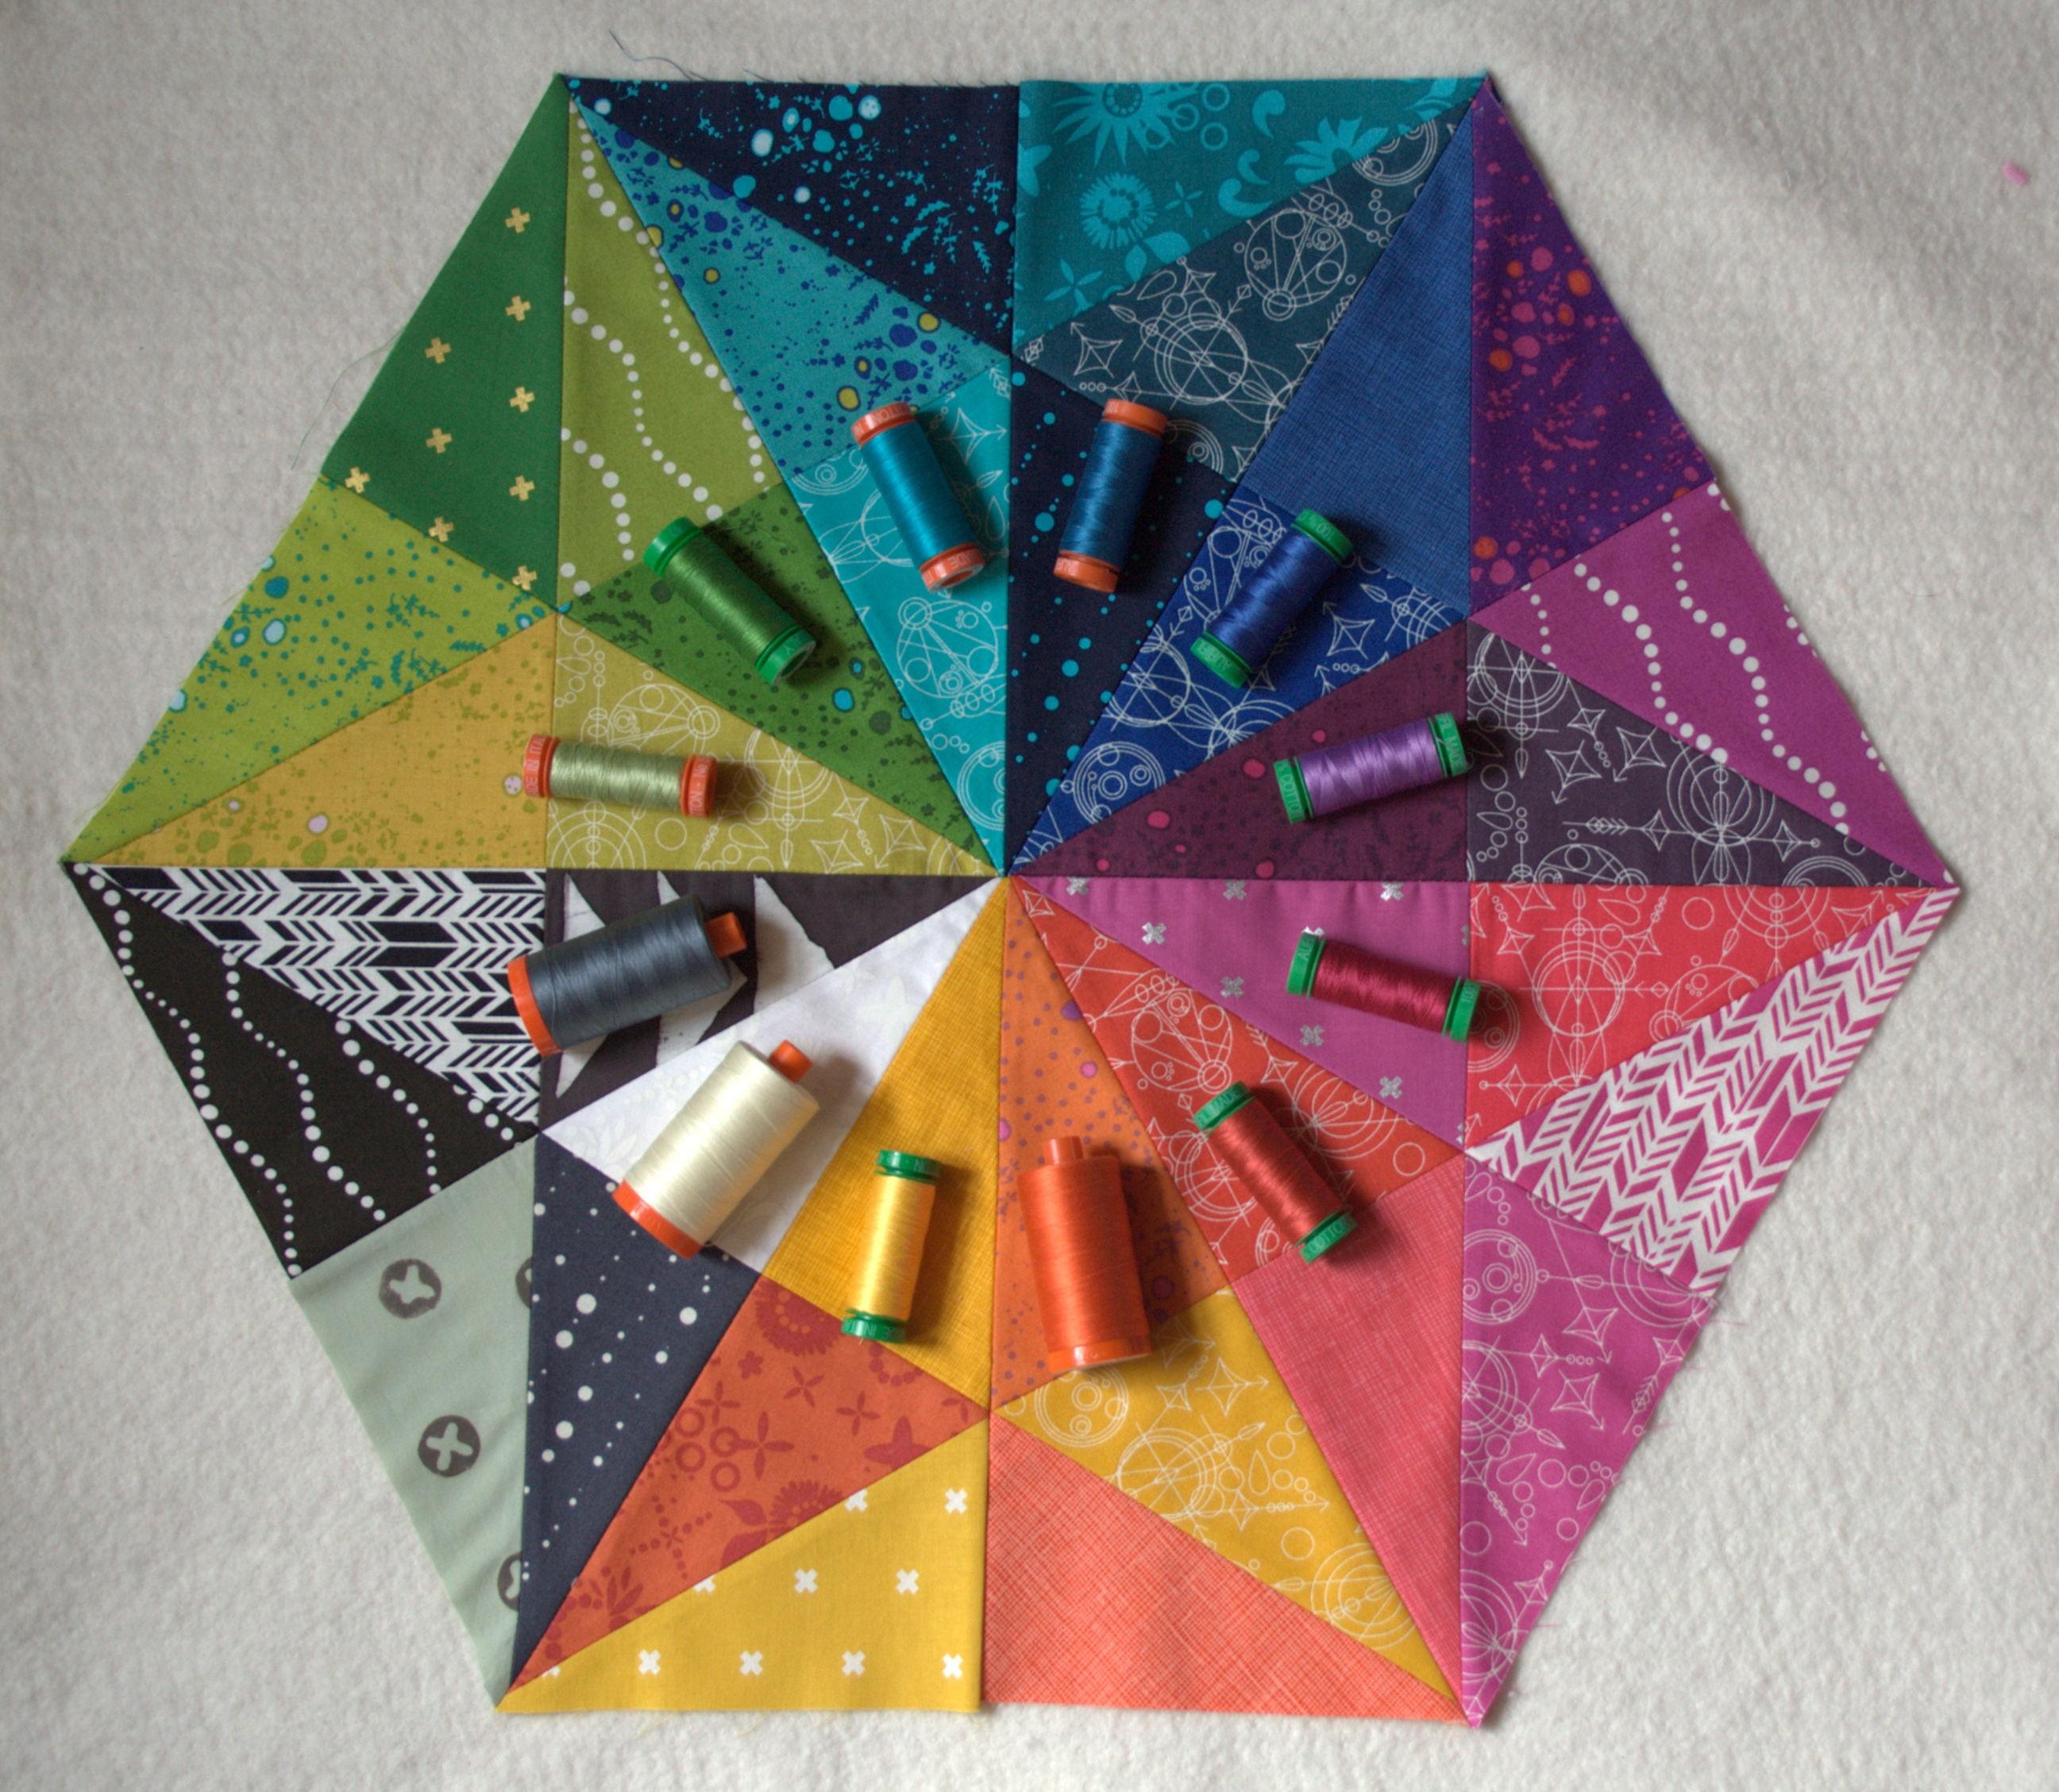
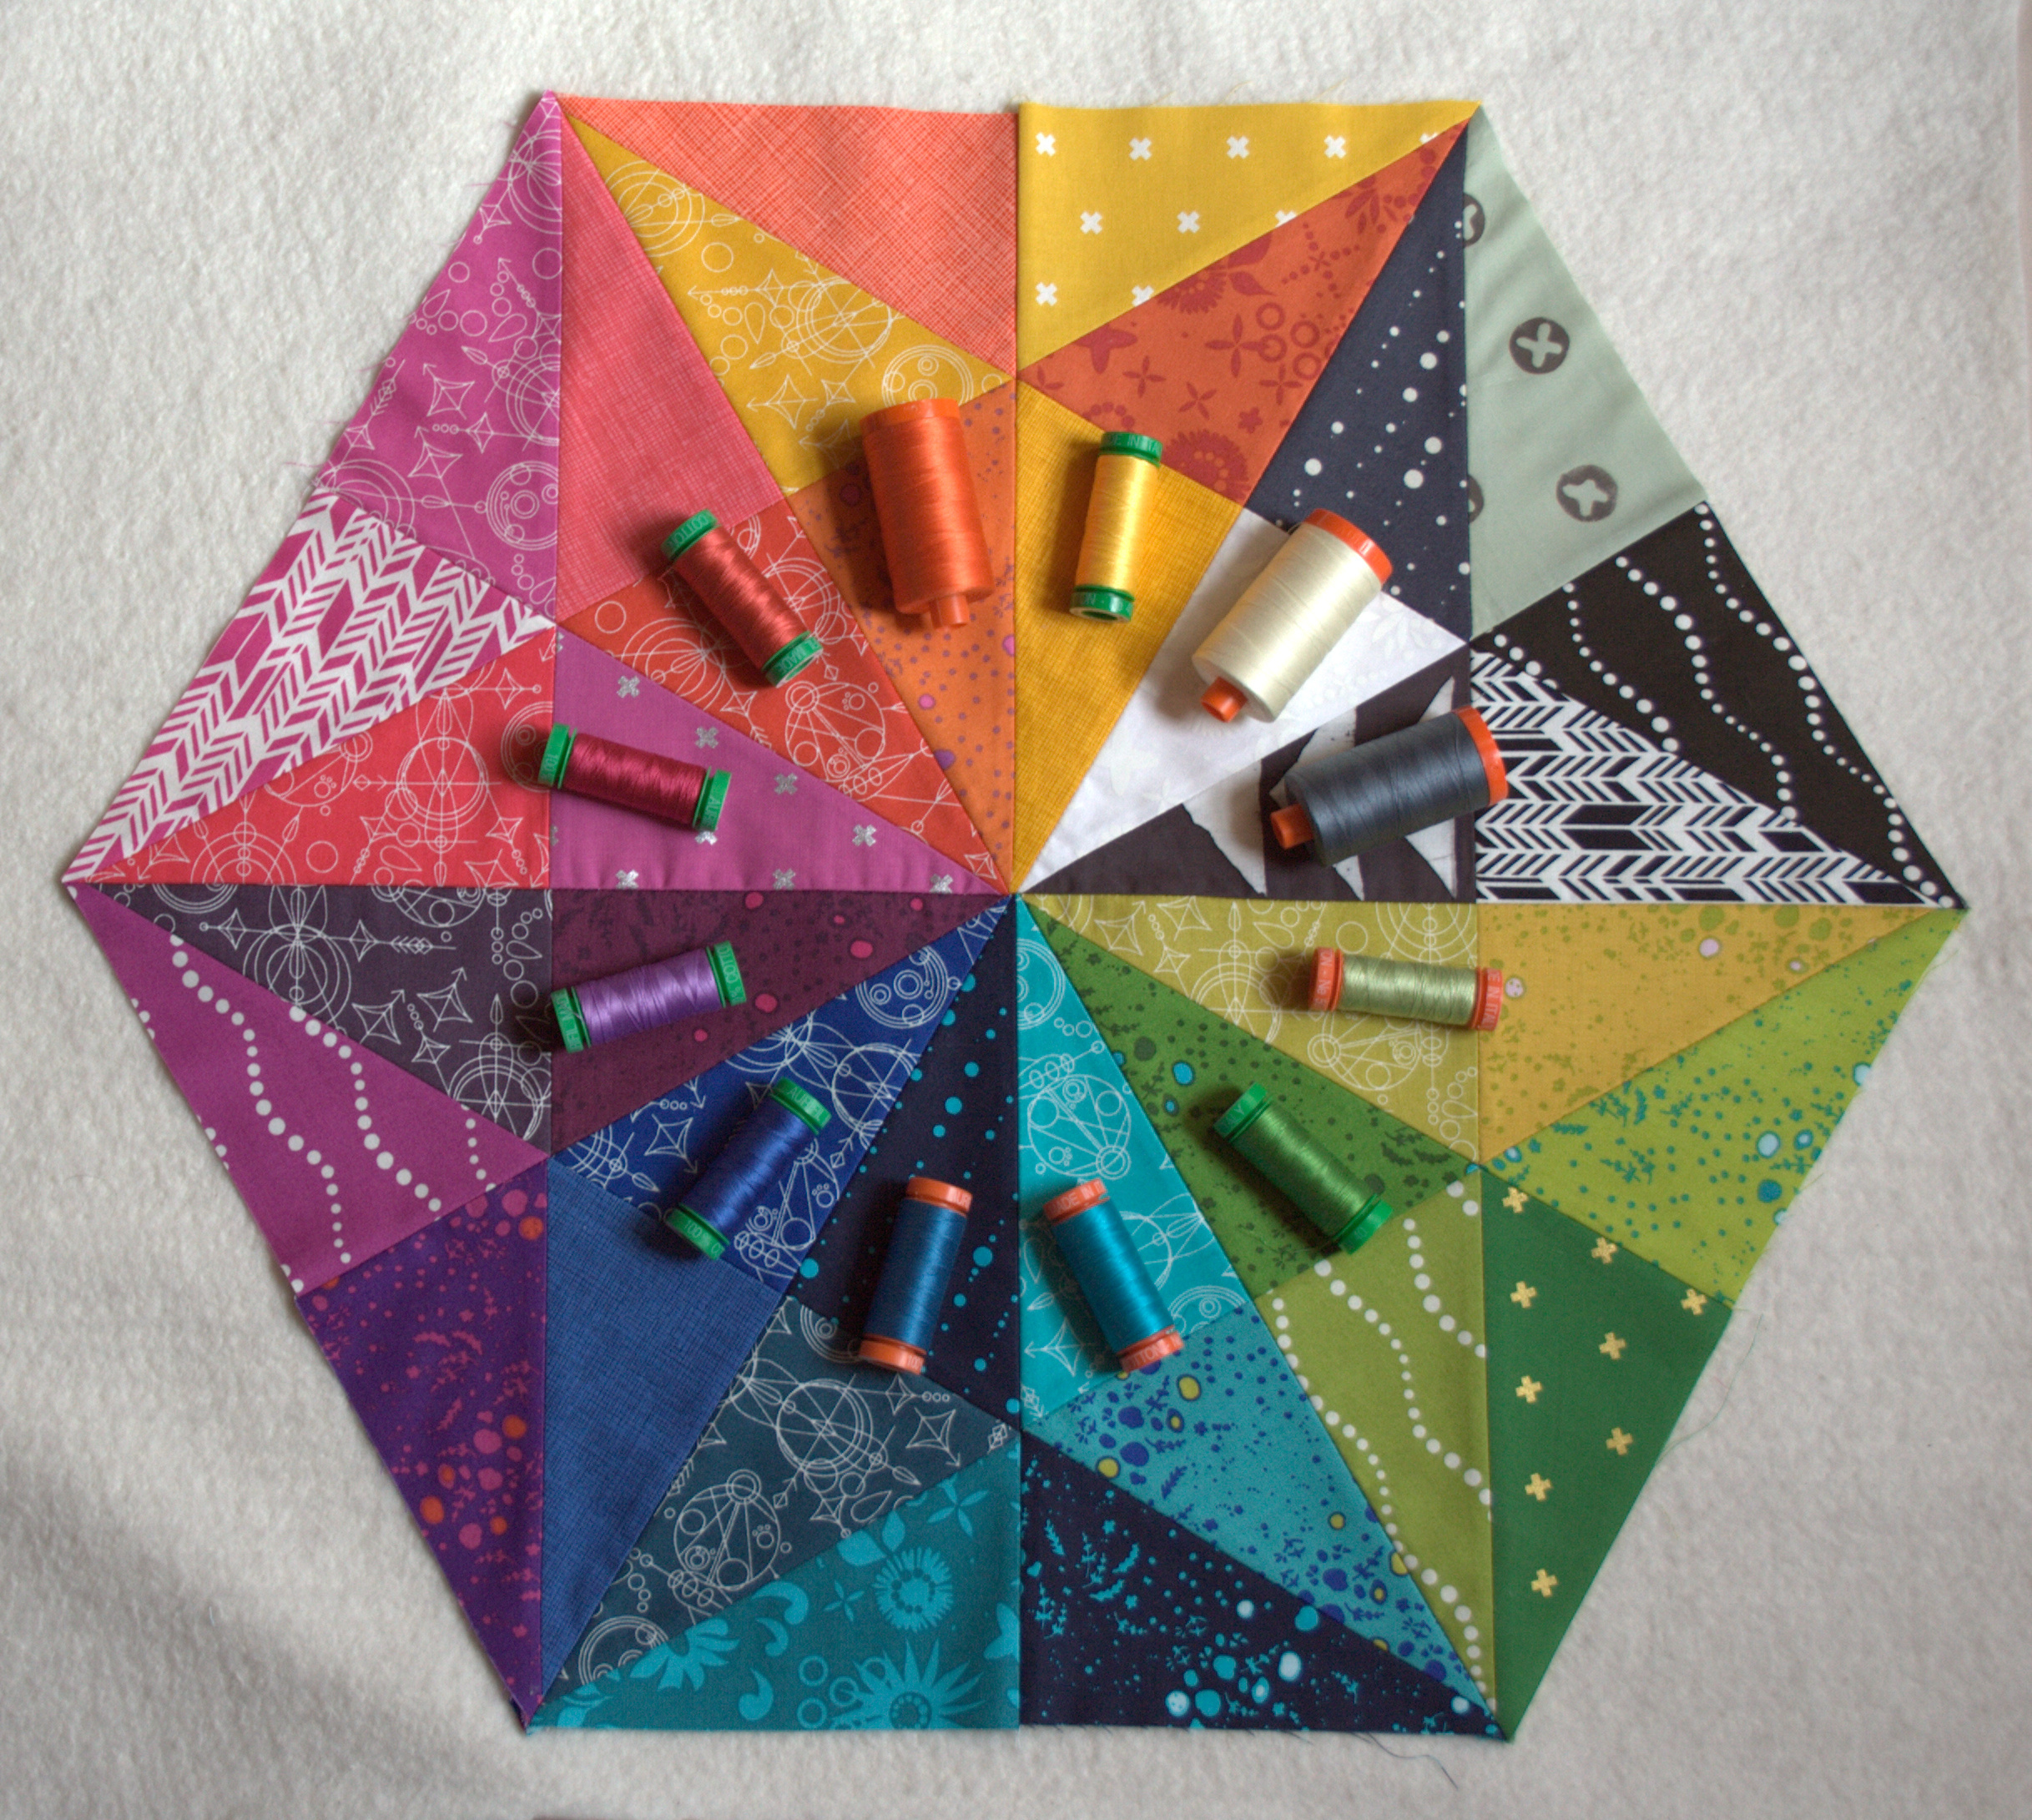
I finished binding this quilt earlier this week. It’s created with primarily Alison Glass fabrics, most of which come from her newest 2015 Sun Prints Mercury and Grove. The pattern is the Prismatic Medallion pattern offered for free on the Robert Kaufman website.
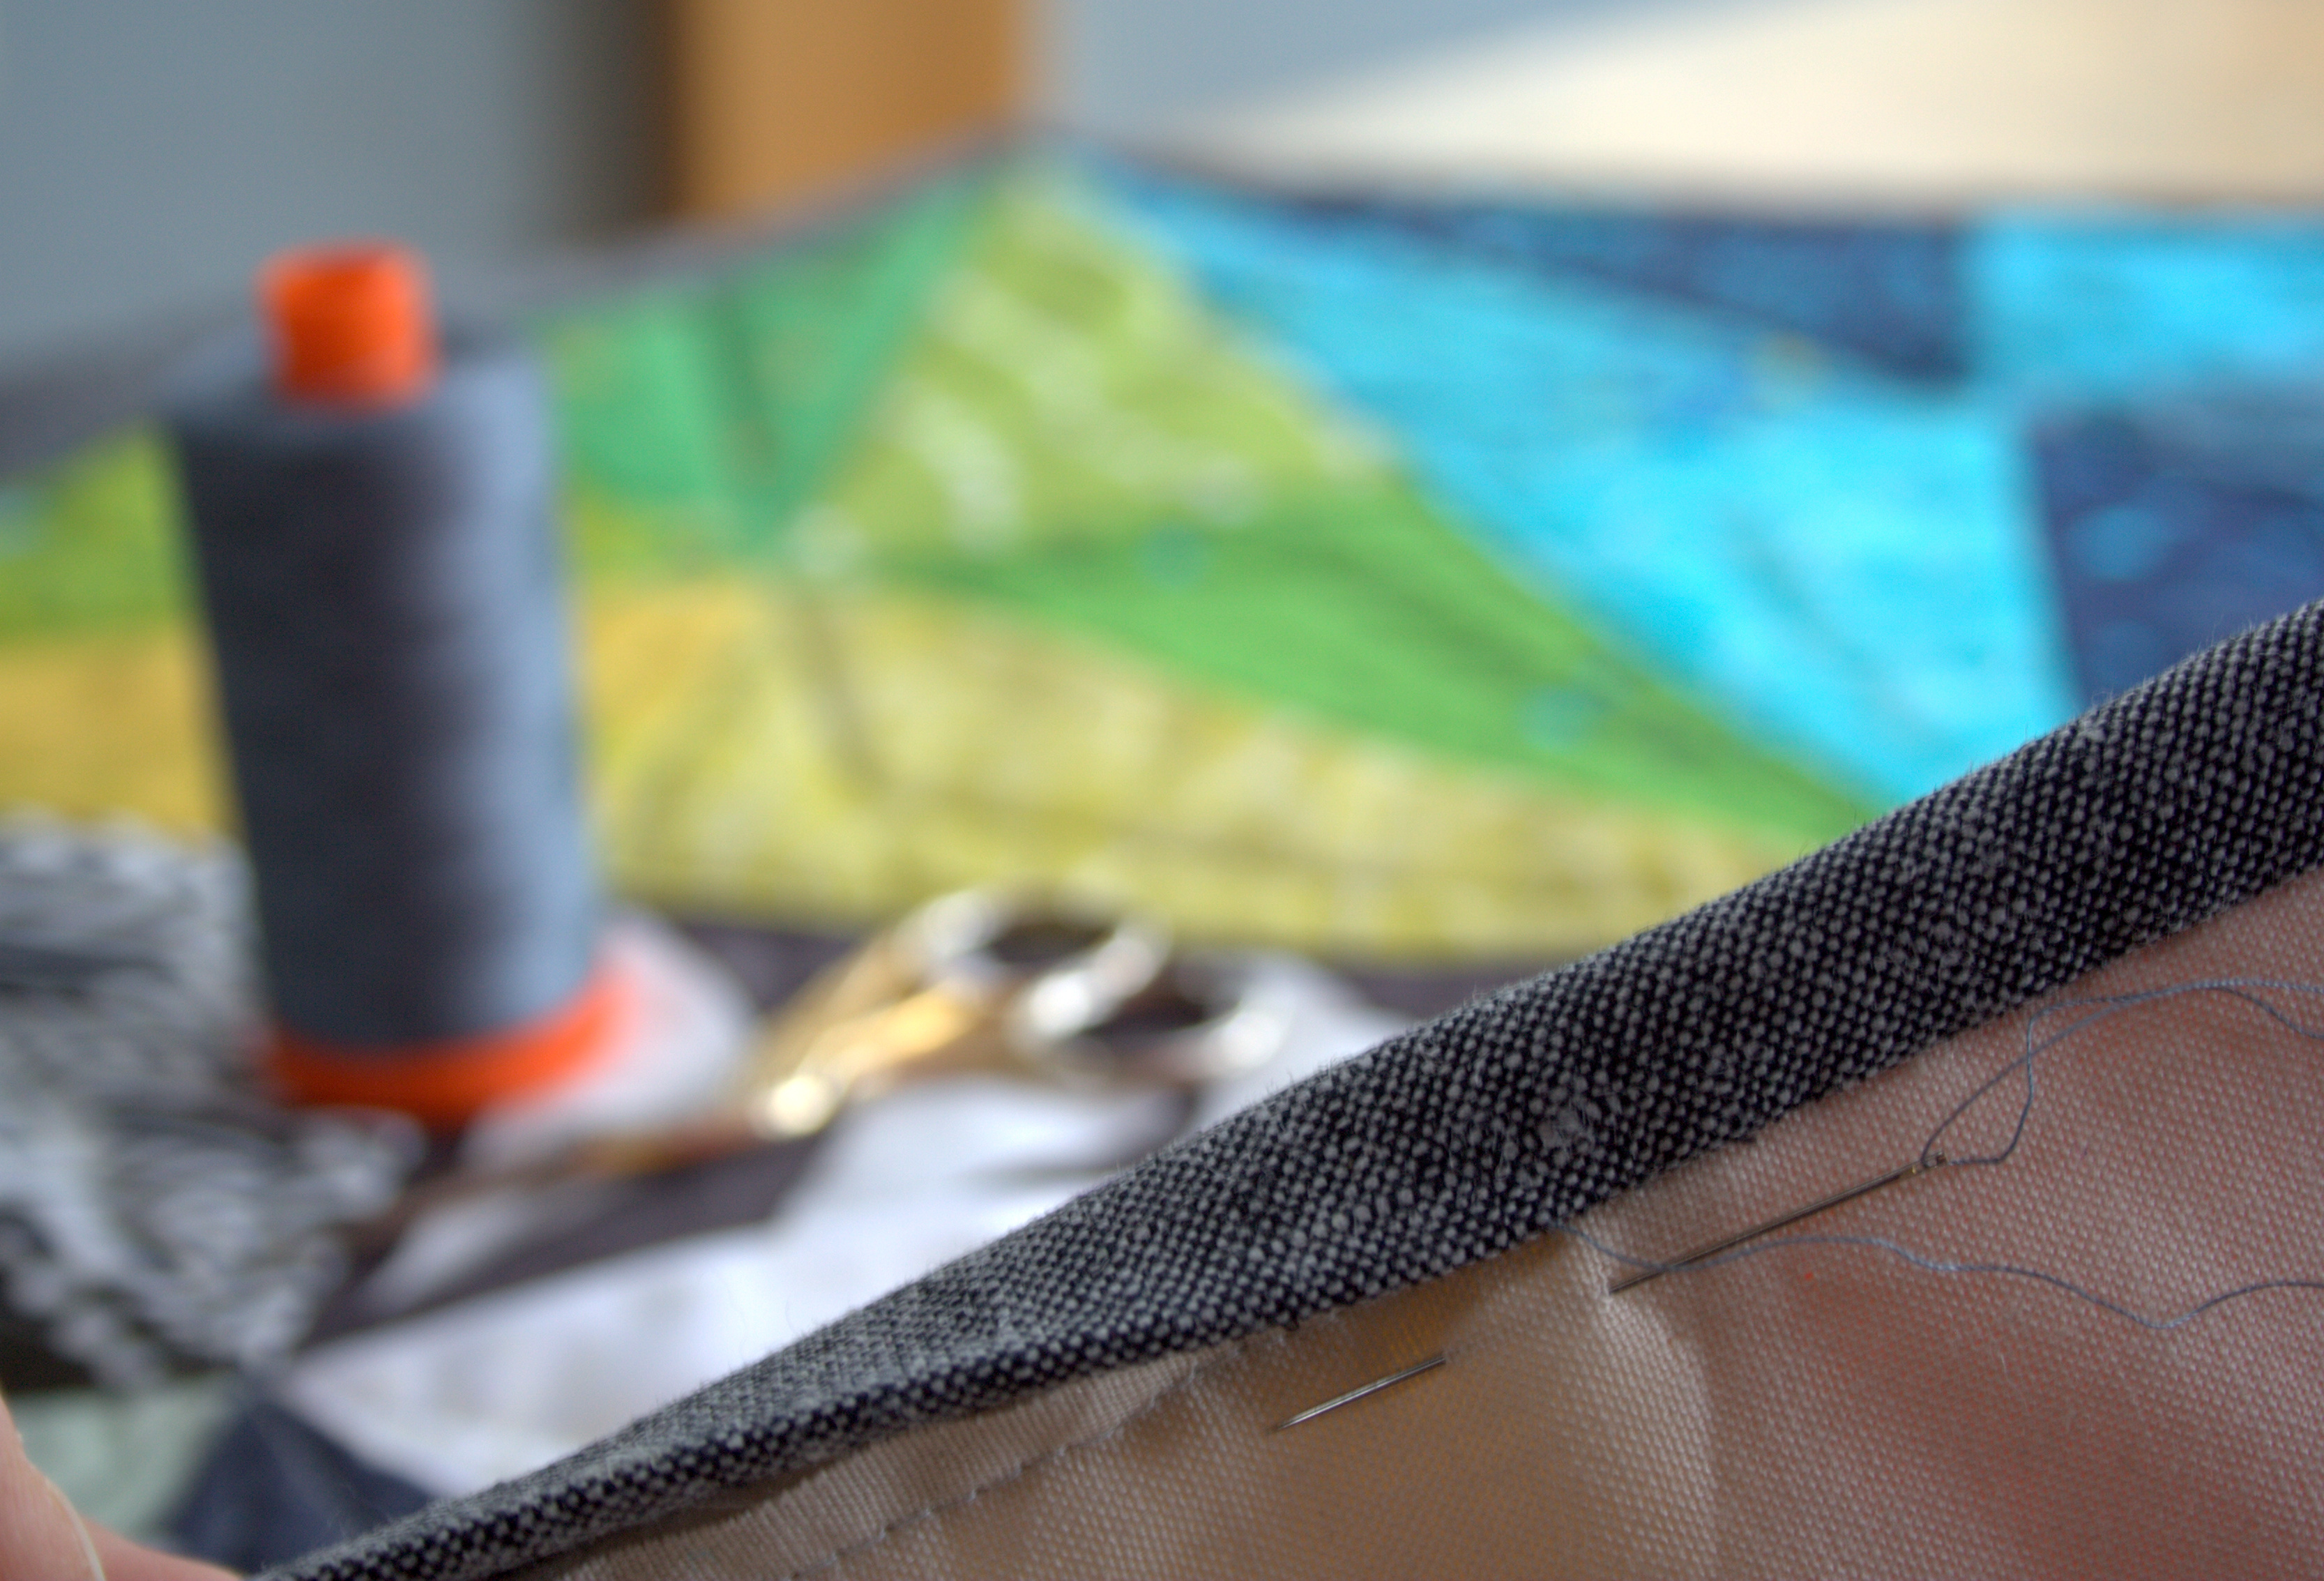
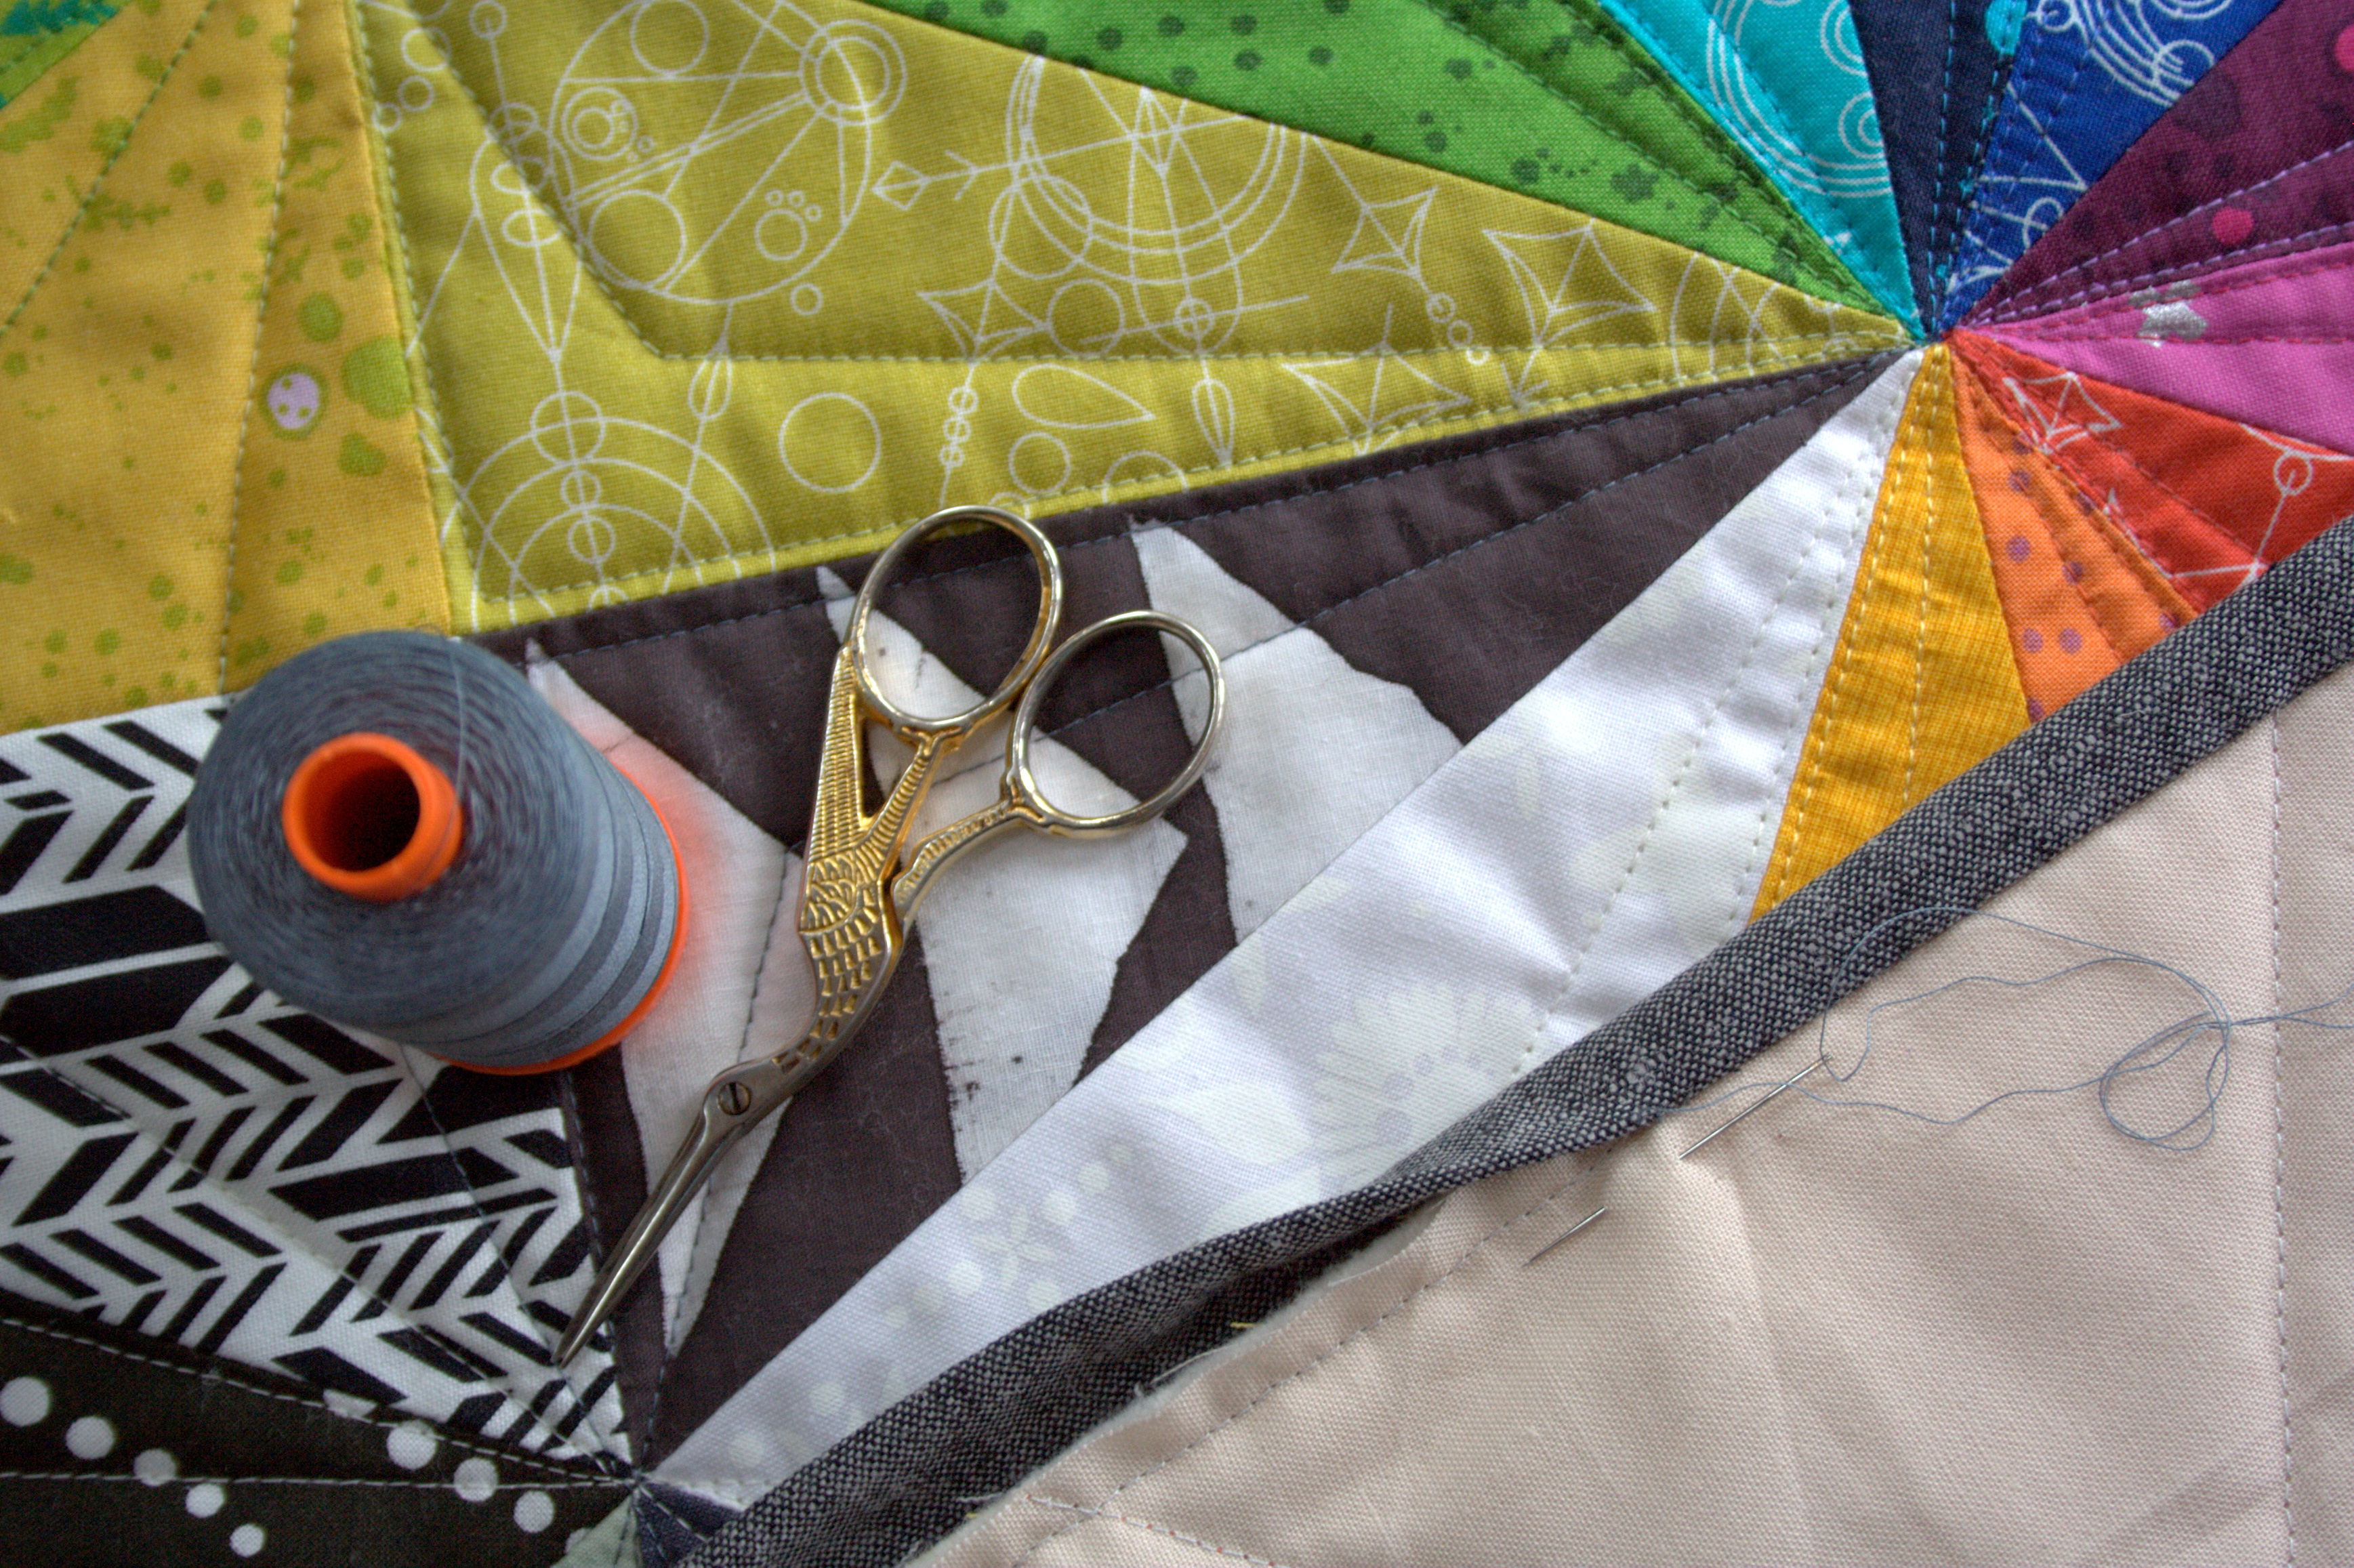
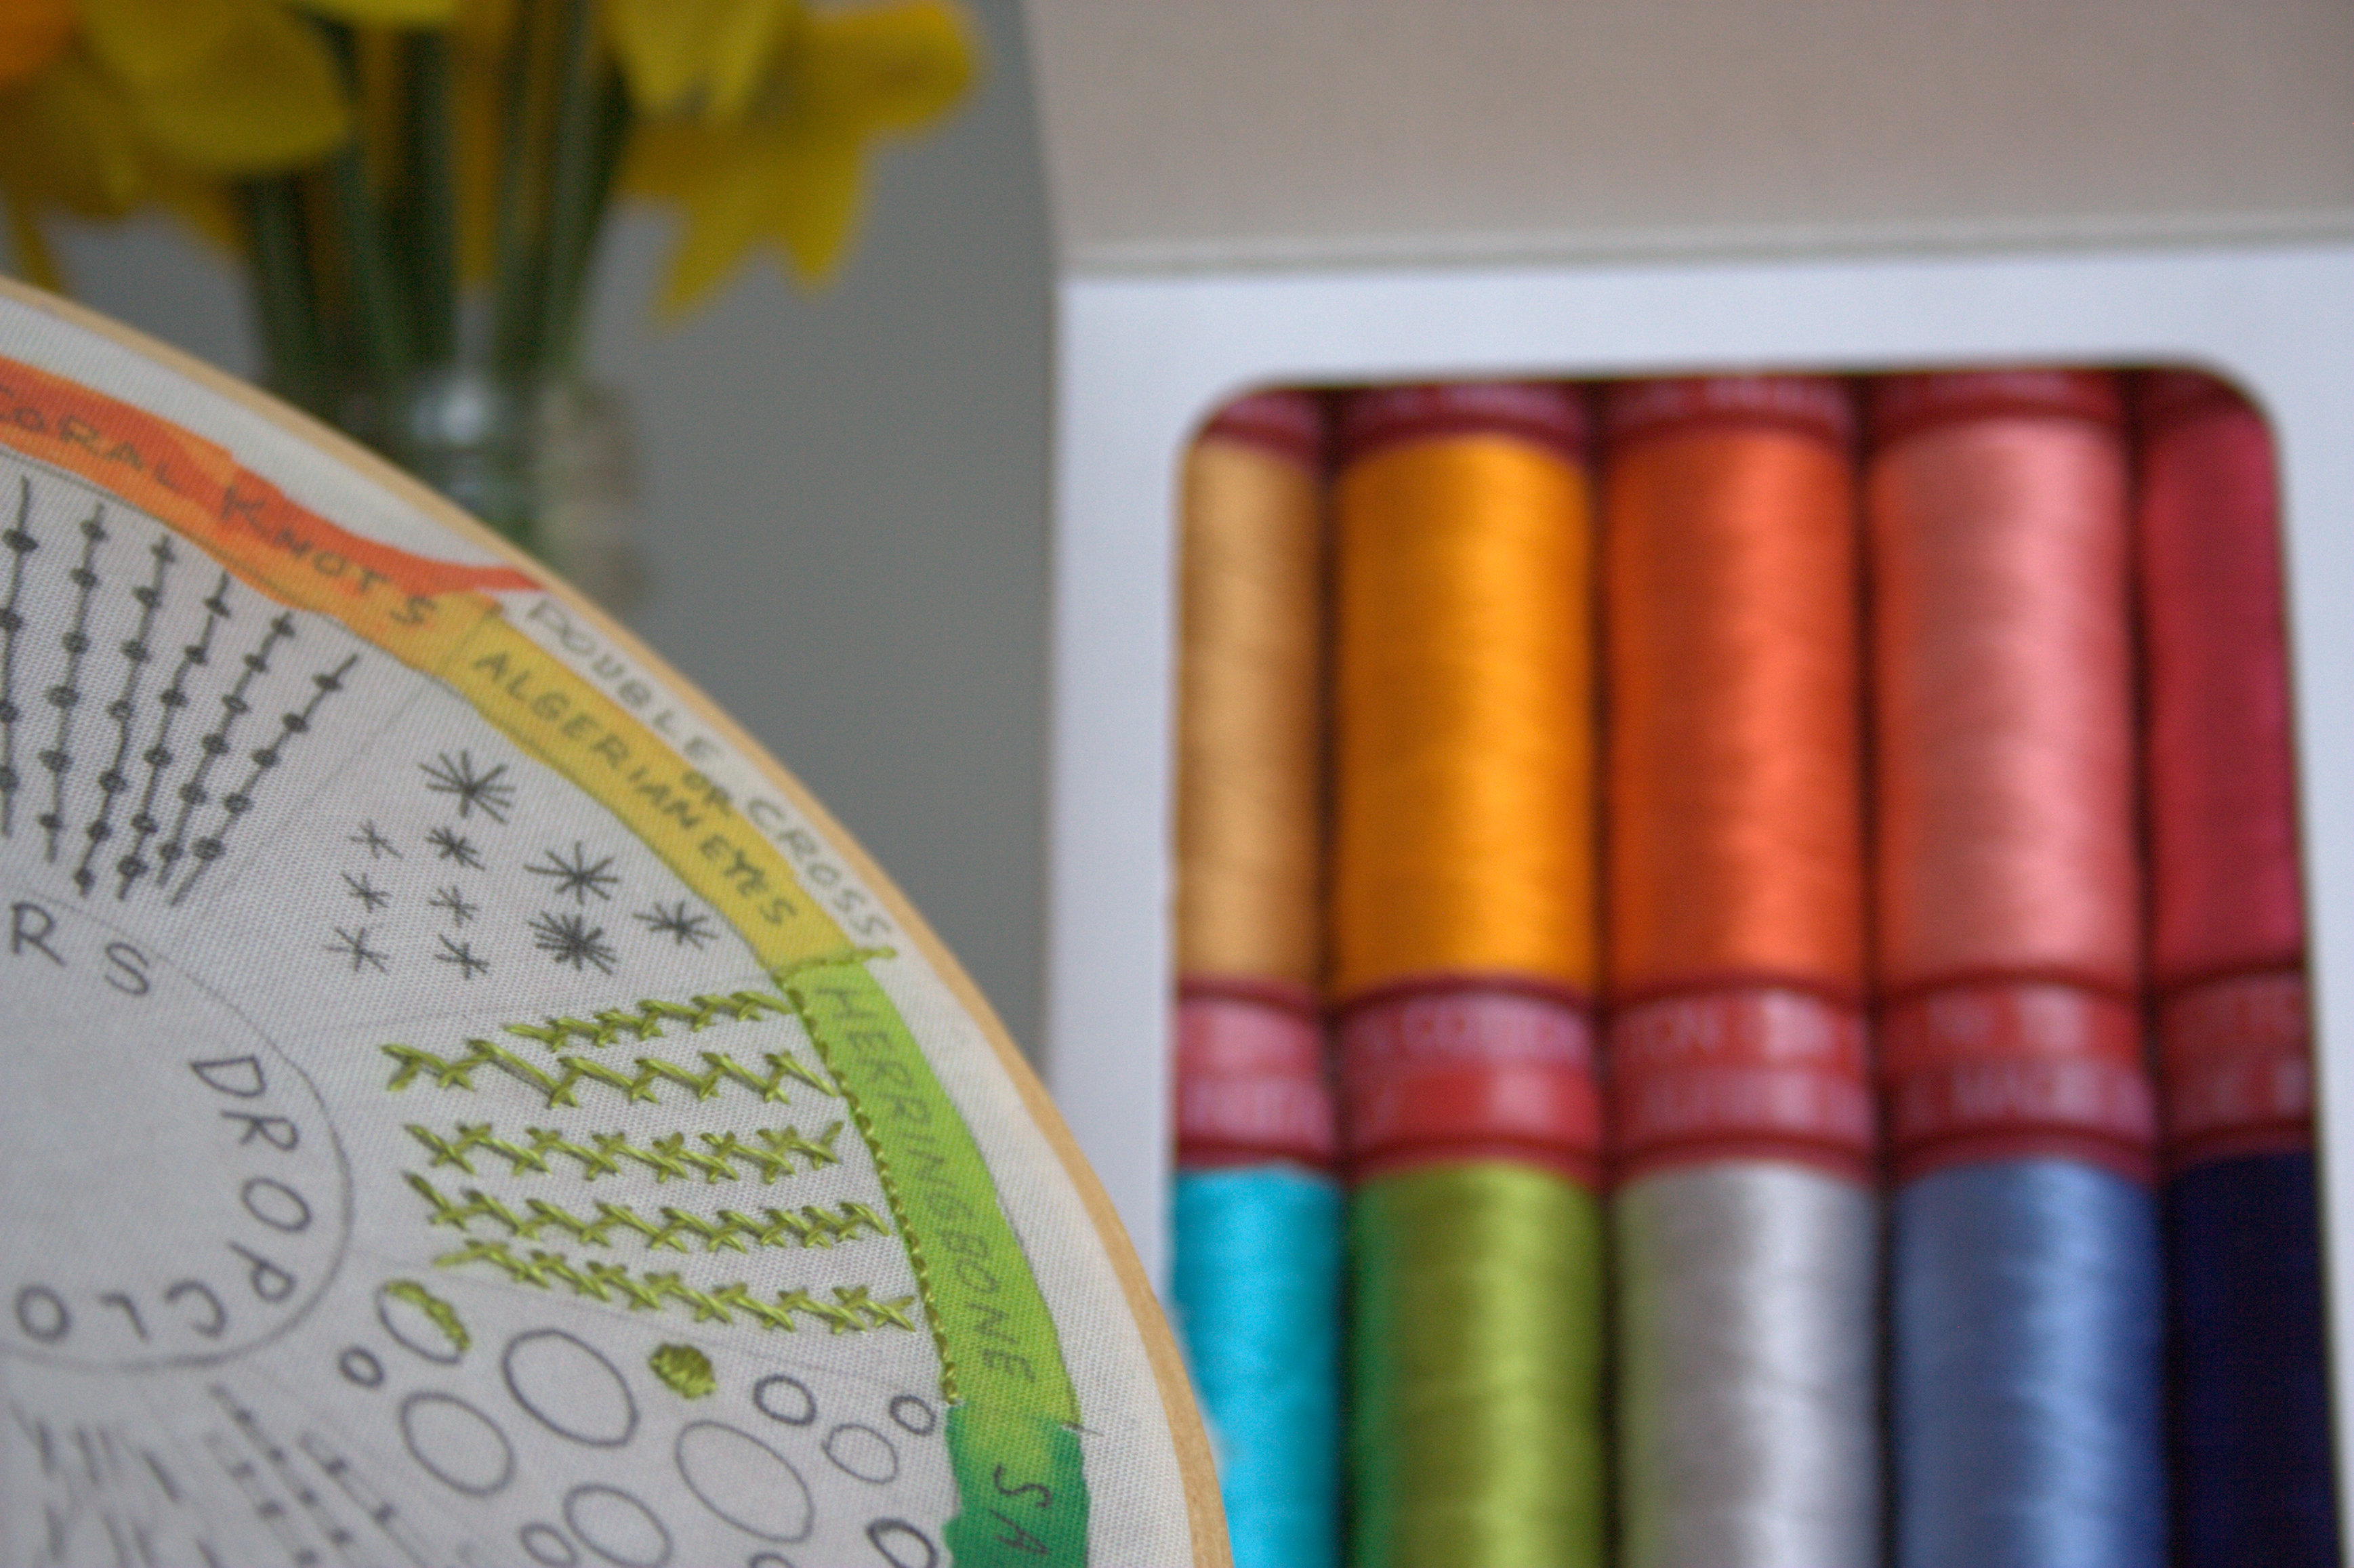
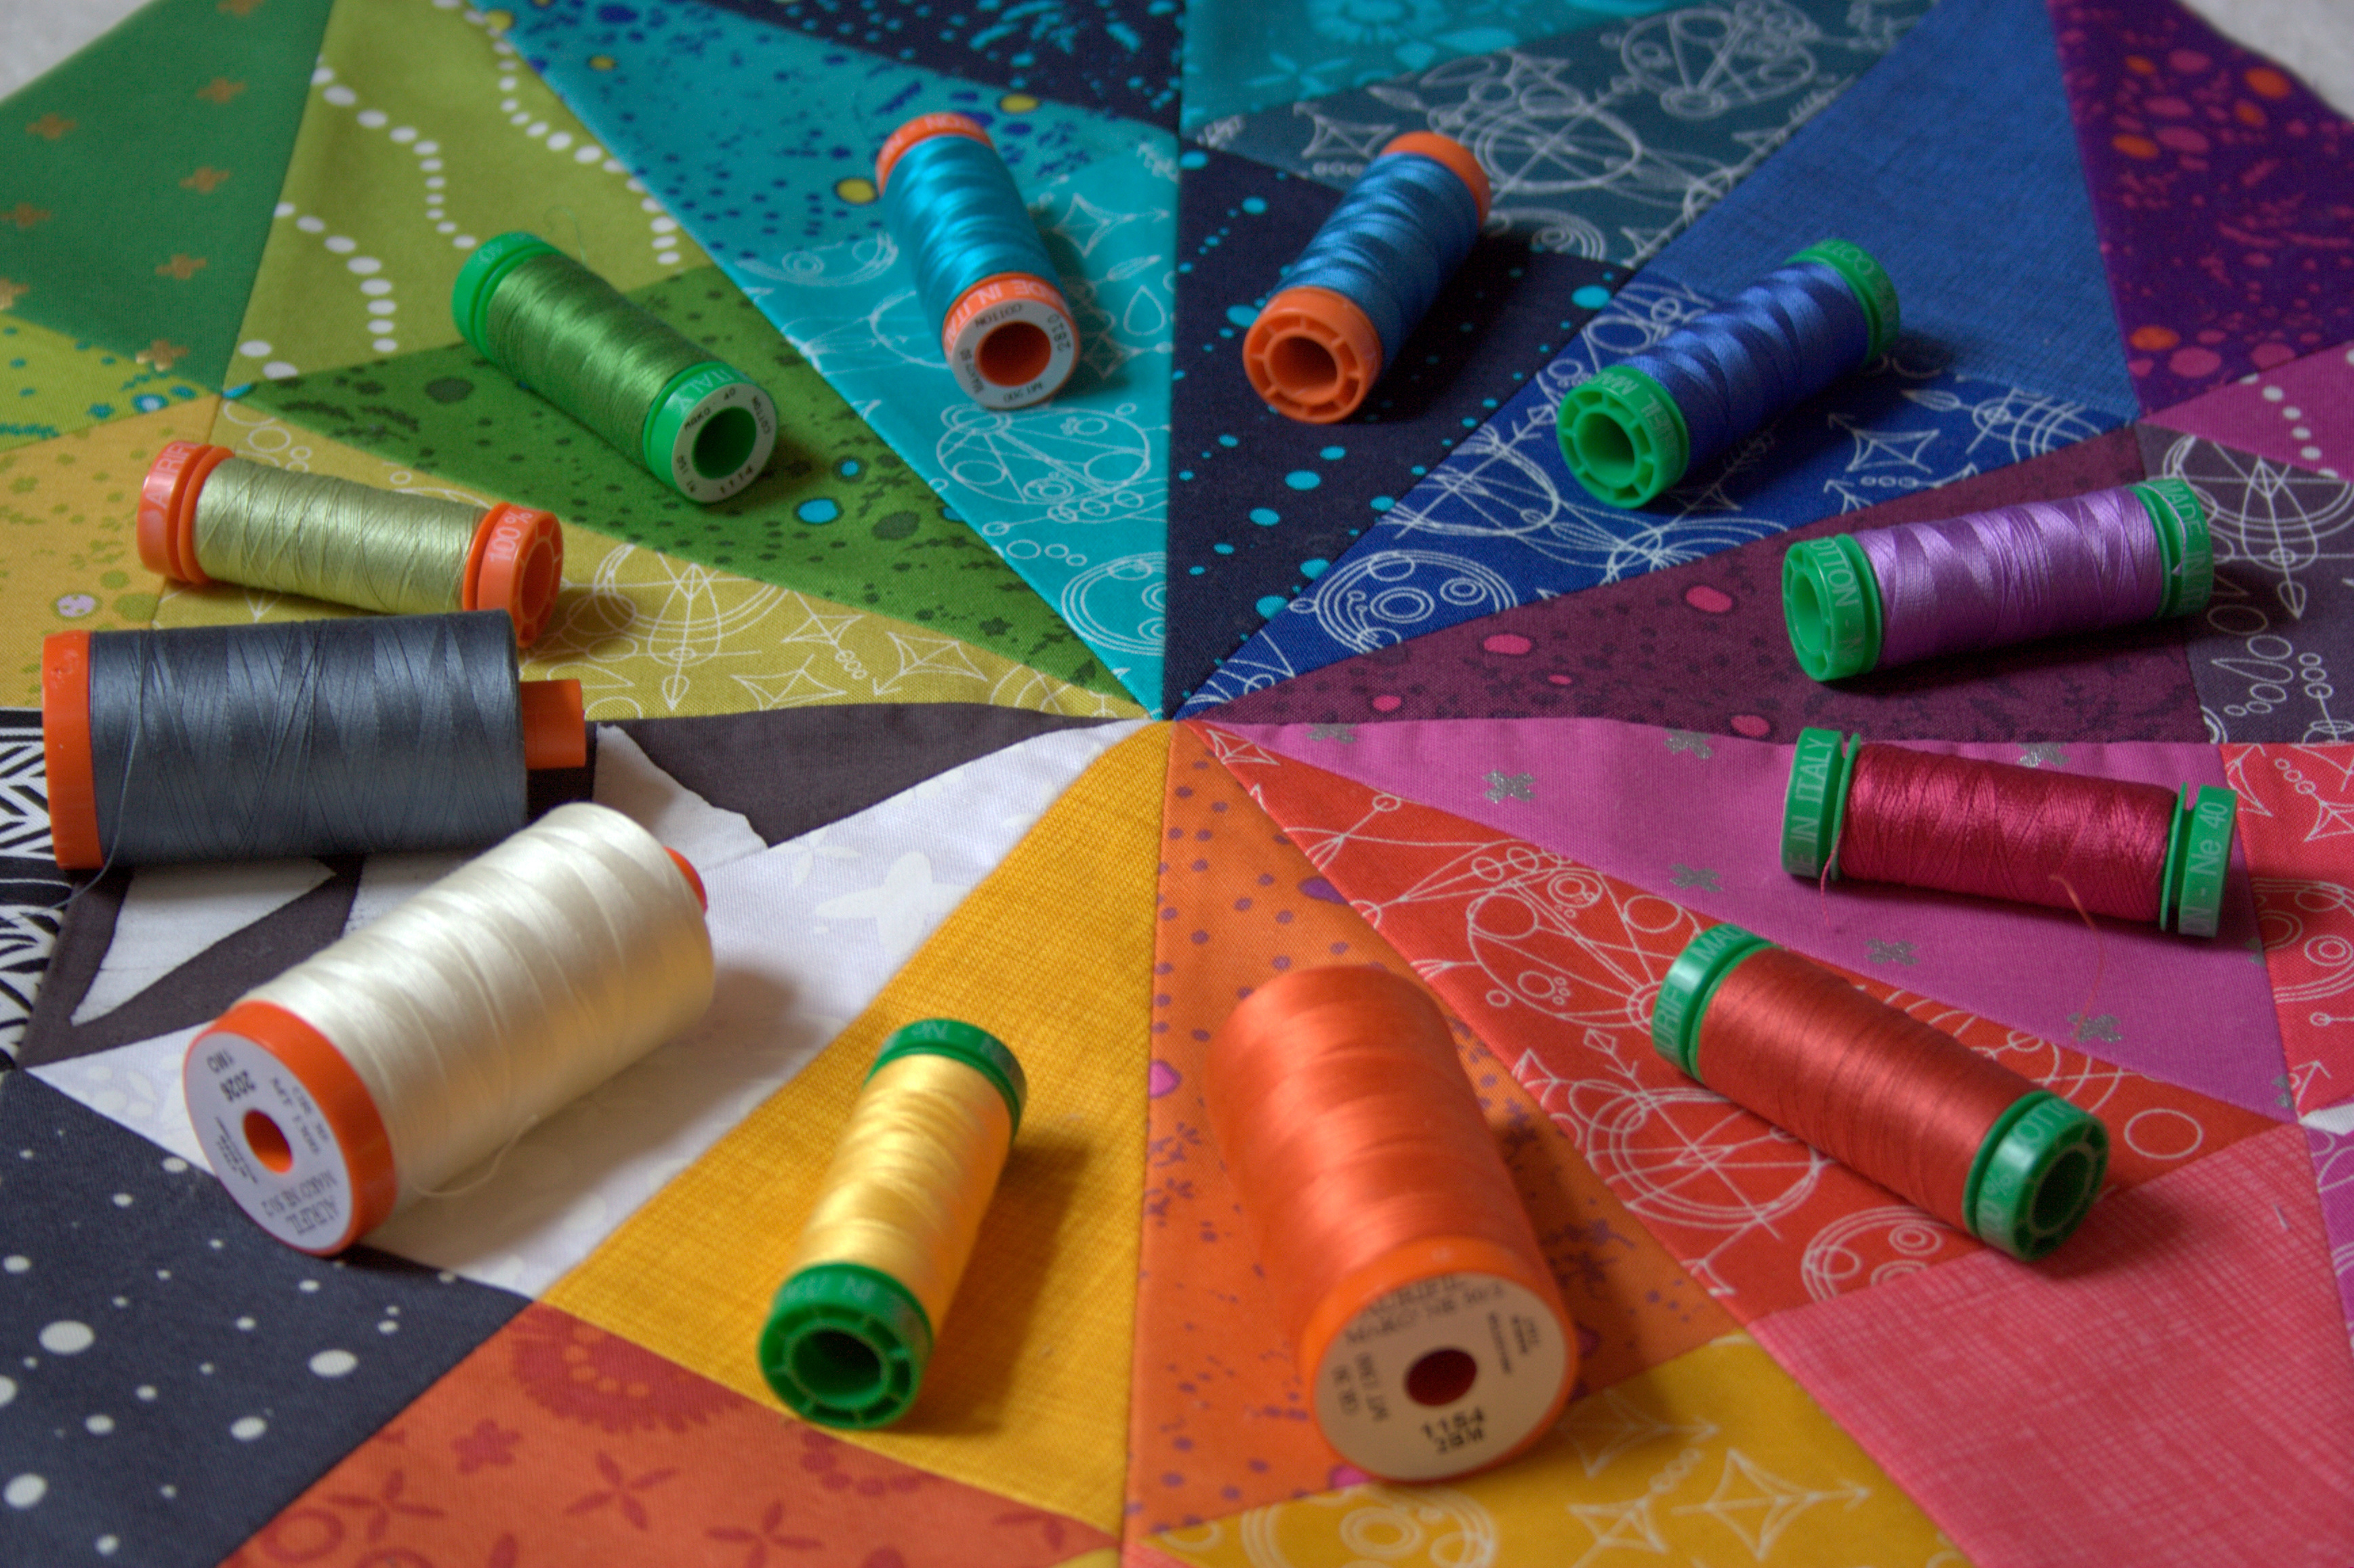
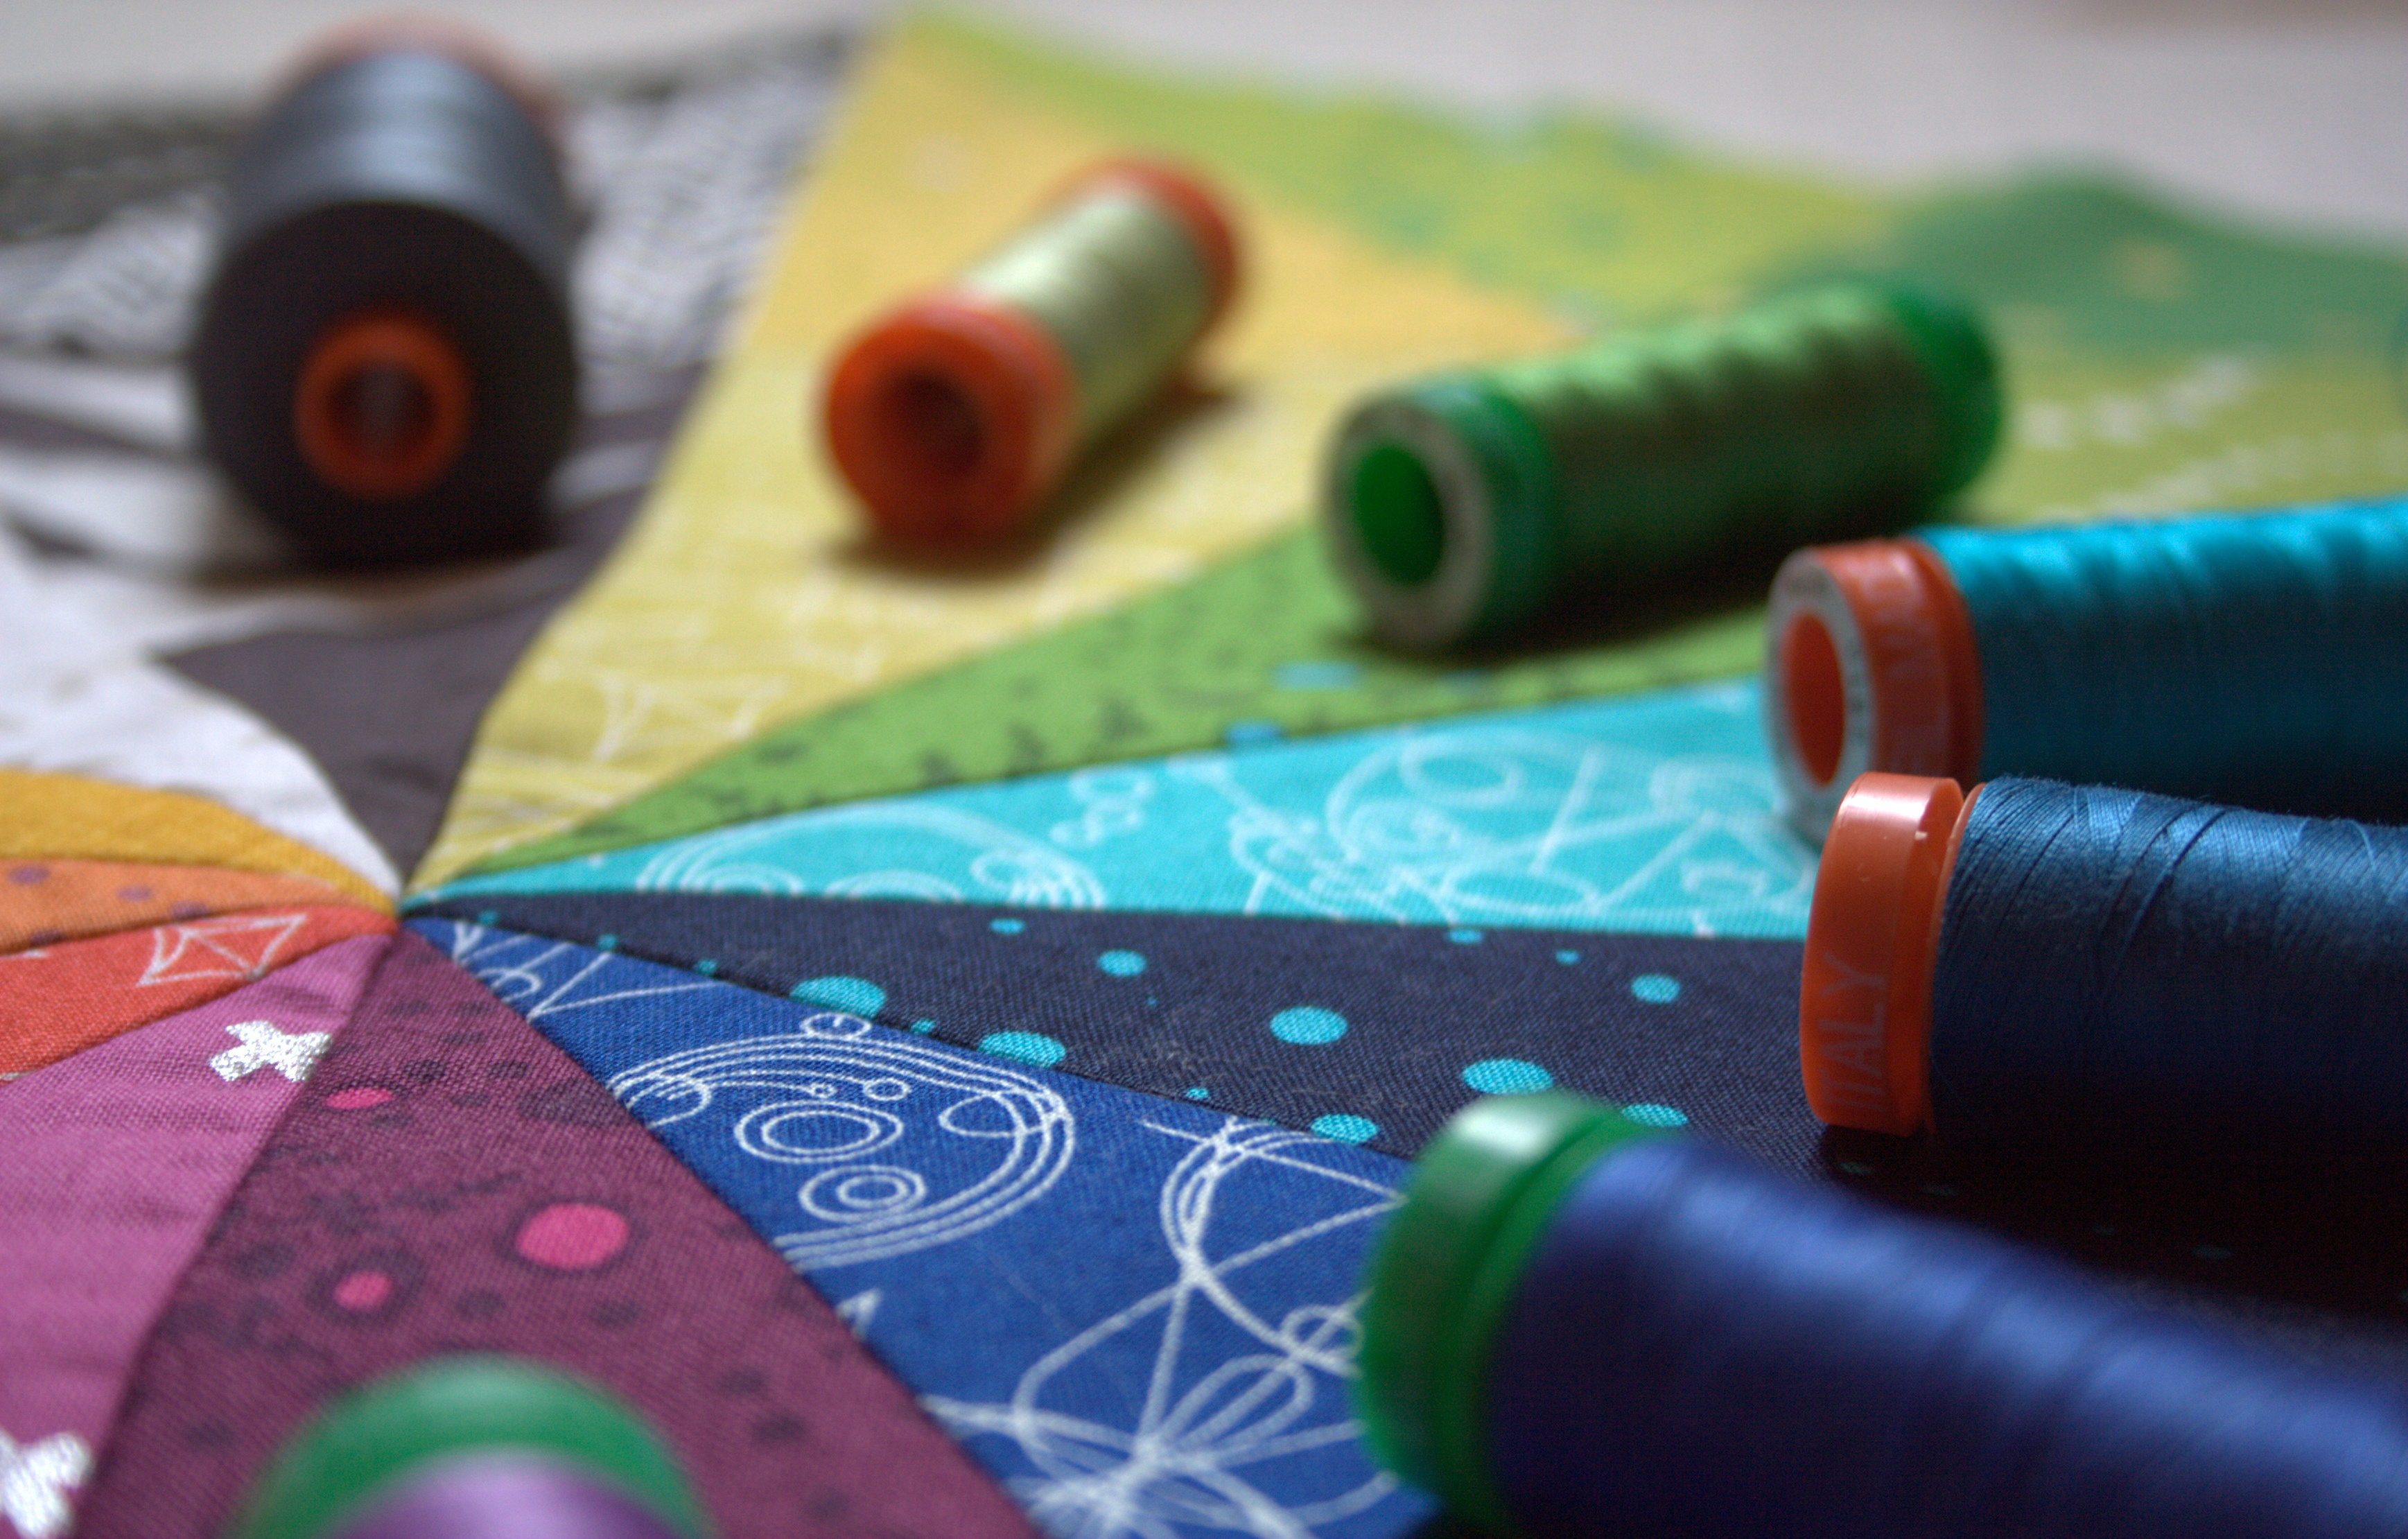
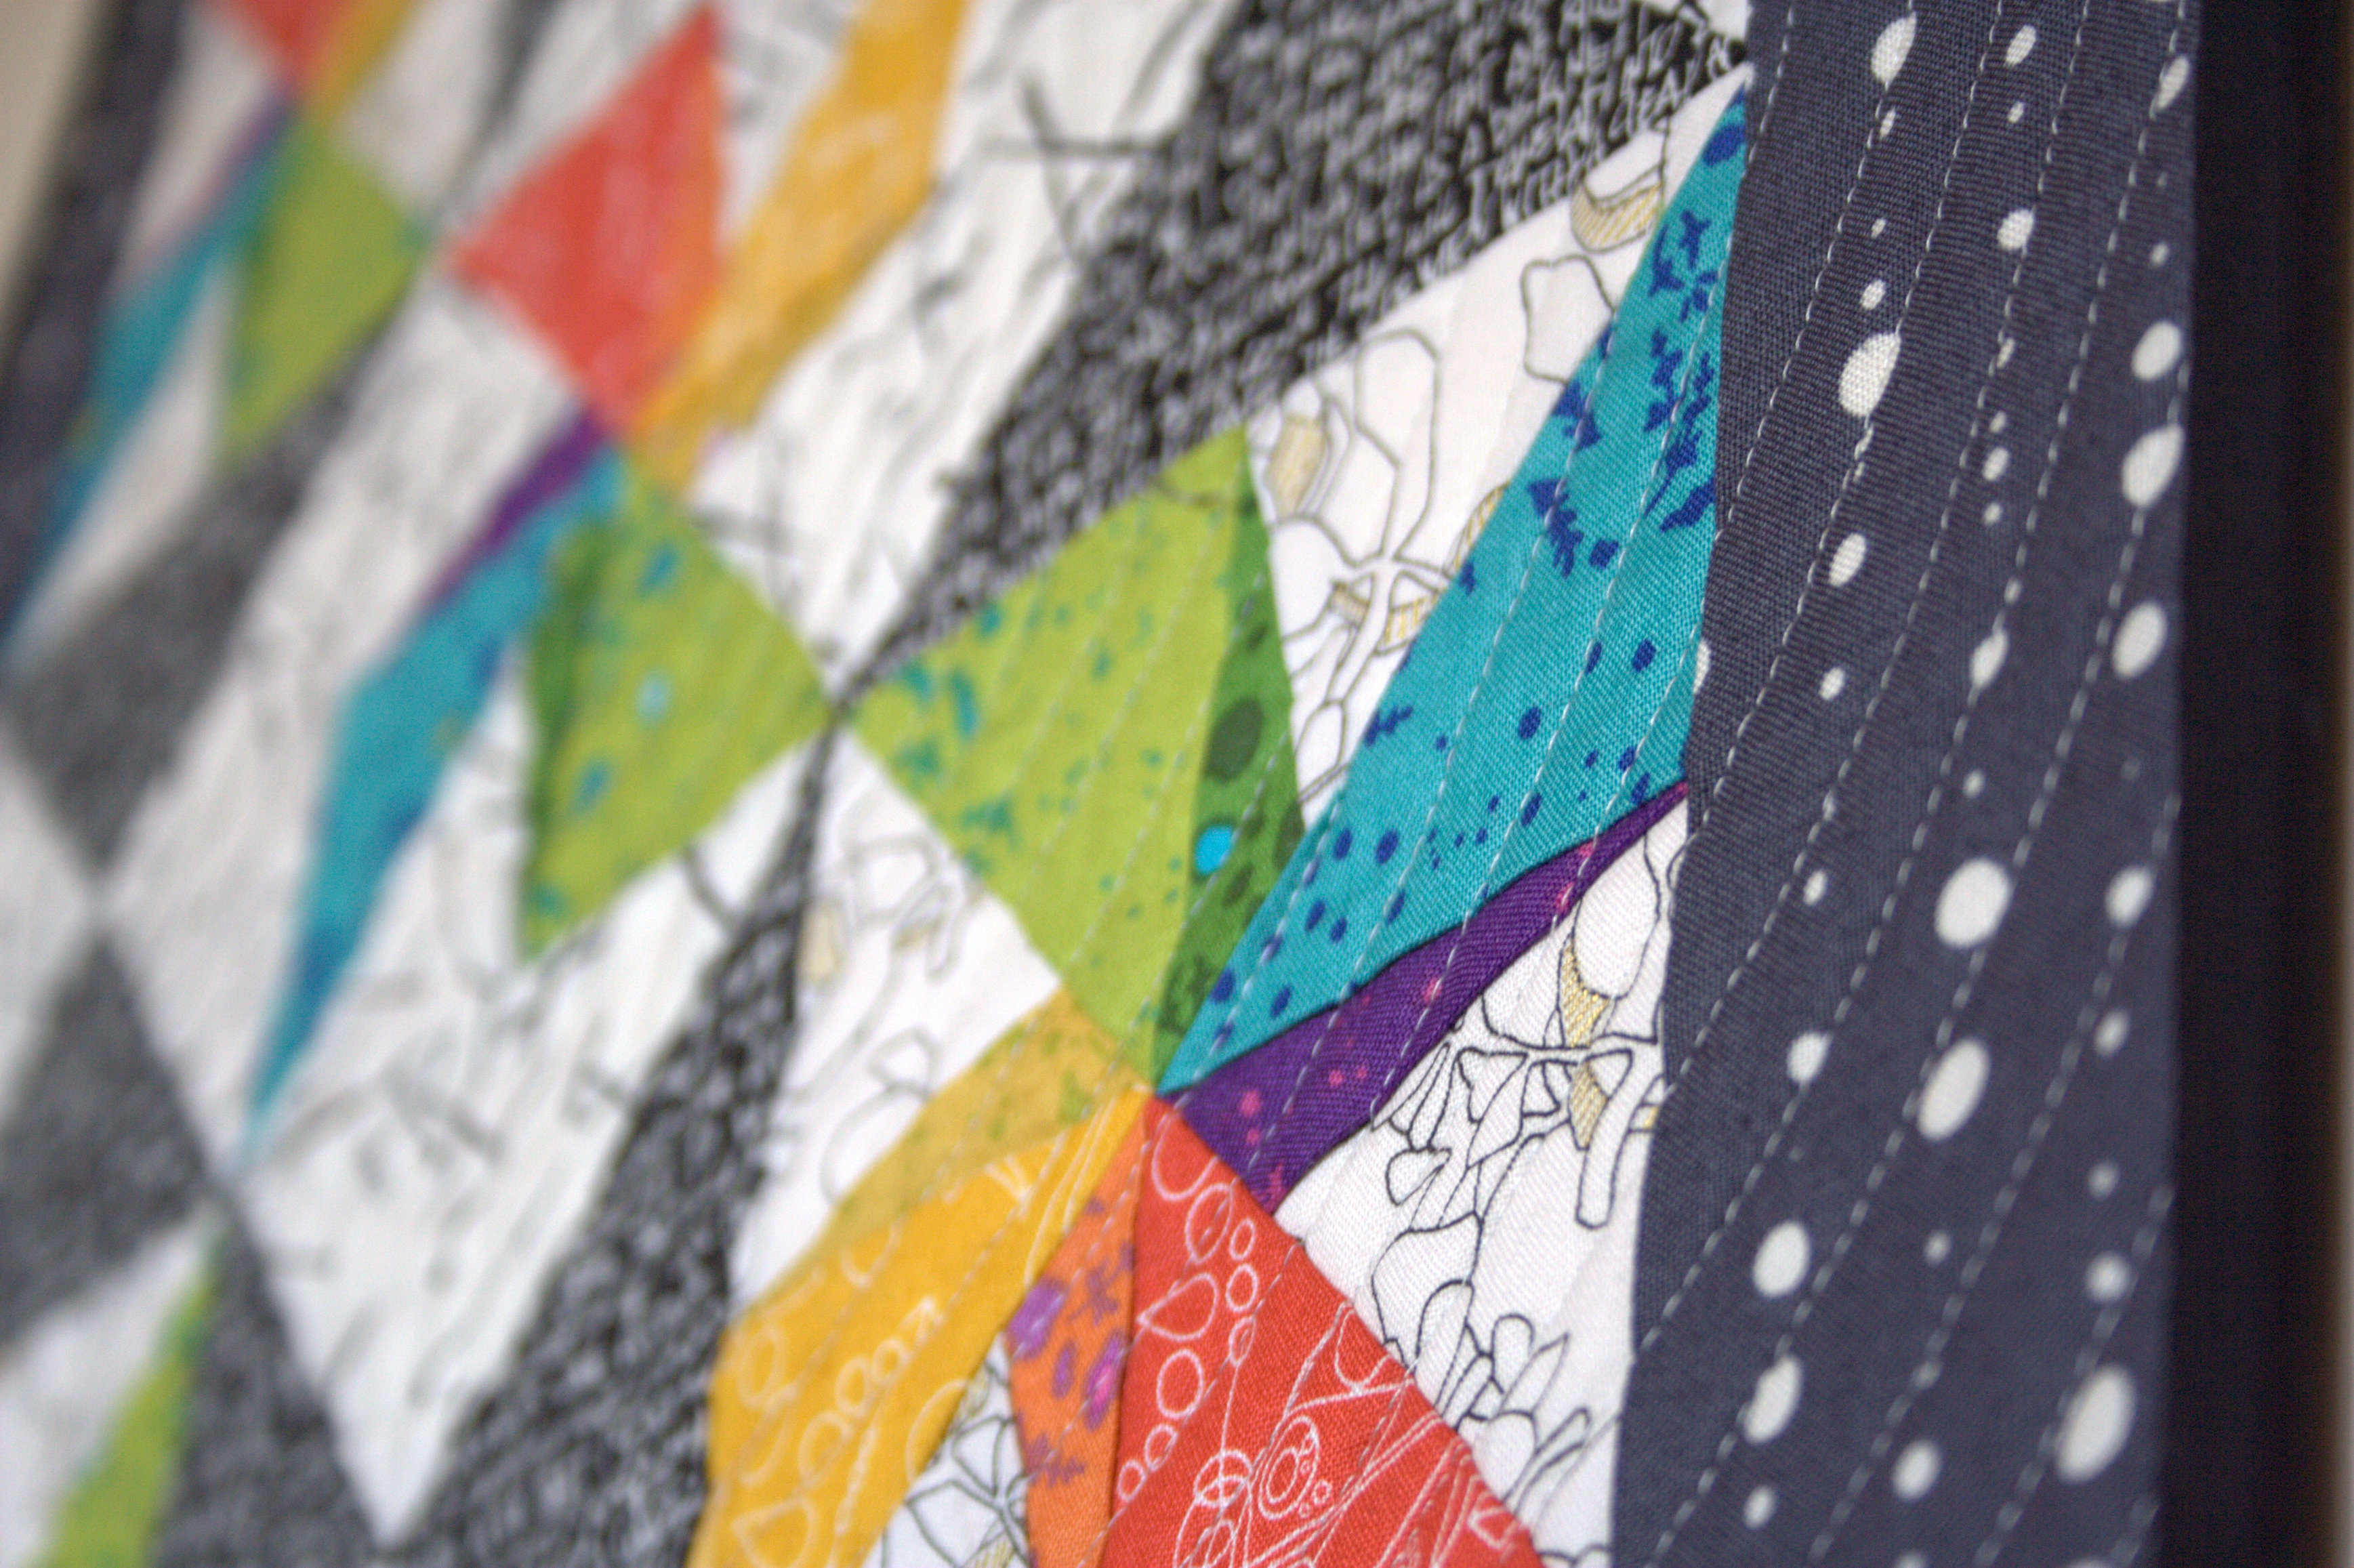
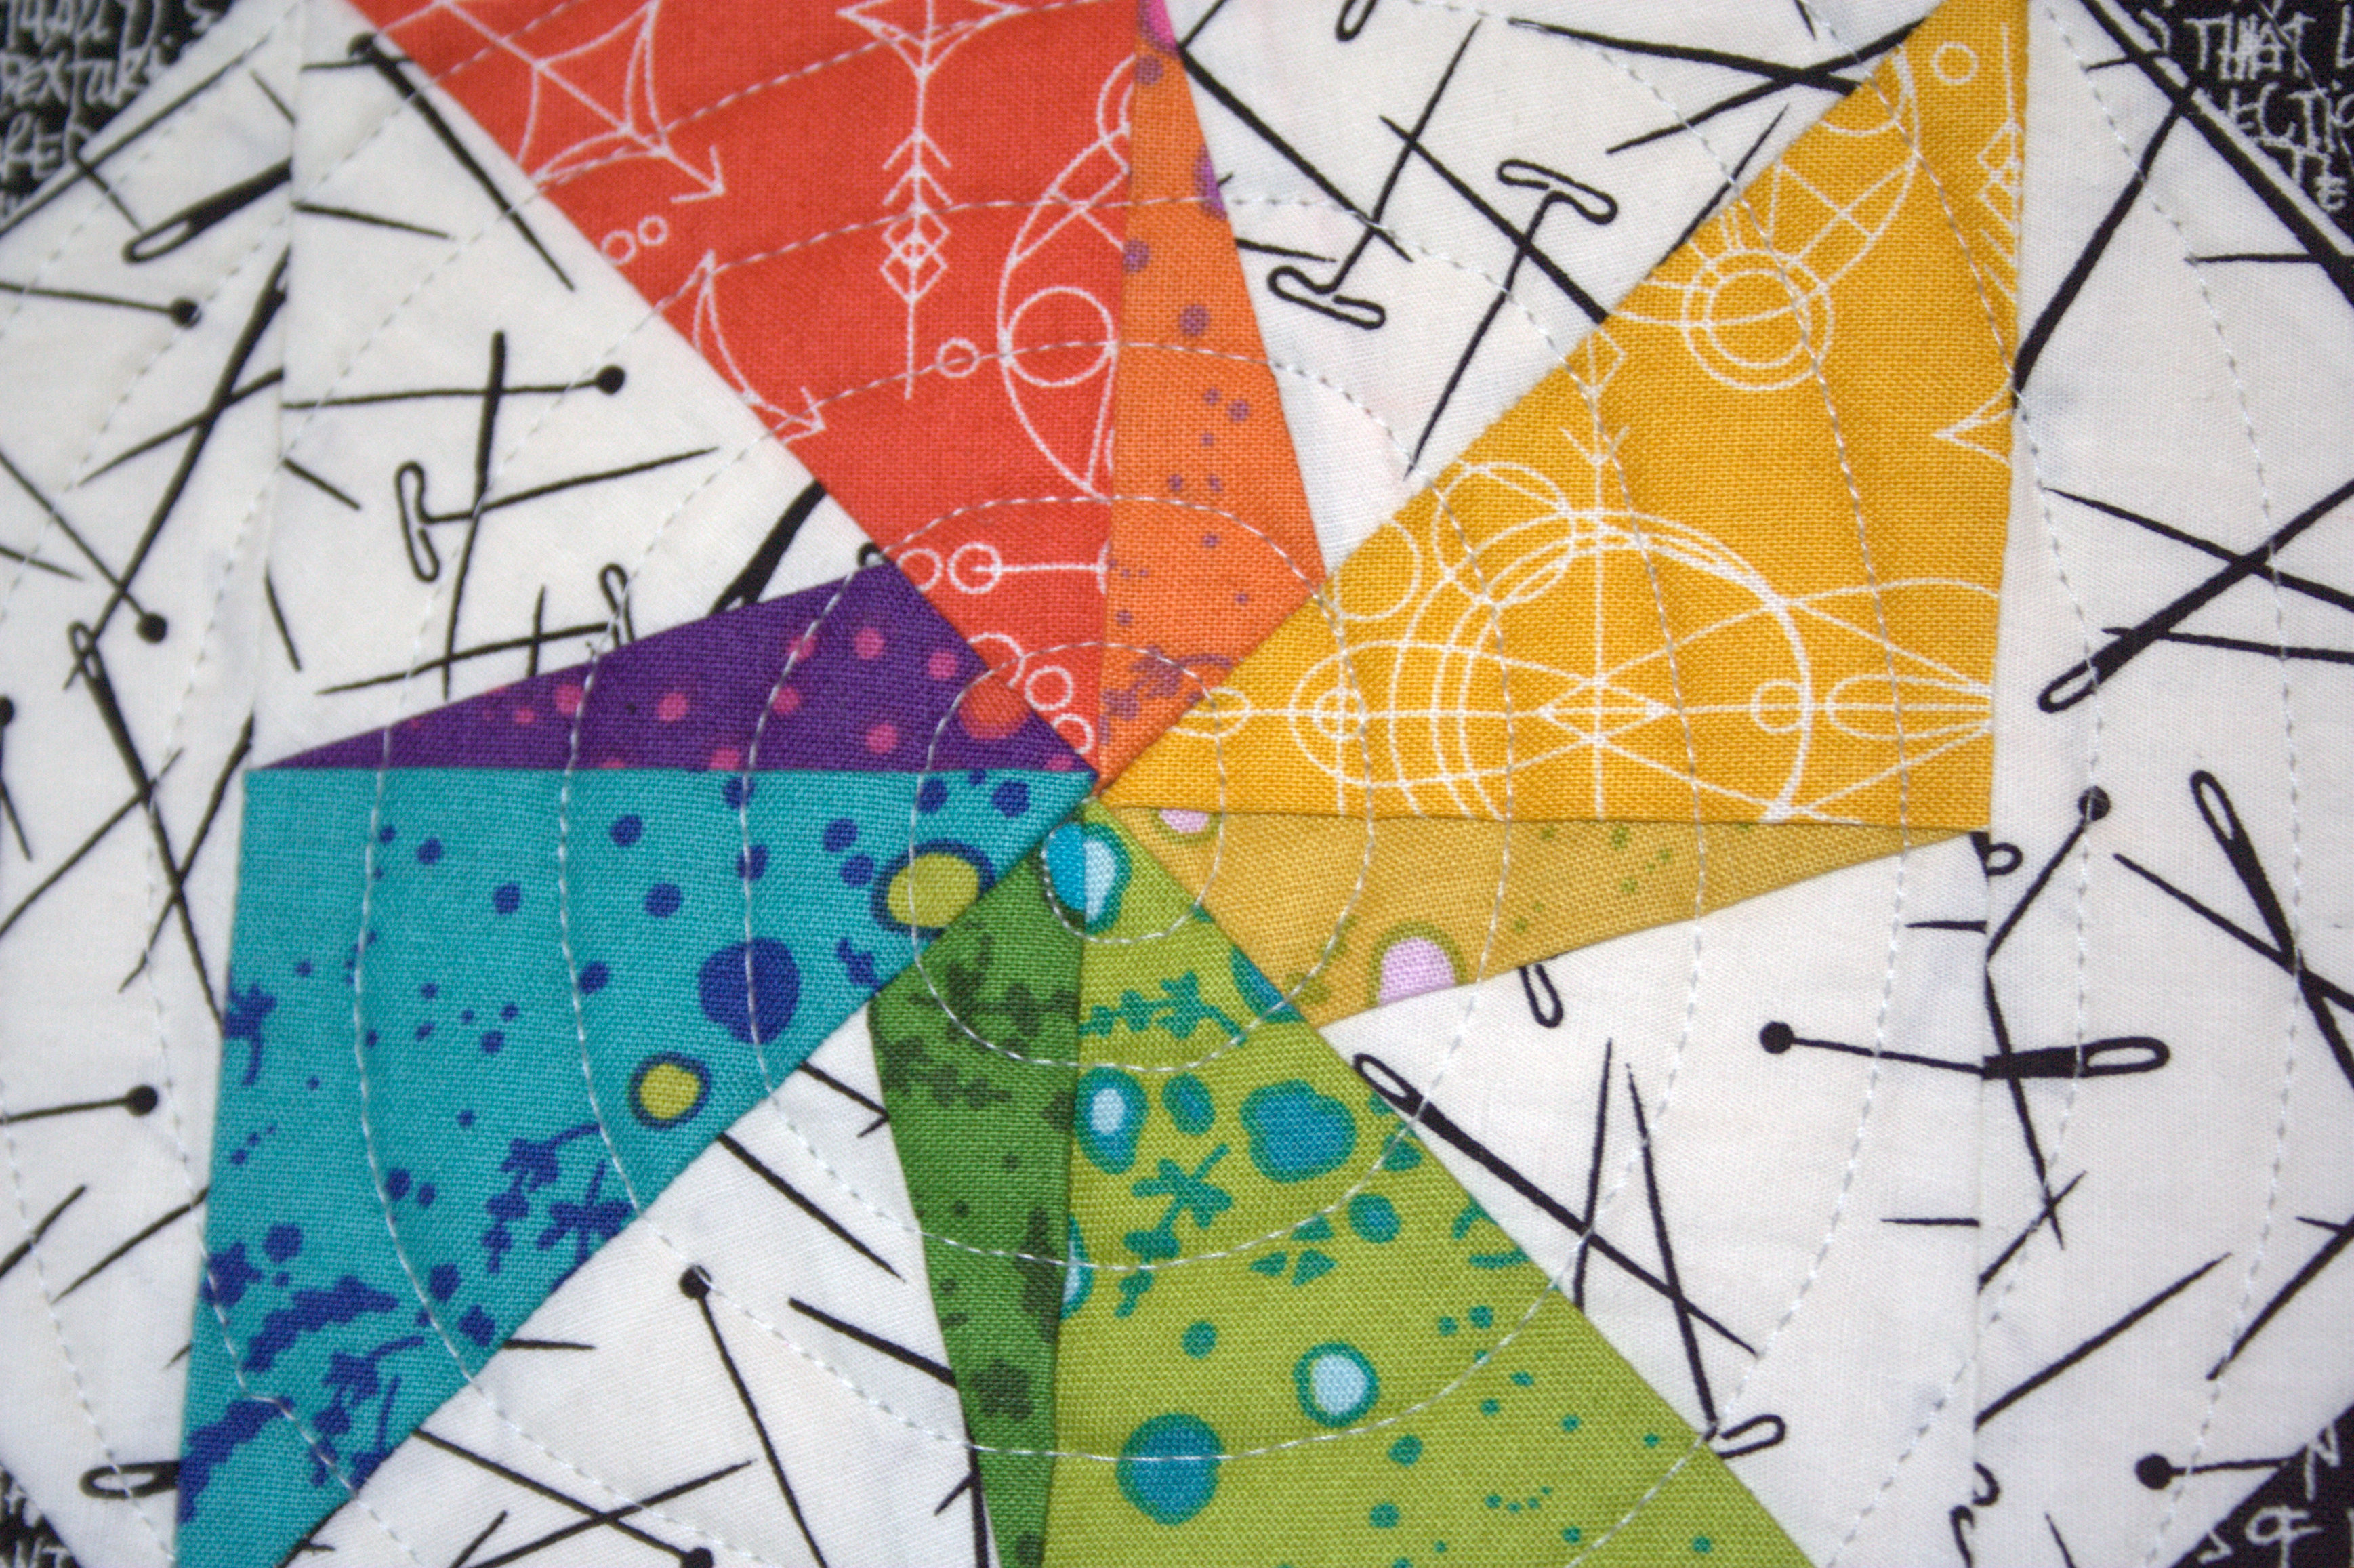
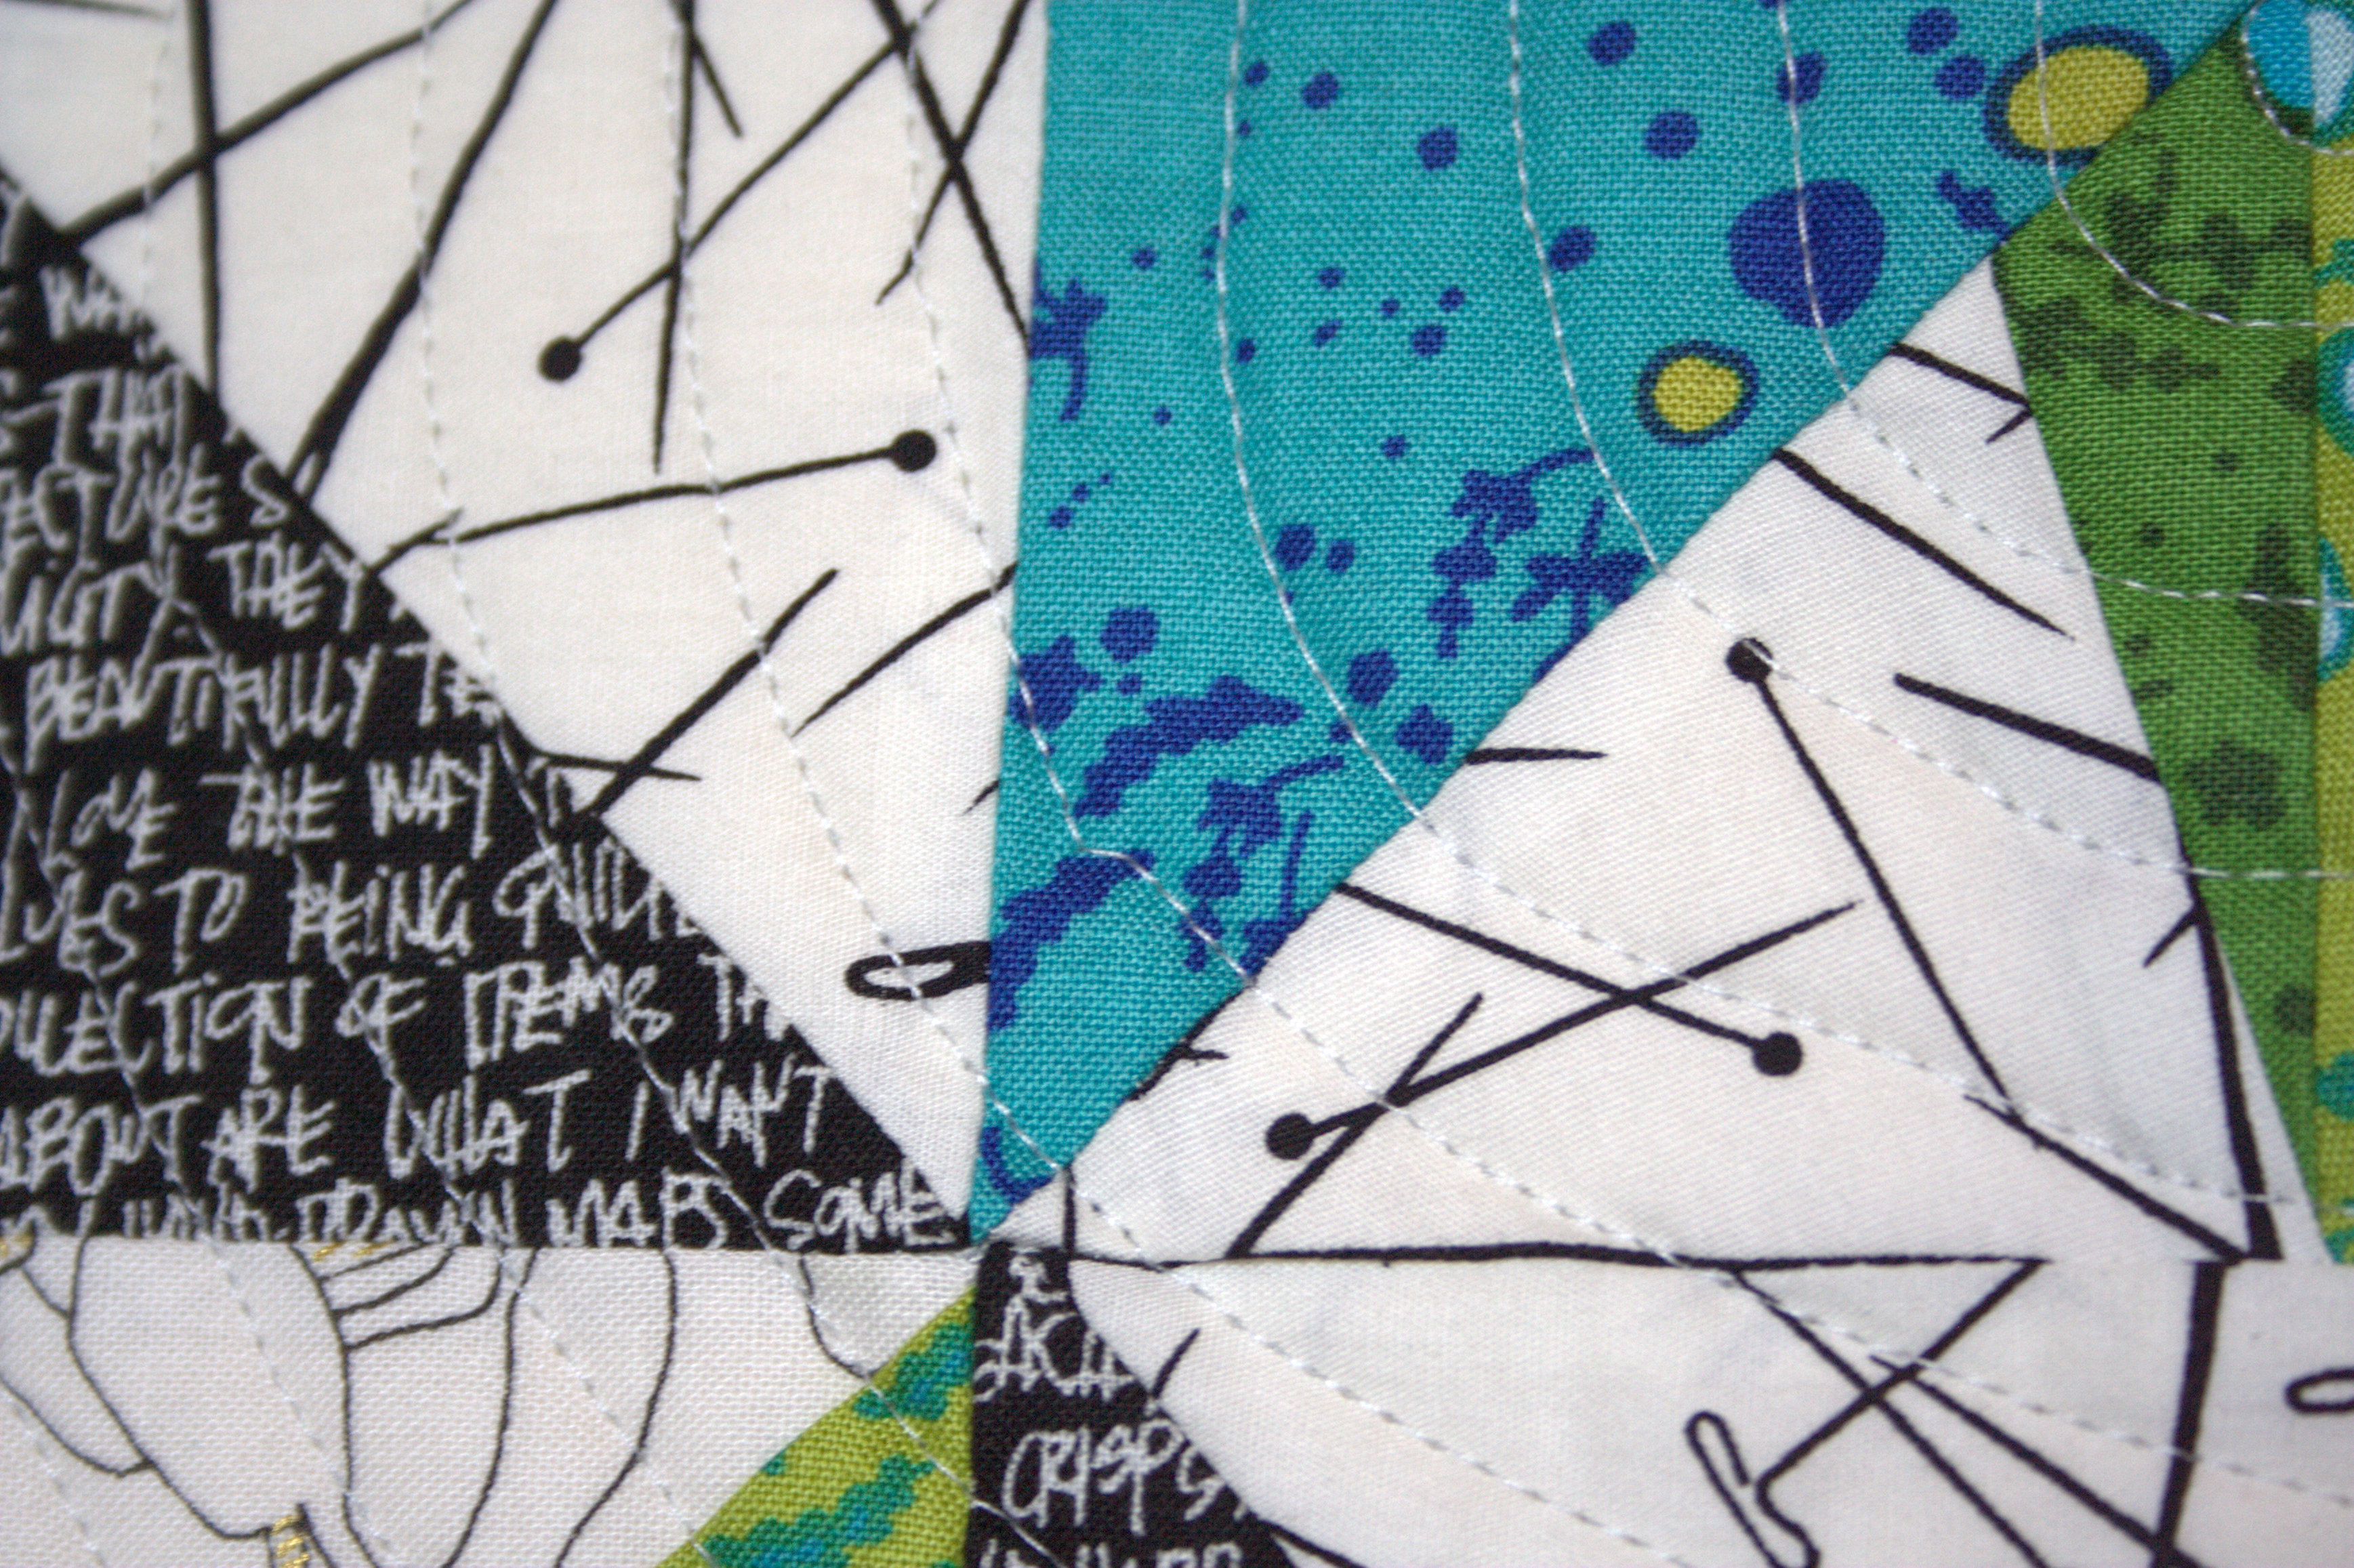
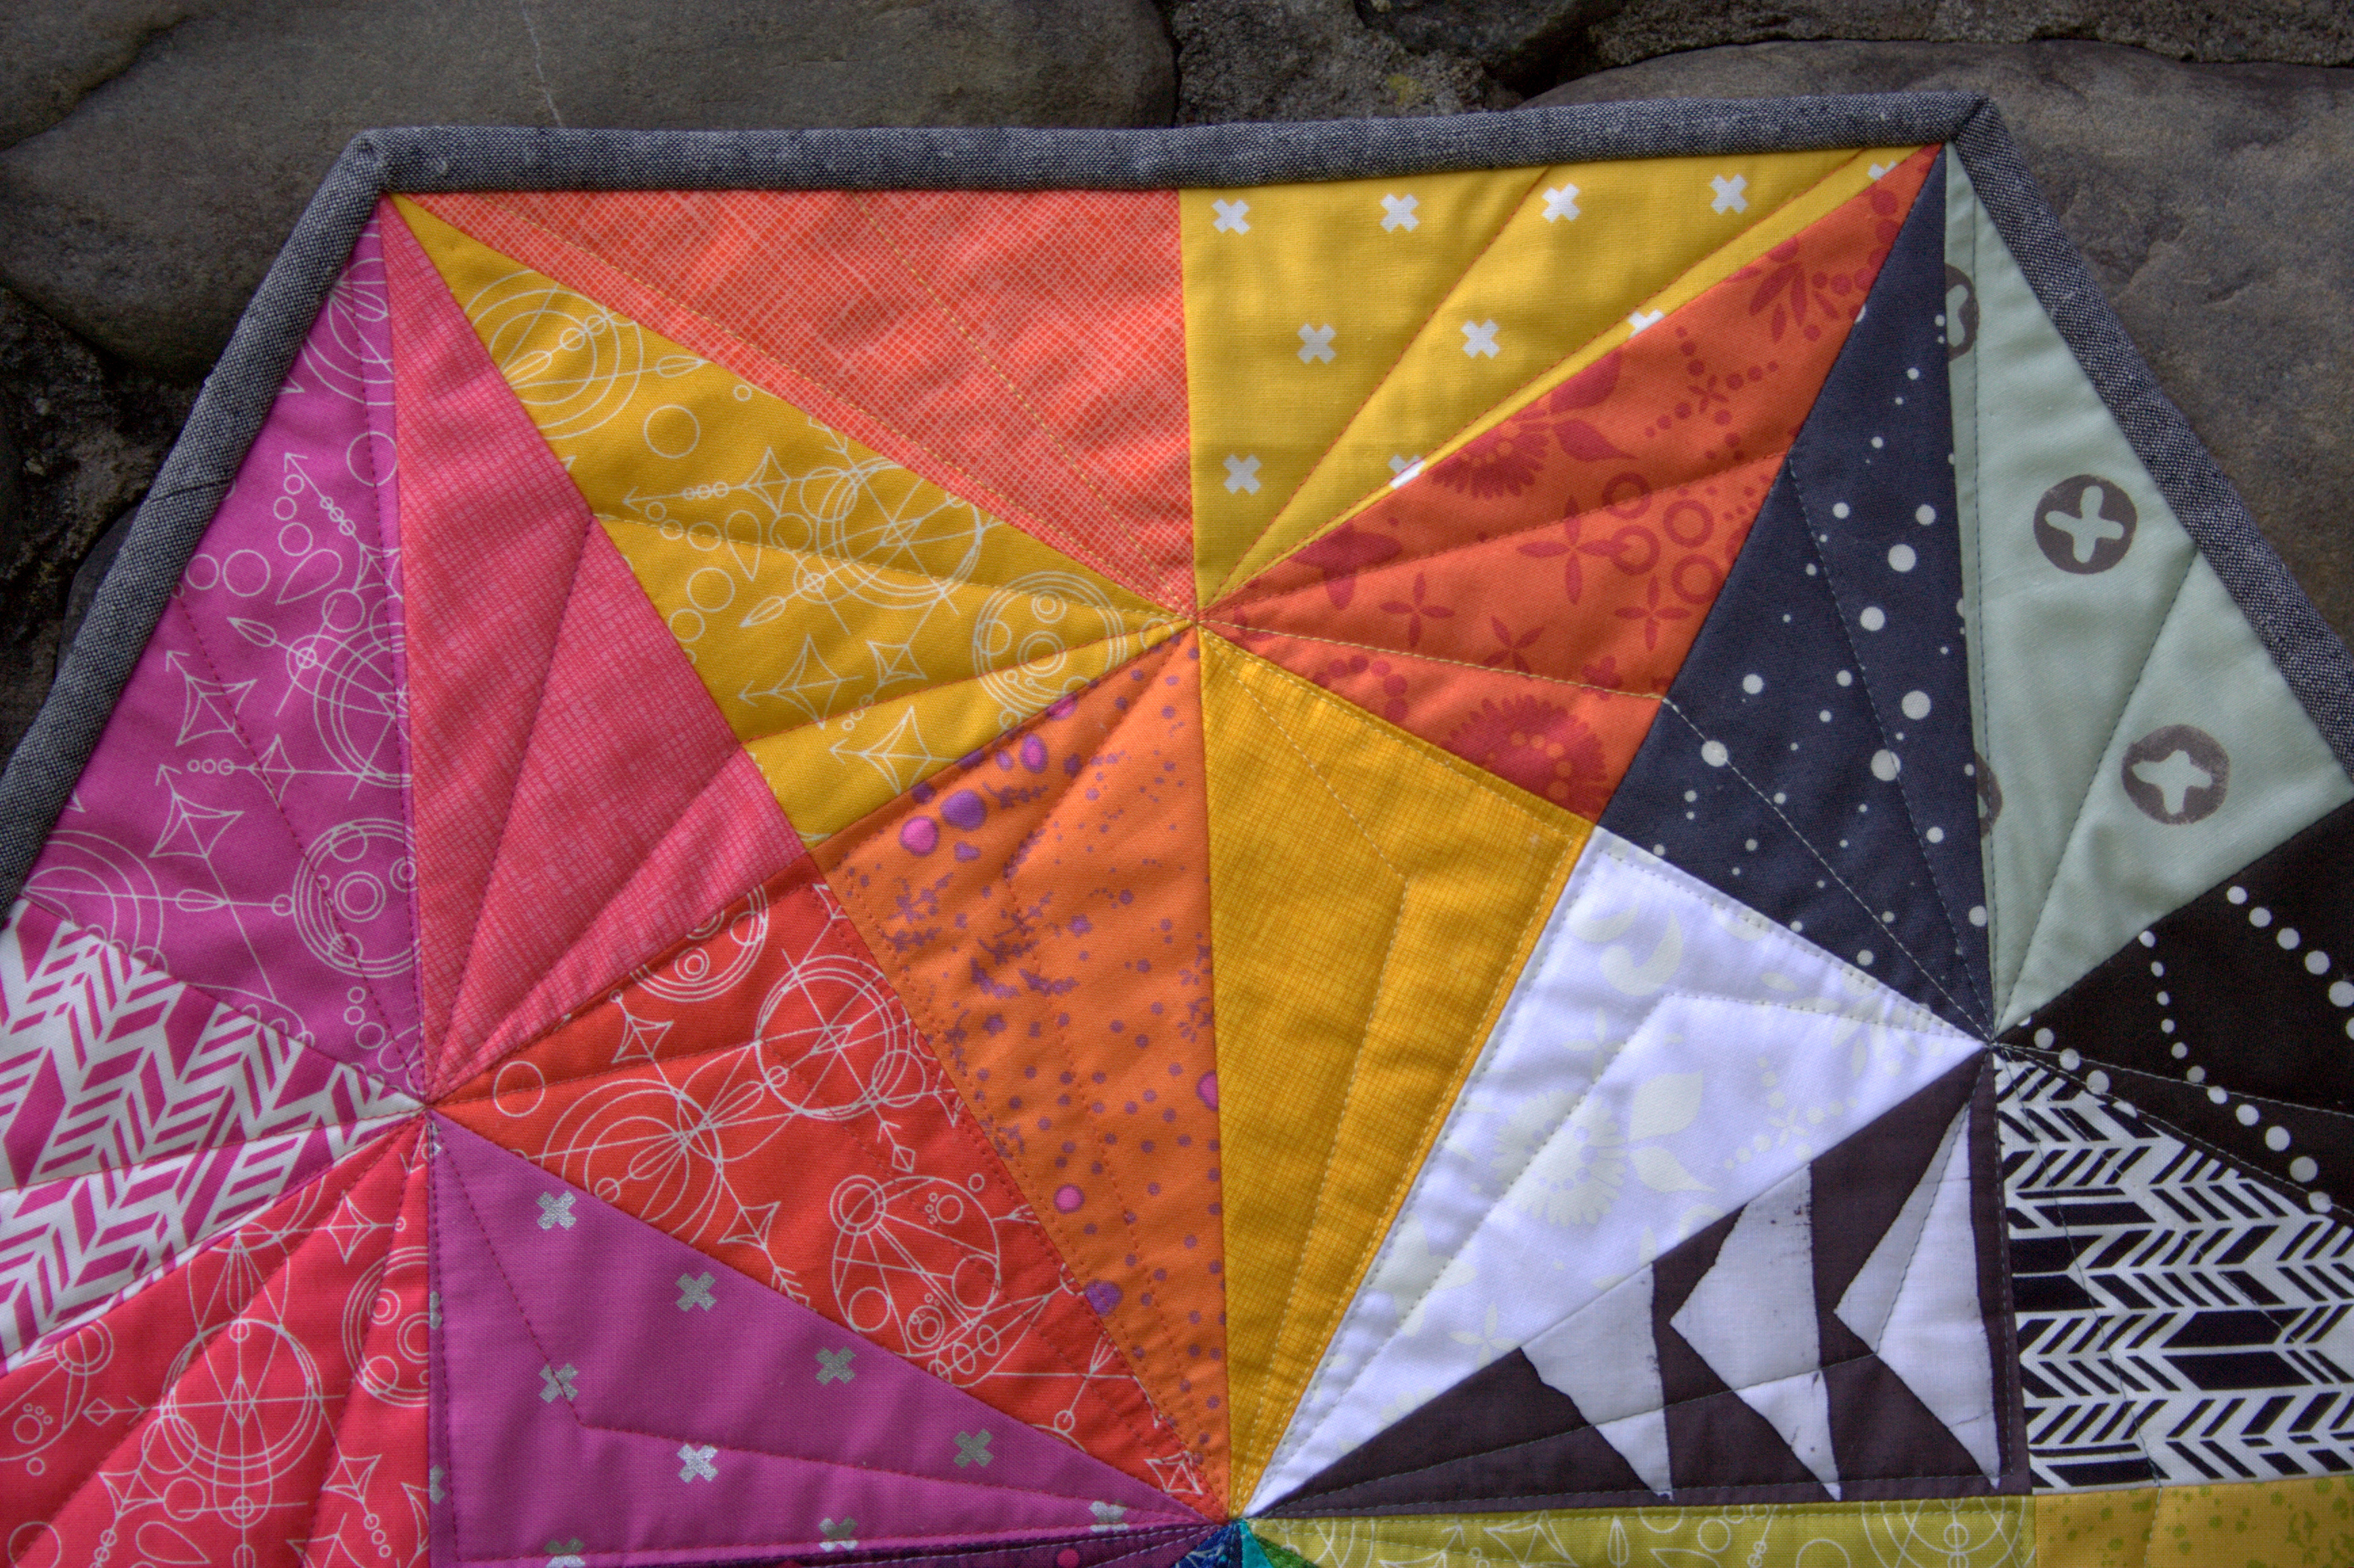
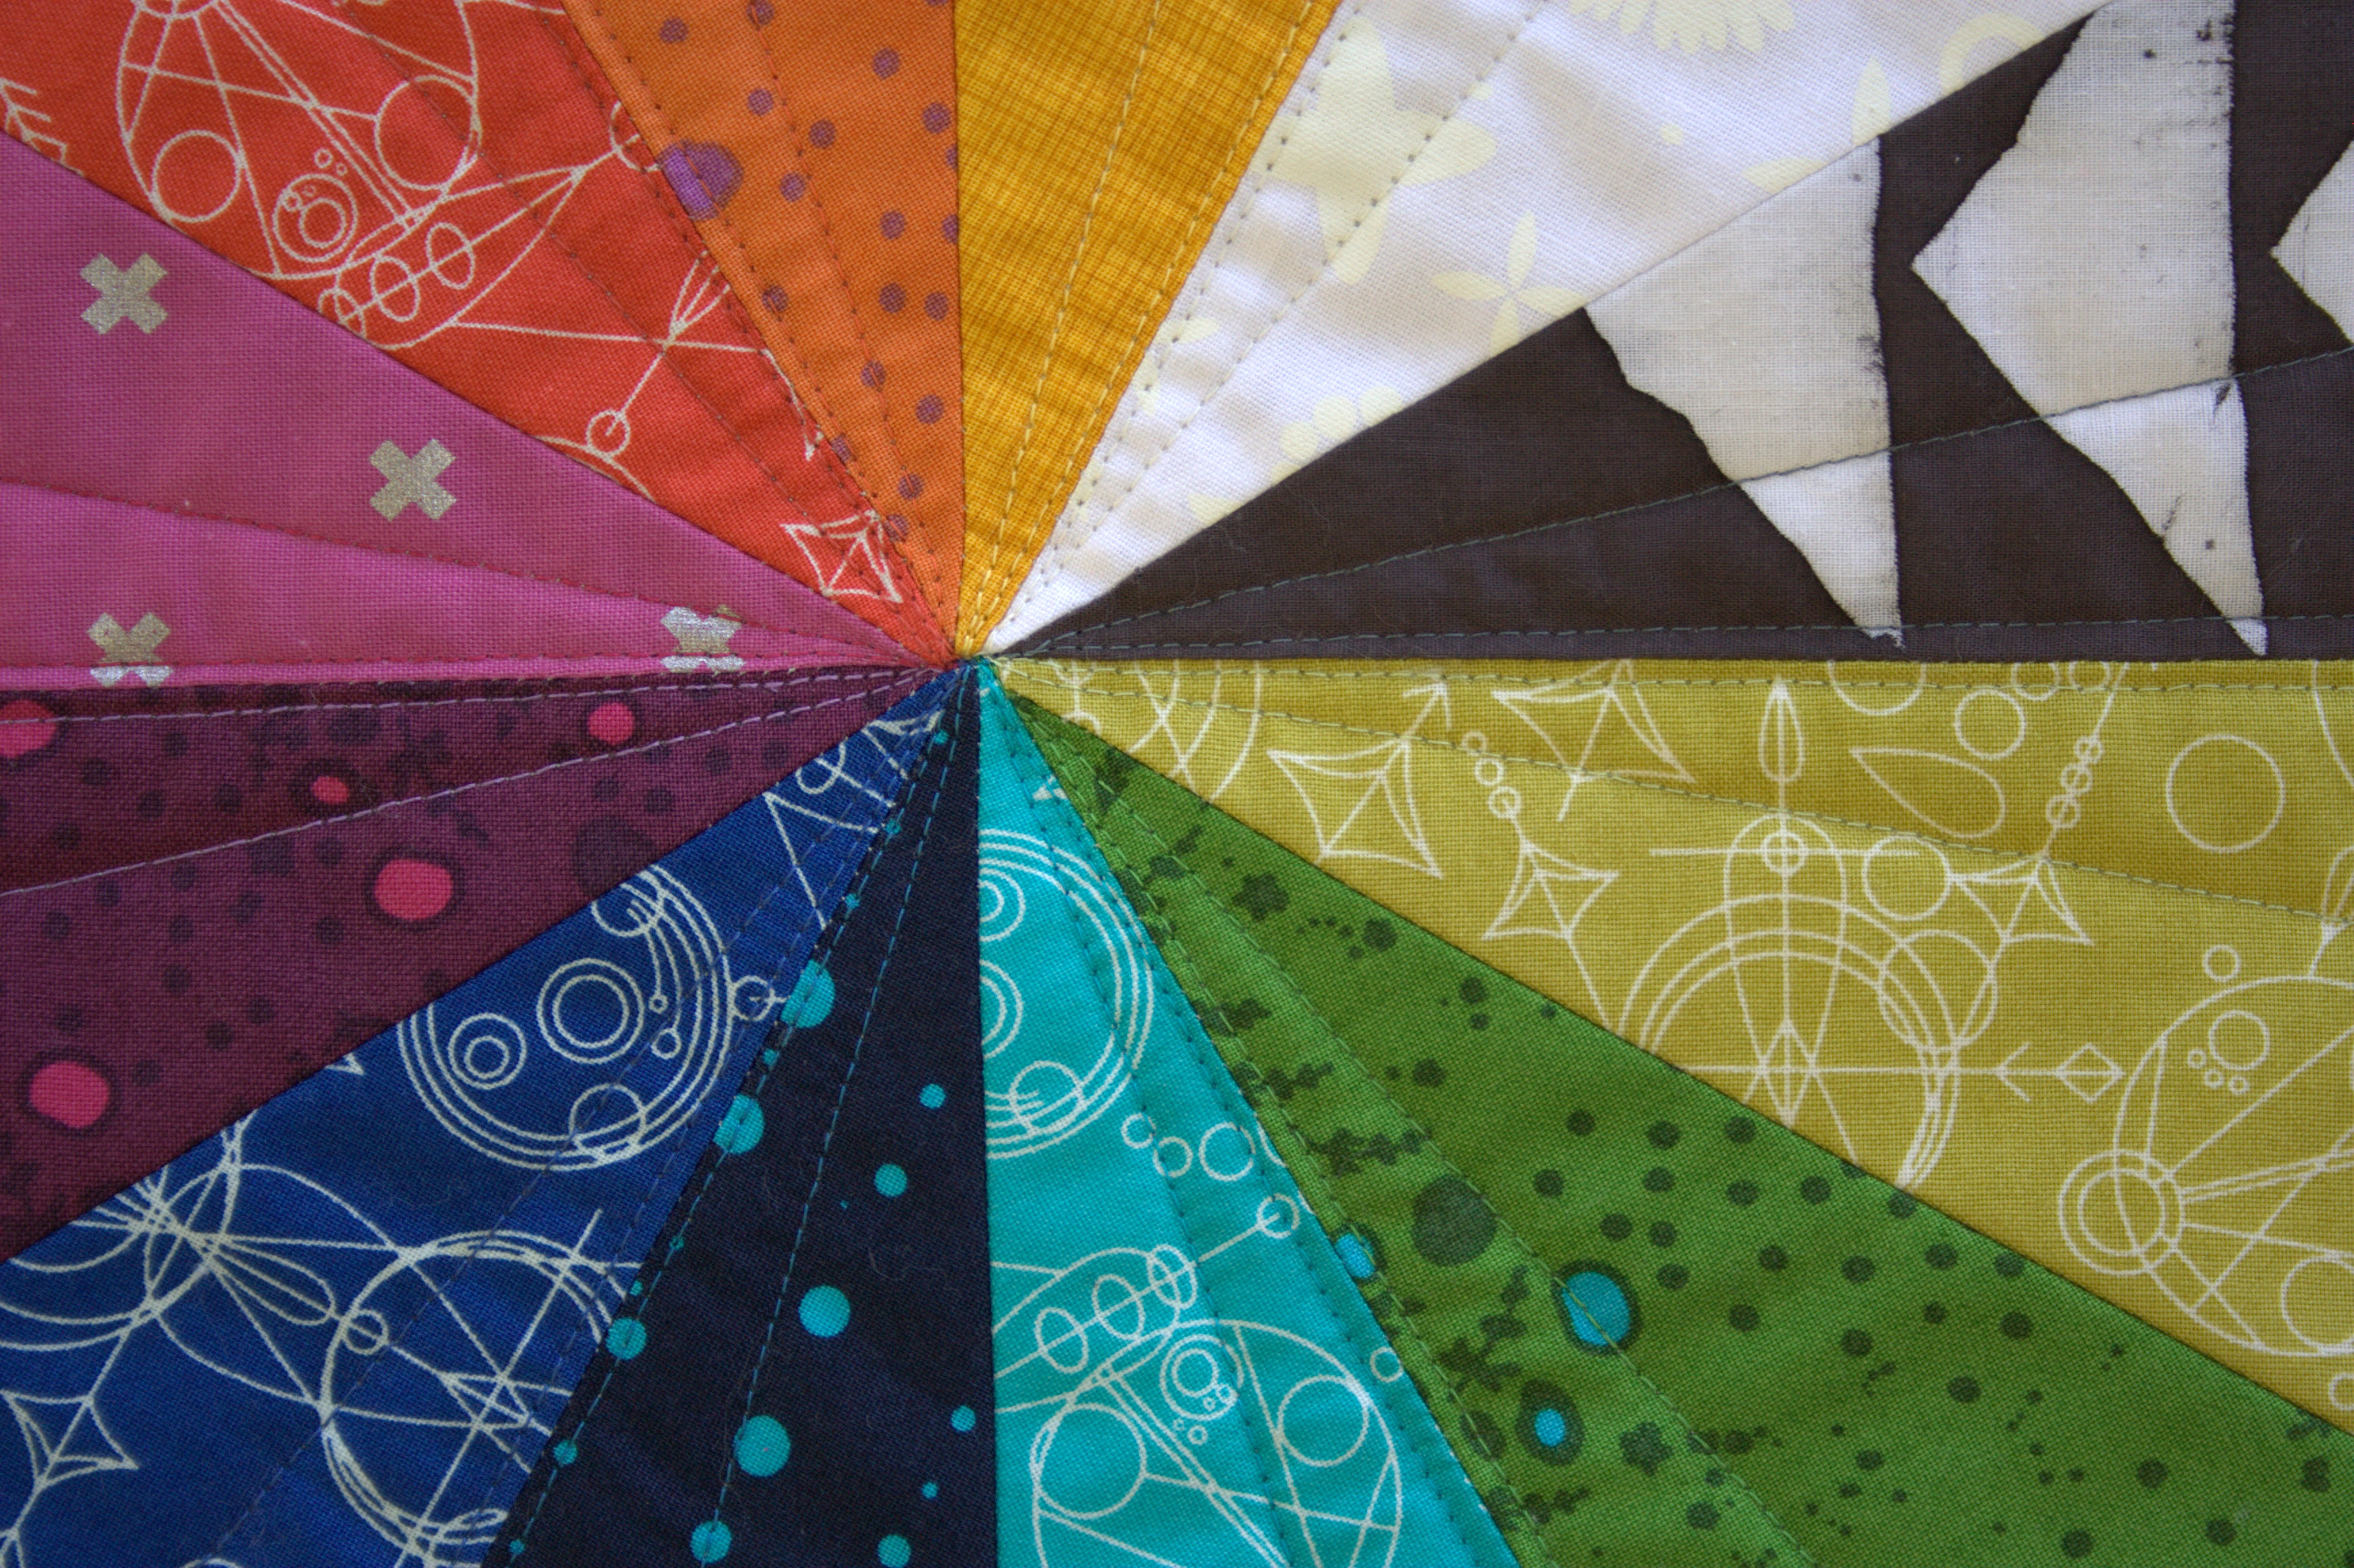 Alison’s Sun Prints offer such a gorgeously saturated and bright color palette, perfect for ROYGBIV quilting creations. I decided to quilt this mini in coordinating Aurifil thread, both 40 and 50wts, depending on what weight I had in my stash. I used a fun prismatic quilting pattern, which really brings out the angularity of the design.
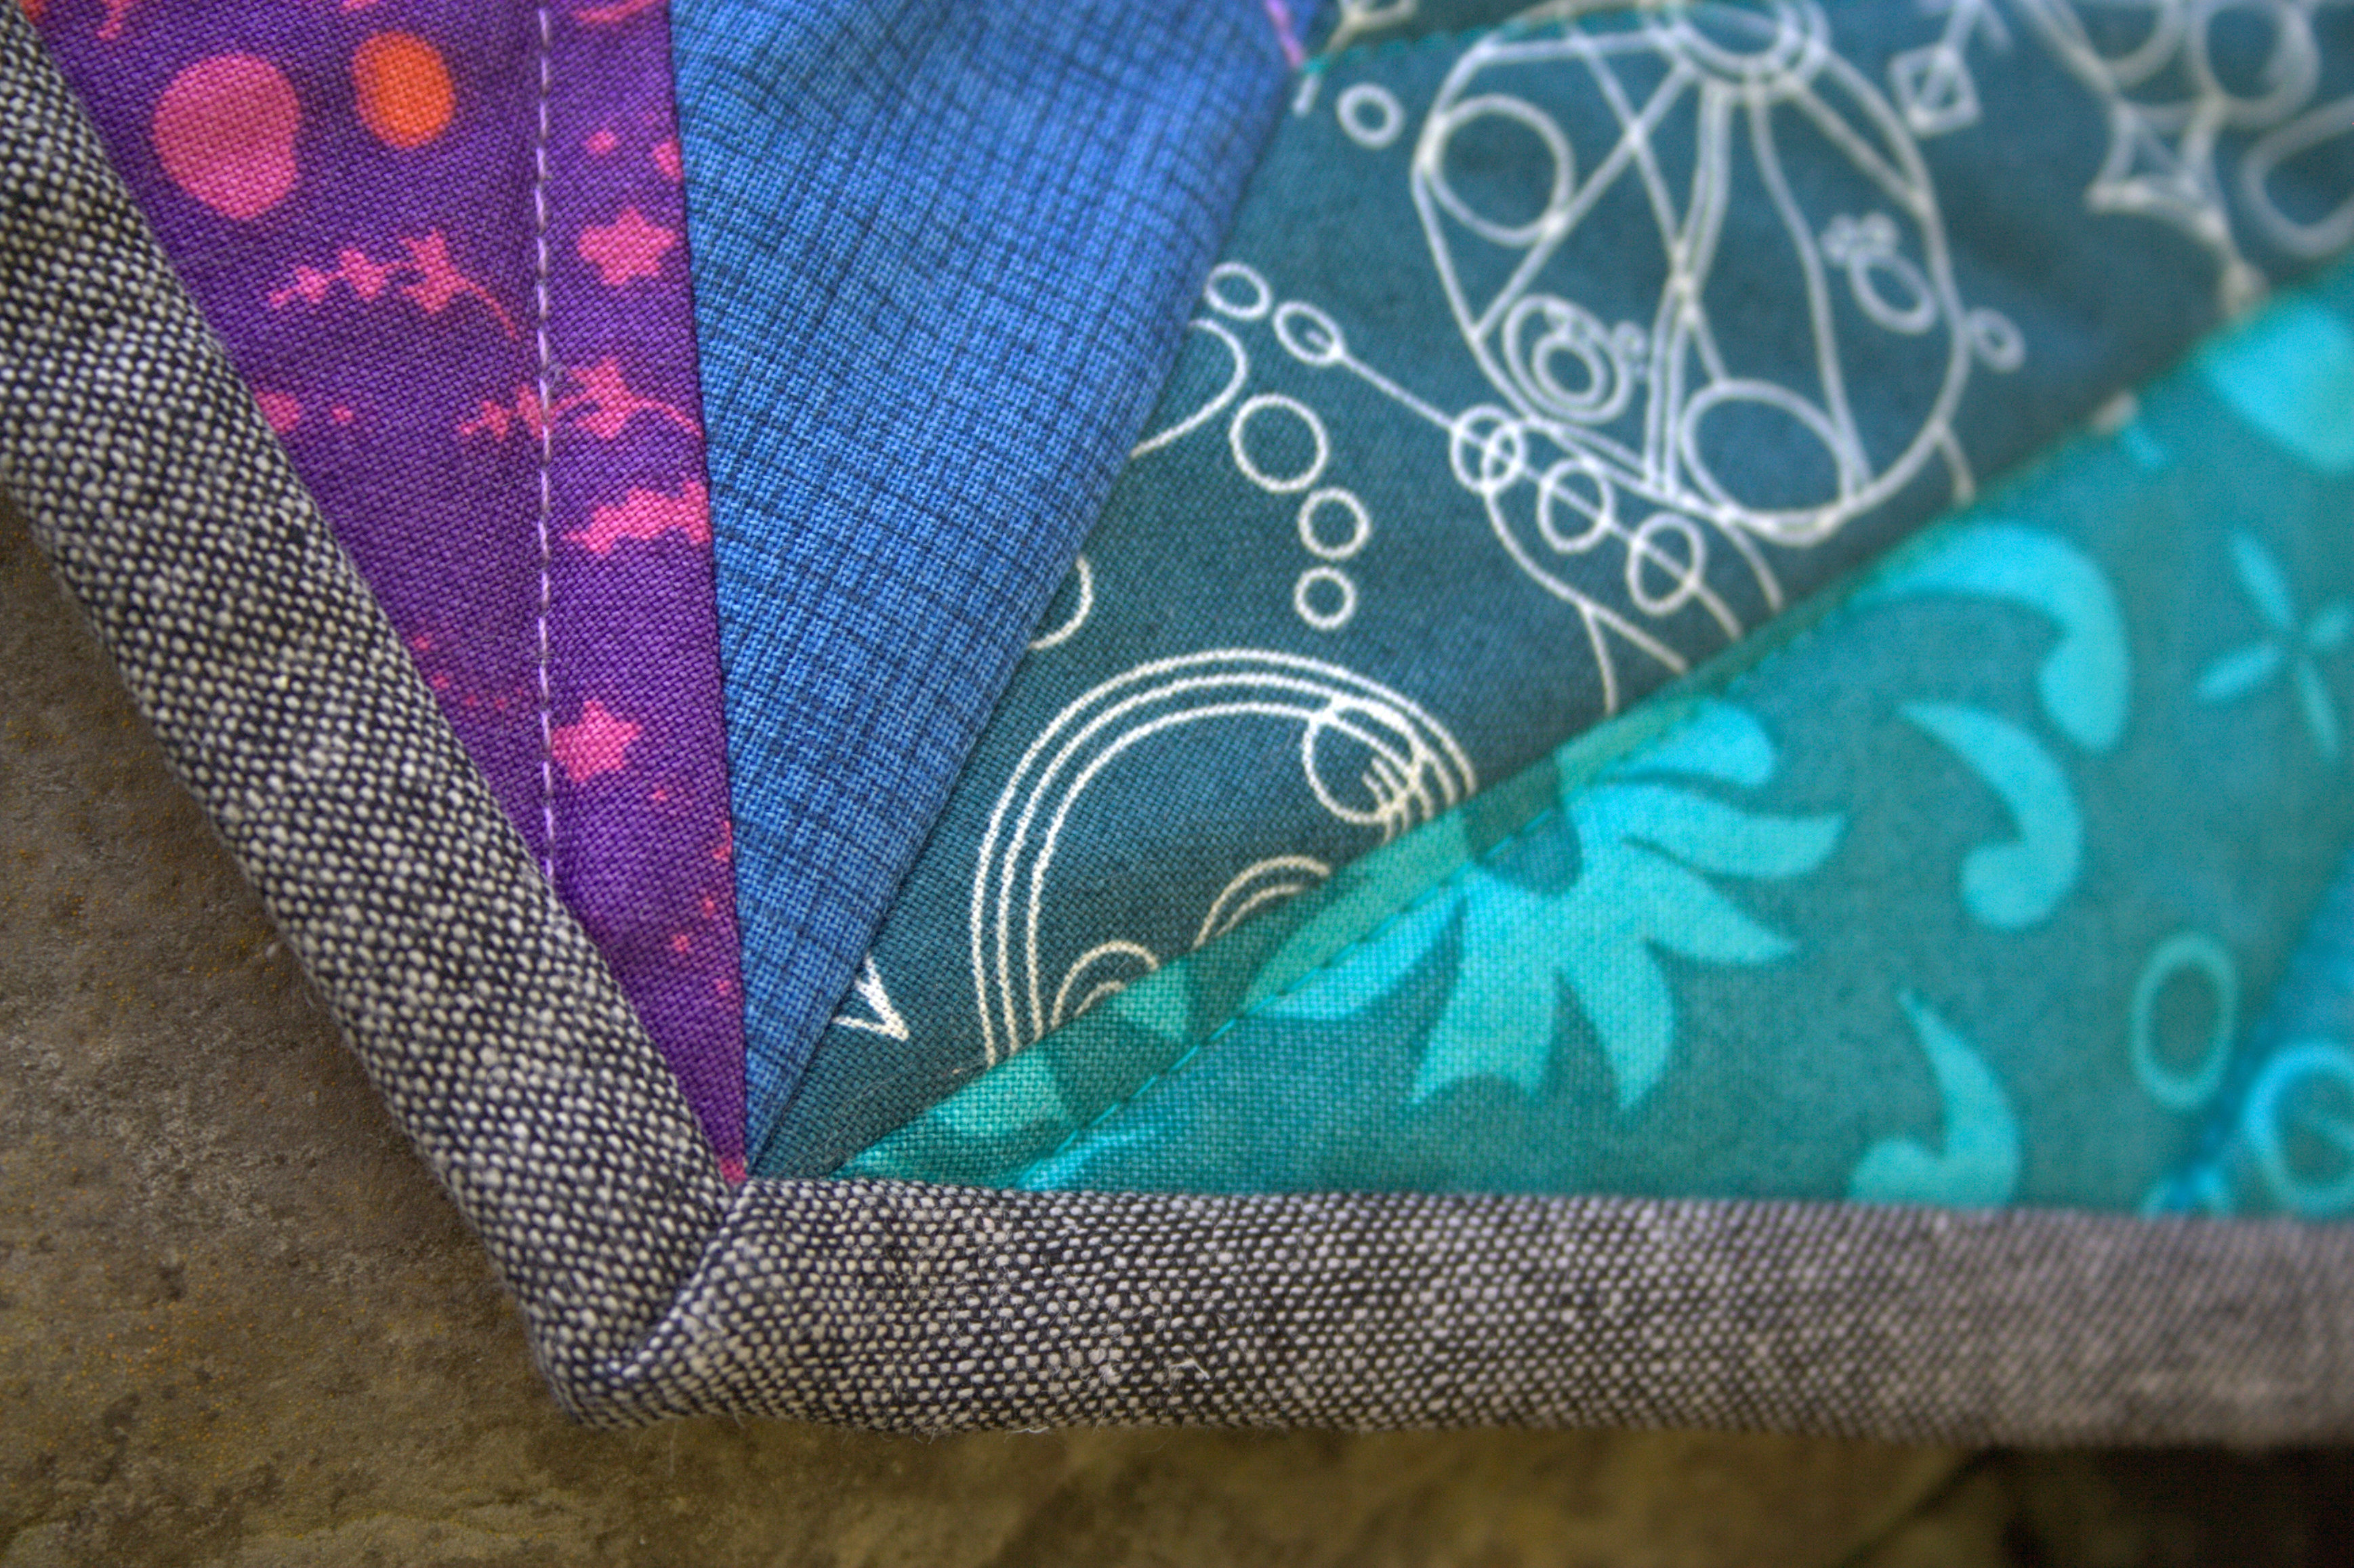
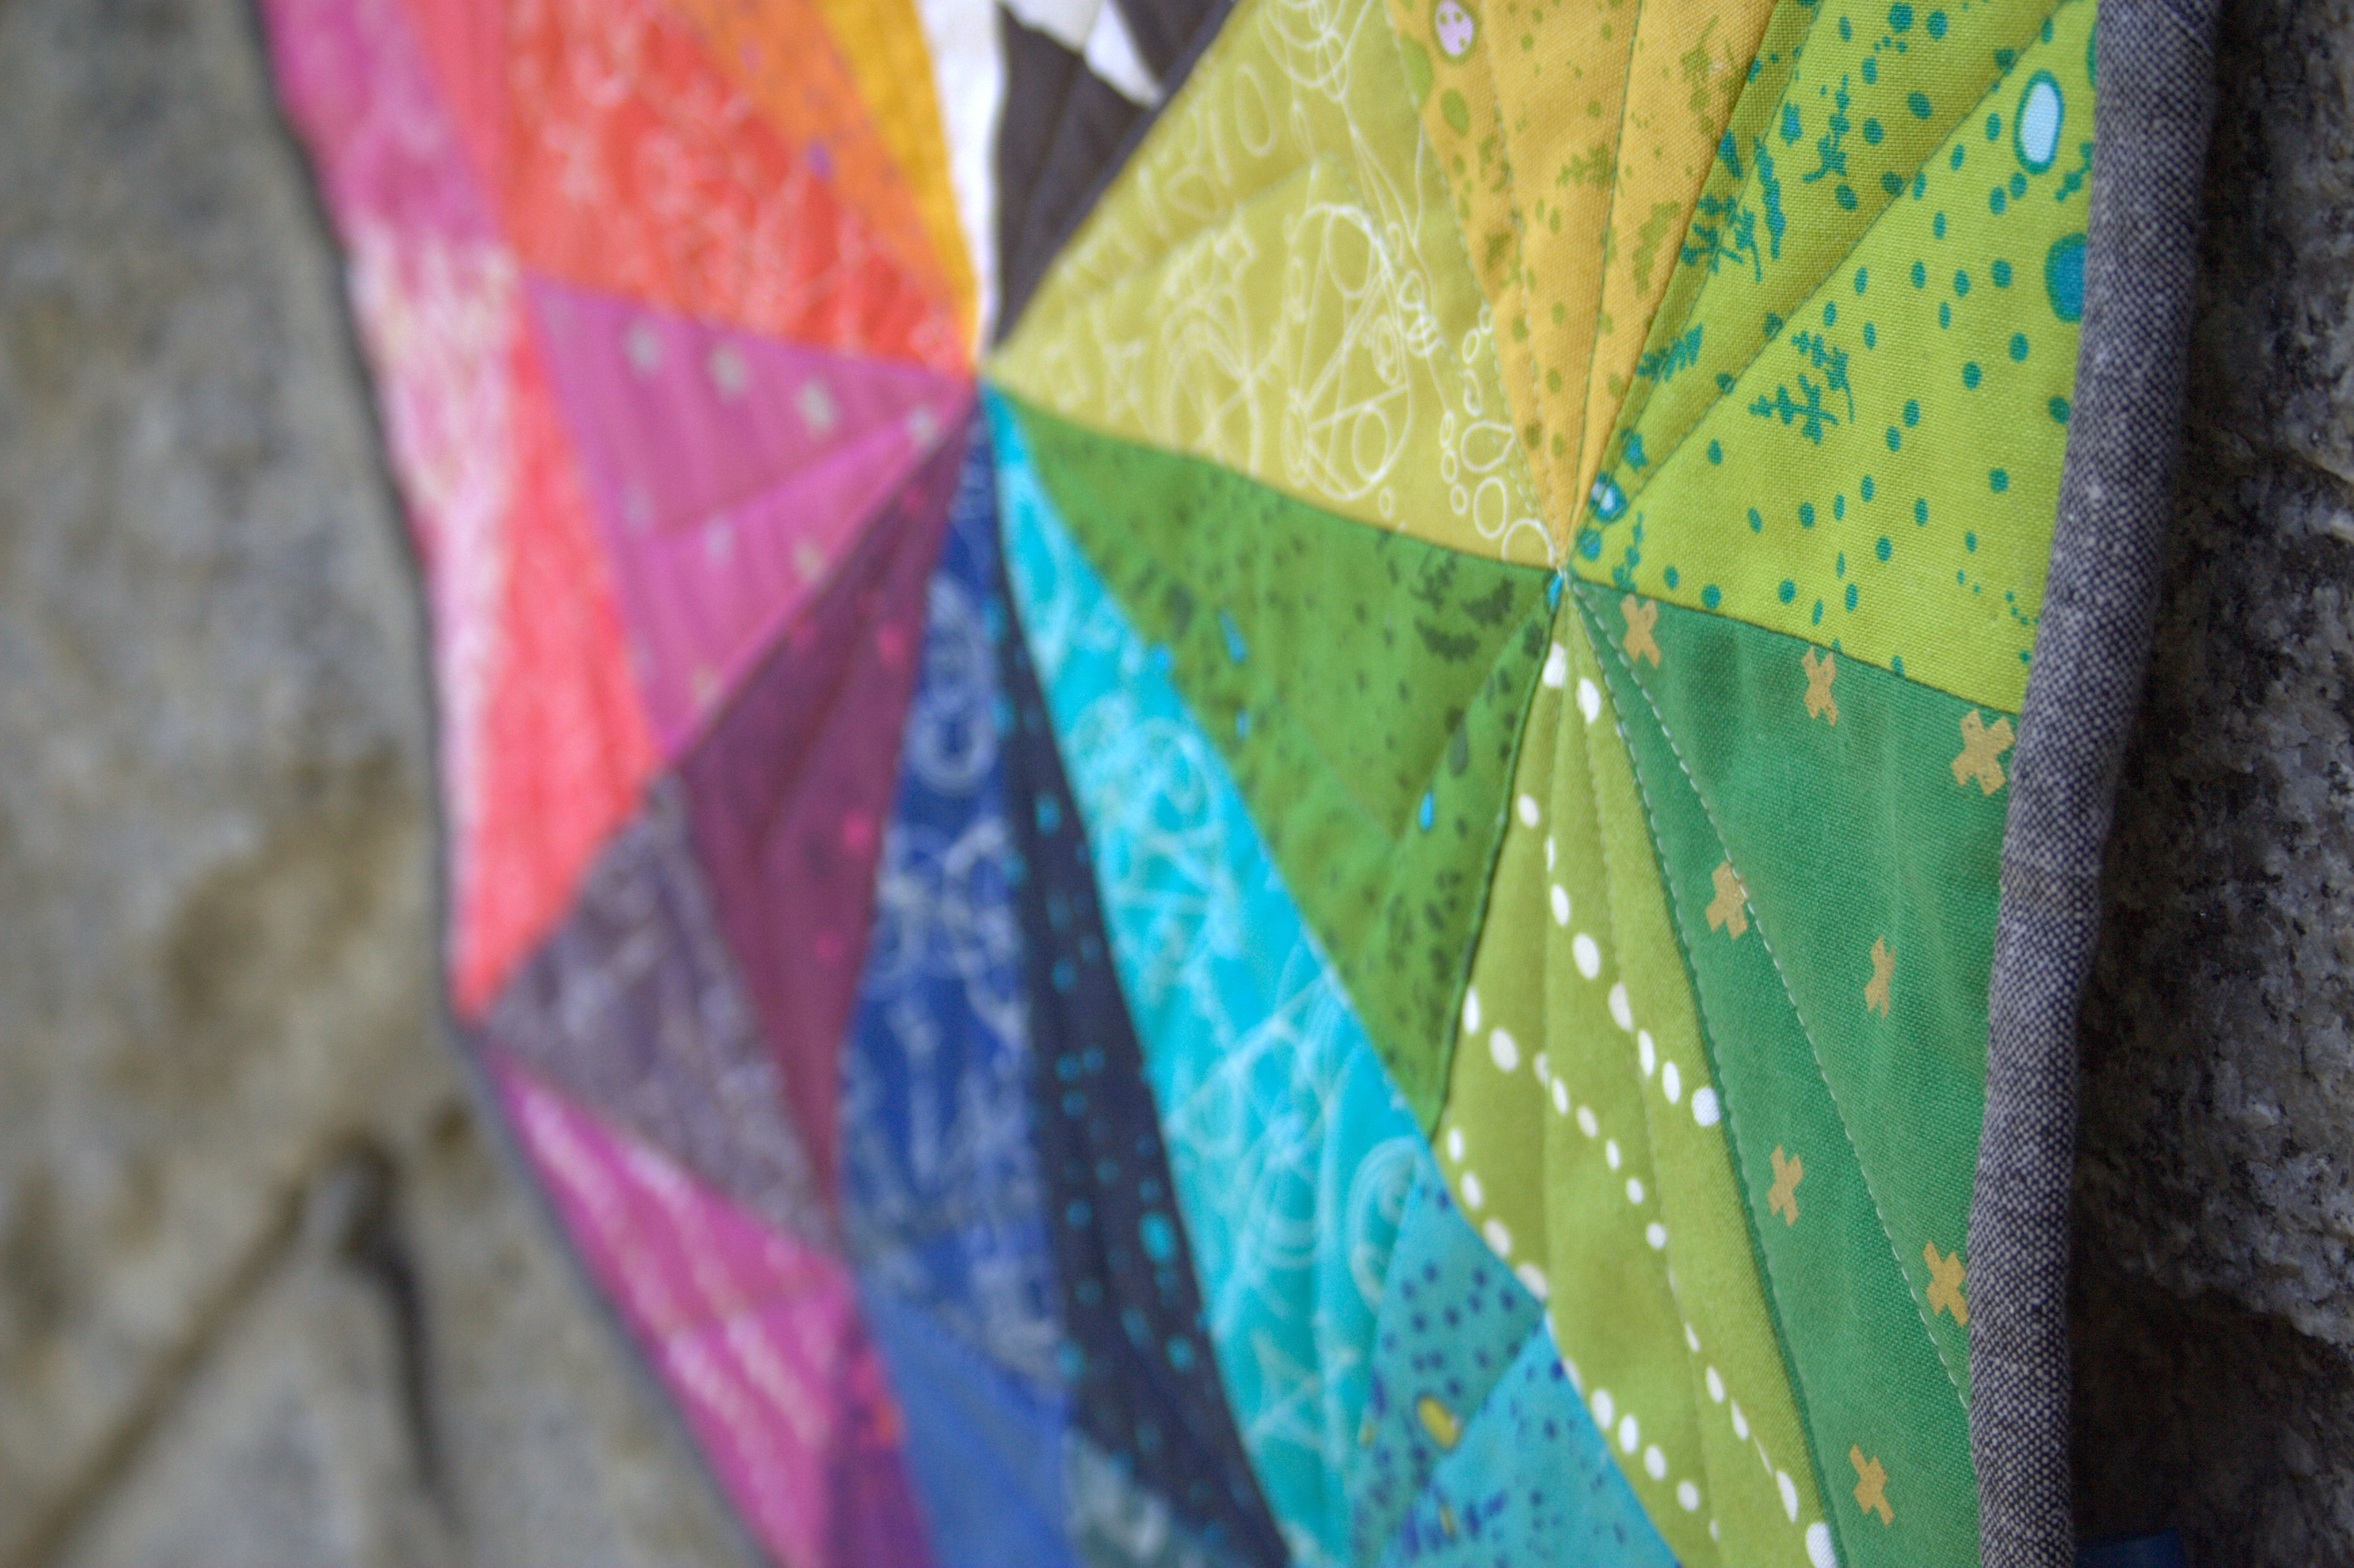
The quilt is bound in Yarn Dyed Essex linen blend in Charcoal by Robert Kaufman. Here are the final quilt stats:
Alison Glass Prismatic Medallion Mini Quilt
Completed May 2015
Pattern: Prismatic Medallions by Robert Kaufman Fabrics
Size: 23″ x 20″
Fabric: Assorted fabric from Alison Glass’s 2015 Sun Prints, Mercury and Grove (Andover Fabrics), with other Alison Glass fabrics: Feathers in Dahlia and Black, Bike Path, Handcrafted, and some others, including but not limited to Carolyn Friedlander Architextures Crosshatch in Tangerine, Cotton + Steel basics in yellow, magenta, and green, and some Timeless Treasures Sketch.
Binding is Yarn Dyed Essex Linen blend in Charcoal (Robert Kaufman Fabrics).
Quilting: Prismatic straight line quilting with my walking foot
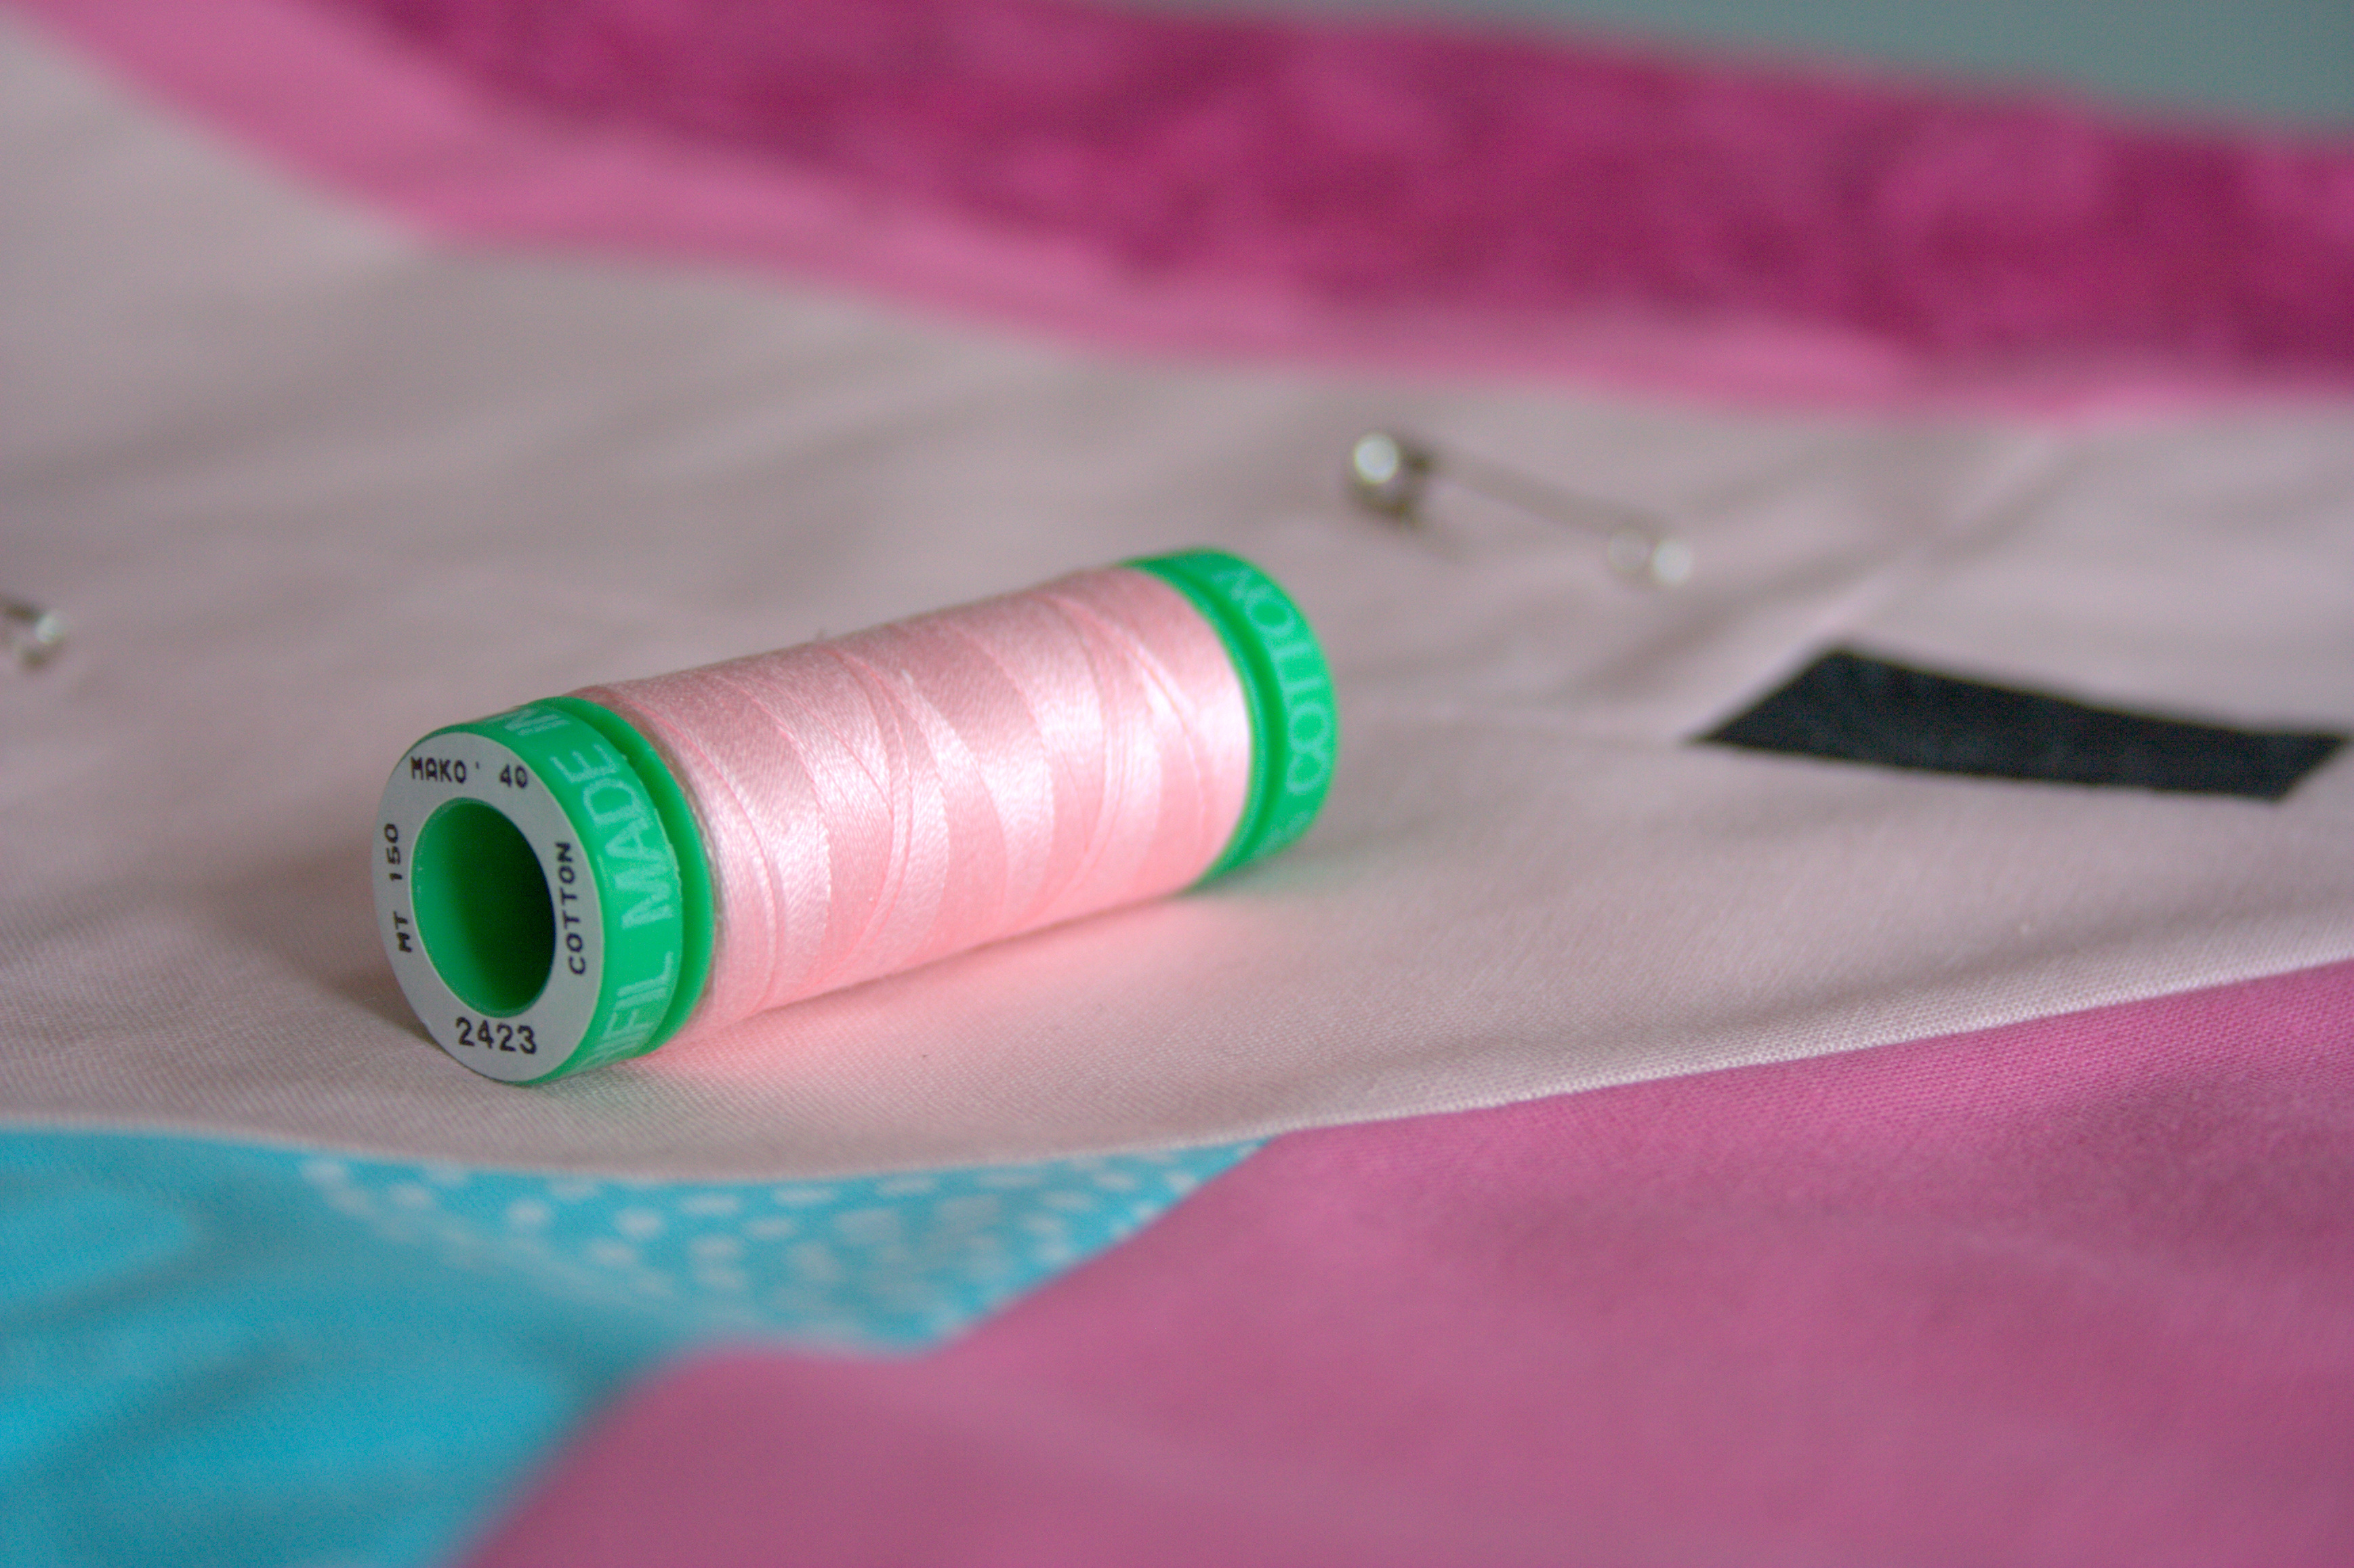
Thread: Aurifil 50wt 2600 – Dove for piecing
Assorted color coordinating Aurifil for quilting:
- 40 wt 2230 Medium Peony
- 50wt 1154 Dusty Orange
- 40wt 1135 Pale Yellow
- 50wt 2886 Light Avocado
- 40wt 1114 Grass Green
- 50wt 2810 Turquoise
- 50wt 1125 Medium Teal
- 40wt 2730 Delft Blue
- 40wt 2520 Violet
- 40wt 1100 Red Plum
- 50wt 1246 Grey
- 50wt 2021 Natural White
Related blog posts: Embrace the Rainbow, Alison Glass Prismatic Medallion Flimsy Finish, The Big Push